Hello and welcome!
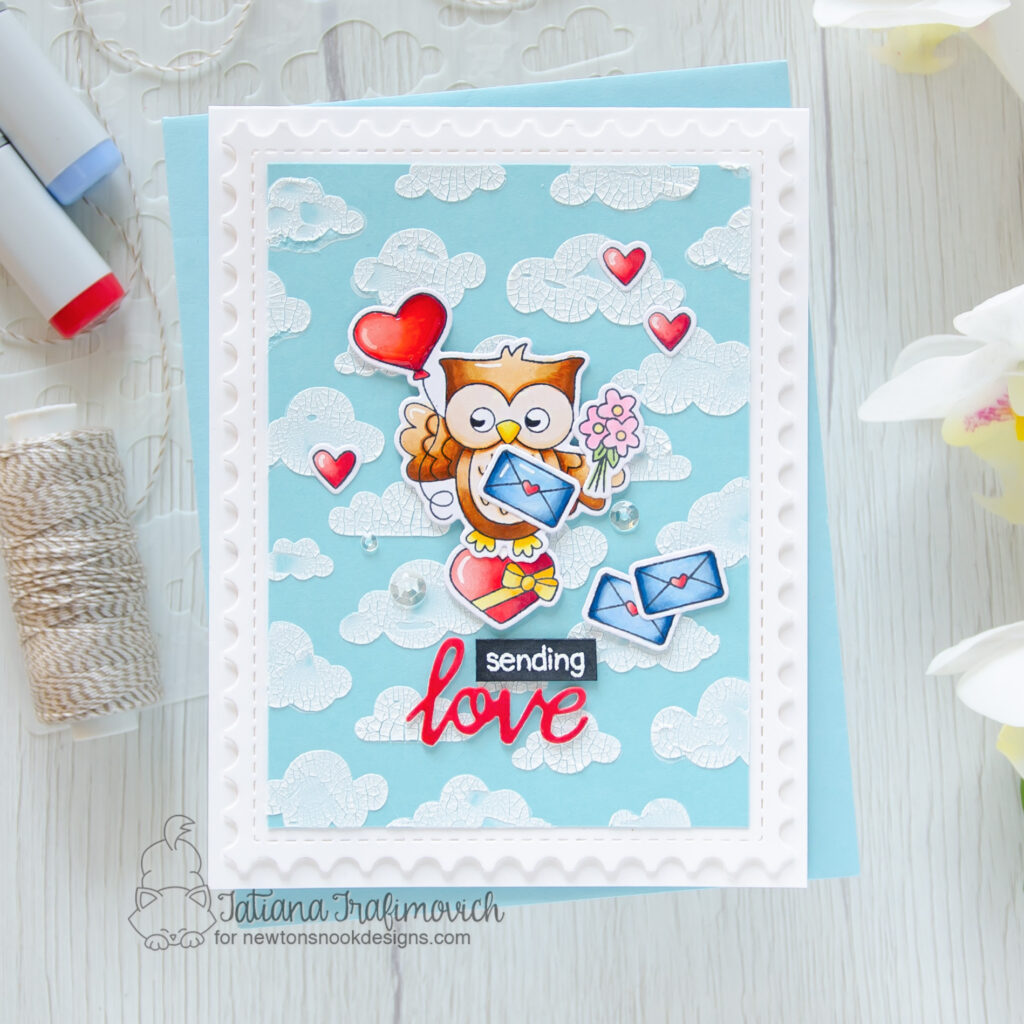
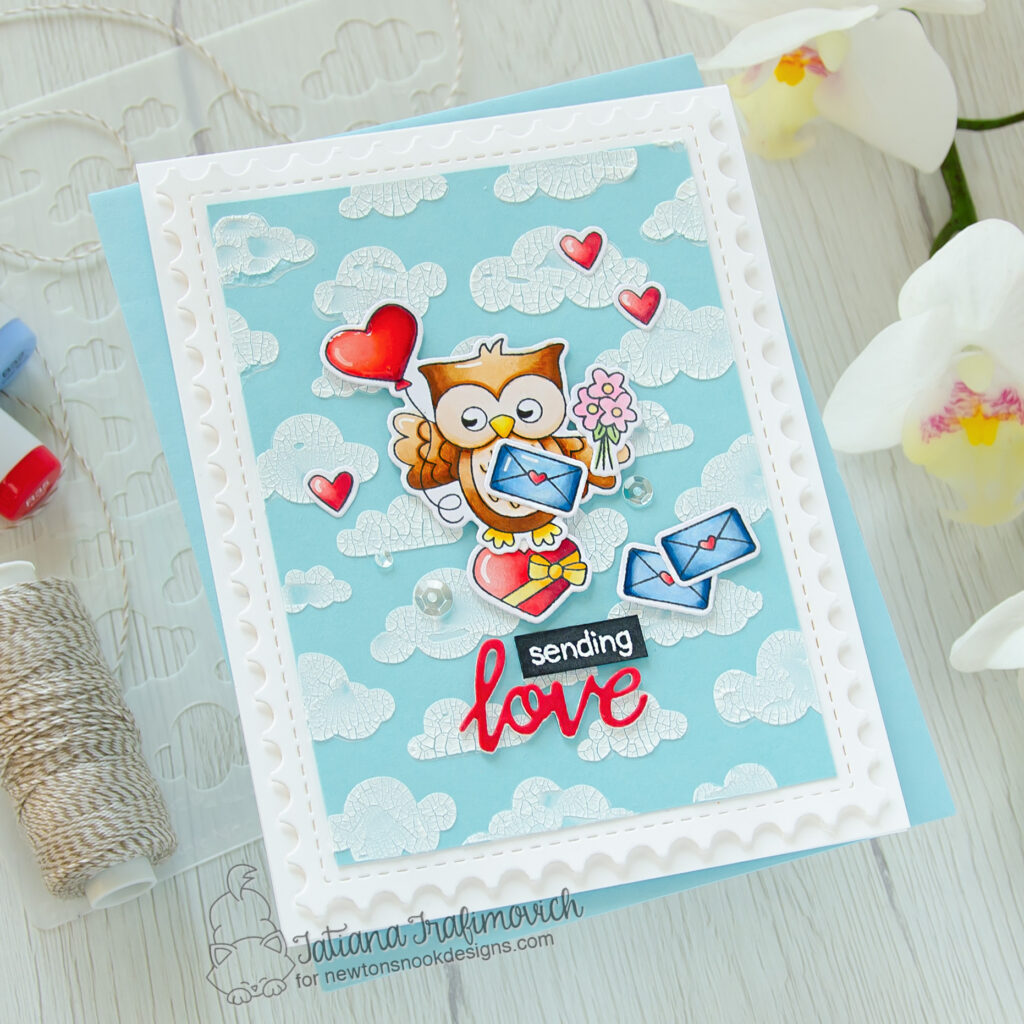
I’m so happy you’ve joined me today and even more excited to be on the Newton’s Nook Designs blog sharing a cute and fun card featuring a few of my favorite “old” products mixed together.

Key Ingredients:
- Love Owl-ways Stamp Set
- Love Owl-ways Die Set
- Sending Hugs Stamp Set
- Sending Hugs Die Set
- Darling Hearts Die Set
- Framework Die Set
- Cloudy Sky Stencil

Step By Step Instructions:
- Die cut all the elements you need for this project using the coordinating Love Owl-ways Die Set and Sending Hugs Die Set on Copic X-Press paper. I used Sizzix Big Short Die Cutting Machine.
- Stamp the open images from Love Owl-ways Stamp Set and Sending Hugs Stamp Set with Memento Tuxedo Black ink.
- Color the stamps with COPIC MARKERS. I used:
- owl E0000-E30-E31-E33-E35-E37
- reds R32-R35-R37-R37
- blues B0000-B32-B34-B37
- yellows Y11-Y35
- green G43
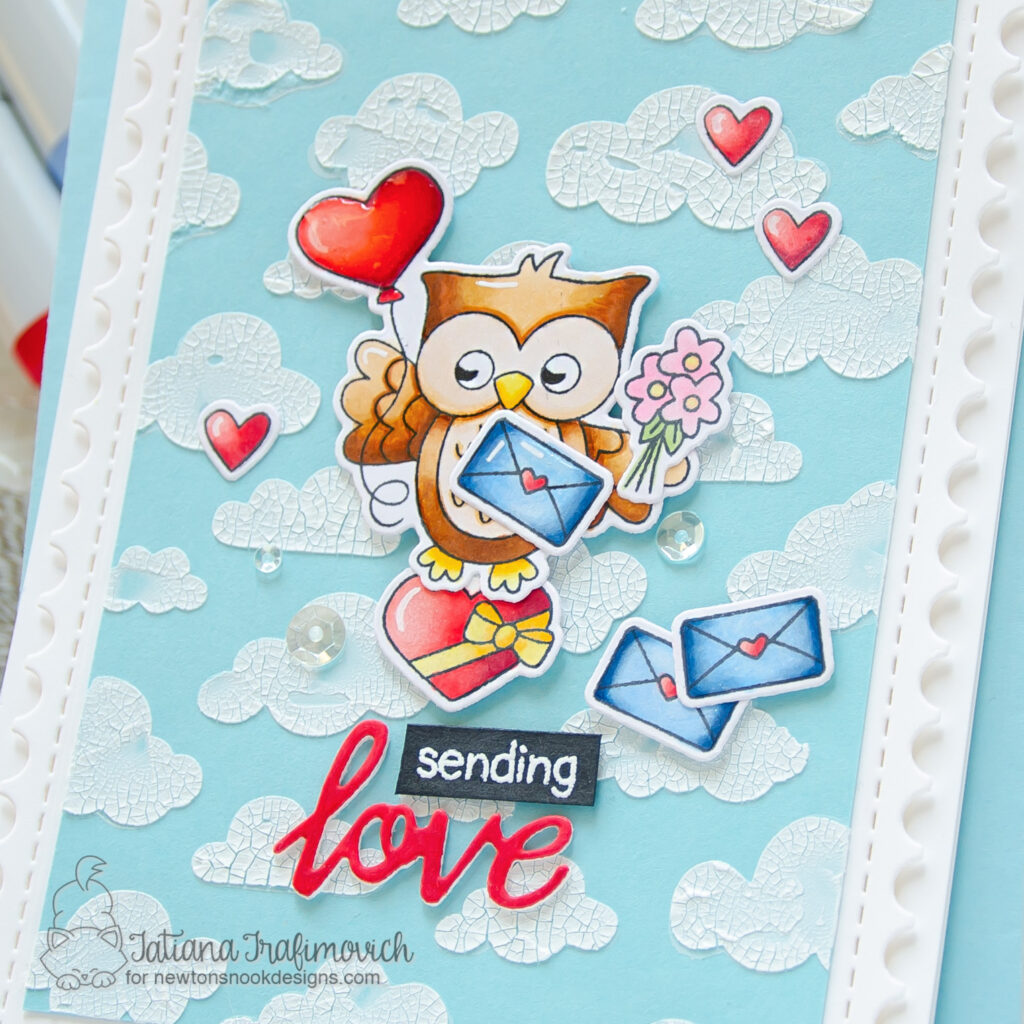
- Trim a piece of a light blue cardstock and apply on top clouds through Cloudy Sky Stencil using Distress Crackle Embossing Paste to add a fun texture to the background. Let it air dry well.
- Heat emboss in white on black the “sending” word from Sending Hugs Stamp Set.
- Die cut three times the word “love” from Darling Hearts Die Set, color one of the dies with copic marker R35 and glue all three layers together.
- Trim and score an extended A2 size card base (5 1/2″ x 4 1/4″) from Neenah Solar White paper.
- Die cut from the same Neenah Solar White paper and pop on a foam tape the postage edged rectangle from Framework Die Set.
- Glue the cloudy background directly on the card front.
- Arrange the copic colored stamps and the sentiment and glue them in place.
- Add a coat of a clear glitter pen to the accessories and Glossy Accents to the balloon.
Designer Tip:
Add a personalized touch to the owl illustration by cutting out the chocolate box from one owl and joining it to the owl holding the balloon illustration.

That’s all for today! Hope you like this cute and cheerful card! Thanks so much for stopping by and have a fabulous day!
Hugs,
Tatiana
