Hello there!!!
Thanks so much for joining me! Crafty Meraki turns one this month! Huge congrats to the sweet Bindu (the owner)! I’m so happy to jump in the celebration of their first anniversary! Crafty Meraki will be coming up new fantastic products every Monday this month starting on the 10th of May, with a grand finale release and YouTube hop on the 31st. There will be a lot of fun throughout this month with games, giveaways and amazing surprises to celebrate the first birthday. So stay tuned and also be sure to follow the hashtag #merakiversary on Instagram.

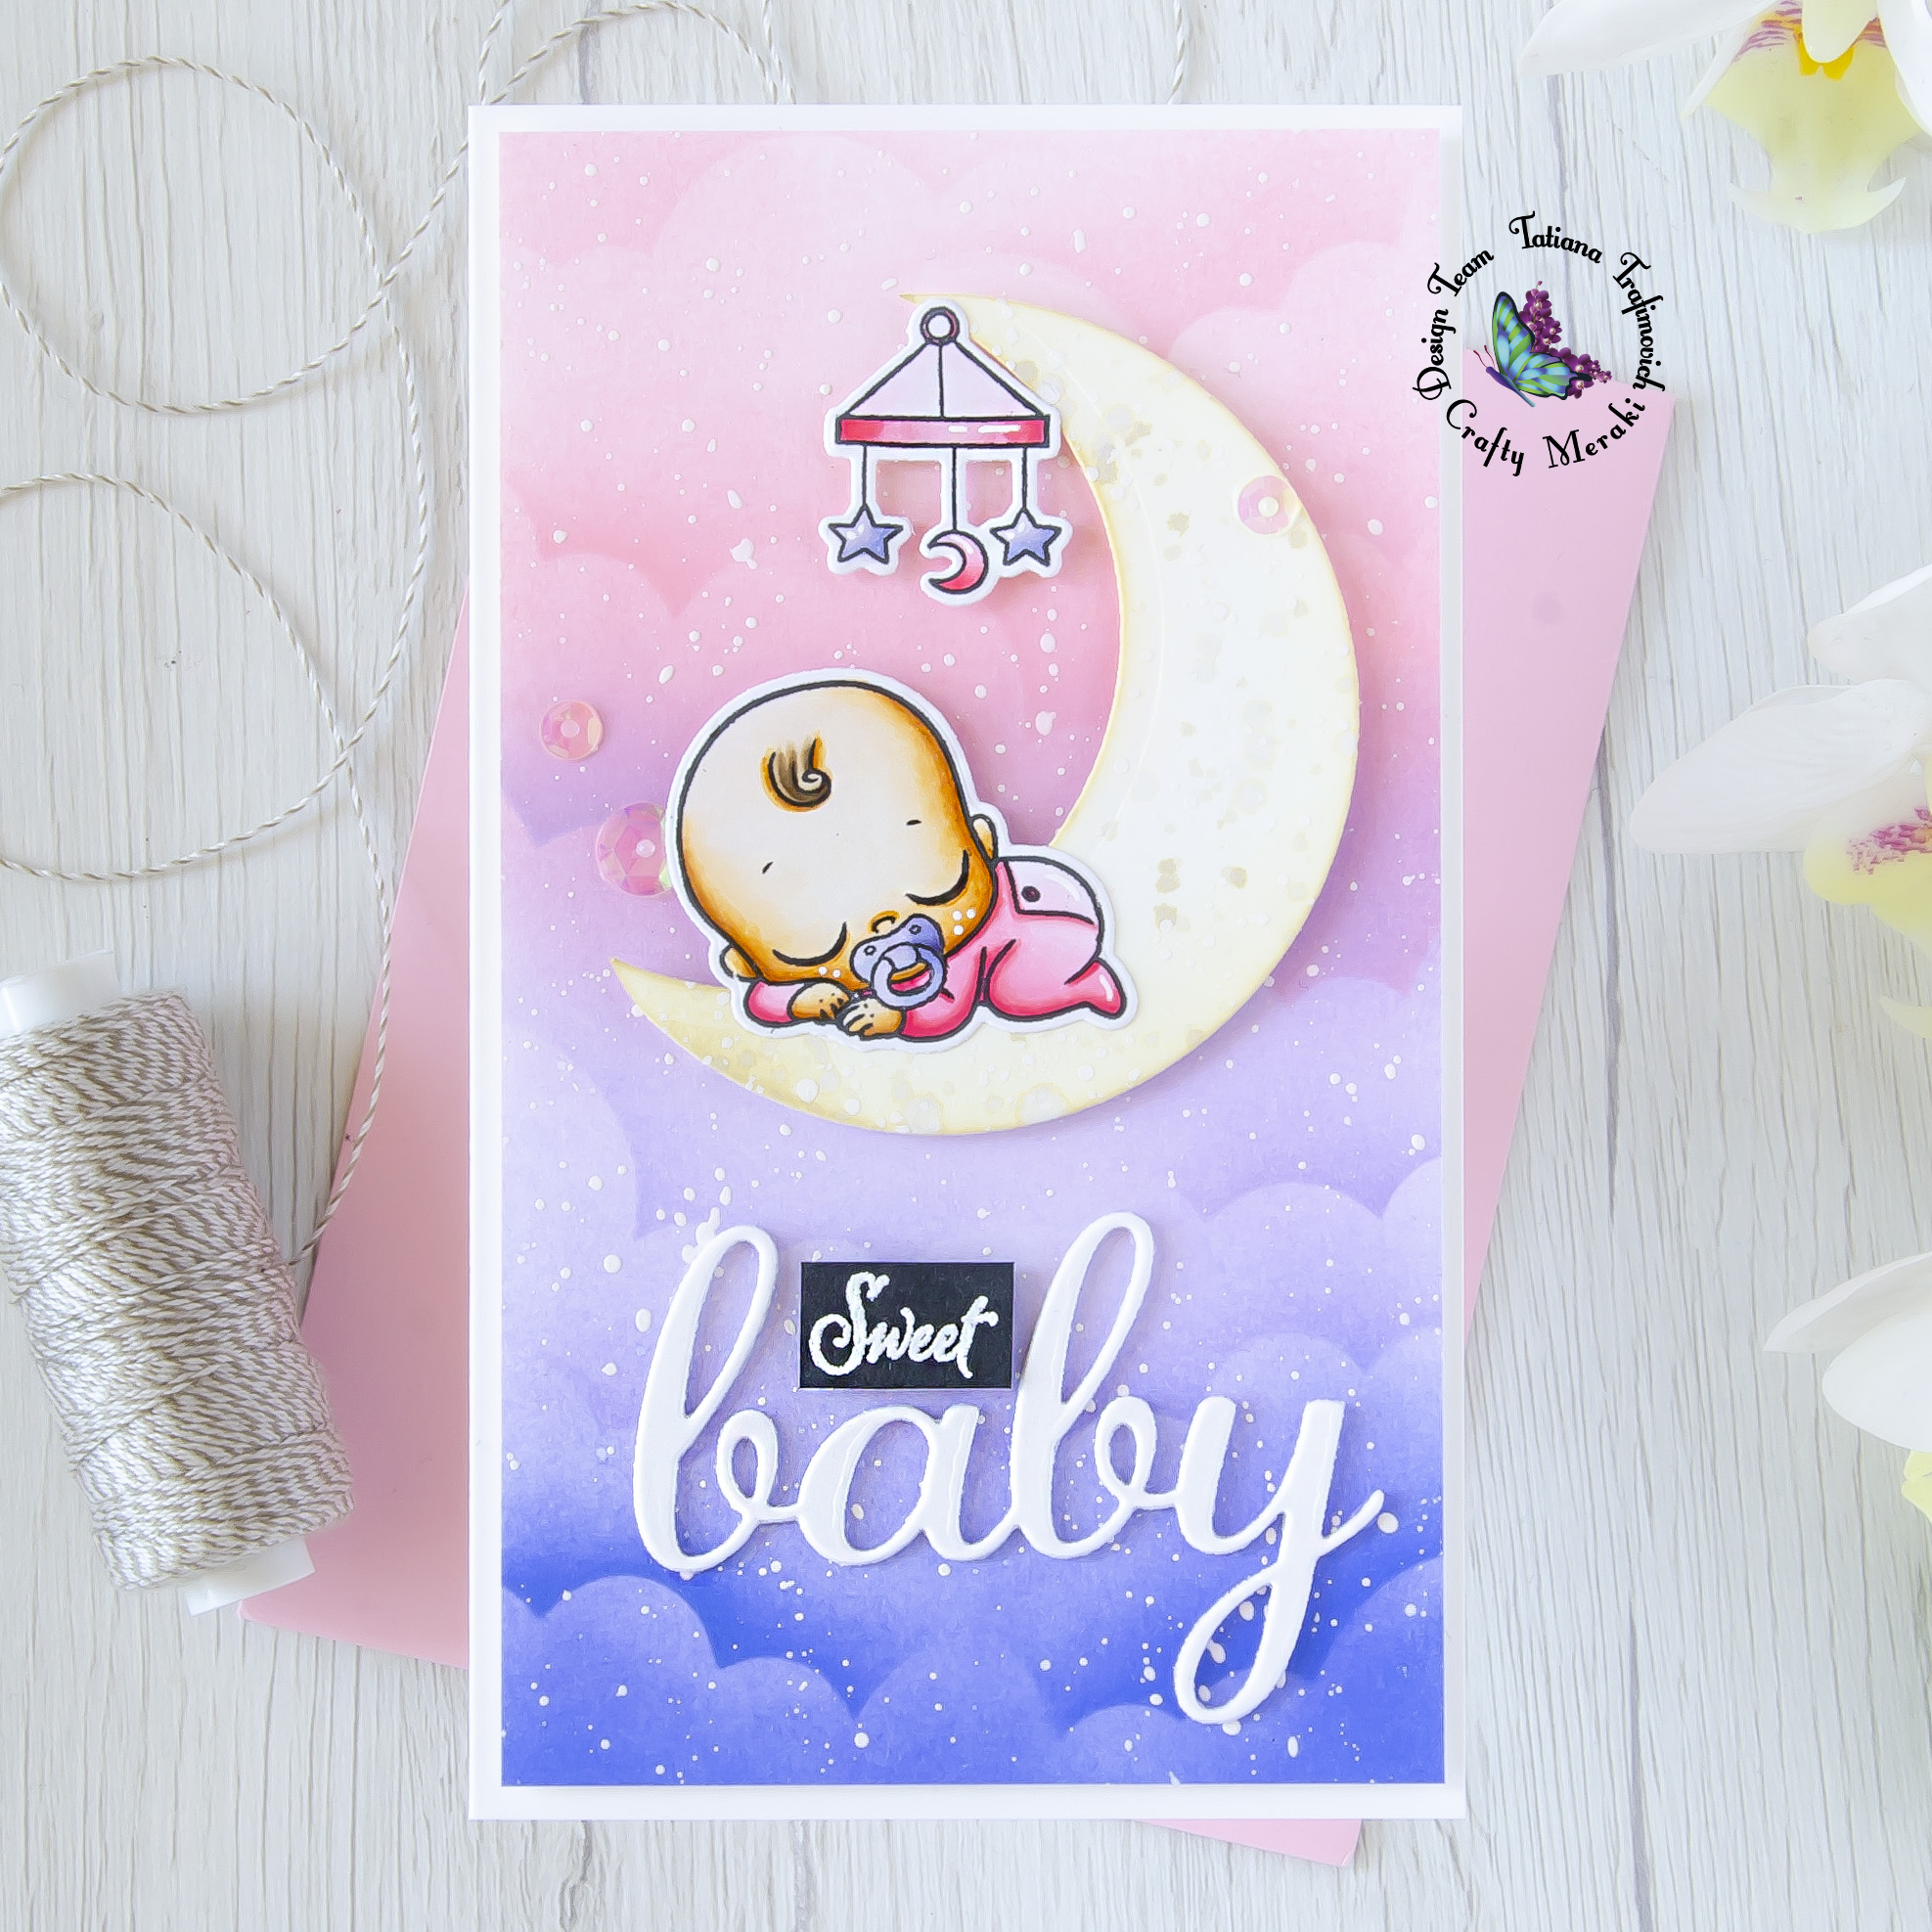
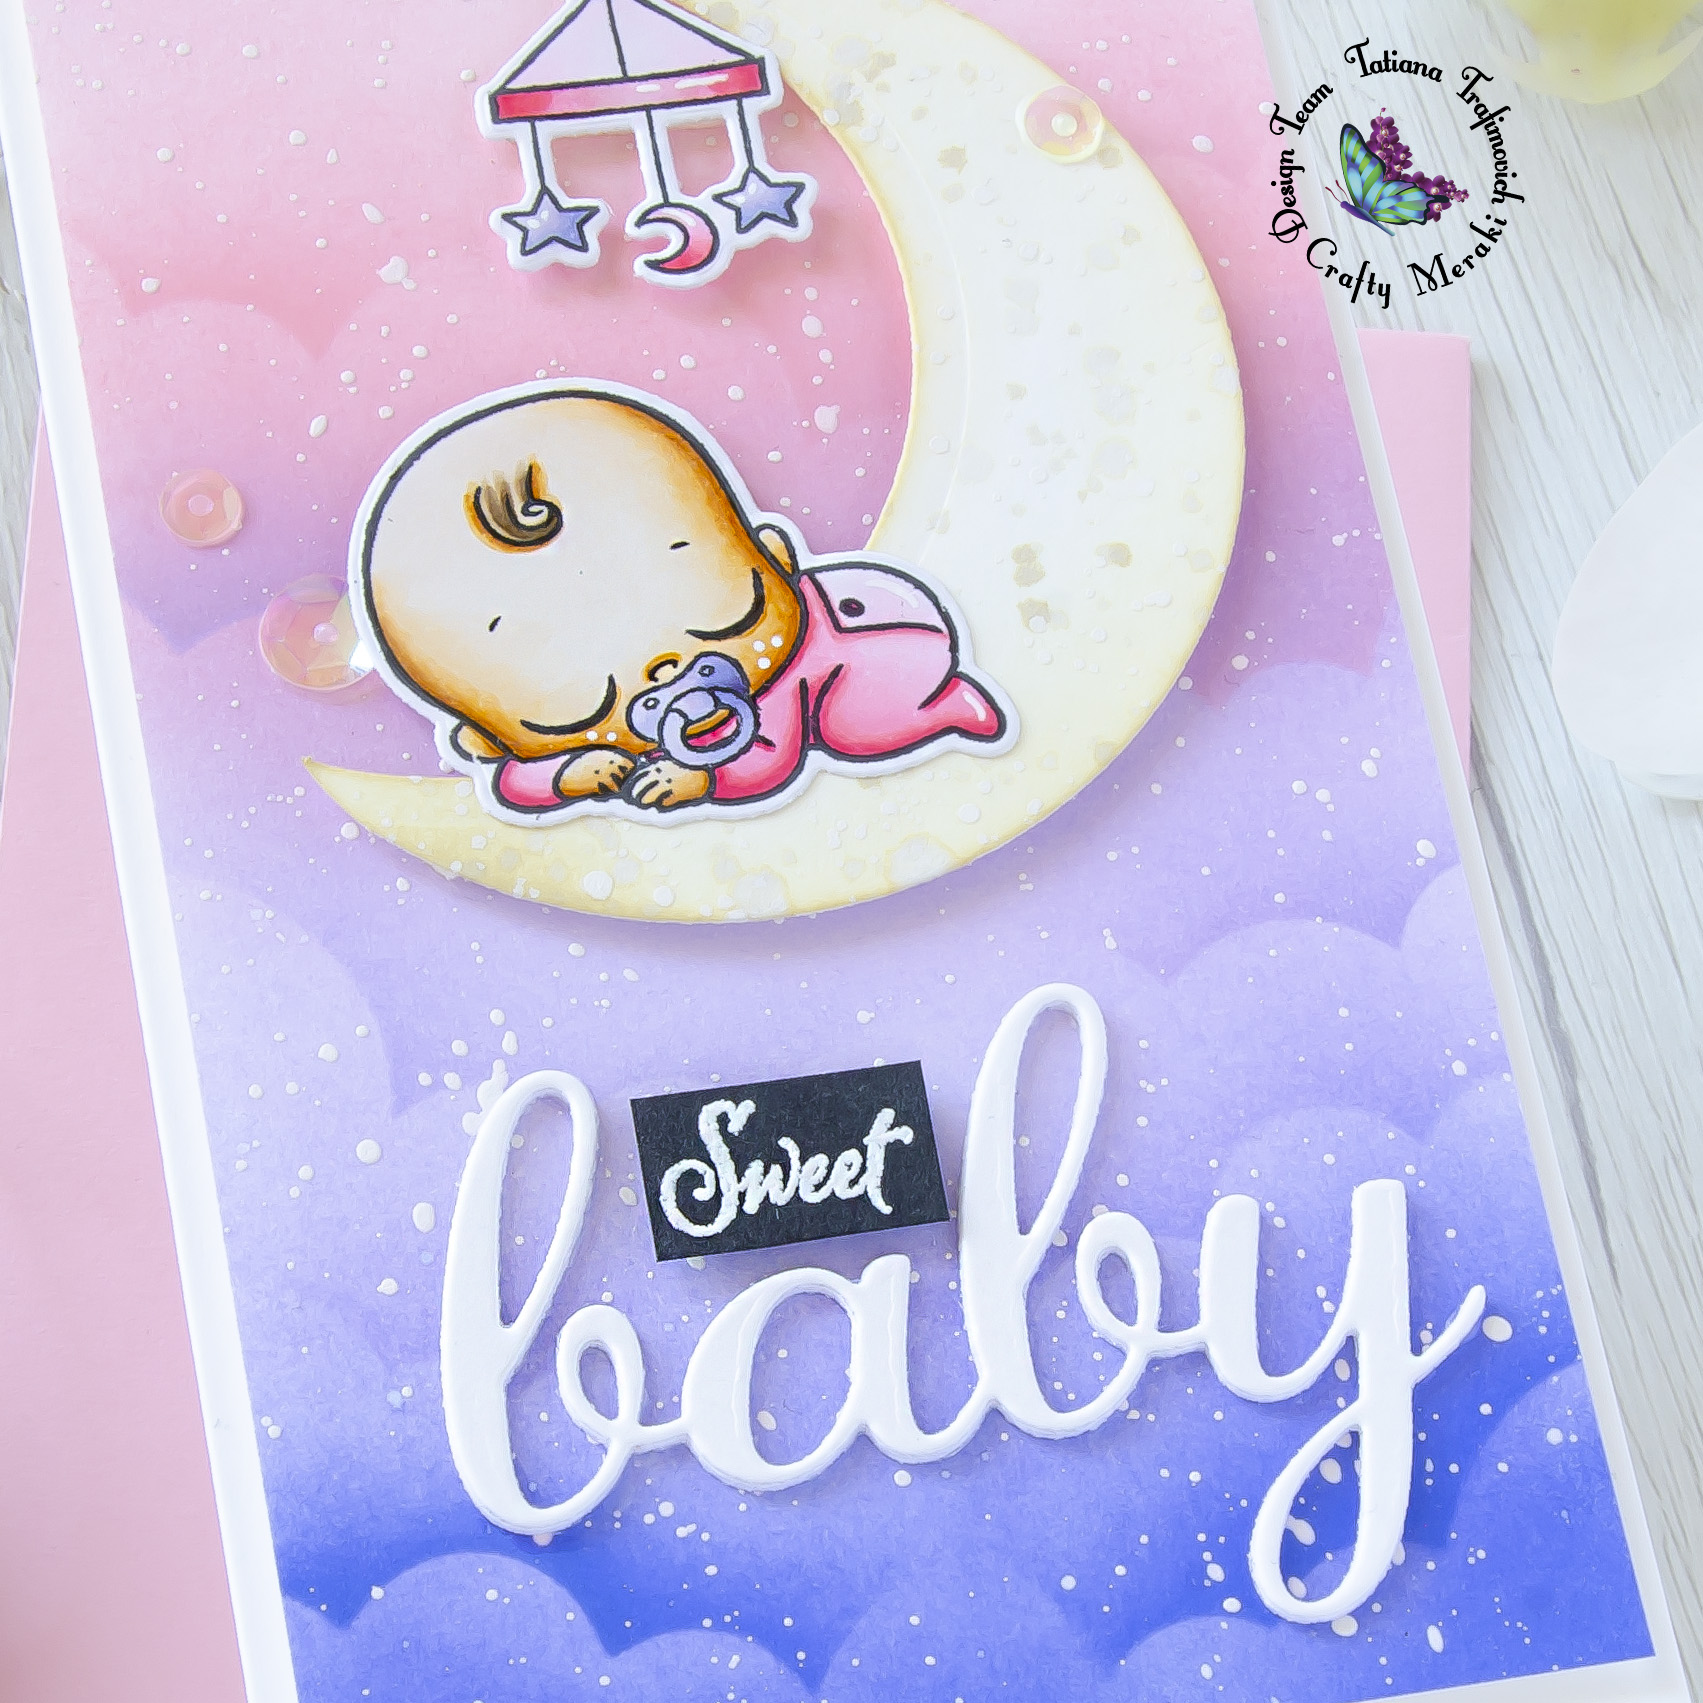
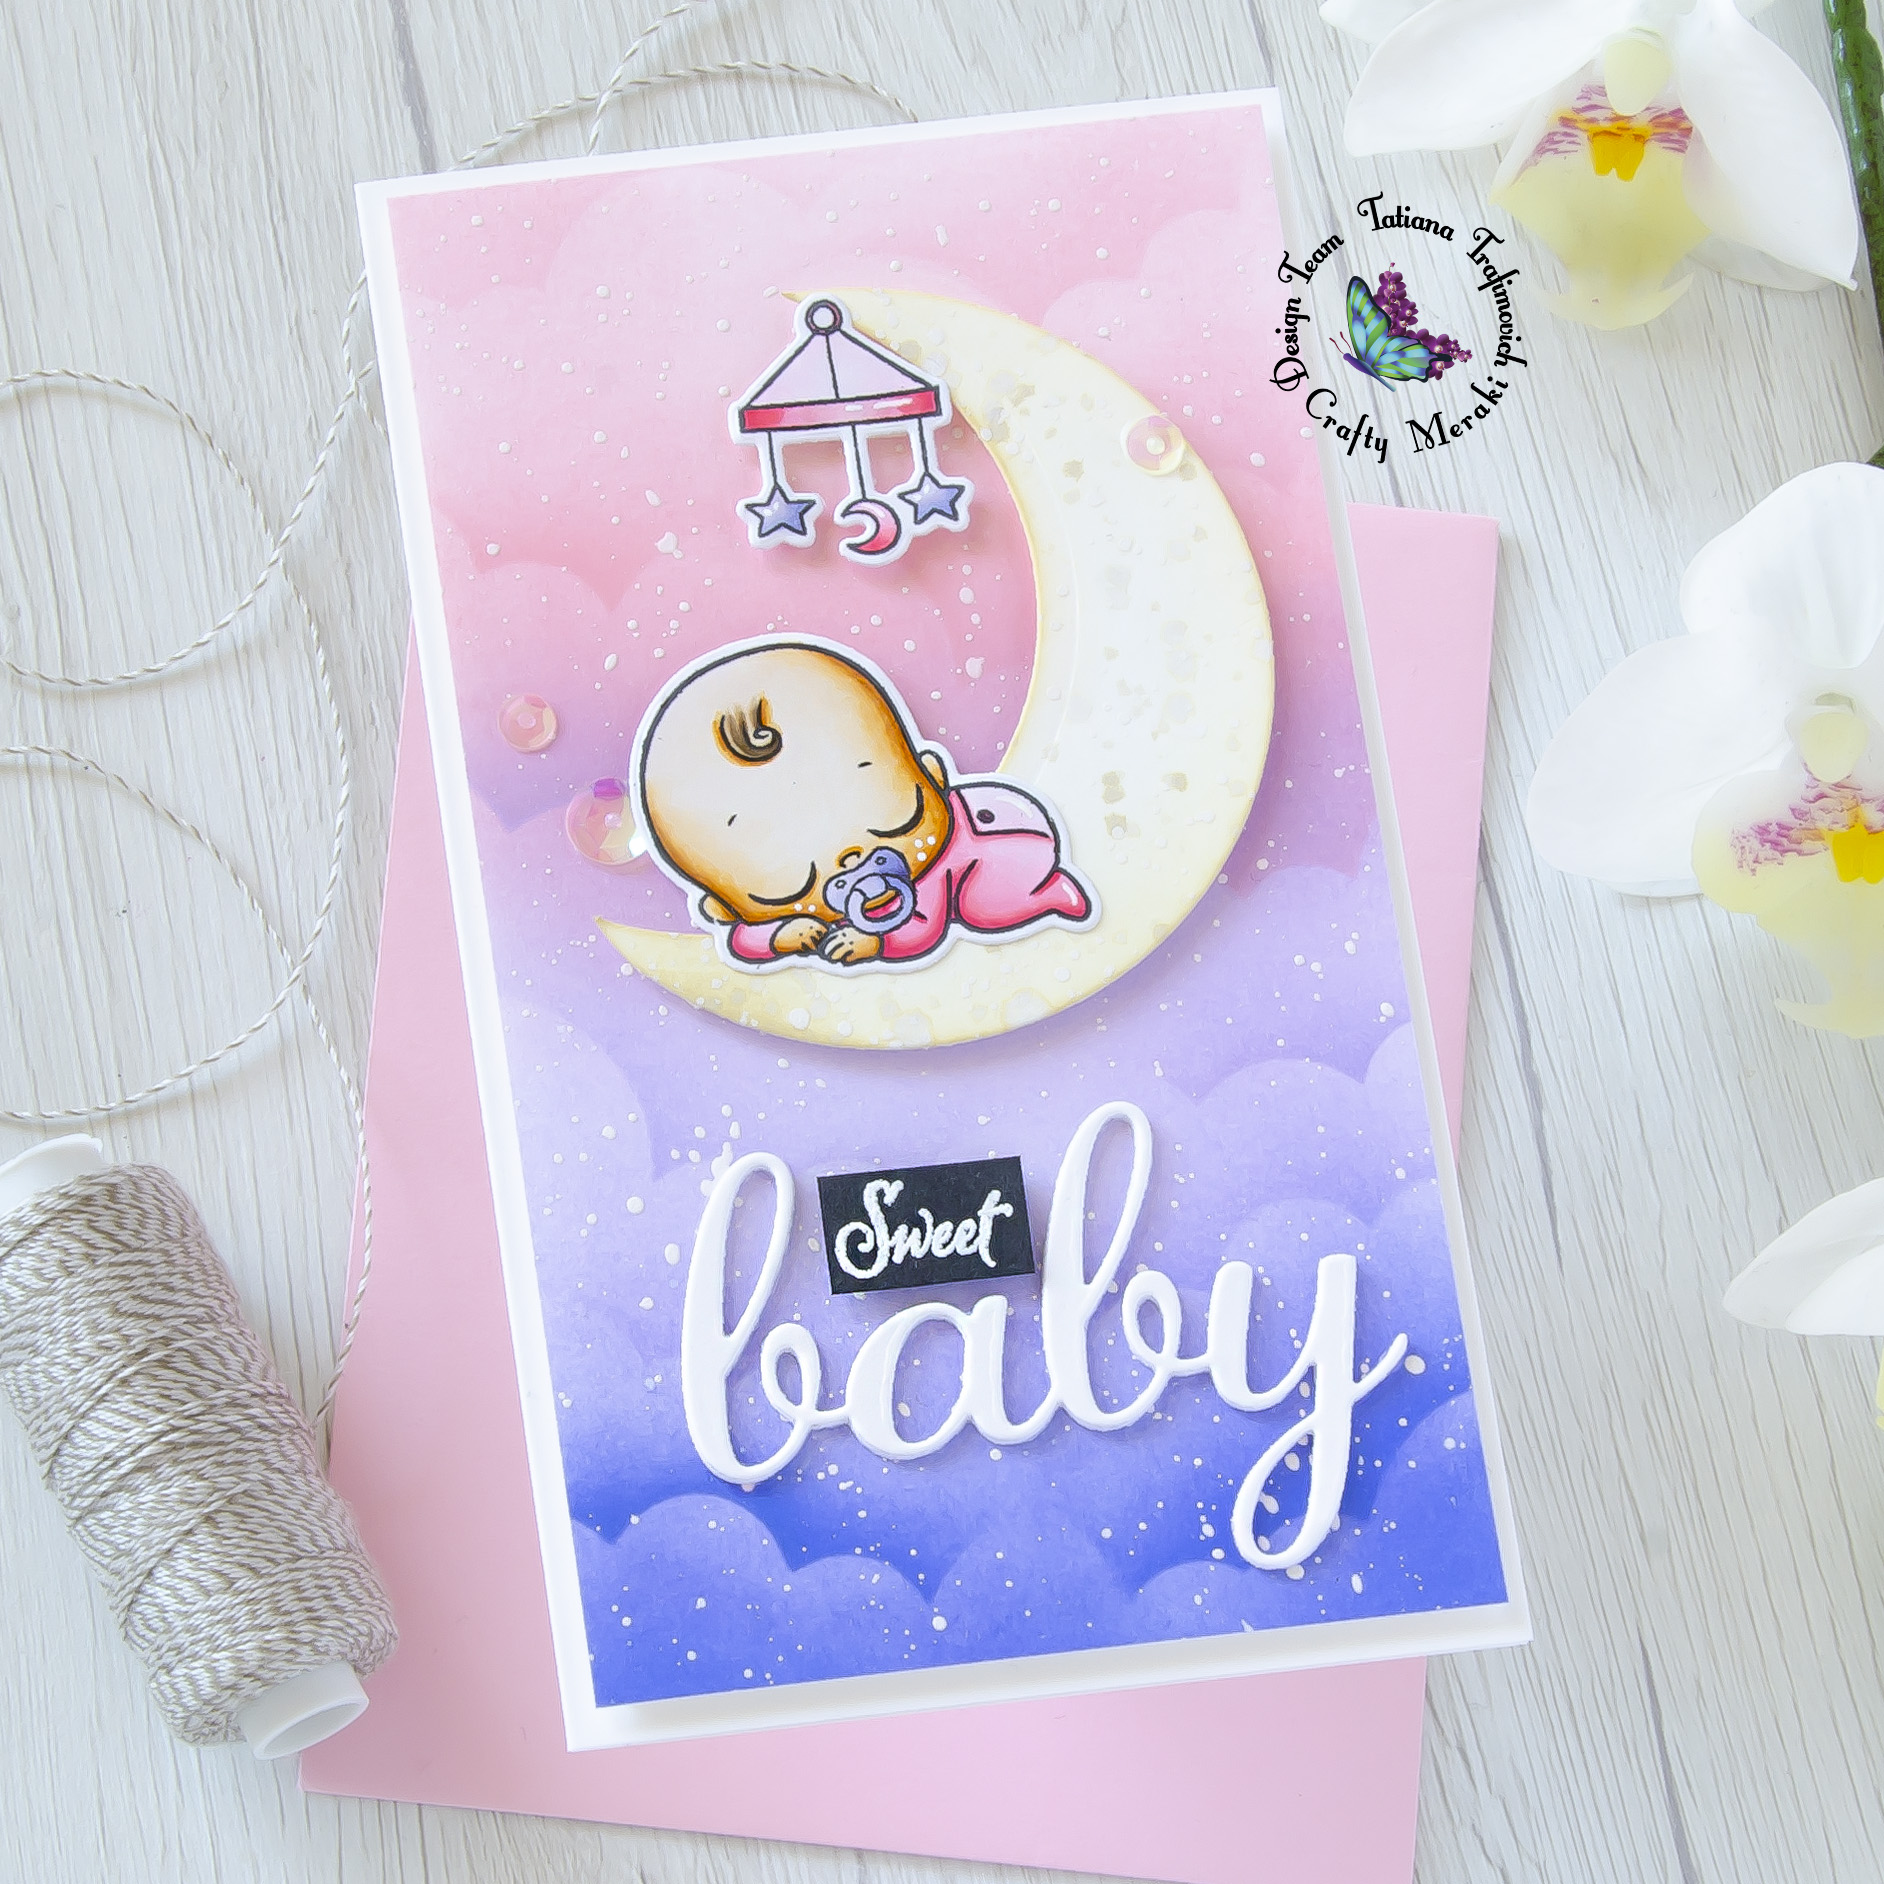
On the second week of the #merakiversary release I will be showcasing a couple of sweet baby cards. The first one turned our as a little baby girl project with a pop of traditional pink shades and the sleeping cutie from Oh Baby Stamp Set.
Don’t forget that I have a coupon code for you to use at Crafty Meraki online store. You can redeem 10% off your entire purchase by using “TATIANA10OFF” at the checkout.
DISCLOSURE. I’m currently on various Design Teams. I only join a team because I love their products and genuinely use them. All opinions are my own. I do not accept offers of direct payment for dedicated blog posts to promote products. I am part of various affiliate programs and link some supplies with compensated affiliate links when used where possible at no cost to you. When you click on an affiliate link and then go on to make a purchase, I receive a small commission. I use the money raised towards the cost of running this blog. I hope if you like the content of my blog you will support me by clicking through these links to make your purchases. Thank you!

Key Ingredients:
USE “TATIANA10OFF” COUPON CODE AT THE CHECKOUT ON CRAFTY MERAKI WEB SITE TO GET A 10% DISCOUNT OF YOUR PURCHASE.
Step By Step Instructions:
- Die cut from Copic X-Press paper a sleeping baby and a baby carousel shapes, using the coordinating Oh Baby Die Set. I used on this project Sizzix Big Shot Die Cutting machine. Save the negative parts of the dies.
- Stamp the outline illustrations from Oh Baby Stamp Set with Memento Tuxedo Black ink. Use the negative parts of the dies as a guide for a perfect alignment inside the stamping positioning tool.
- Color the stamps with COPIC MARKERS. I used on this card:
- skin E50-E51-E53-E55
- hair E41-E42-E44
- pink RV00-RV10-RV11-RV13-RV14
- lilac BV000-BV02-BV08
- Trim and score a small slimline card base (6″ x 3 1/2″) from Neenah Solar White paper.
- Trim a slightly smaller rectangle and ink a cloudy background through Newton’s Nook Designs Clouds stencil with Blueprint Sketch Distress, Blueprint Sketch Oxide, Shaded Lilac Distress, Worn Lipstick Oxide, Spun Sugar Distress inks.
- Flick some tiny droplets of a white gouache all across.
- Die cut the Moon, using circle dies of two different sizes: first die cut the larger circle, then partially die cut it with a slightly smaller circle die. I used Sizzix Circles Die set.
- Ink the Moon with Antique Linen Distress ink and flick a couple of colorful droplets on top.
- Die cut Baby Shadow Word Die three times and stack all the layers together with Distress Collage Medium Matte.
- Cut apart one of the sentiments from Oh Baby Stamp Set with the sharp small scissors to achieve a word “Sweet”.
- Heat emboss in white onto black the word “Sweet”.
- Arrange and glue in place all the elements by popping some of them on a foam tape for a fun dimensional look.
- Finish with a couple of clear sparkling sequins.

That’s all for today!!! As always thanks so much for stopping by and have a great day!!!
Hugs,
Tatiana
