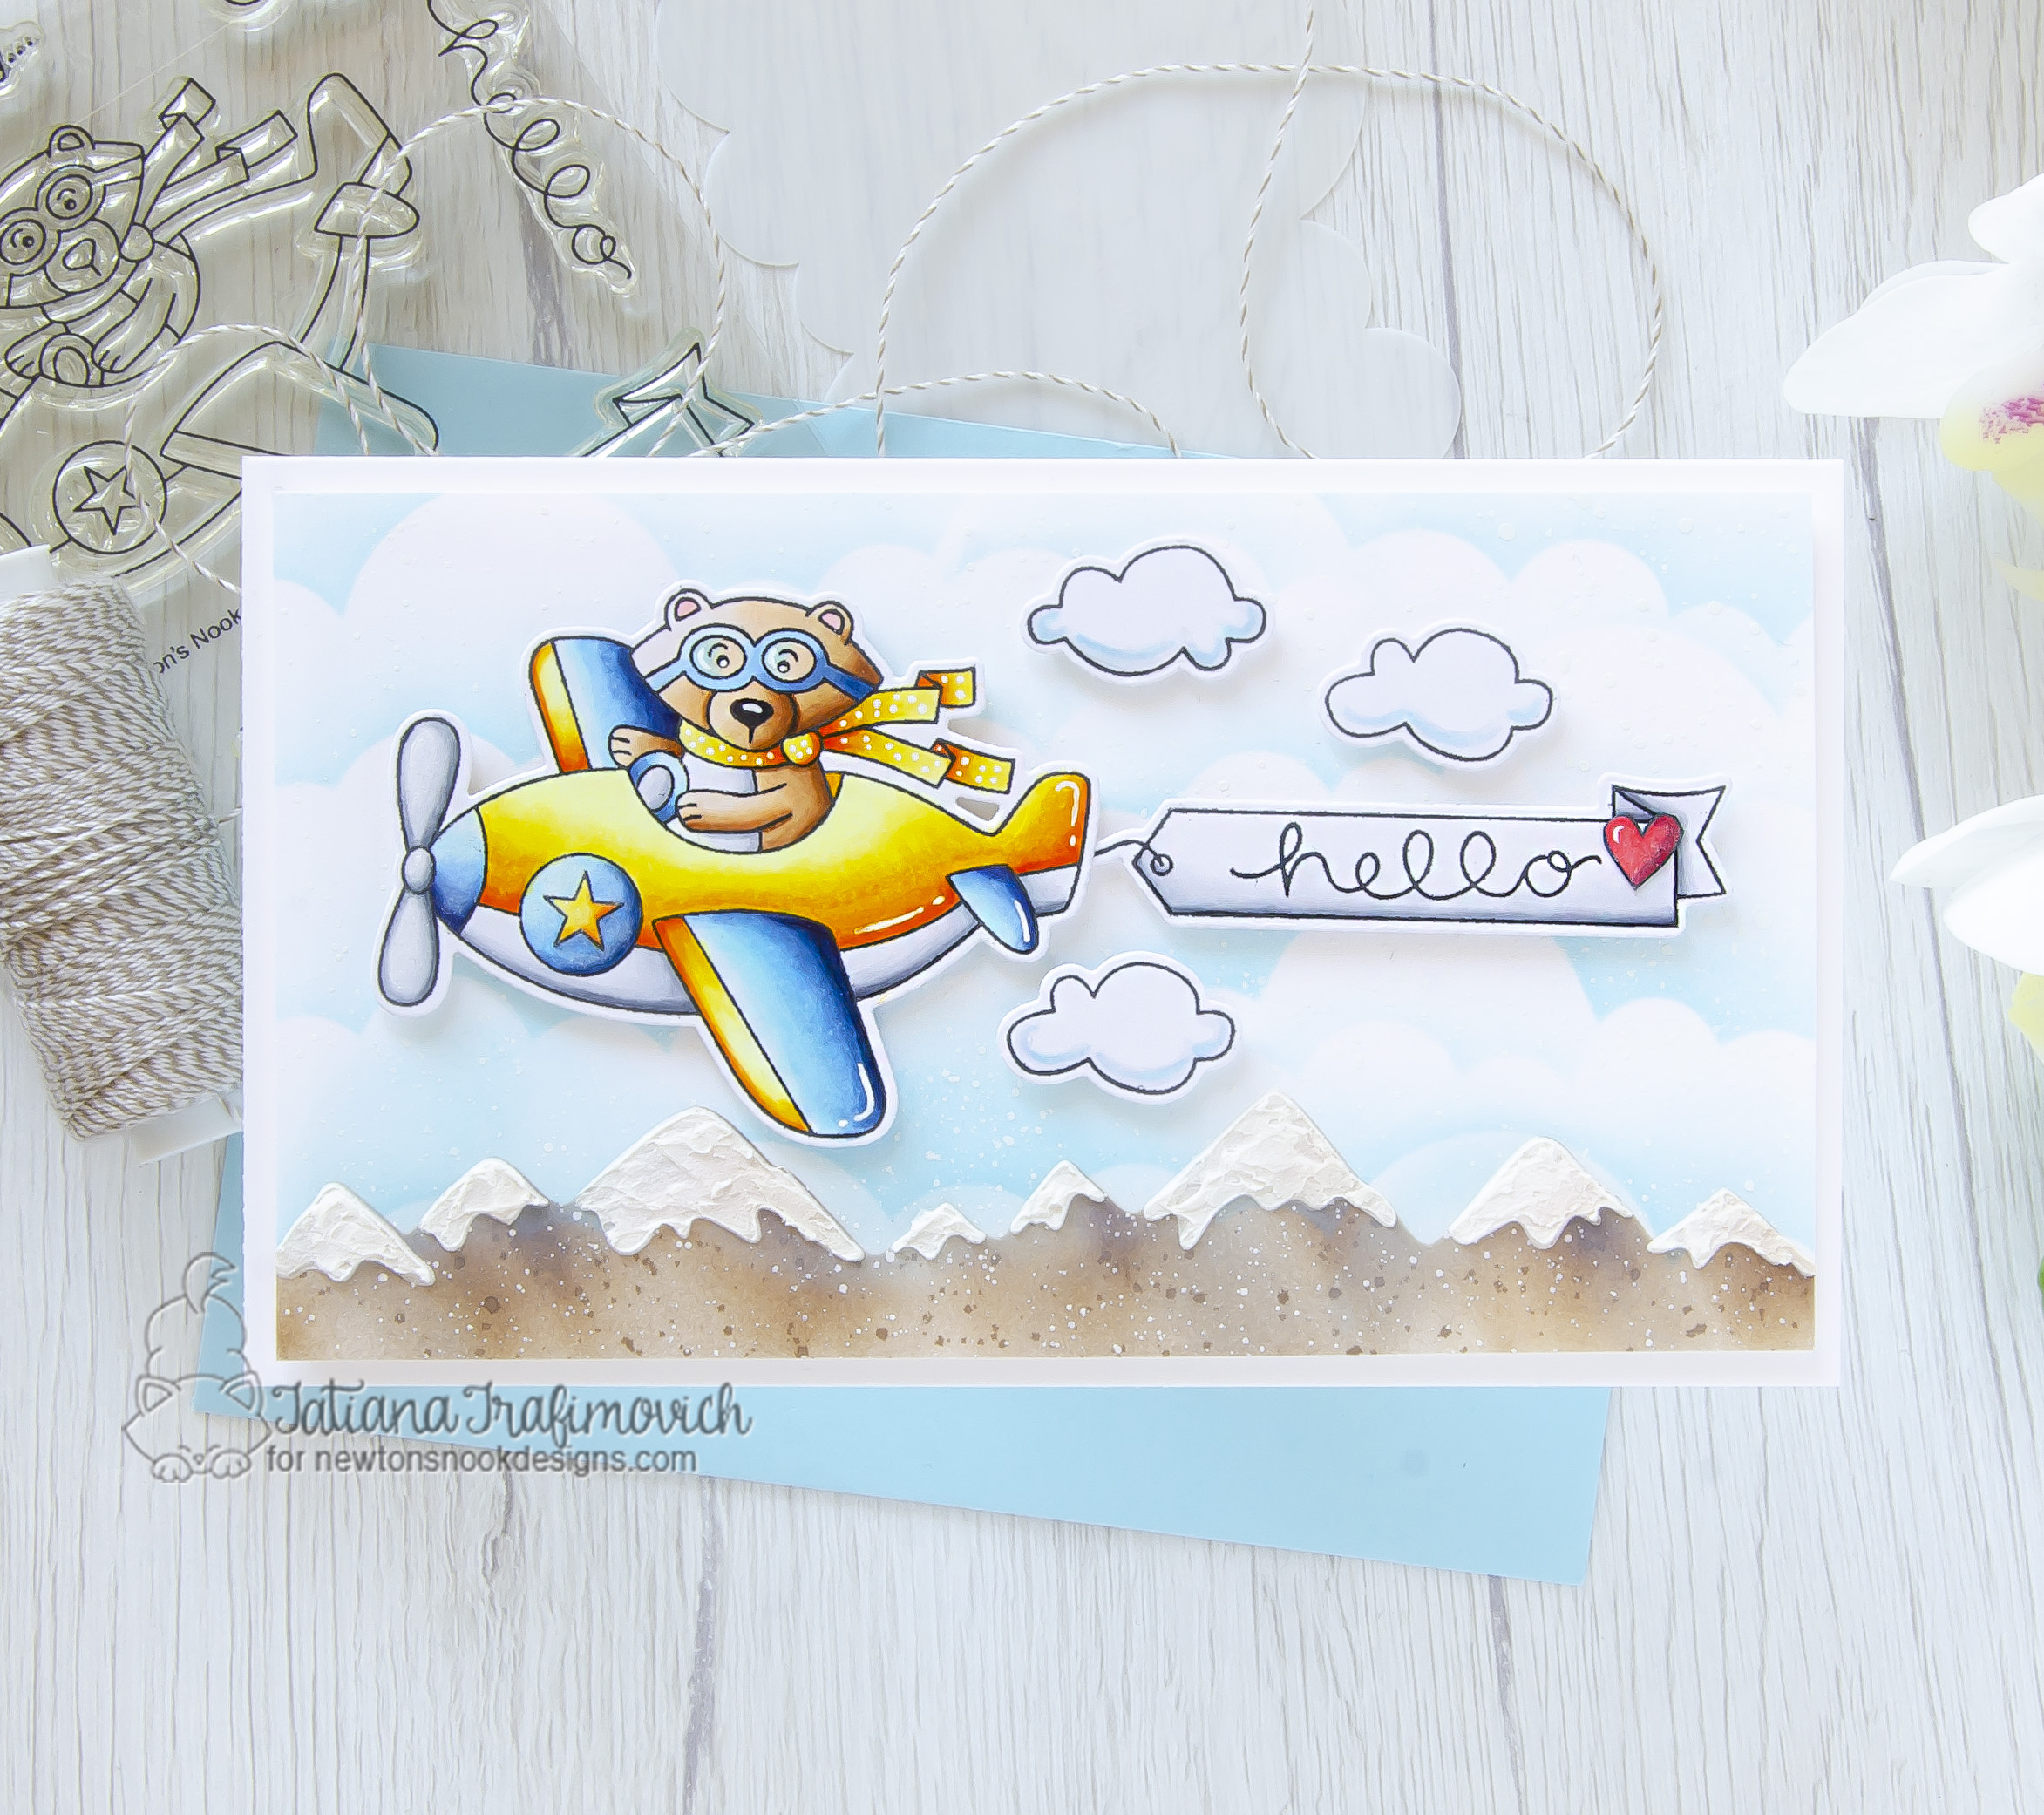
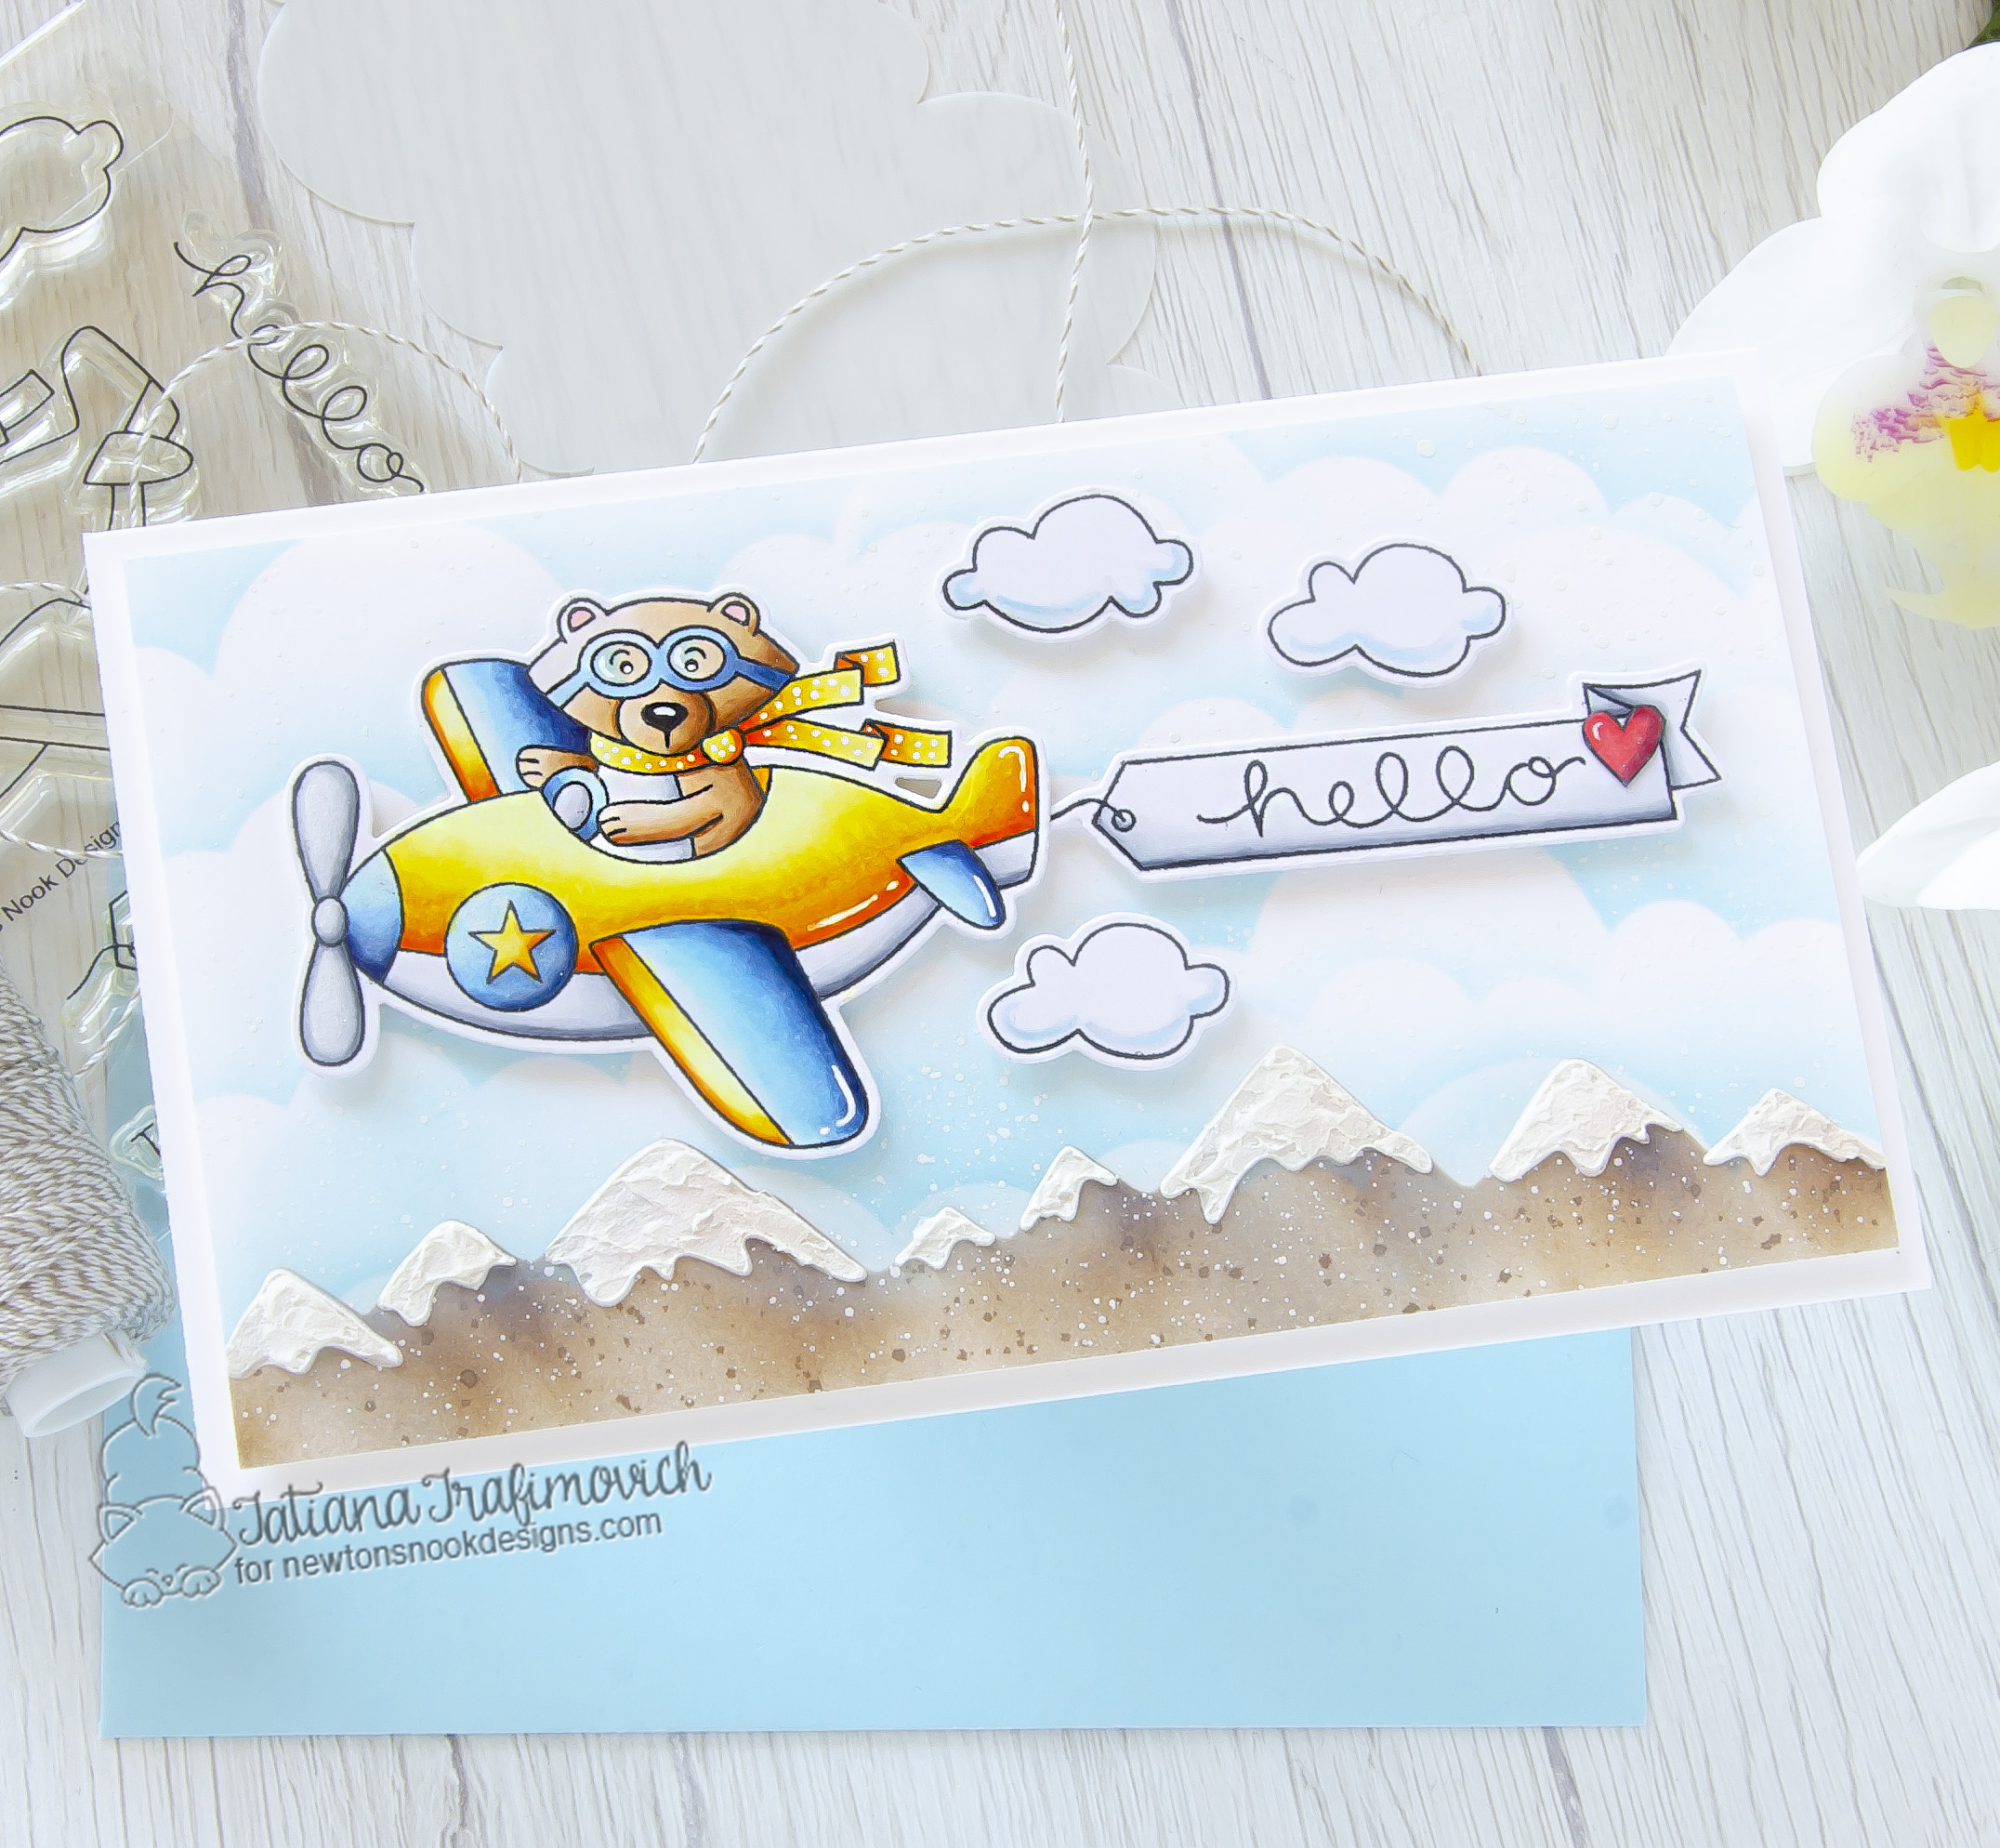
Hello and welcome!
Did you see that Newton’s Nook Designs is having a retiring sale on their website? It’s time to make room for new products so they are retiring select designs! These designs are available at up to 40% off while supplies last so hurry to get your favorites before they’re gone for good!

All week the NND Design Team will be sharing inspiration using some of their favorite products from our retiring list! Check out what I created today and don’t forget to check the NND Blog each day this week for more fun inspiration!

Key Ingredients:
- Winston Takes Flight Stamp Set
- Winston Takes Flight Die Set
- Papa Bear Stamp Set
- Clouds Stencil
- Mountains Stencil

Step By Step Instructions:
- Die cut from Copic X-Press paper all the elements you need for your card, using the coordinating Winston Takes Flight Die Set. I used on this project Sizzix Big Shot Die Cutting machine. Save the negative parts of the dies.
- Stamp the outline illustrations from Winston Takes Flight Stamp Set with Memento Tuxedo Black ink. Use the negative parts of the dies as a guide for a perfect alignment inside the stamping positioning tool.
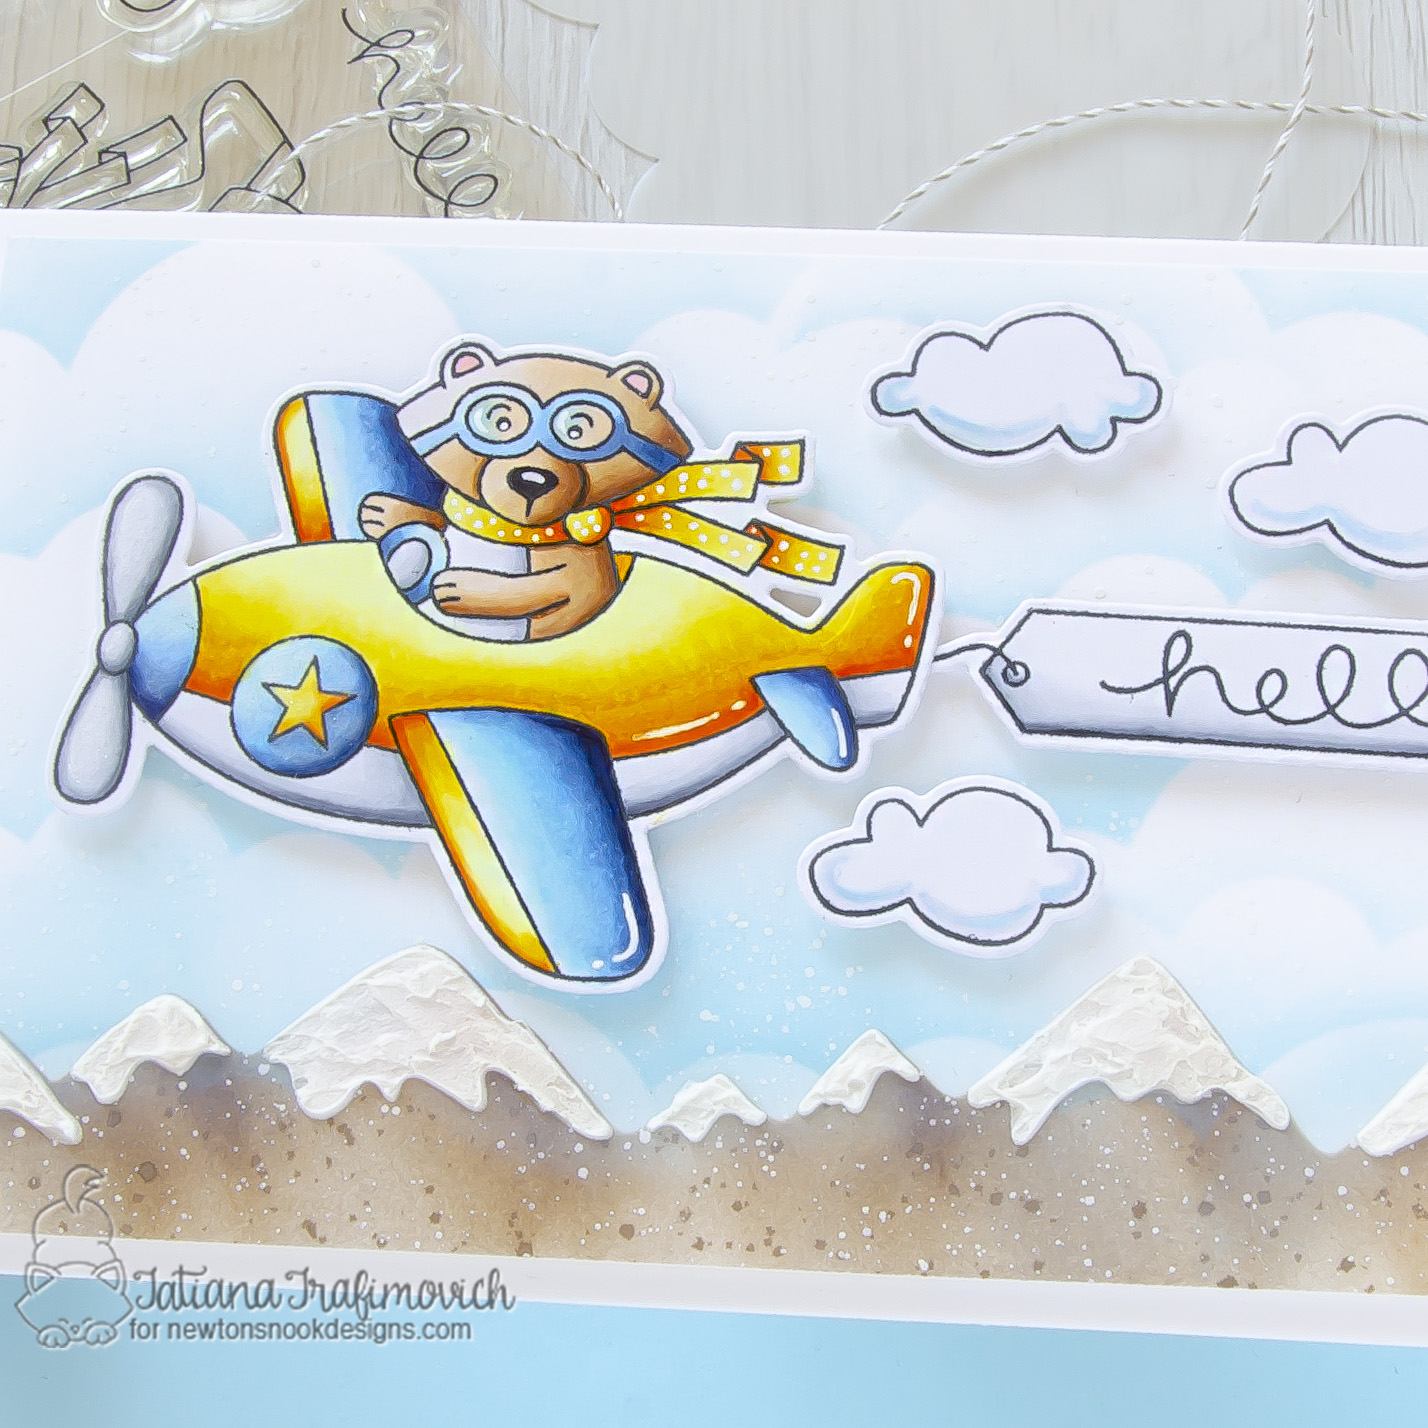
- Color the stamps with COPIC MARKERS. I used on this card:
- bear E30-E31-E33-E35-E37
- yellow Y00-Y11-Y13-Y15-Y17-YR68
- blue B0000-B00-B32-B34-B37-B39
- grey C00-C2-C4-C6
- red R20-R35-R39
- Trim and score a small slimline card base (6 ″ x 3 1/2″) from Neenah Solar White paper.
- Trim a slightly smaller rectangle for the background and ink it with Tumbled Glass Distress Oxide, using Clouds Stencil.
- Ink mountains towards the bottom, using Mountains Stencil and Pumice Stone Distress plus Ground Espresso Distress inks. Use a removable tape to hold the stencil in place.
- Add the snow on the mountains, using the same Mountains Stencil and a white embossing paste.
- Stamp the sentiment from Winston Takes Flight Stamp Set inside the banner with Memento Tuxedo Black ink.
- Stamp the small heart from Papa Bear Stamp Set, color it with copic markers and fussy cut with the sharp small scissors.
- Color the edges with a black brush marker to hide any imperfections due to the fussy cutting.
- Arrange and pop on a foam tape all the elements.
- Finish with a couple of white accents added with a white gel pen.

That’s all for today! Hope you like this cute card! Thanks so much for stopping by and have a fabulous day!
Hugs,
Tatiana
