Hello and welcome!
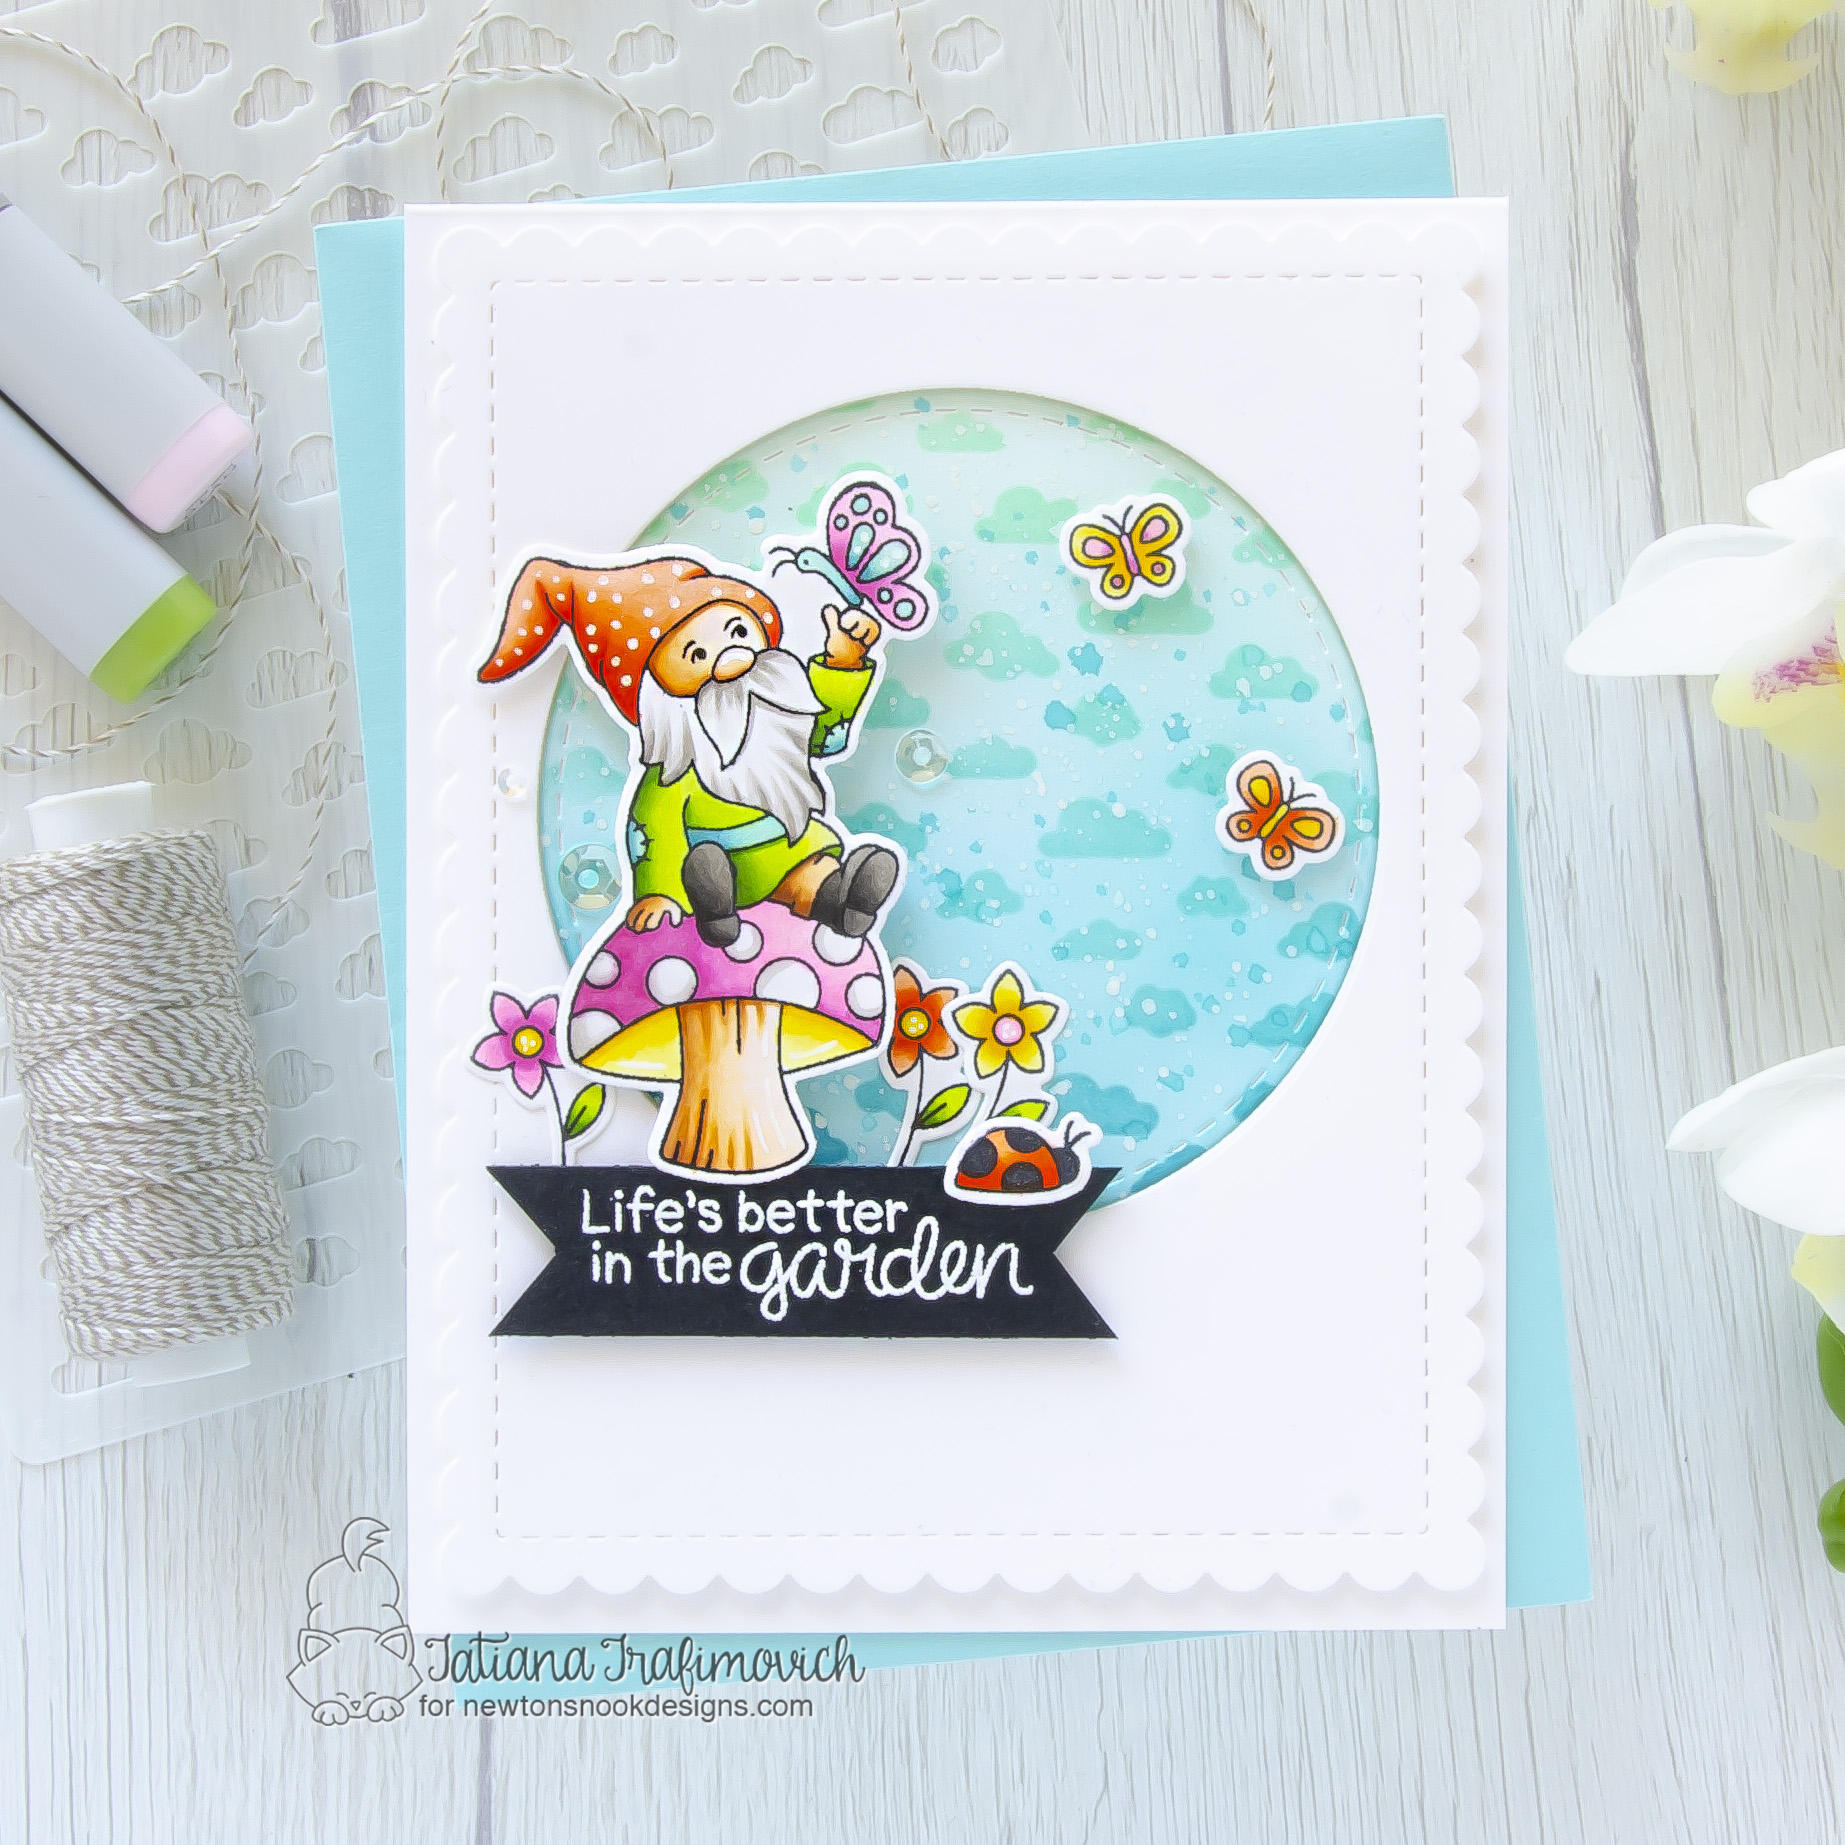
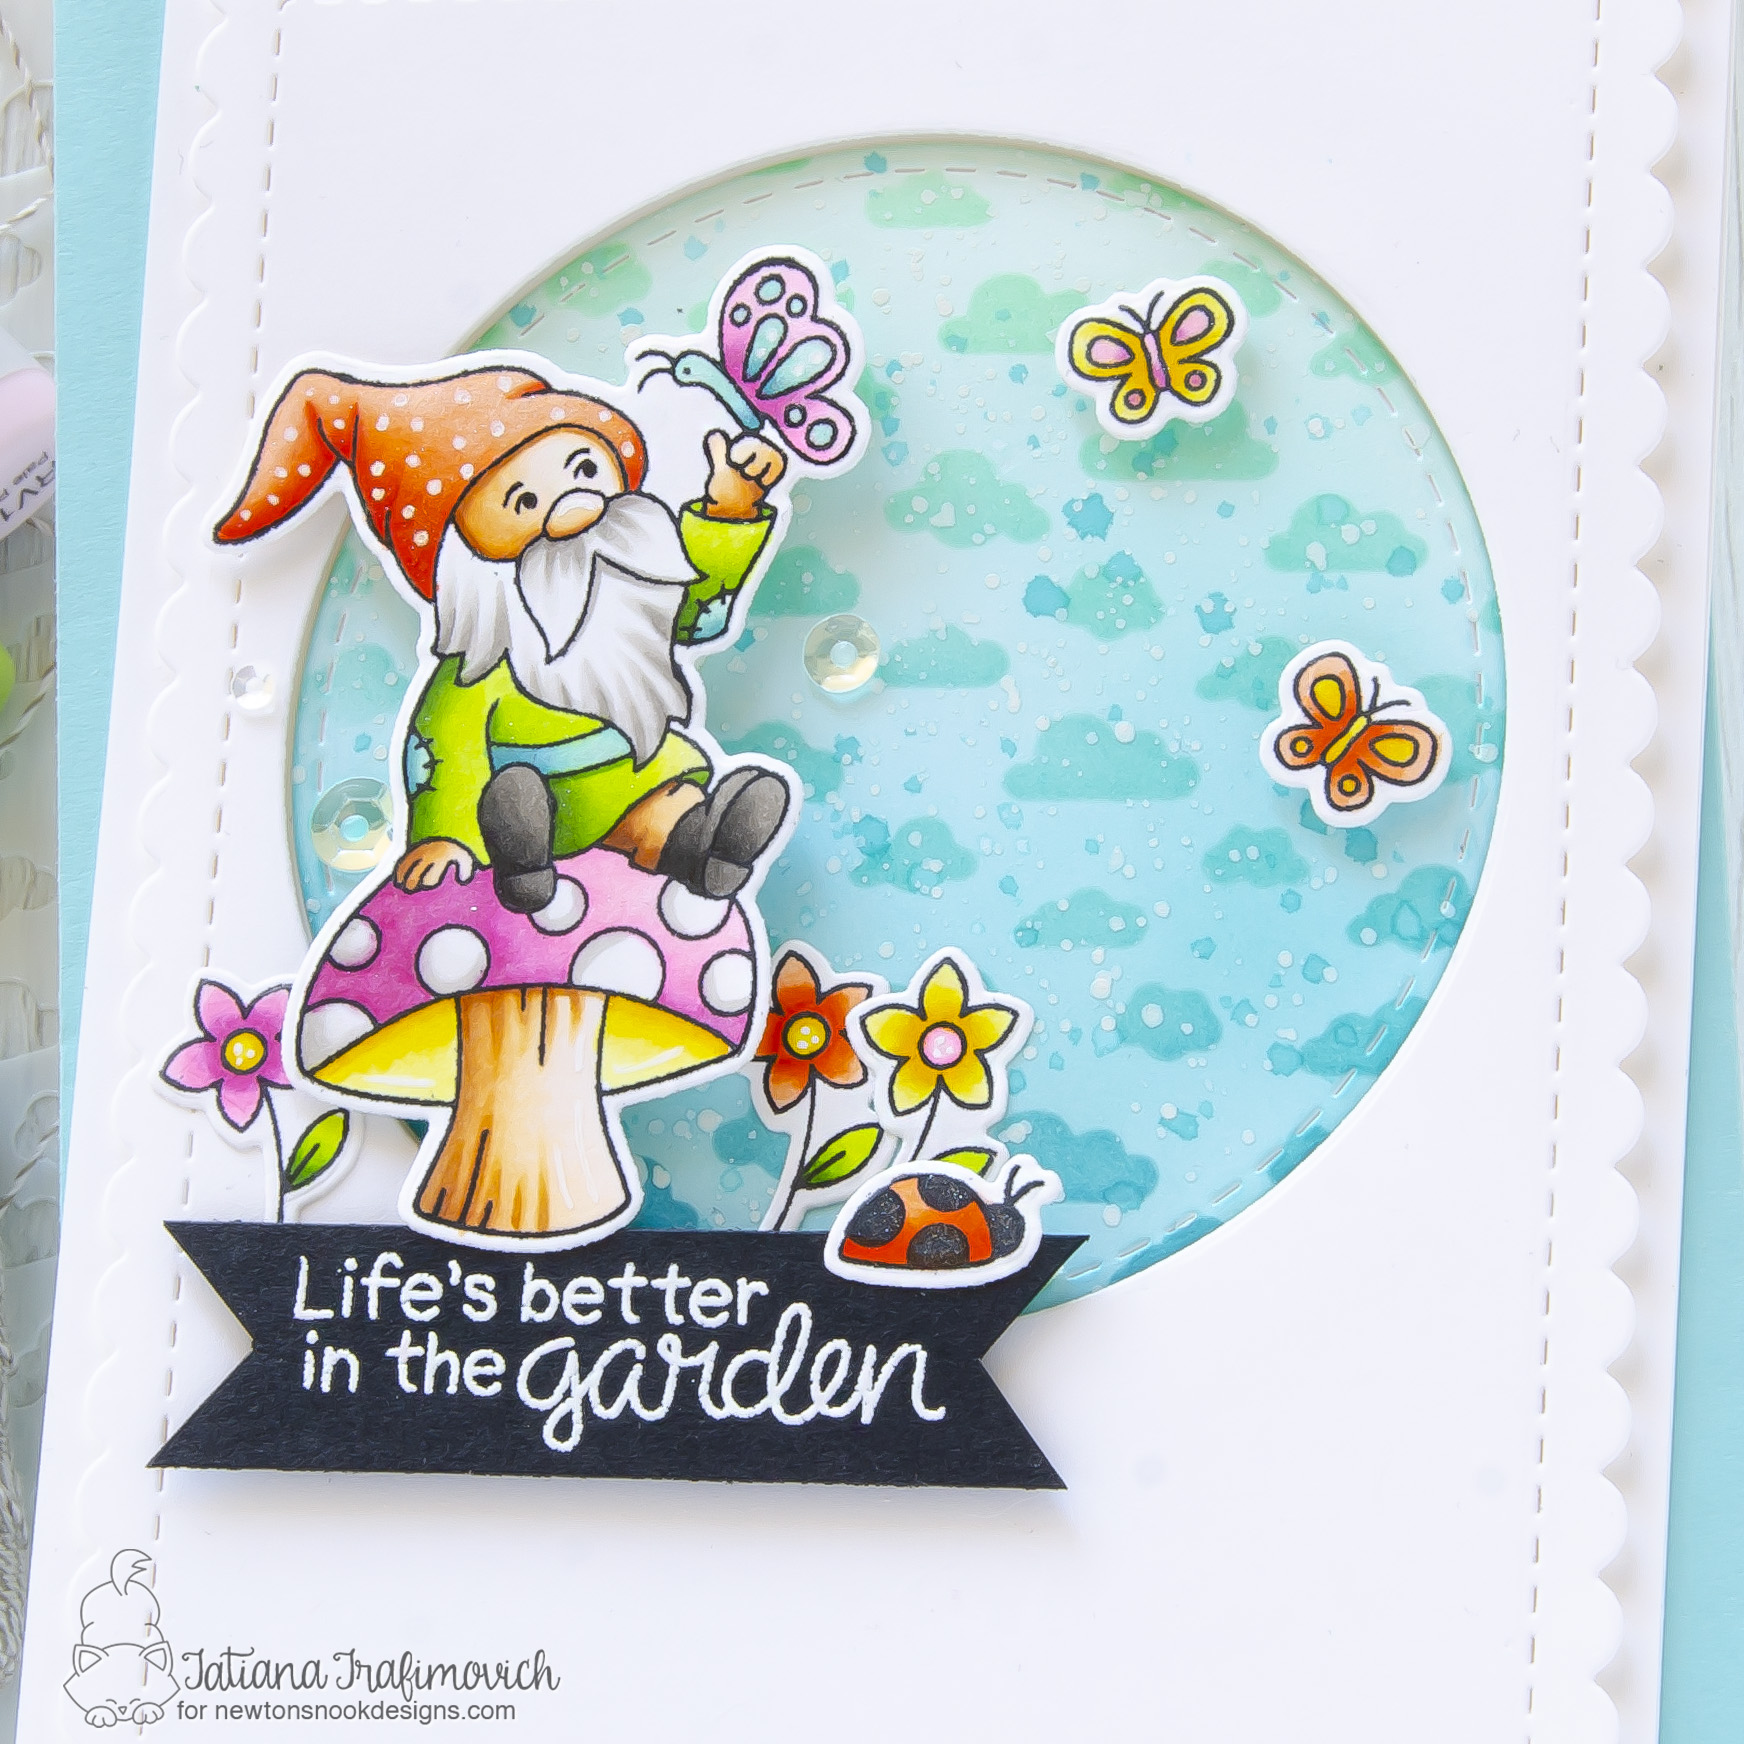
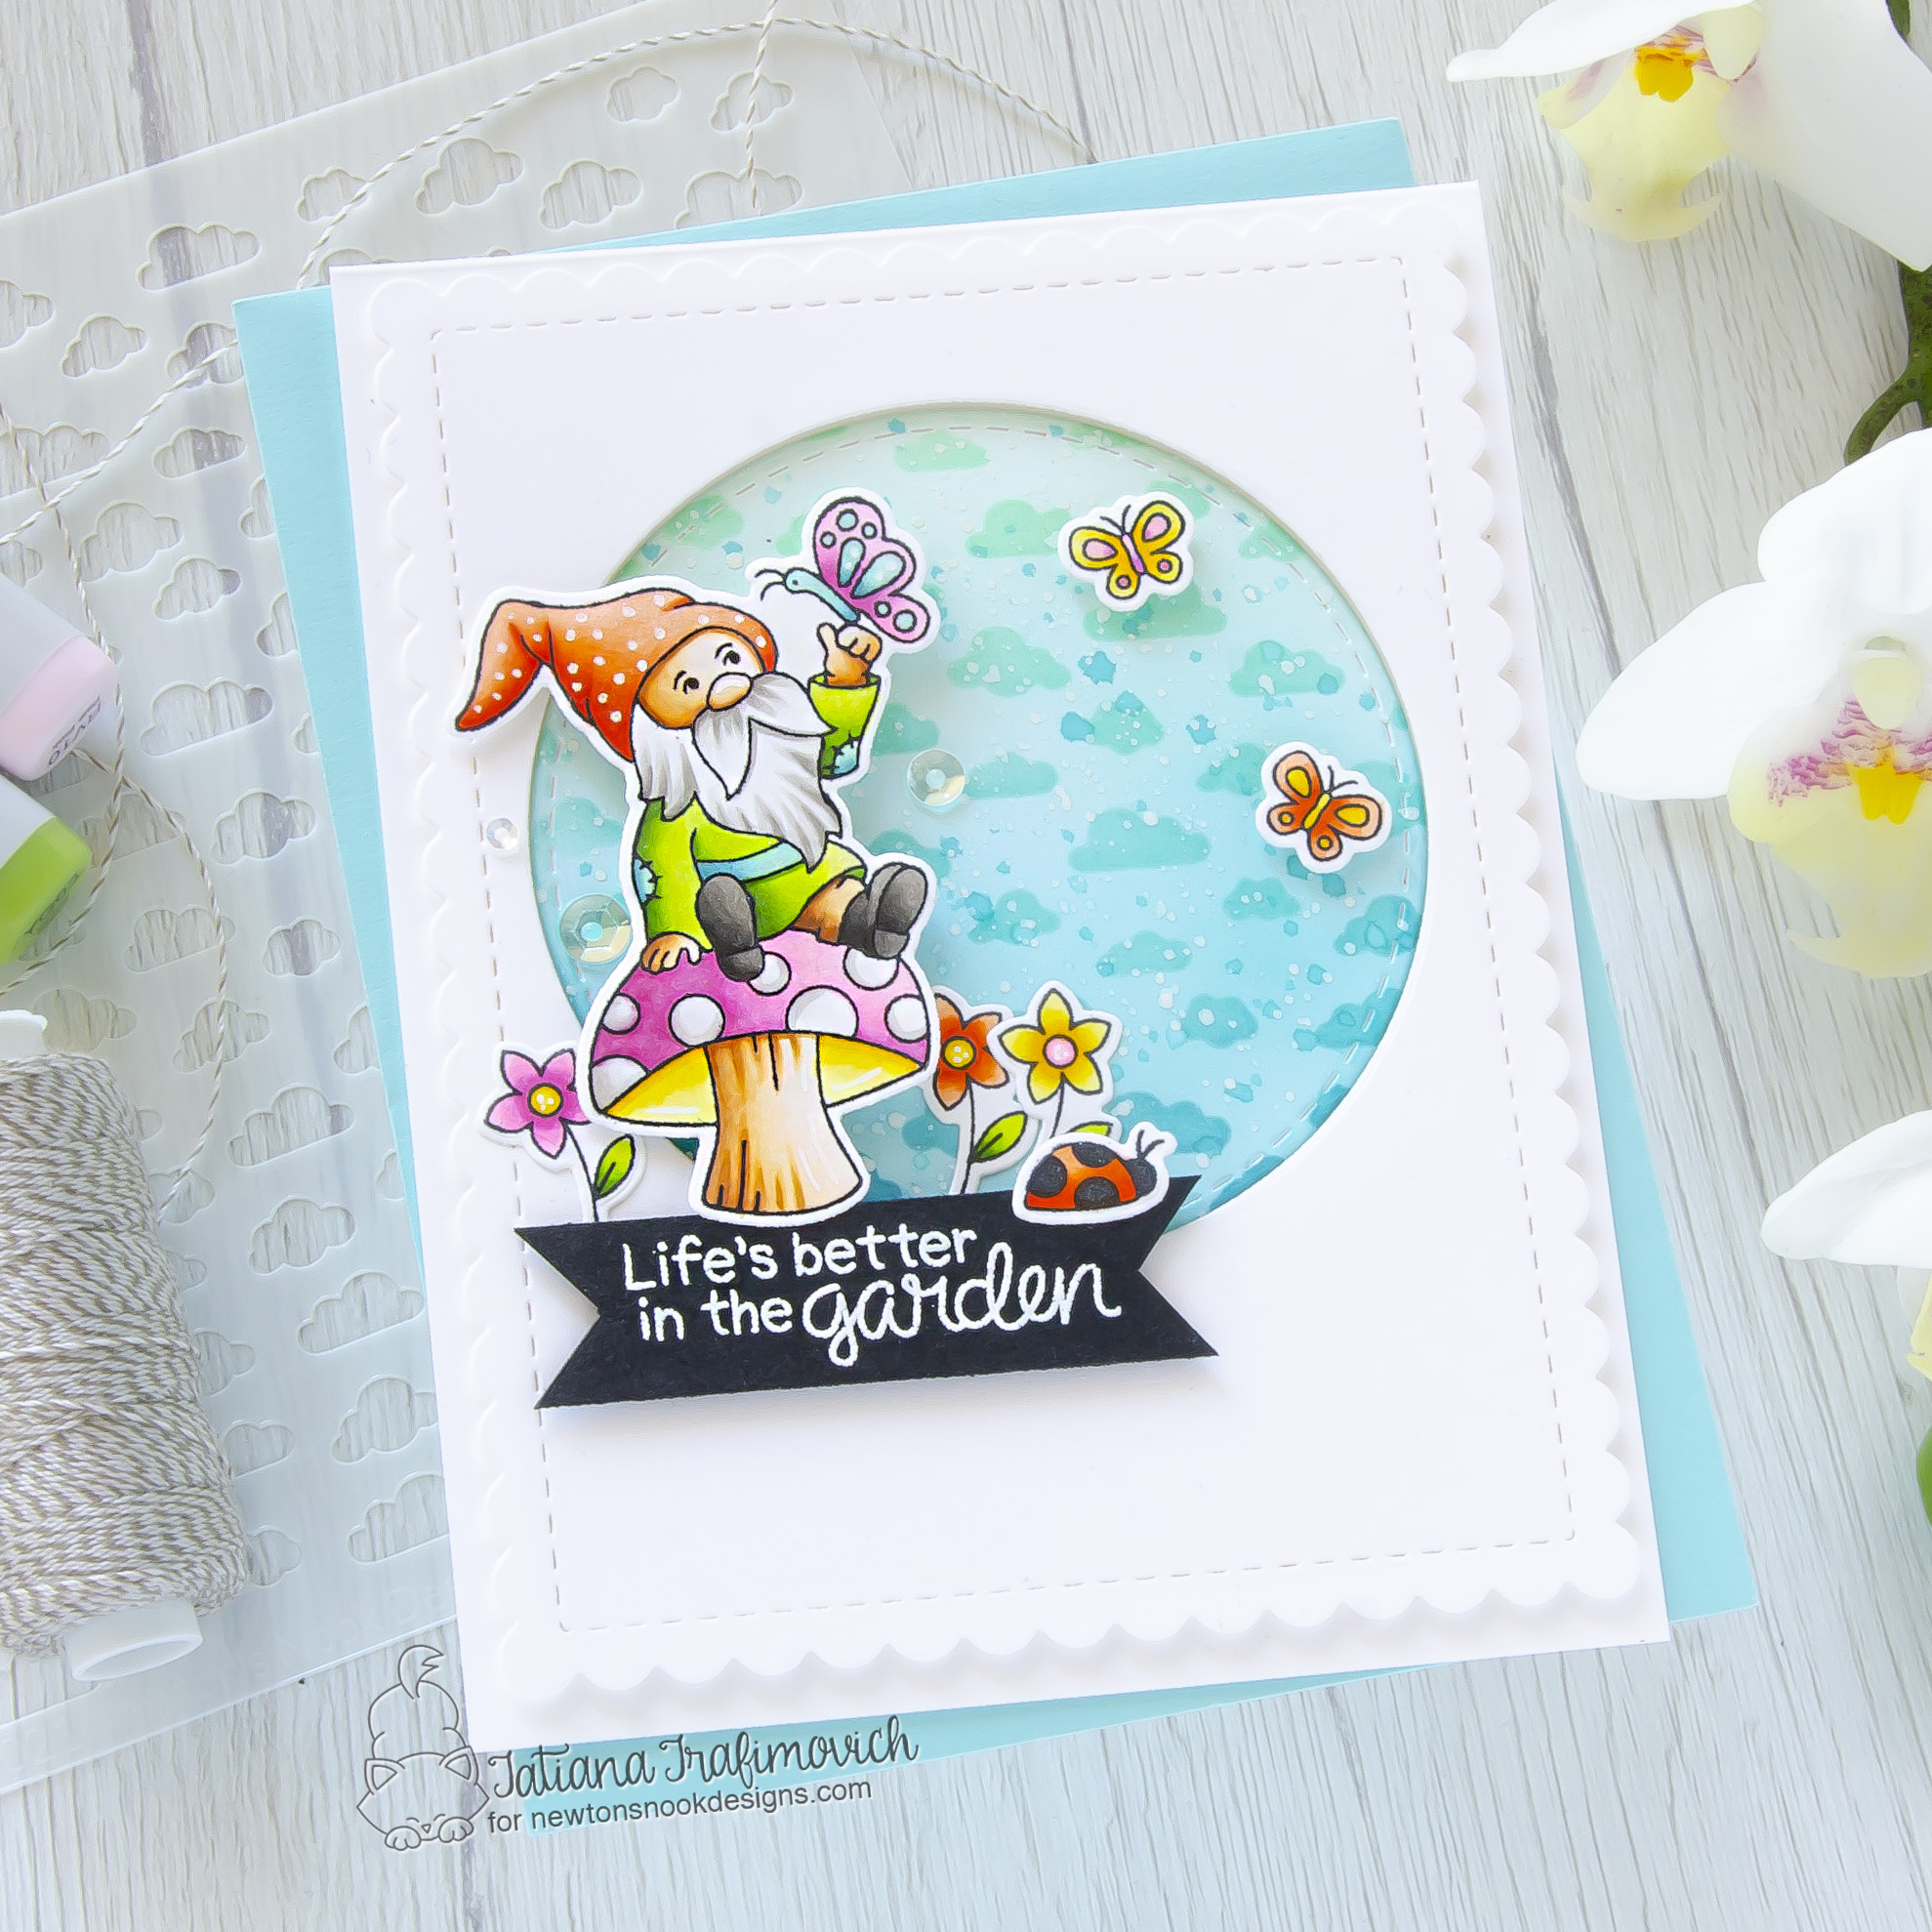
I’m so glad you’ve joined me today and even more excited to be on the Newton’s Nook Designs blog, sharing a cute and sweet gnome card with a pop of bright and happy colors added with copic markers!

Key Ingredients:
- Gnome Garden Stamp Set
- Gnome Garden Die Set
- Frames & Flags Die Set
- Circle Frames Die Set
- Petite Clouds Stencil

Step By Step Instructions:
- Die cut from Neenah Solar White paper all the elements you need for your card, using the coordinating Gnome Garden Die Set. I used on this project Sizzix Big Shot Die Cutting machine. Save the negative parts of the dies.
- Stamp the outline illustrations from Gnome Garden Stamp Set with Memento Tuxedo Black ink. Use the negative parts of the dies as a guide for a perfect alignment inside the stamping positioning tool.
- Color the stamps with COPIC MARKERS. I used on this card:
- skin and browns E0000-E50-E51-E53-E55-E57
- greens YG00-YG01-YG03-YG17
- teals BG11-BG53-BG57
- yellows Y11-Y13-Y15-Y18
- oranges YR61-YR65-YR68-YR09
- pinks RV0000-RV10-RV02-RV55
- greys W00-W1-W3-W6-W8-W10
- Trim and score an extended A2 size card base (5 1/2″ x 4 1/4″) from Neenah Solar White paper.
- Die cut a scalloped rectangle, using Frames & Flags Die Set, from the same Neenah Solar White paper for a perfect match.
- Die cut a circle in the center of the scalloped panel, using Circle Frames Die Set.
- Tape the die cut circle well to Petite Clouds Stencil with a removable tape and ink it with Mermaid Lagoon Distress, Broken China Distress, Peacock Feathers Distress, Cracked Pistachio Distress inks. I used Ranger Mini Ink Blending Tool for blending.
- Lift up the stencil and ink the whole circle with the same shades of Distress inks, using a lighter hand.
- Flick some tiny droplets of a white gouache all across the sky portion.
- Heat emboss in white onto black the first part of the sentiment from Gnome Garden Stamp Set.
- Shape the sentiment into a fish-tail banner with a pair of sharp small scissors.
- Arrange and pop on a foam tape all the elements, except of the cloudy circle that must be glued directly to the card front to create a fun dimensional look.
- Finish with a coat of Wink of Stella clear glitter pen, some accents added with a white gel pen and a couple of clear sparkling sequins.

That’s all for today! Hope you like this cute and fun card! Thanks so much for stopping by and have a fabulous day!
Hugs,
Tatiana
