Hello there!!!
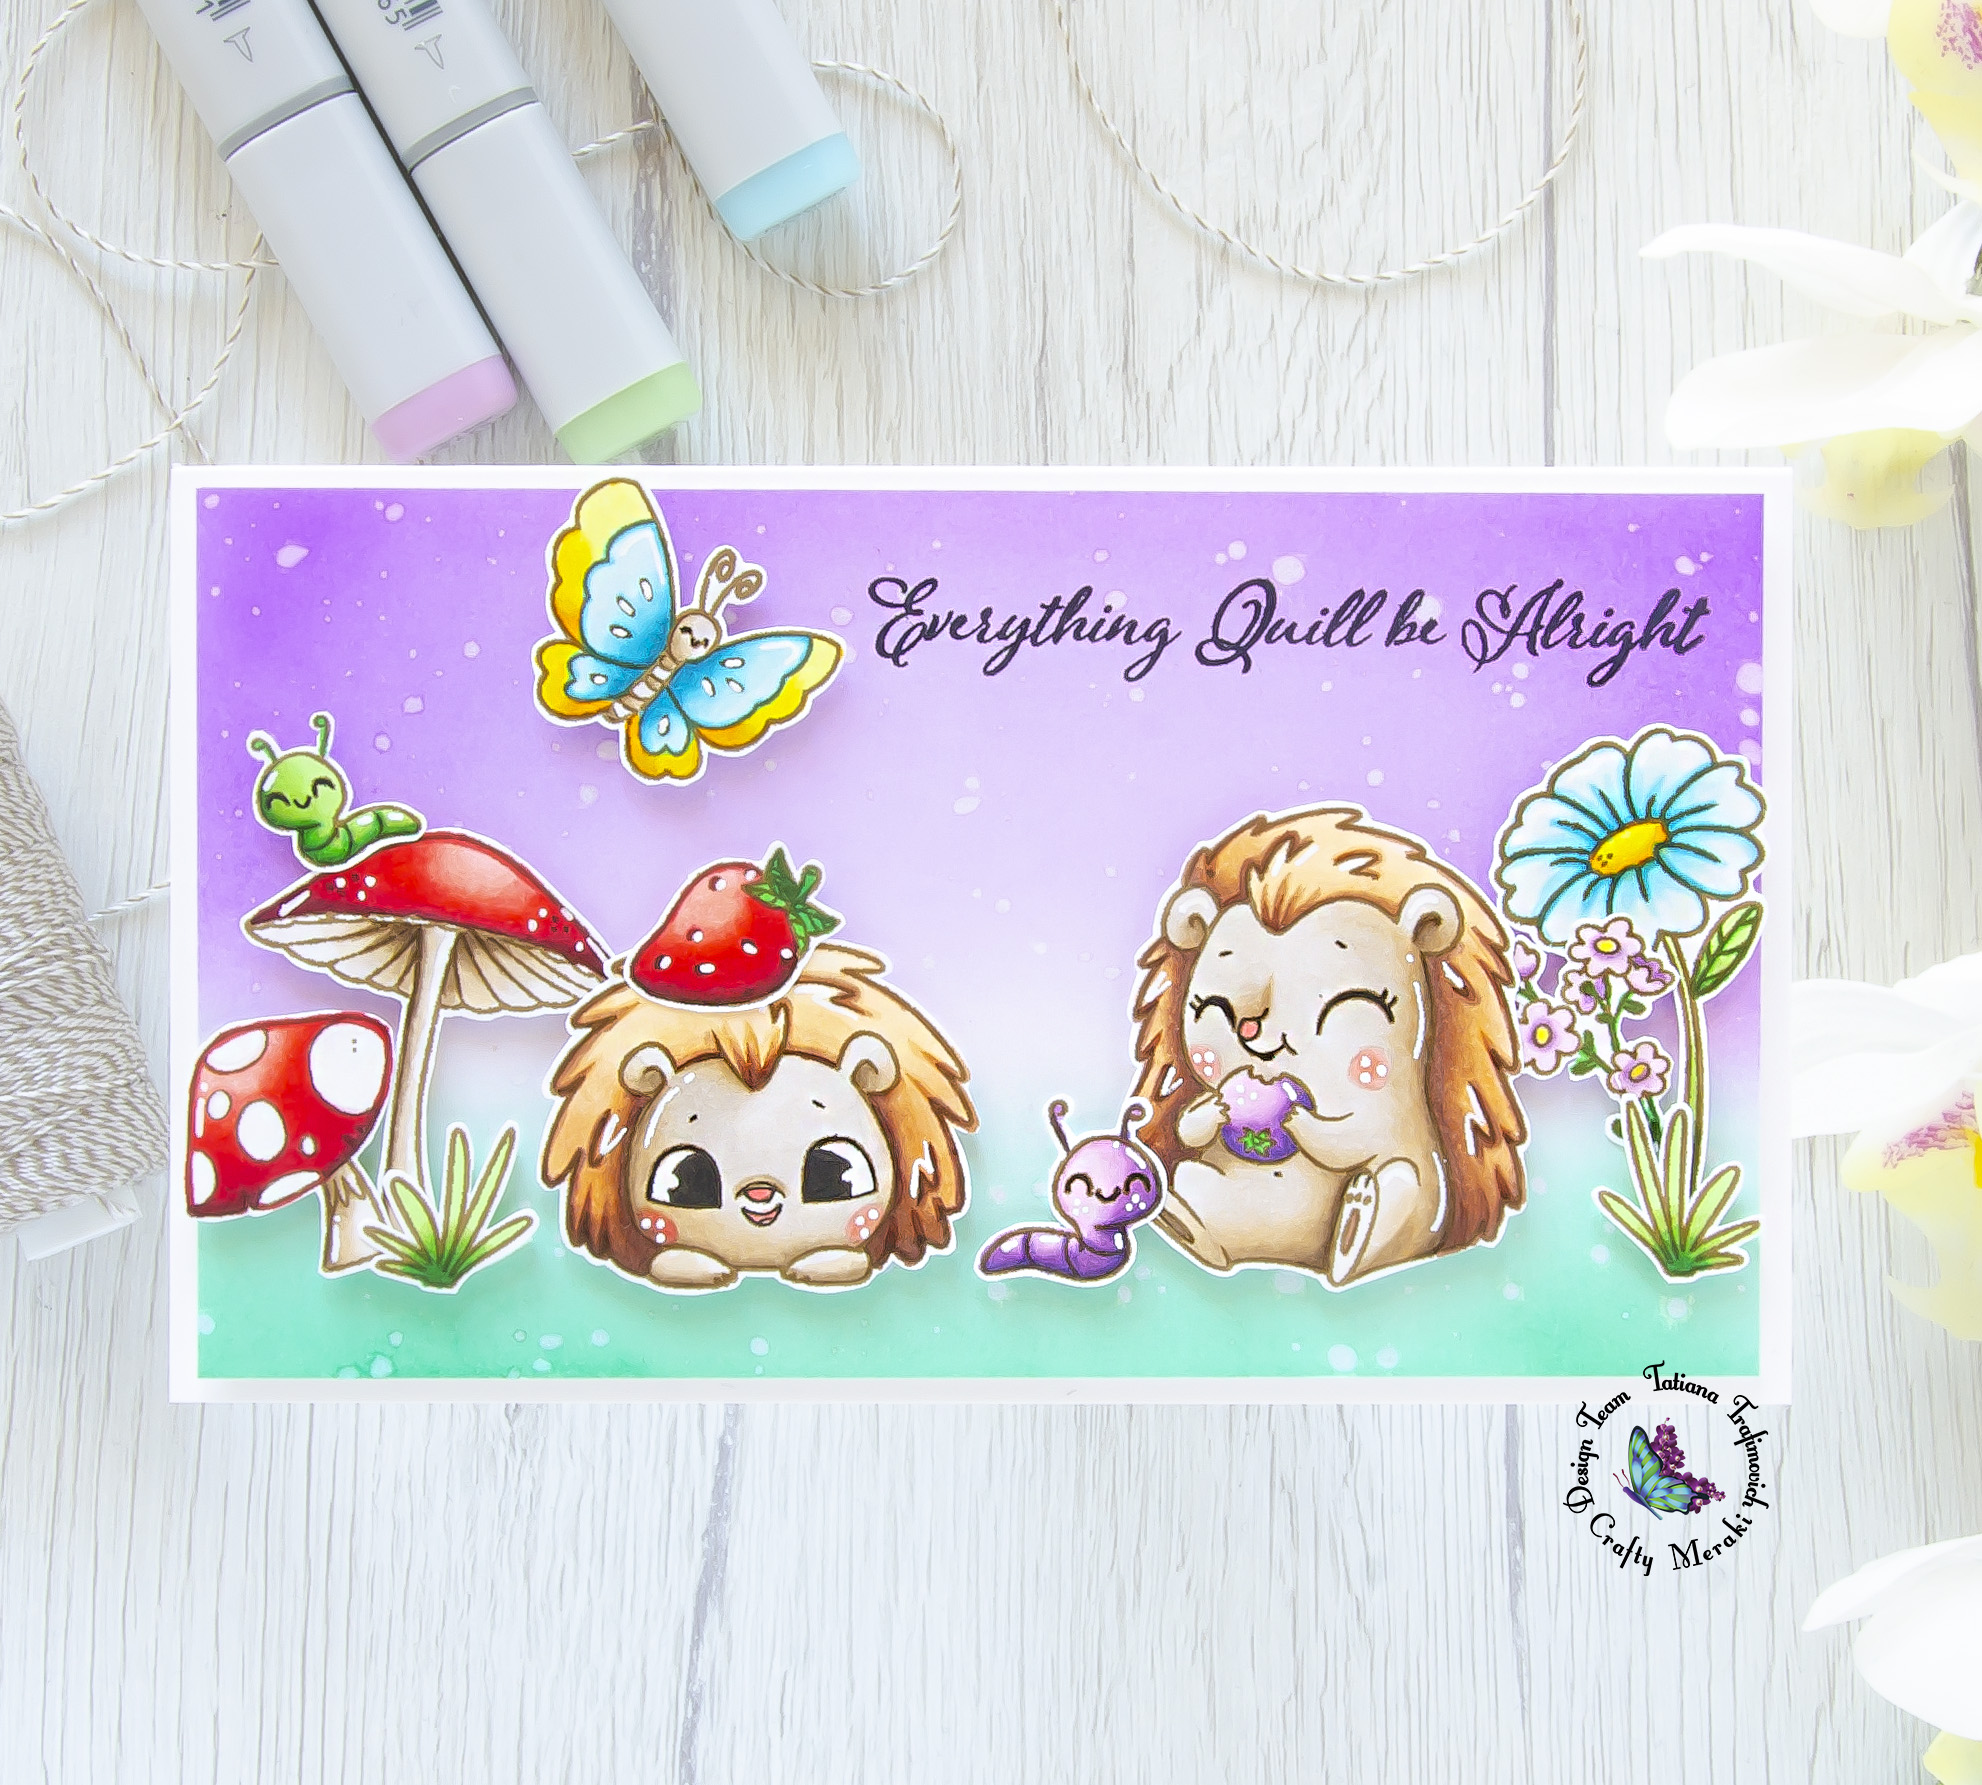
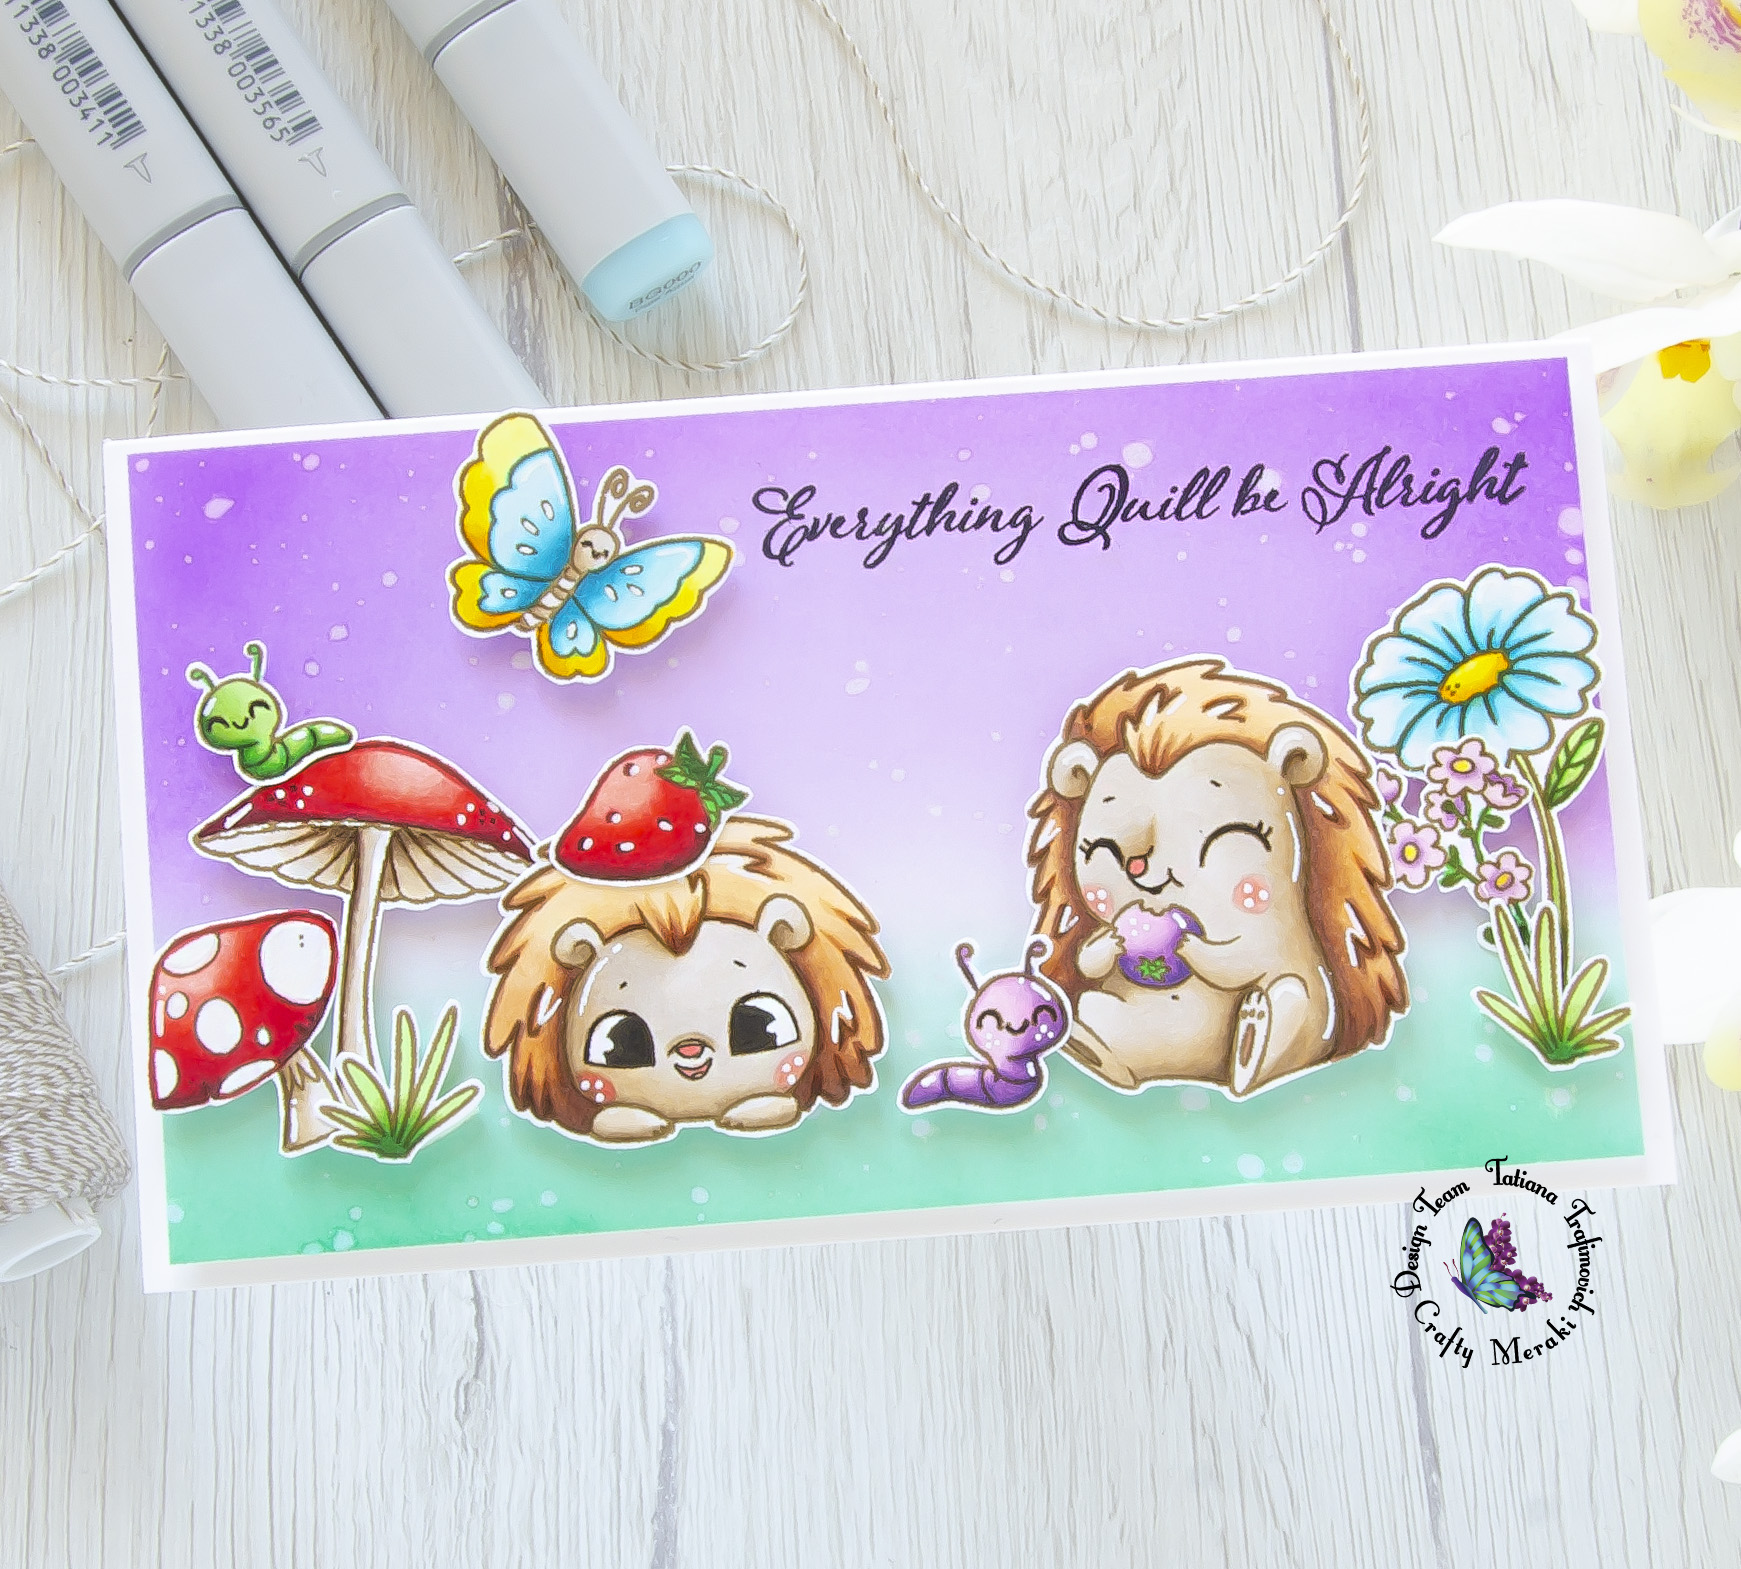
Thanks so much for joining me! I’m super excited to be featured on Crafty Meraki blog! Today I came up with a cute and sweet garden scene created from just one stamp set!

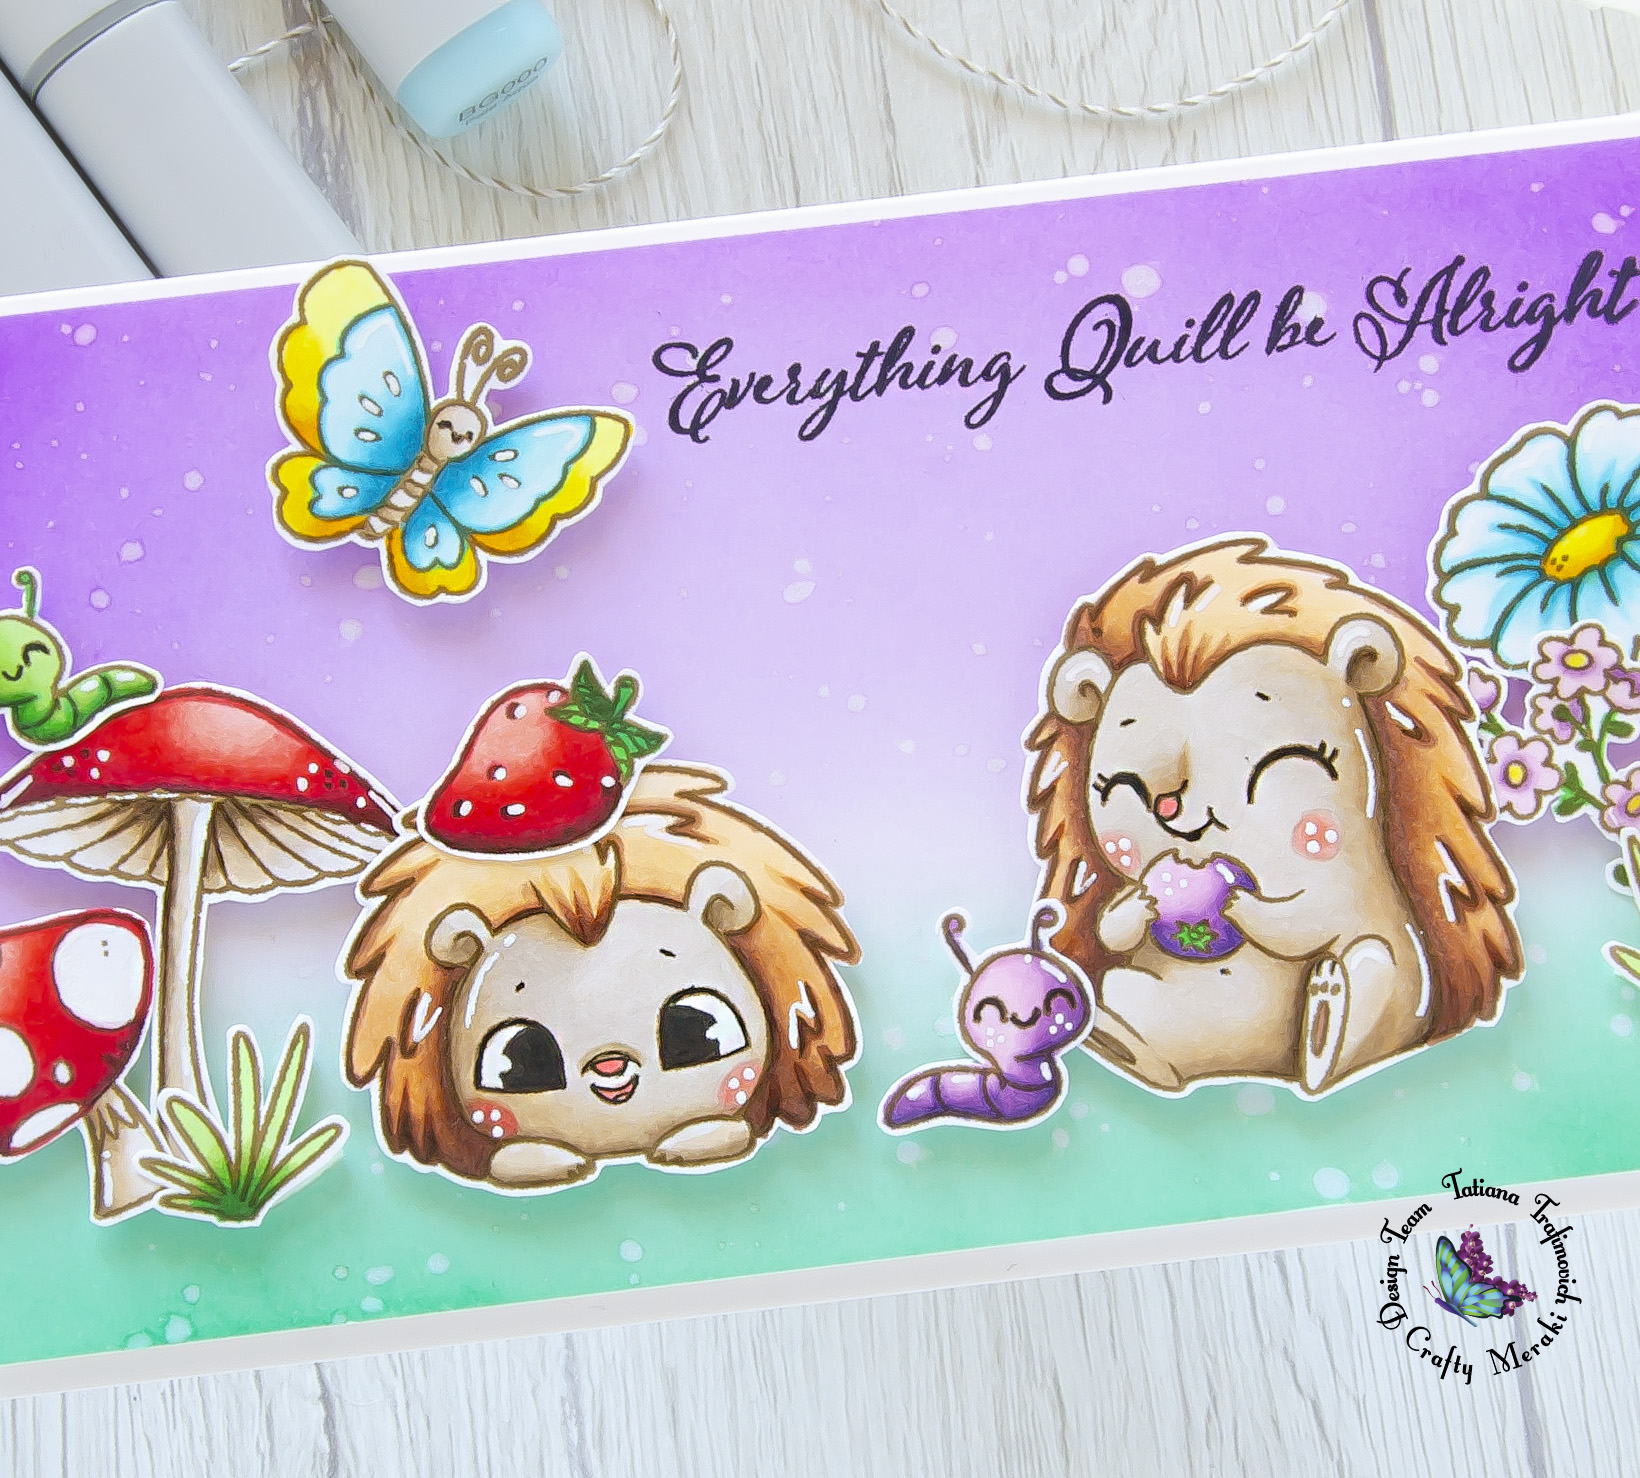
Working on this card, I decided to stamp the illustrations from Just Quillin’ Stamp Set with a brown ink instead of a usual black one since I wanted to create soft outlines. I also experimented a little with a color combo and went out of my comfort zone by using brilliant green for the grass portion and a purple violet shade for the sky. I’m really happy with the final result! And what do you think?
Don’t forget that I have a coupon code for you to use at Crafty Meraki online store. You can redeem 10% off your entire purchase by using “TATIANA10OFF” at the checkout.
DISCLOSURE. I’m currently on various Design Teams. I only join a team because I love their products and genuinely use them. All opinions are my own. I do not accept offers of direct payment for dedicated blog posts to promote products. I am part of various affiliate programs and link some supplies with compensated affiliate links when used where possible at no cost to you. When you click on an affiliate link and then go on to make a purchase, I receive a small commission. I use the money raised towards the cost of running this blog. I hope if you like the content of my blog you will support me by clicking through these links to make your purchases. Thank you!

Key Ingredients:
- Just Quillin’ Stamp Set
- Just Quillin’ Die Set (I just want to mention that there’s the coordinating die set in case you’re interested, but I haven’t used it on my project as described in the step by step tutorial).
USE “TATIANA10OFF” COUPON CODE AT THE CHECKOUT ON CRAFTY MERAKI WEB SITE TO GET A 10% DISCOUNT OF YOUR PURCHASE.
Step By Step Instructions:
- Stamp on Neenah Solar White paper the outline illustrations from Just Quillin’ Stamp Set with Simon Hurley Grrr! dye ink. If you use a stamping positioning tool, ink and impress the images a couple of times to achieve sharp outlines.
- Fussy cut the stamps with the sharp small scissors, leaving a little white edge around.
- Color the stamps with COPIC MARKERS. I used on this card:
- hedge E40-E41-E42-E43-E44; E21-E23-E25-E27
- R000-R20-R22-R24-R27-R89
- YG11-YG43-YG67-YG09-G09
- Y00-Y13-Y15-Y35
- BG0000-BG000-BG01-BG05-BG07
- V0000-V12-V15-V17
- Color the hedges’ eyes and noses with a black marker.
- Trim and score a small slimline card base (6″ x 3 1/2″) from Neenah Solar White paper.
- Trim a slightly smaller rectangle from a Bristol paper since it’s a bit smoother that Neenah paper.
- Ink it with Lucky Clover Distress, Shaded Lilac Distress and Wilted Violet Distress Oxide inks. Use blending brushes for a smooth result.
- Flick some tiny droplets of a clear shimmer spray all across.
- Stamp the sentiment with Memento Tuxedo Black ink.
- Arrange all the elements on the card front and and pop them on a on a foam tape.

That’s all for today!!! As always thanks so much for stopping by and have a great day!!!
Hugs,
Tatiana
