Hello and welcome!
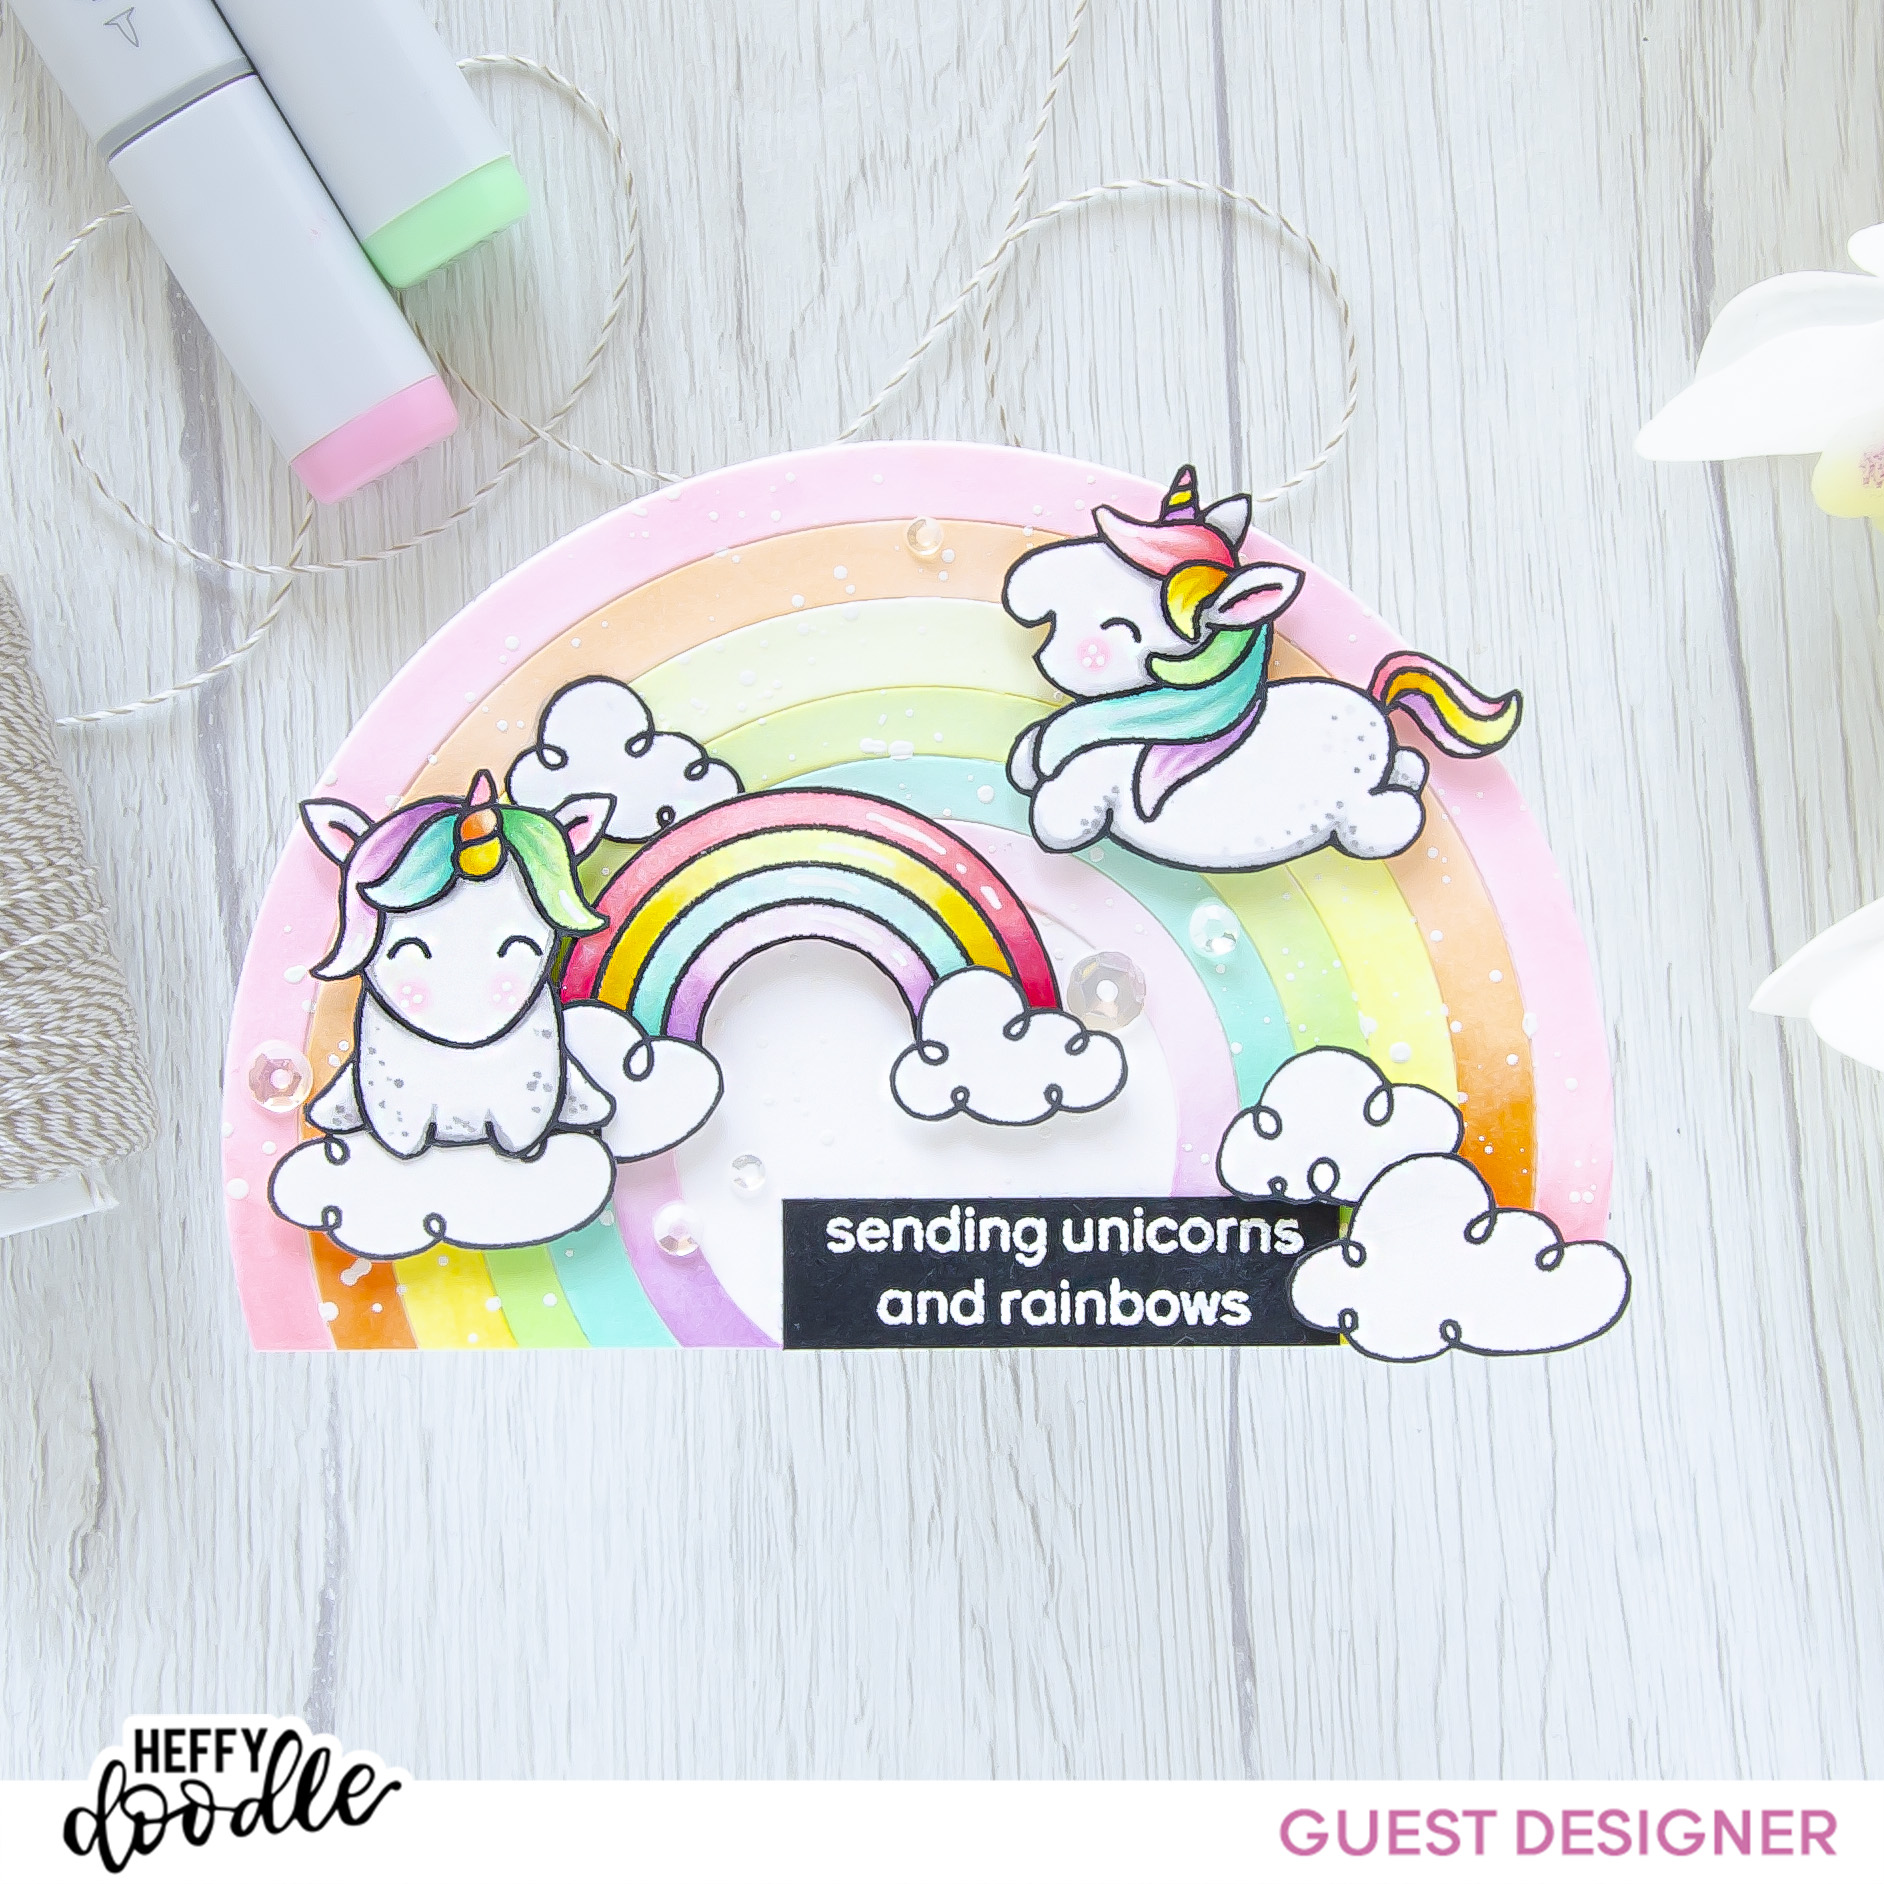
I’m so excited to guest designing for Heffy Doodle this month and keep sharing more inspiration featuring super adorable unicorns from Fluffy Puffy Unicorns Stamp Set!

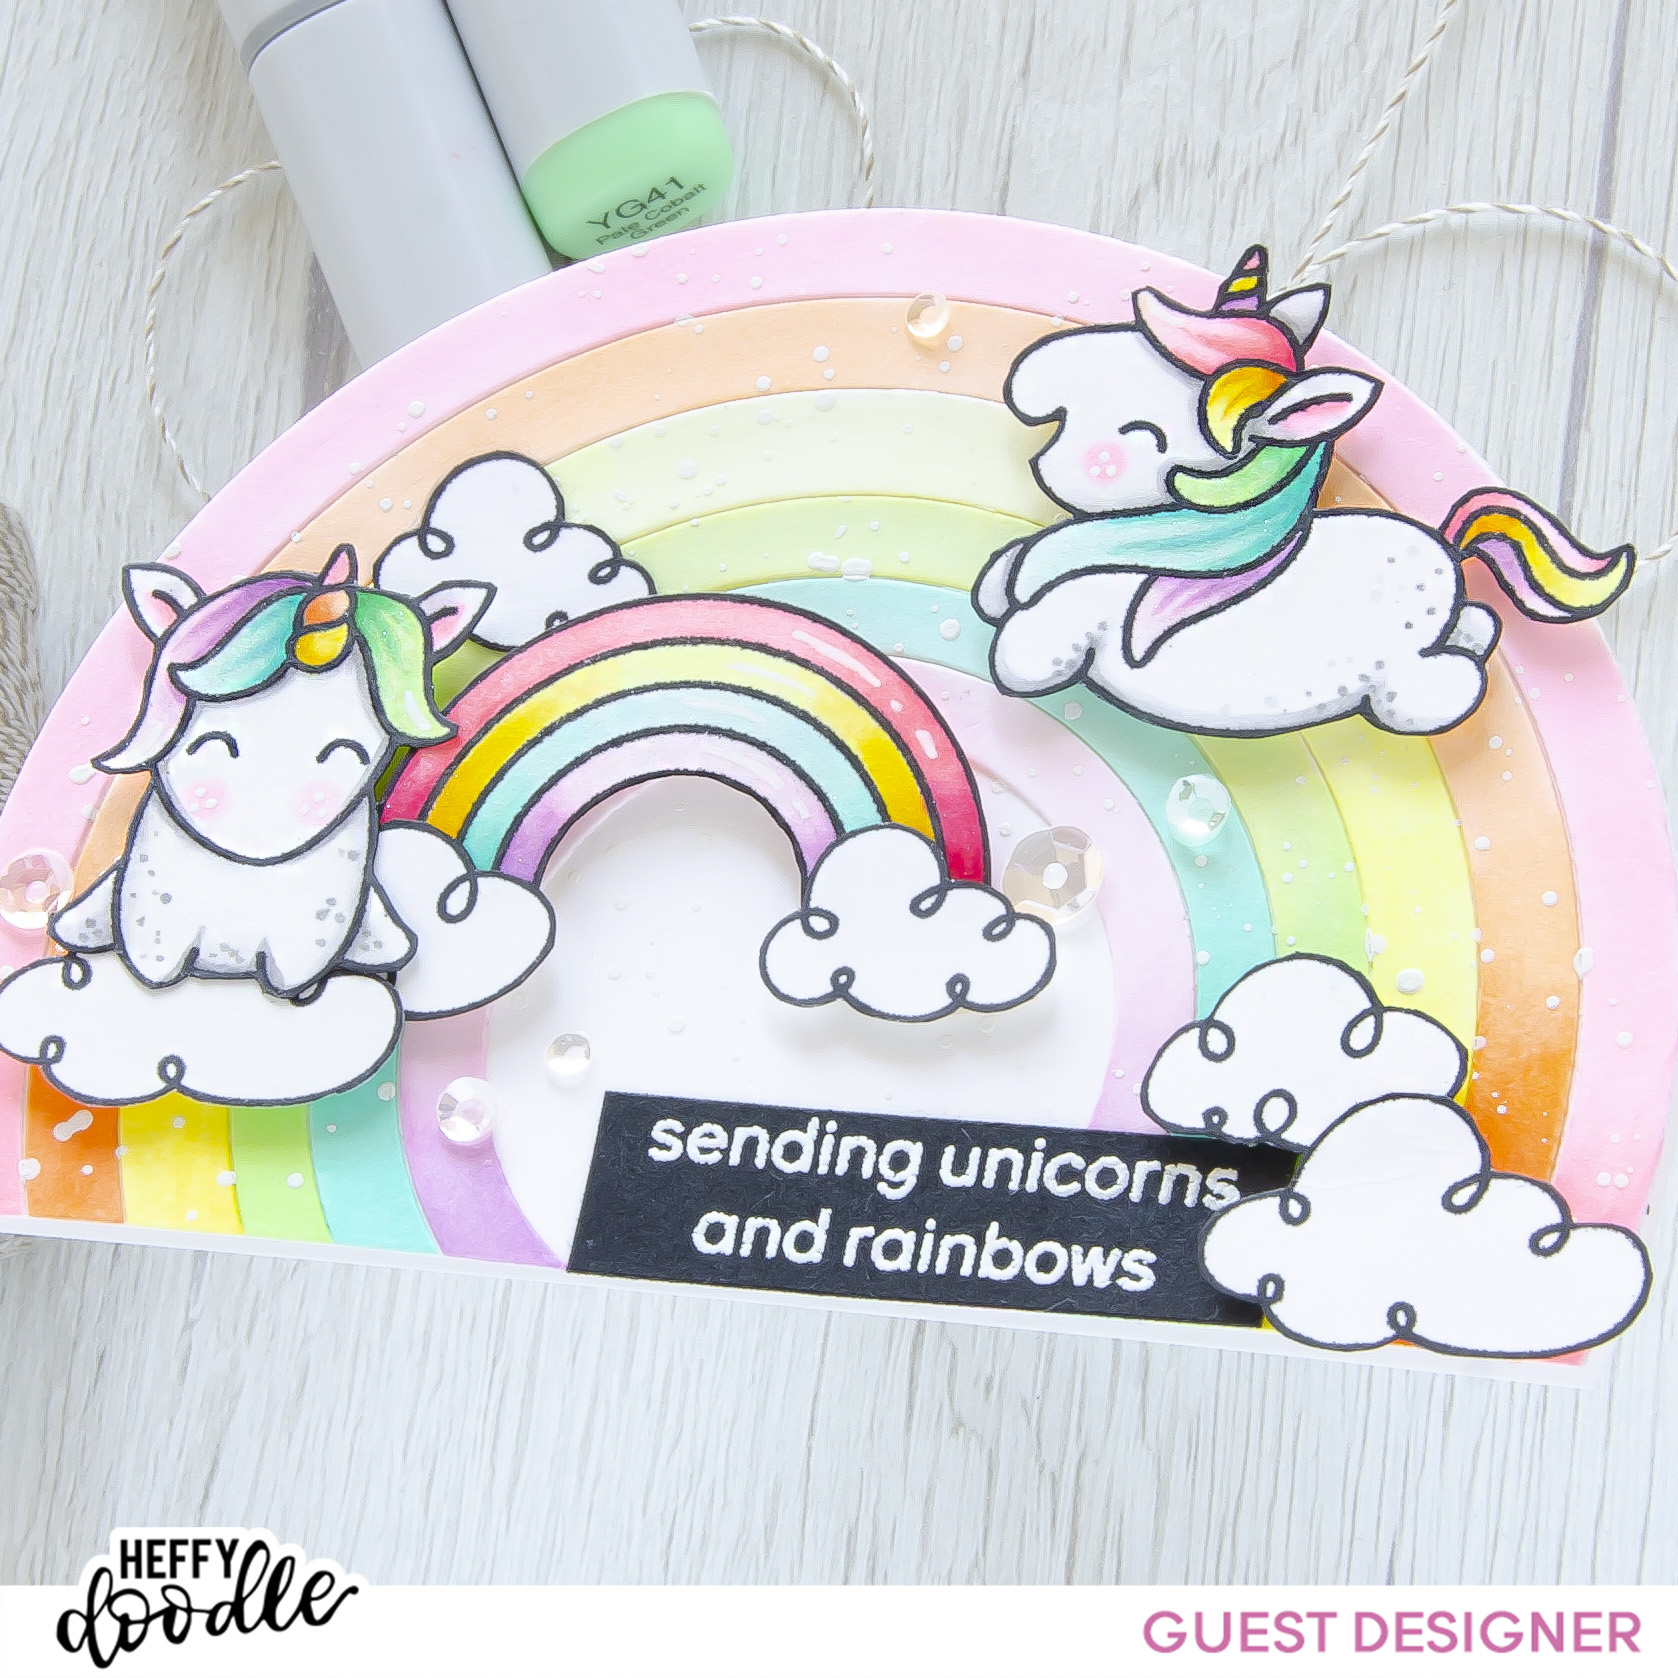
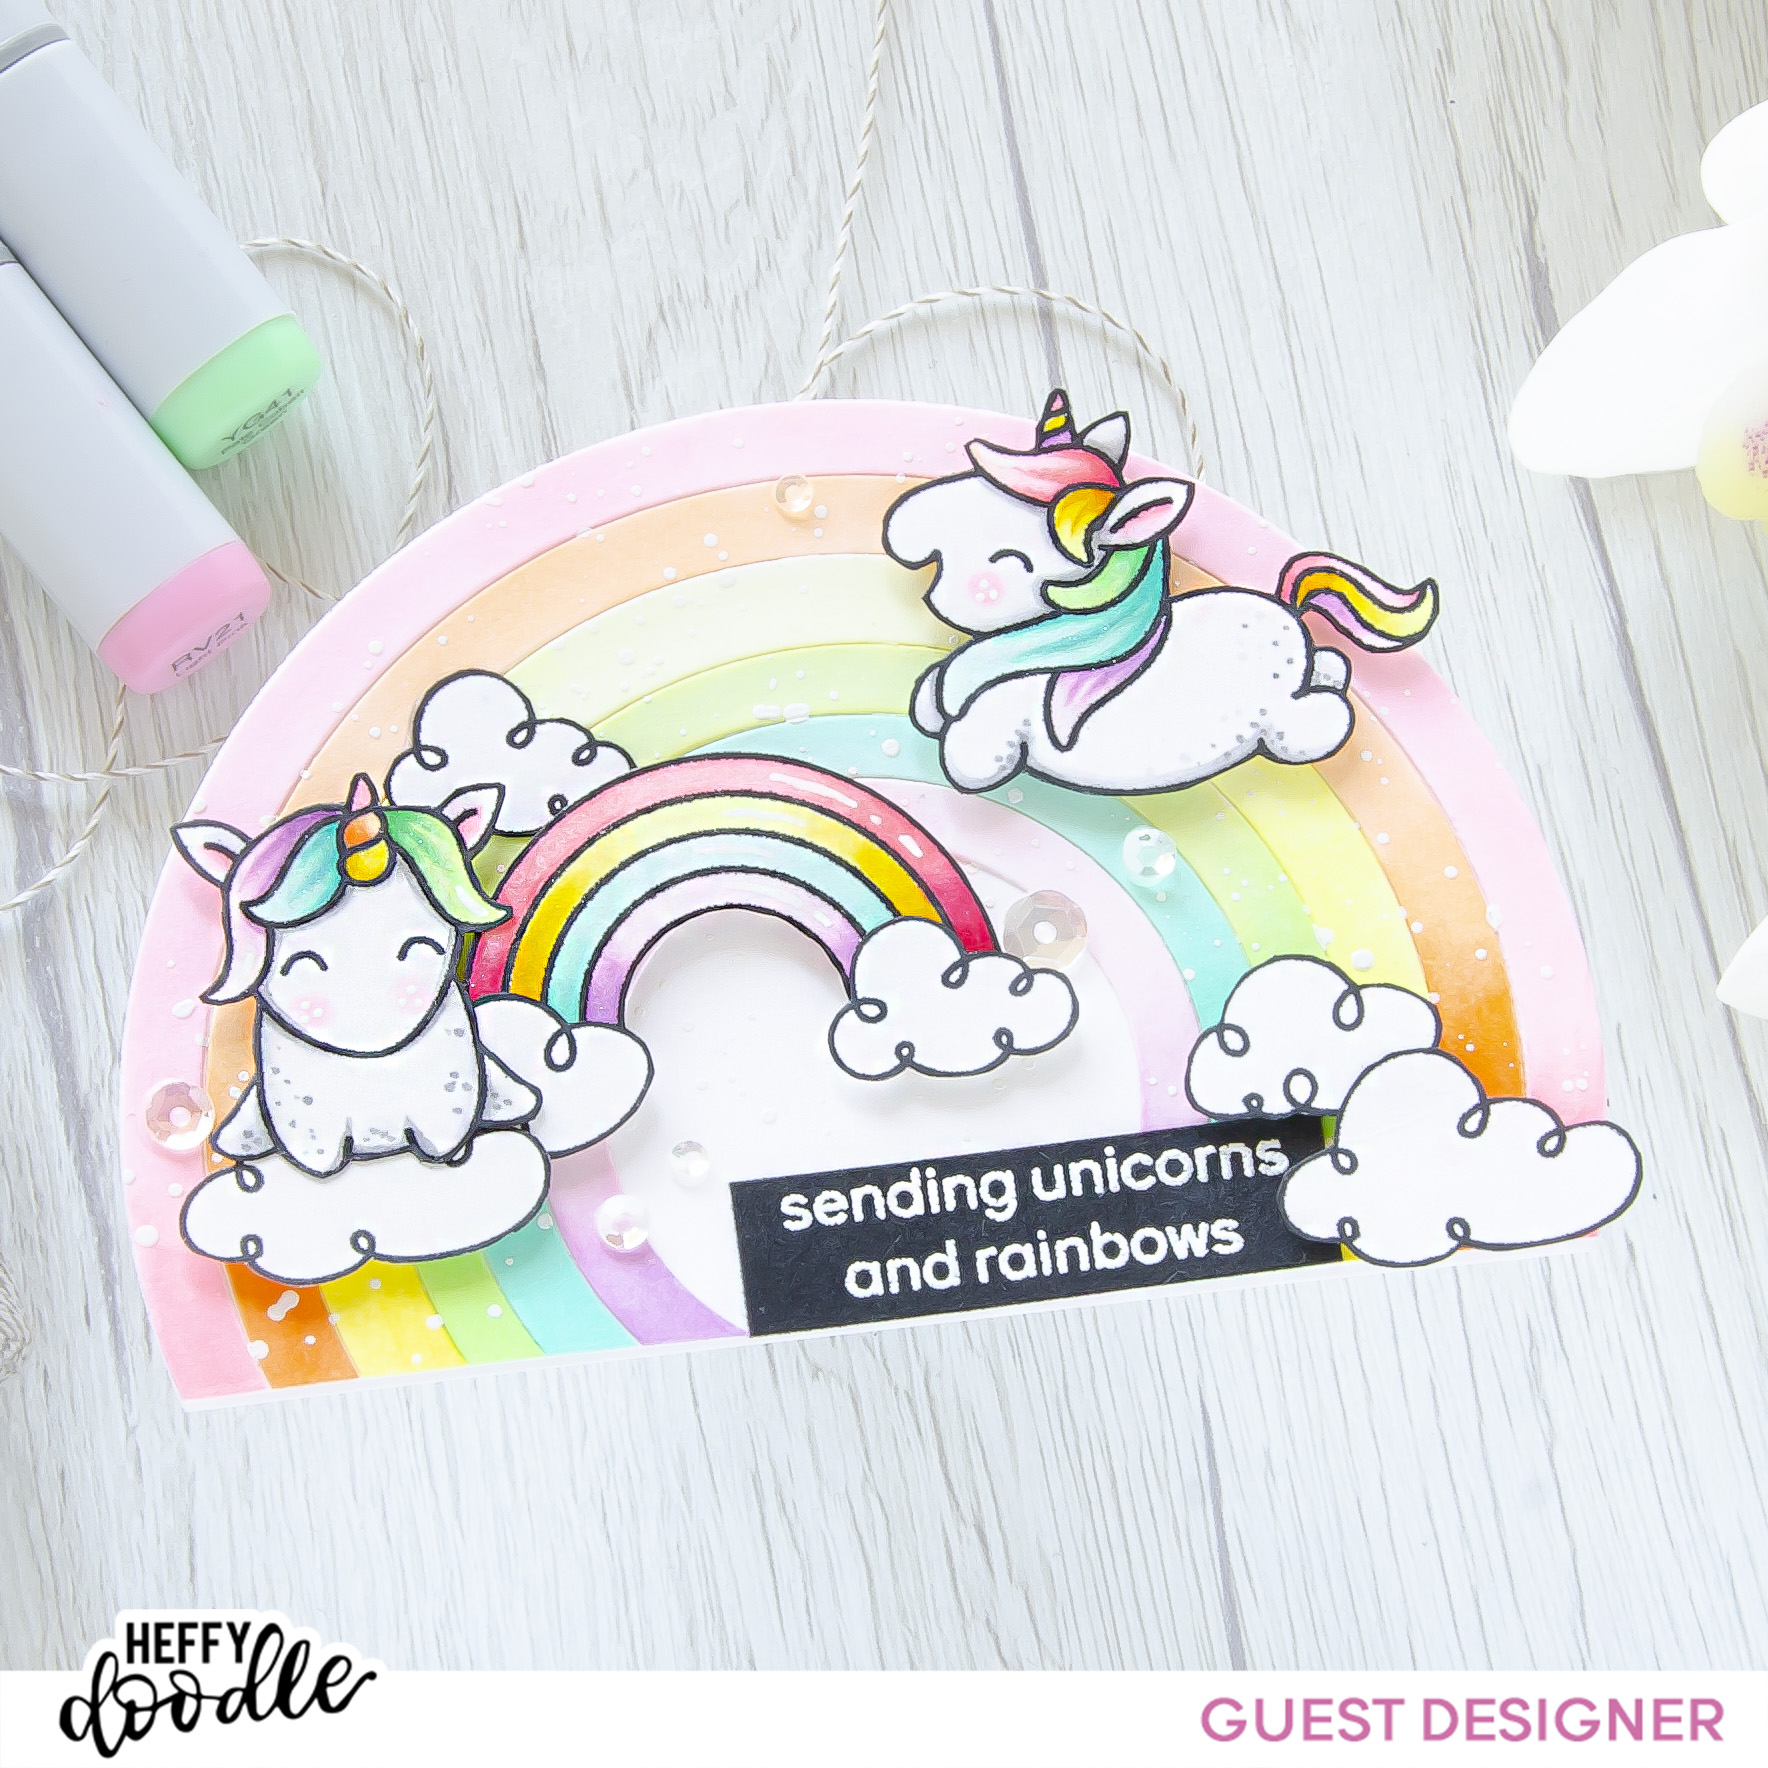
Today I came up with a cute shaped card transformed into a rainbow background that was simply colored with copic markers!
DISCLOSURE. I’m currently on various Design Teams. I only join a team because I love their products and genuinely use them. All opinions are my own. I do not accept offers of direct payment for dedicated blog posts to promote products. I am part of various affiliate programs and link some supplies with compensated affiliate links when used where possible at no cost to you. When you click on an affiliate link and then go on to make a purchase, I receive a small commission. I use the money raised towards the cost of running this blog. I hope if you like the content of my blog you will support me by clicking through these links to make your purchases. Thank you!

Key Ingredients:
- Fluffy Puffy Unicorns Stamp Set (available at Heffy Doodle, Scrapbook, Crafty Meraki)
- Sizzix Circles Dies
Step By Step Instructions:
- Stamp on Neenah Solar White paper all the elements you need from Fluffy Puffy Unicorns Stamp Set with Memento Tuxedo Black ink. If you use a stamping positioning tool, ink and impress the images a couple of times to achieve black and crisp outlines.
- Fussy cut all the stamps with the sharp small scissors right against the outlines.
Please note that the coordinating Fluffy Puffy Unicorns Die Set is available at Heffy Doodle and Scrapbook.
- Lay down and align nested circle dies from Sizzix Circles Dies set, tape them with a removable tape from the back side and run through the die cutting machine with Neenah Solar White paper to achieve six circle frames.
- Color all the stamps and the circle dies with COPIC MARKERS. I used:
- grey W00-T0-T1-T3
- pink RV00-RV21-RV23-RV25
- orange YR000-YR02
- yellow Y0000-Y00-Y11-Y13-Y15-Y17
- green G20-YG11-YG41-G02-G05
- teal BG10-BG11-BG23-BG15
- violet V0000-V01-V12
- Paint the stamp edges with a black brush nib marker to hide all the imperfections due to the fussy cutting.
- Heat emboss in white onto black the sentiment.
- Die cut two circles from Neenah Solar White paper, using the biggest die from Sizzix Circles Dies set, score one of the circles at 1/2″ mark and glue together to form the card base.
- Glue the colored circle frames on the card front with Distress Collage Medium Matte to form the rainbow.
- Trim the bottom edge of card base.
- Flick some tiny droplets of a white gouache.
- Arrange and glue in place all the elements. Pop some of them on a foam tape for a fun dimensional look.
- Add a couple of crystal sparking sequins adhered with Distress Collage Medium Matte.
- Finish with a coat of a clear glitter pen and some highlights added with a white gel pen.

That’s all for today! Hope you like this cute rainbow card! Thanks so much for stopping by and have a fabulous day!
Hugs,
Tatiana
