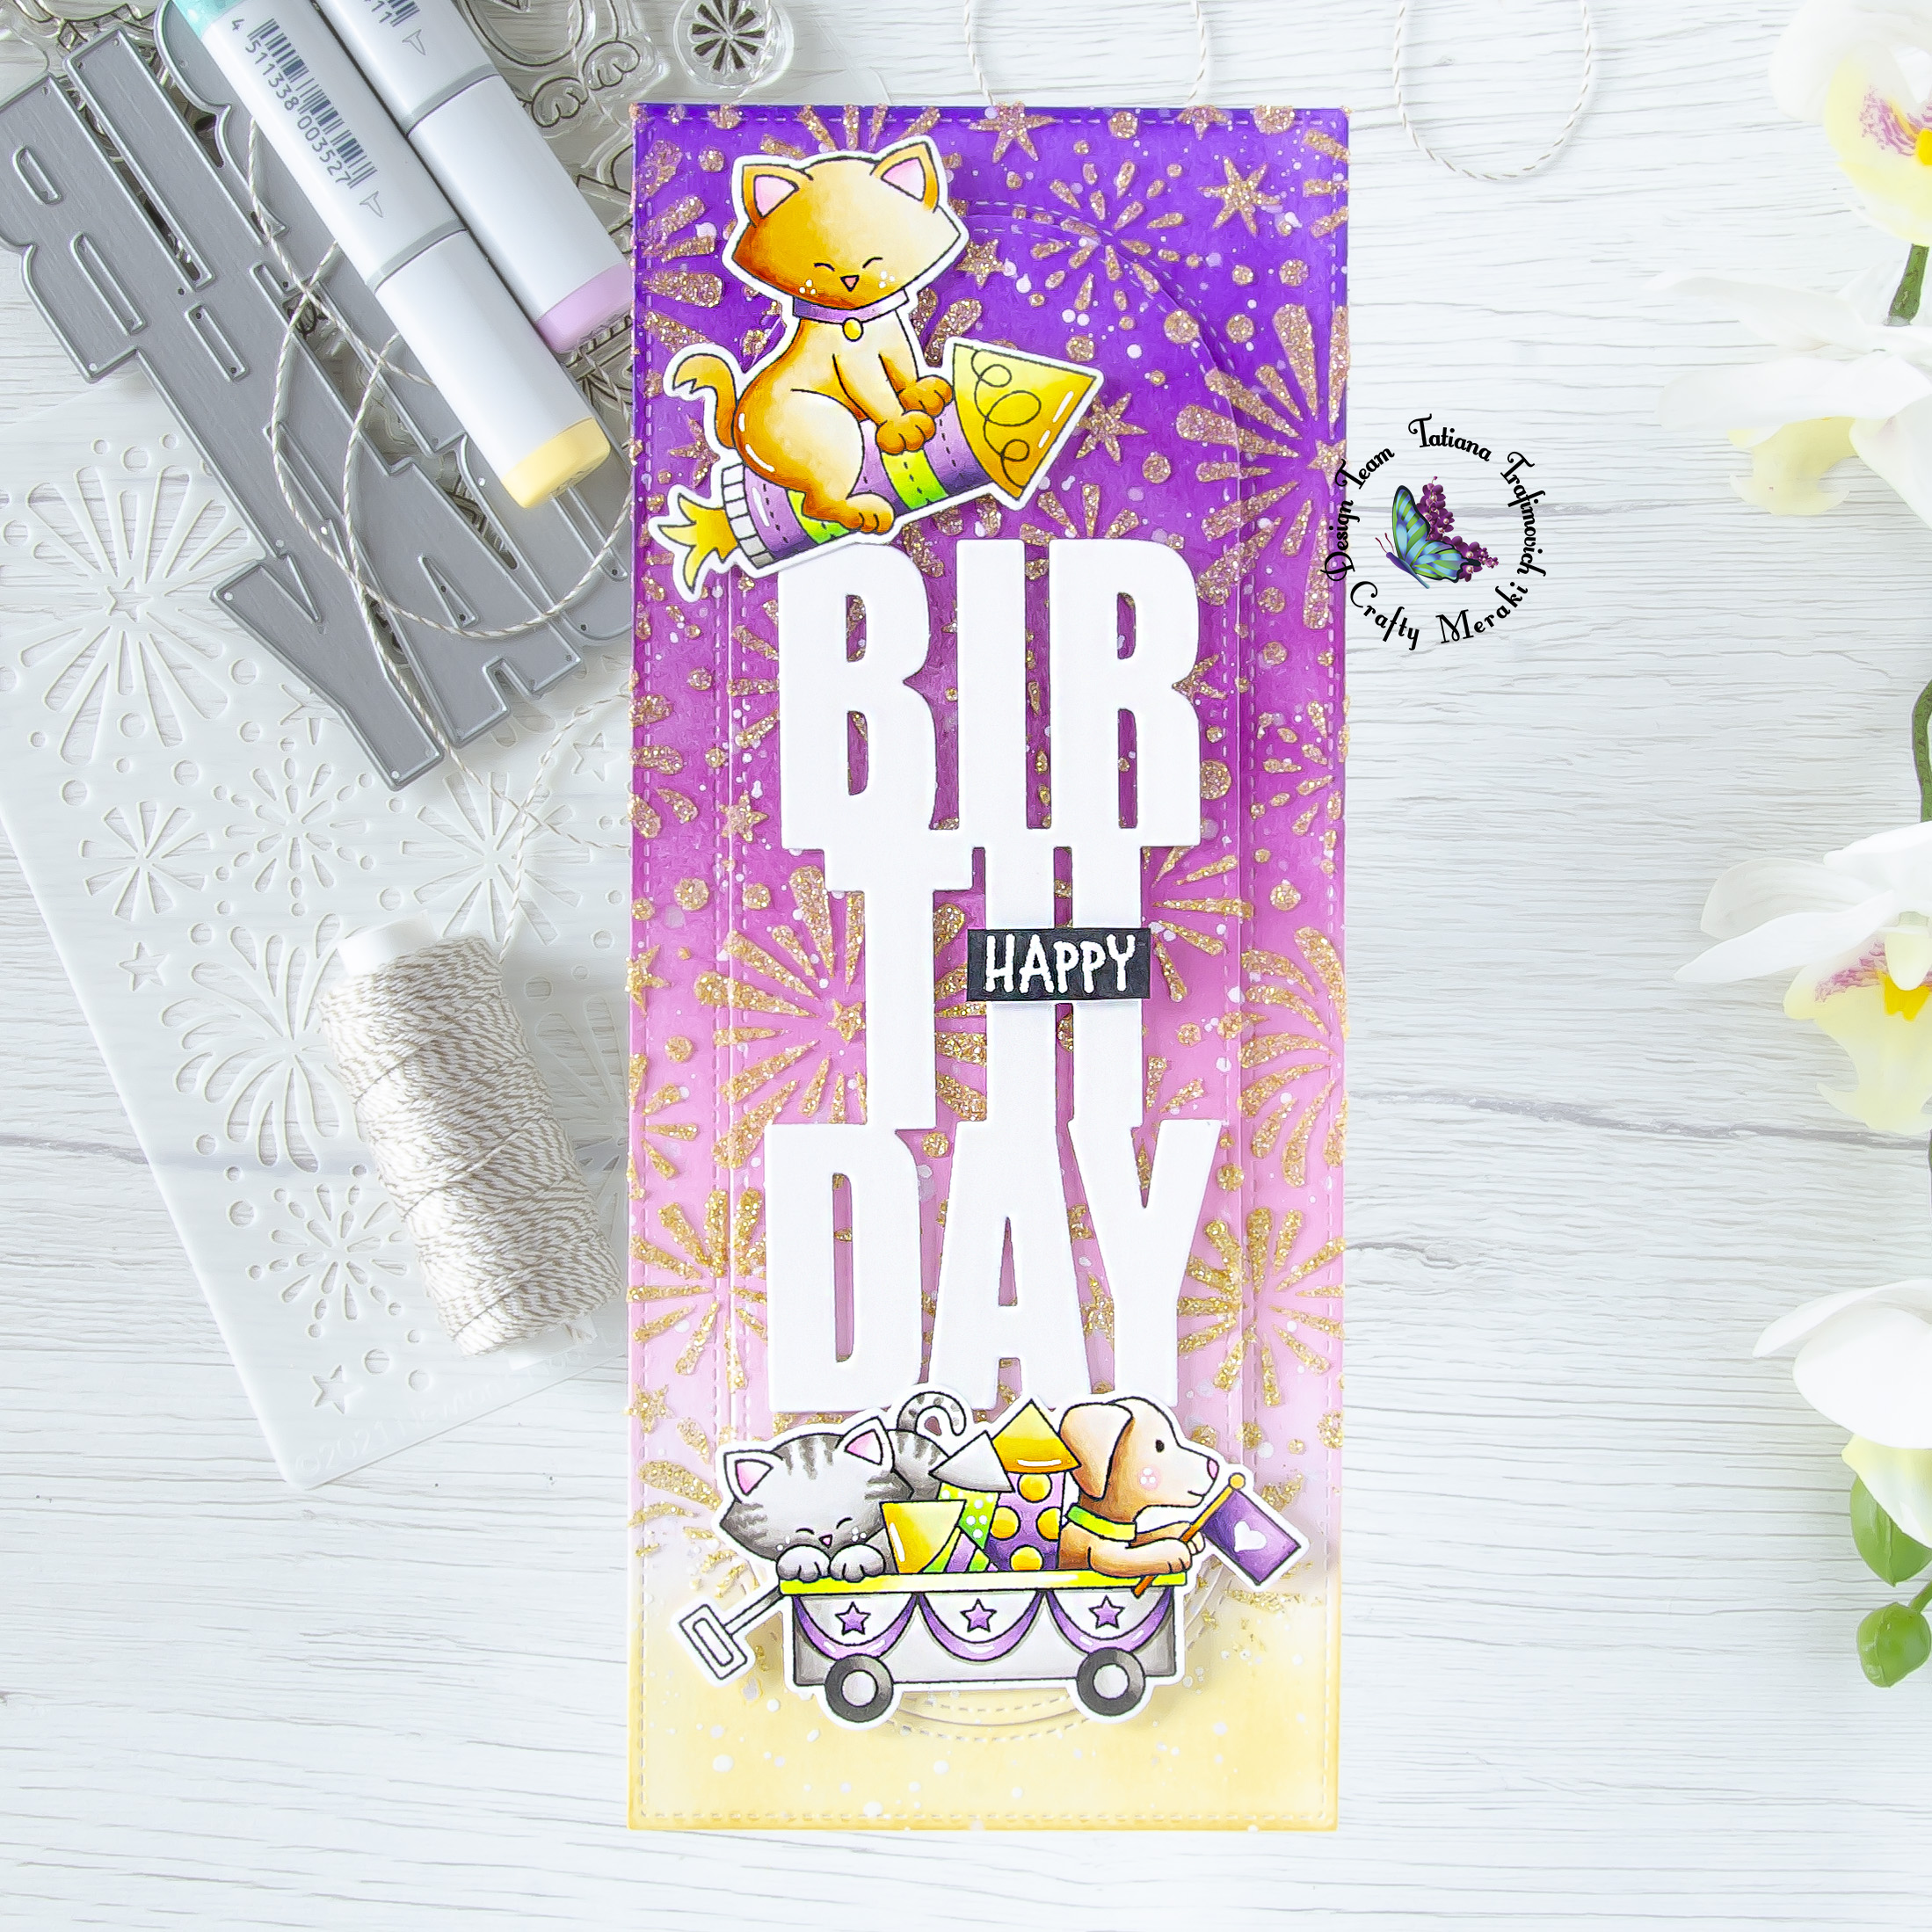
Hello there and happy Friday!!!
Thanks so much for joining me! Today Crafty Meraki‘s and Newton’s Nook‘s Design Teams are hopping on Instagram! There’s a great line up of designers representing both the teams to help inspire your creativity, using loads of incredible products from both companies. The BEST part? BOTH the stores are giving away Gift Certificates valued at $25 each. You can start from my Instagram account @tatianacraftandart.

Working on this project, I stared backward, creating the inked background first. This is something I use to do often when I’m not sure about the color combo to choose or the intensity of colors to apply on the stamps. Having the background colors laid down helps me to balance better the whole card front.
Don’t forget that I have a coupon code for you to use at Crafty Meraki online store. You can redeem 10% off your entire purchase by using “TATIANA10OFF” at the checkout.
DISCLOSURE. I’m currently on various Design Teams. I only join a team because I love their products and genuinely use them. All opinions are my own. I do not accept offers of direct payment for dedicated blog posts to promote products. I am part of various affiliate programs and link some supplies with compensated affiliate links when used where possible at no cost to you. When you click on an affiliate link and then go on to make a purchase, I receive a small commission. I use the money raised towards the cost of running this blog. I hope if you like the content of my blog you will support me by clicking through these links to make your purchases. Thank you!

Key Ingredients:
- NND Newton’s 4th of July Stamp Set
- NND Newton’s 4th of July Die Set
- NND Fireworks Stencil
- CM Scenic Route Slimline Die Set
- CM Birthday Slimline Tag Die
USE “TATIANA10OFF” COUPON CODE AT THE CHECKOUT ON CRAFTY MERAKI WEB SITE TO GET A 10% DISCOUNT OF YOUR PURCHASE.
Step By Step Instructions:
- Trim and score a slimline card base (8 1/2″ x 3 1/2″) from Neenah Solar White paper.
- Die cut from a Bristol paper a stitched frame from Scenic Route Slimline Die Set for the background piece. I used on this project Sizzix Big Shot Die Cutting machine.
- Ink it with (starting from top):
- Flick some tiny droplets of a clear shimmer spray and a white gouache.
- Die cut the oval frame in the center of the inked background, using Scenic Route Slimline Die Set.
- Mix together a translucent embossing paste with a white and gold glitter on a piece of a scrap plastic. Apply the mix through Fireworks Stencil towards the top part of the background. Lift up the stencil and let the embossing paste air dry well. Wash the stencil with warm water and soap.
- Shift Fireworks Stencil towards the bottom part of the background and repeat the same steps.
Designer’s Tip:
Put the embossing mix into an empty jar to prevent it from drying between two applications. This way you don’t have to mix it twice.
- Die cut from Neenah Solar White paper all the elements you need, using the coordinating Newton’s 4th of July Die Set.
- Stamp the outline illustrations from Newton’s 4th of July Stamp Set with Memento Tuxedo Black ink. Use the negative parts of the dies as a guide for a perfect alignment inside the stamping positioning tool.
Designer’s Tip:
Mask the little flag before inking the stamp with a sticky tape if you want to change the design.
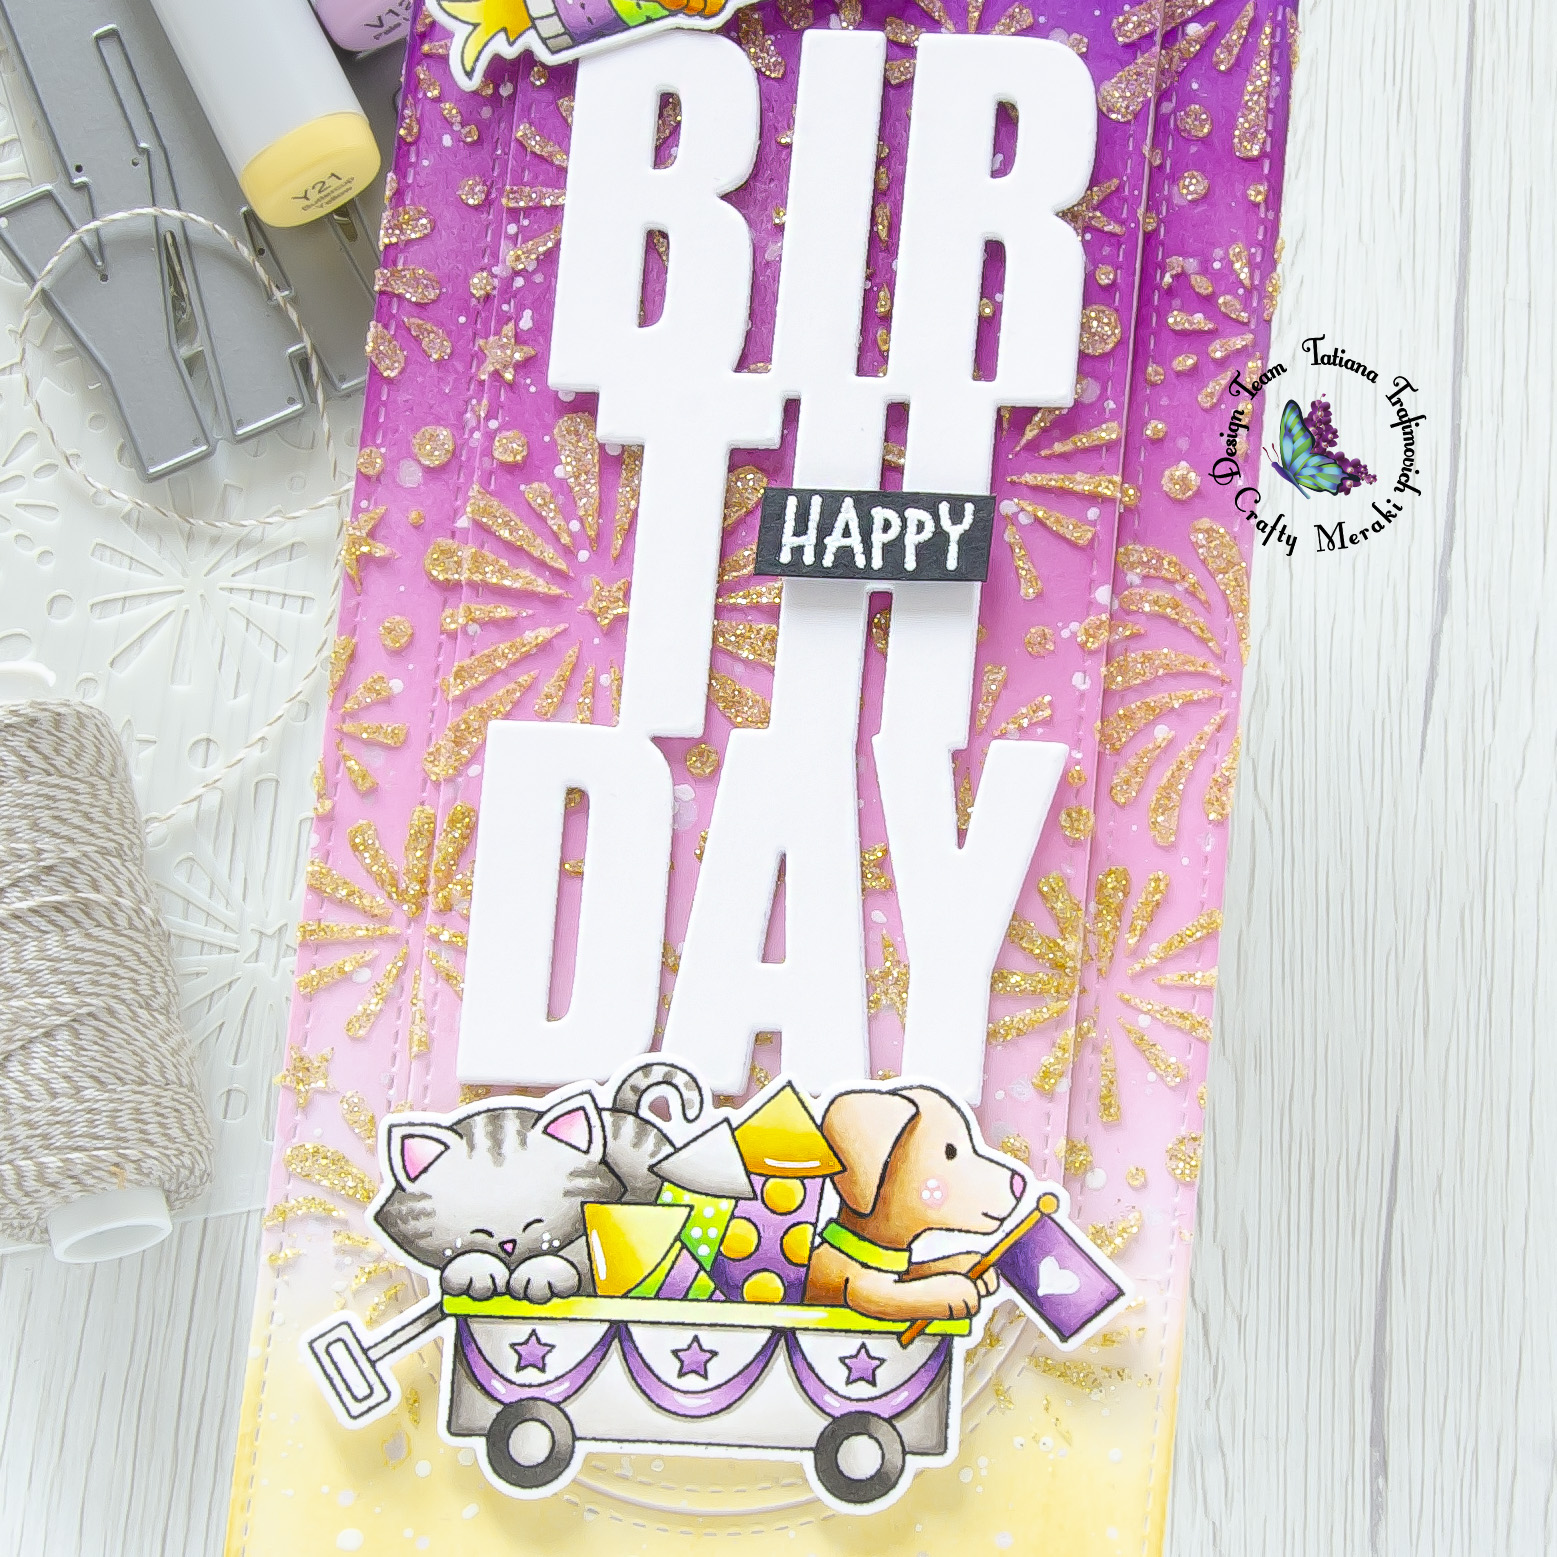
- Color the stamps with COPIC MARKERS. I used on this card:
- brown dog E0000-E30-E31-E33-E35
- grey cat W00-W0-W1-W3-W5
- red cat YR30-Y32-YR21-YR24-YR27
- green YG0000-YG00-YG01-YG05-YG07
- yellow Y00-Y11-Y13-Y15-Y21
- violet V0000-V01-V12-V15-V17-V09
- grey W00-W0-W1-W3-W5-W8
- pink RV0000-RV00-RV10-RV02
- Die cut on Neenah Solar White paper the big word birthday from Birthday Slimline Tag Die three times. Stack all three layers together with Distress Collage Medium Matte.
- Trim apart the word “HAPPY ” from Newton’s 4th of July Stamp Set with the sharp small scissors.
- Heat emboss it in white onto black with VersaMark clear sticky ink.
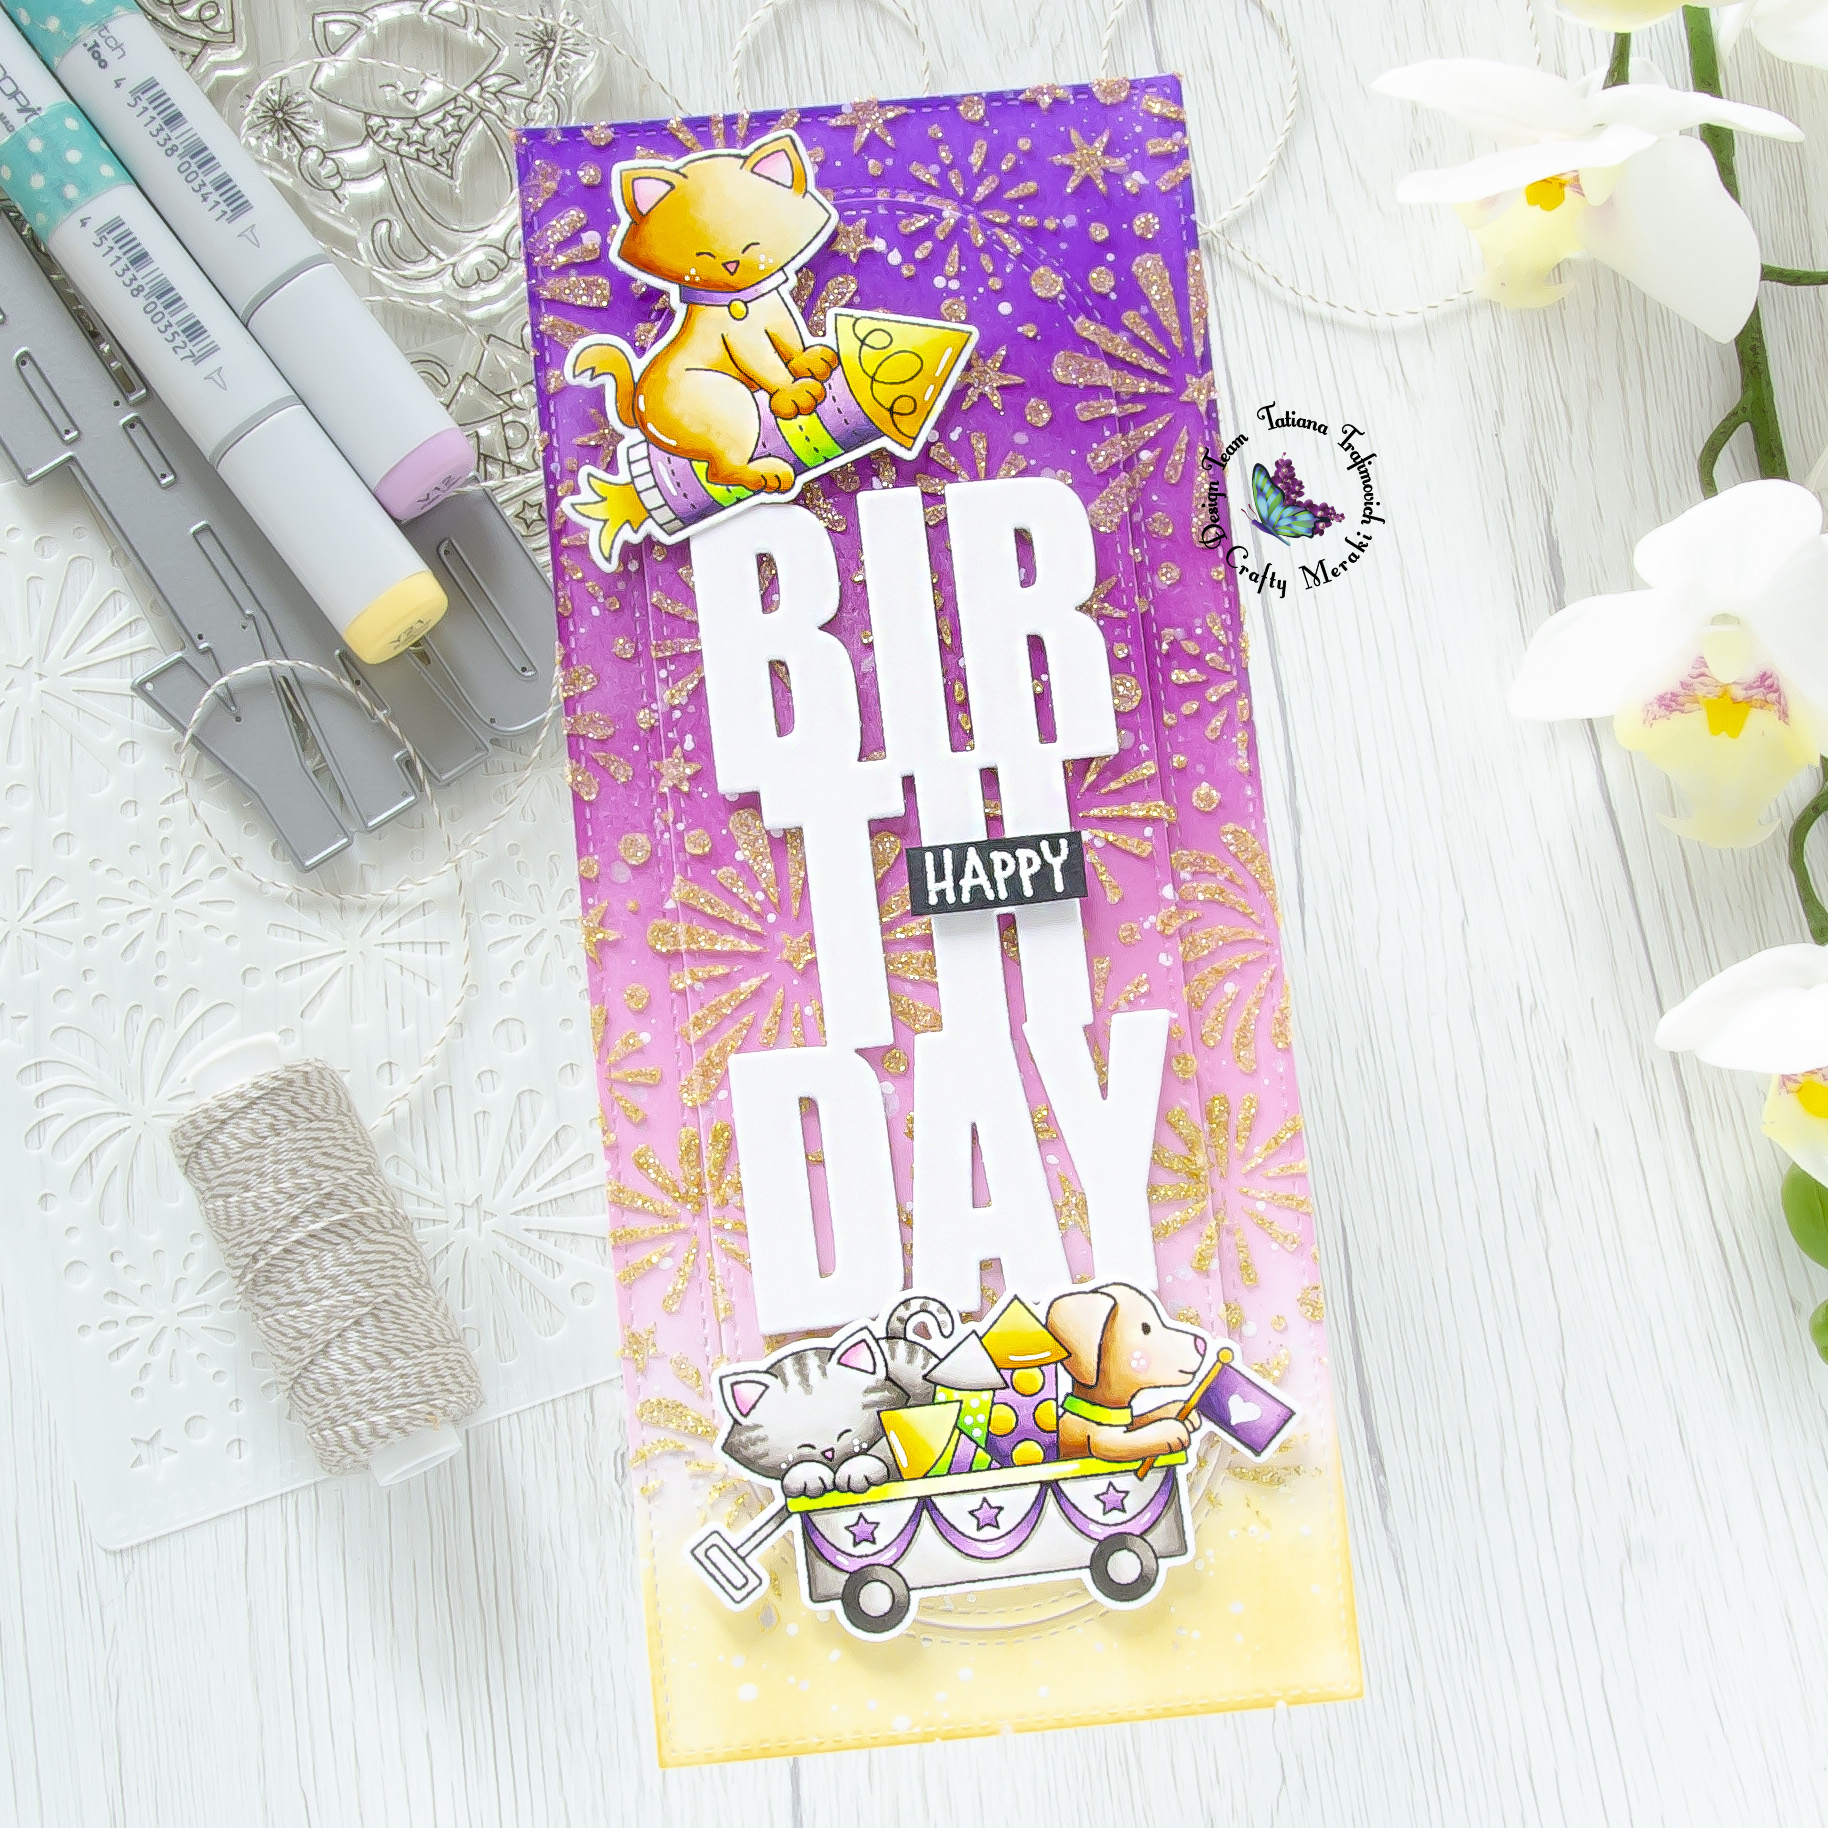
- Arrange all the elements on the card front and pop them on a foam tape for fun dimensional look.
- Finish with a couple of highlights added with a white gel pen.

That’s all for today!!! As always thanks so much for stopping by and have a great day!!!
Hugs,
Tatiana
