Hello there and happy Friday!!!
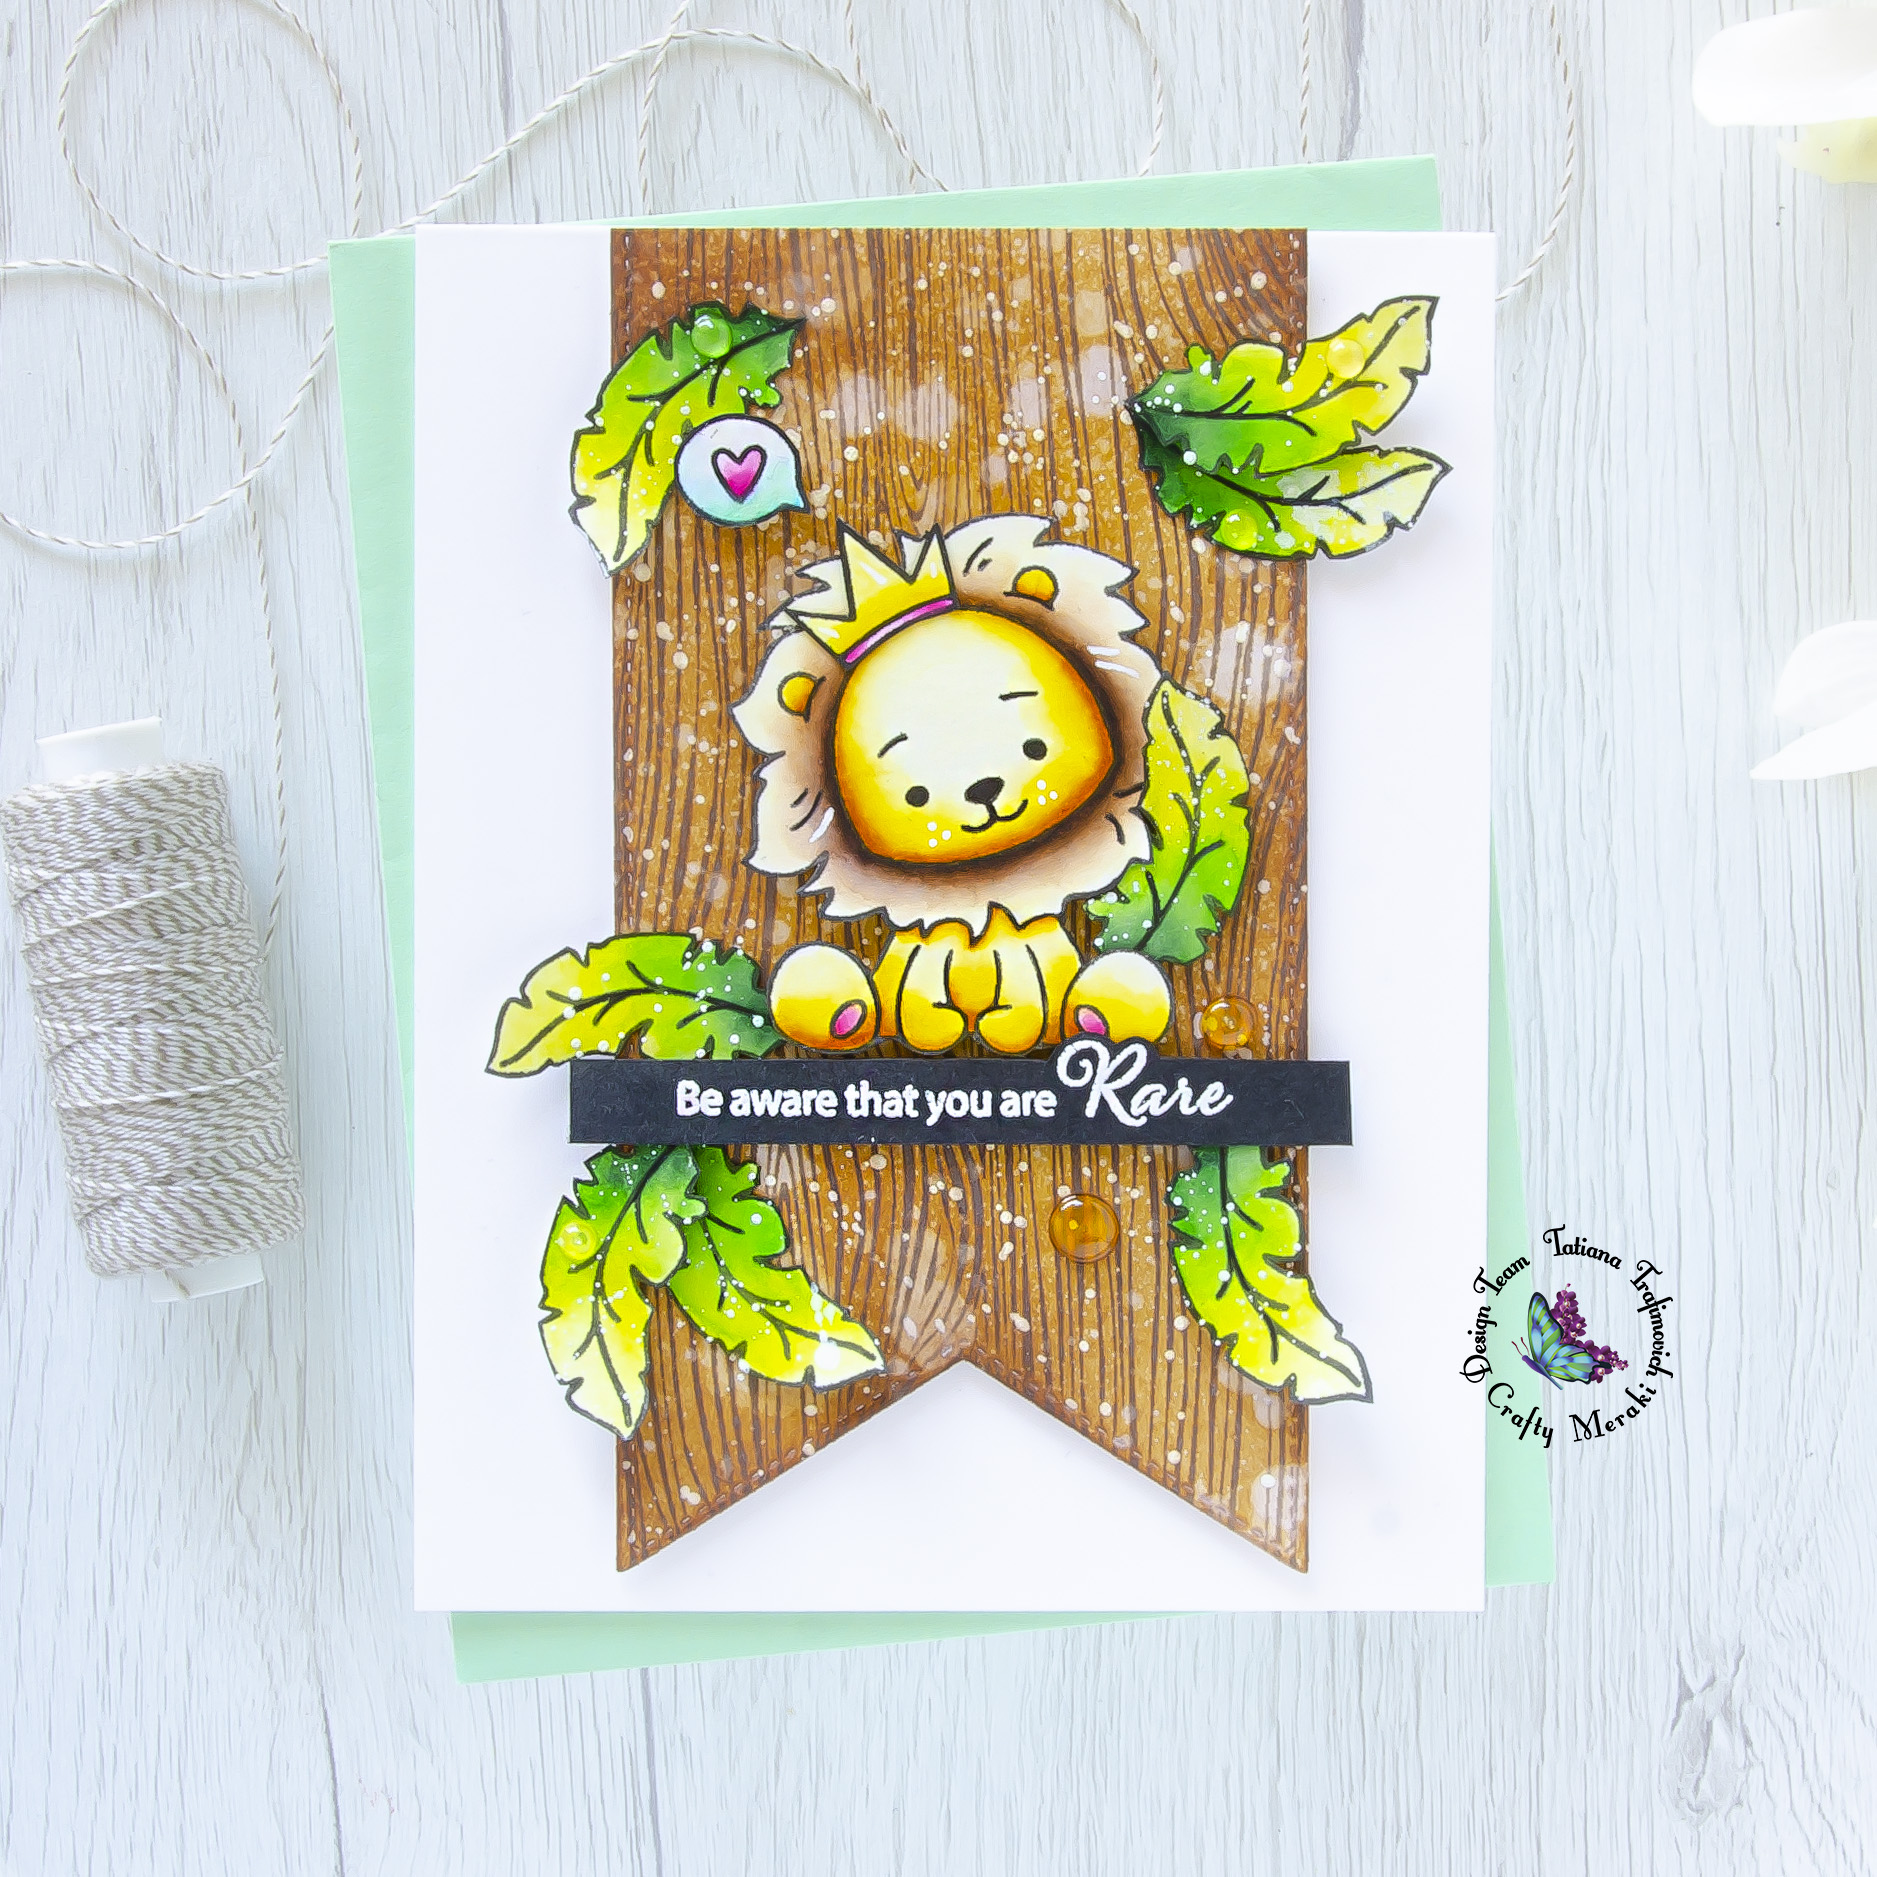
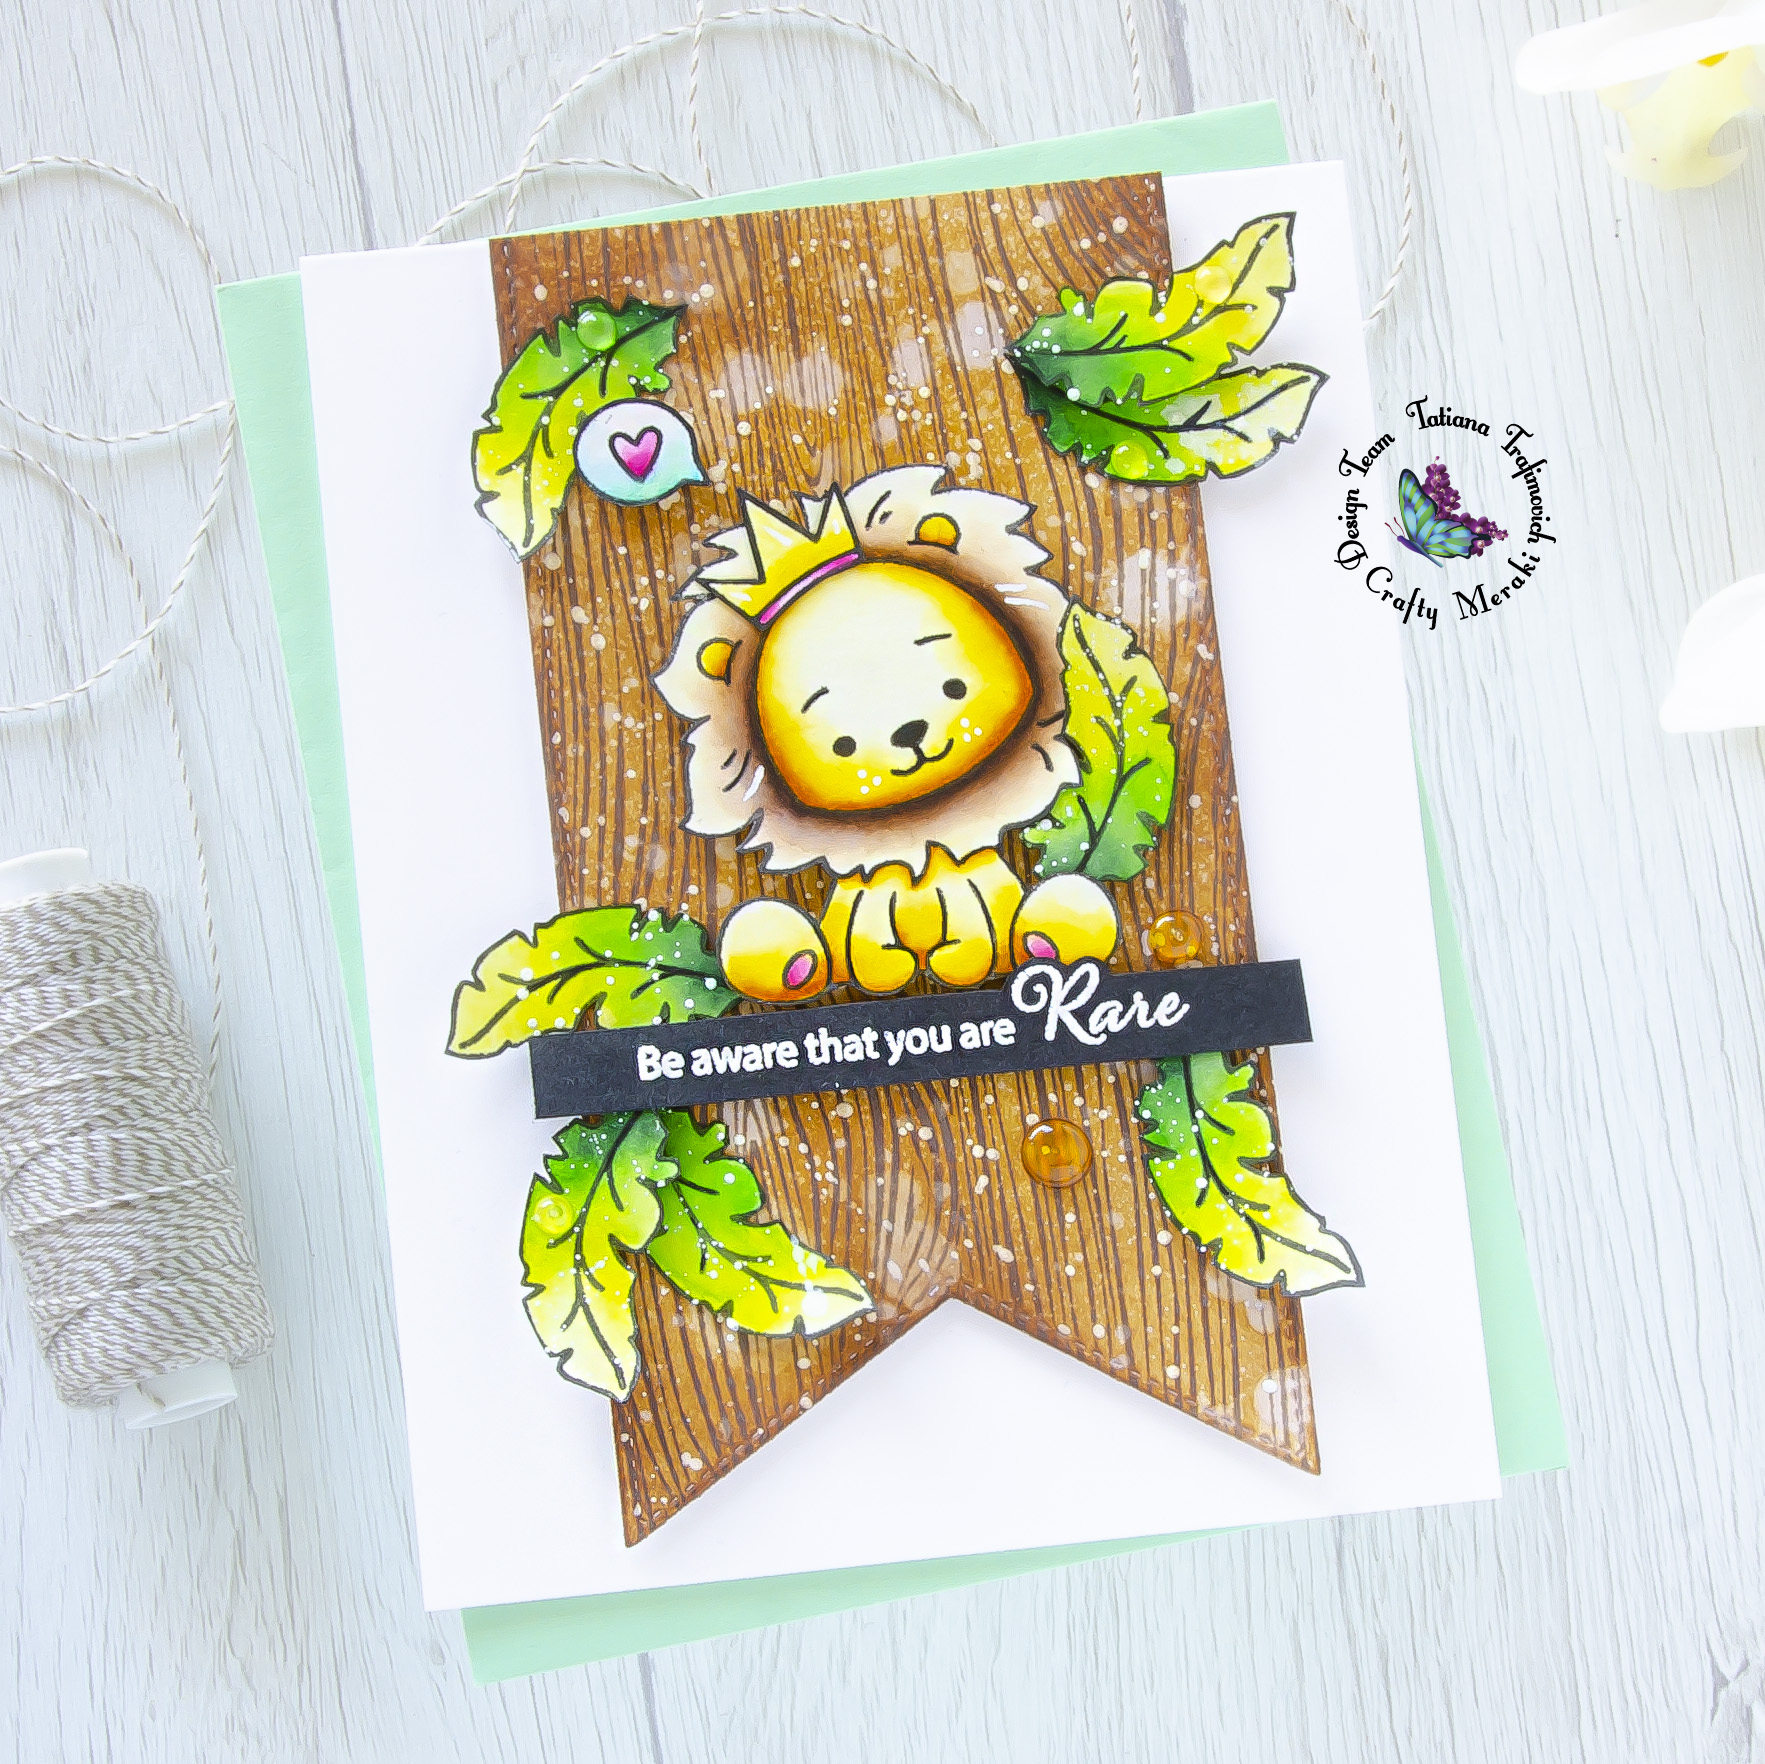
Thanks so much for joining me! Today I came up with a cute all occasions card stretching a little The Legend Stamp Set that was meant to be used for father’s day cards!

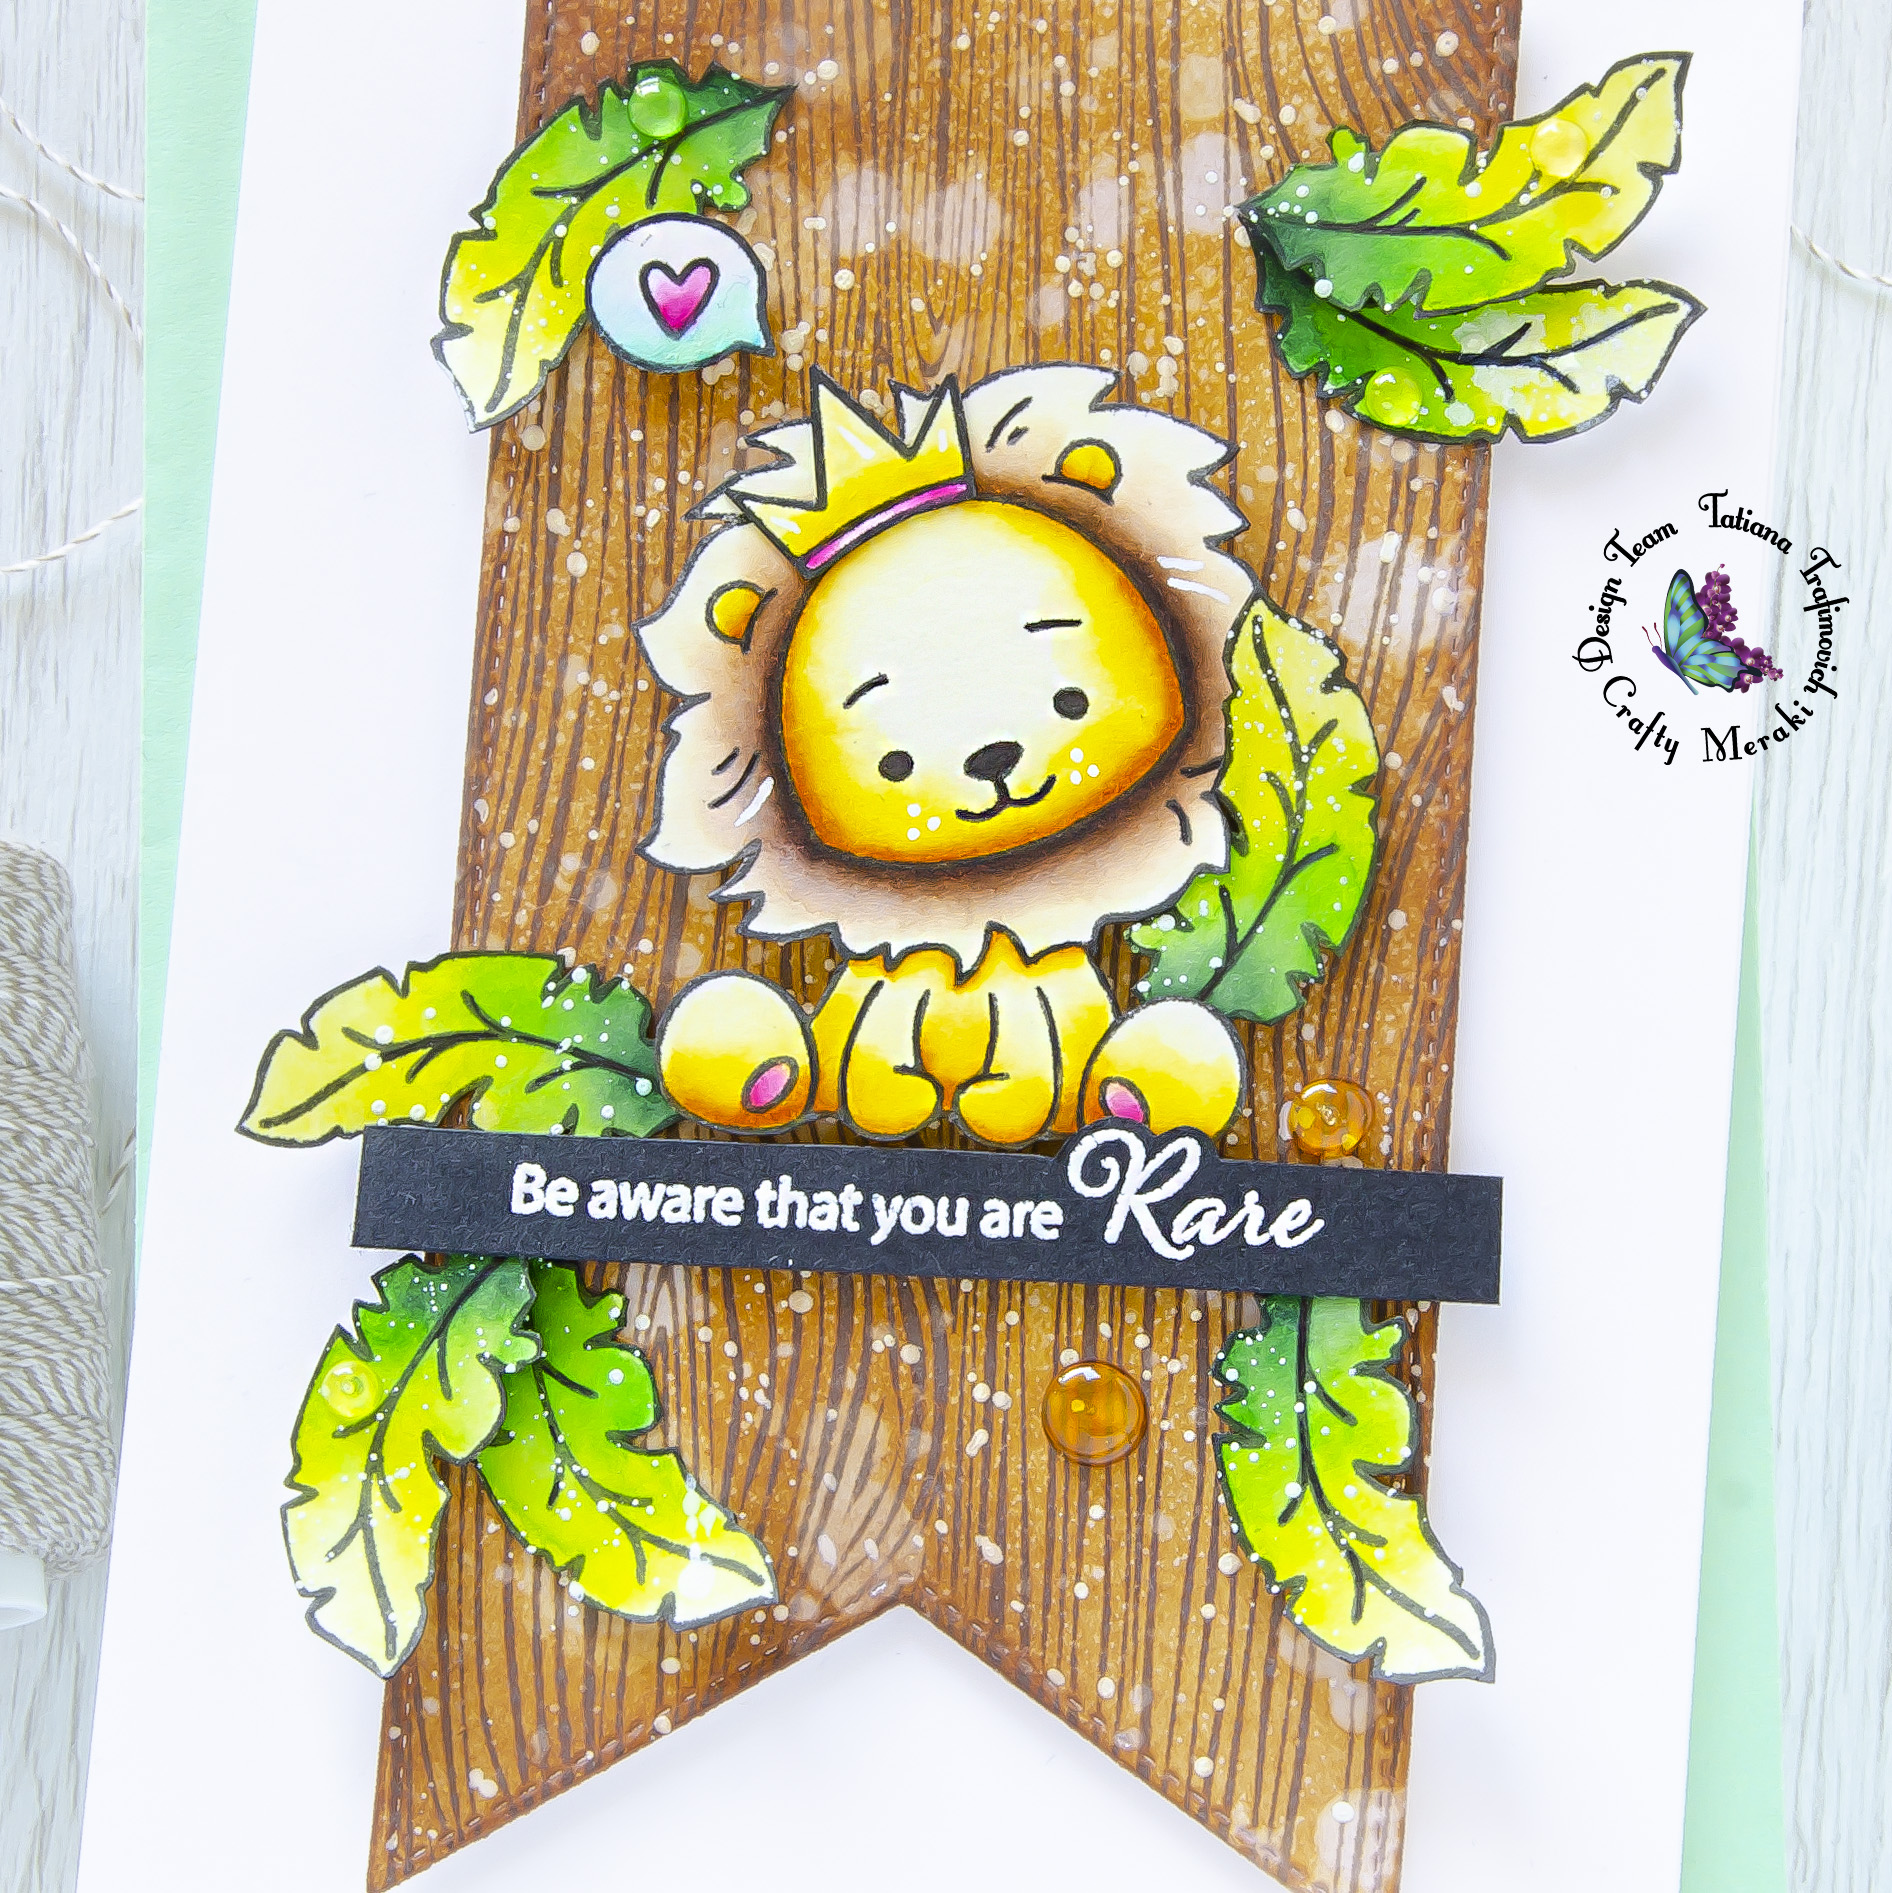
The cutest lion from this big set can be easily fussy cut as a single element and that means you can pair it with other critters or simply fit any occasion by choosing the different sentiment. I also repeatedly stamp the palm leaf multiple times since they created a perfect matching background with a summer feel.
Don’t forget that I have a coupon code for you to use at Crafty Meraki online store. You can redeem 10% off your entire purchase by using “TATIANA10OFF” at the checkout.
DISCLOSURE. I’m currently on various Design Teams. I only join a team because I love their products and genuinely use them. All opinions are my own. I do not accept offers of direct payment for dedicated blog posts to promote products. I am part of various affiliate programs and link some supplies with compensated affiliate links when used where possible at no cost to you. When you click on an affiliate link and then go on to make a purchase, I receive a small commission. I use the money raised towards the cost of running this blog. I hope if you like the content of my blog you will support me by clicking through these links to make your purchases. Thank you!

Key Ingredients:
USE “TATIANA10OFF” COUPON CODE AT THE CHECKOUT ON CRAFTY MERAKI WEB SITE TO GET A 10% DISCOUNT OF YOUR PURCHASE.
Step By Step Instructions:
- Stamp on Strathmore Bristol paper a lion, a speech bubble and a bunch of palm tree leaves from The Legend Stamp Set with VersaFine Onyx Black pigment ink. I used MISTI stamping positioning tool for stamping.
- Fussy cut all the stamps with the sharp small scissors right against the stamp lines.
- Color all the elements with water based markers. I used:
- TOMBOW DUAL BRUSH MARKERS
- 055, 090, 133, 243, 249, 452, 899, 992, 977
- ZIG CLEAN COLOR REAL BRUSH MARKERS
- n.41 Light Green, n.47 May Green, n.61 Light Brown
- Paint the stamp edges with a black brush tip marker to hide any imperfection due to the fussy cutting.
- Heat emboss in white onto black the sentiment from Dance In The Rain Stamp Set. Use an antistatic powder, VersaMark clear sticky ink ink and a white detailed embossing powder to achieve a neat impression.
- Stamp or stencil a woodgrain pattern on a piece of a Bristol paper with Walnut Stain Distress Oxide ink.
- Ink the whole woodgrain piece with Vintage Photo Distress and Fossilized Amber Distress inks. I used the blending brushes for a nice and smooth result.
- Splatter some droplets of water, a clear shimmer spray and a white gouache all across to add more interest to the pattern. Let the paper air dry or heat set it with a heat gun.
- Die cut the wood background, using Birthday Slimline Tag Die. Trim the top edge to fit the card front.
- Trim and score an extended A2 size card base (5 1/2″ x 4 1/4″) from Neenah Solar White paper.
- Arrange all the elements on the card front and glue them in place by popping some on a foam tape for a fun dimensional look.
- Finish with a couple of clear droplets added with Glossy Accents.

That’s all for today!!! As always thanks so much for stopping by and have a great day!!!
Hugs,
Tatiana

1 comment
[…] Visit her blog for step by step card making directions. […]