Hello there and happy Friday!!!
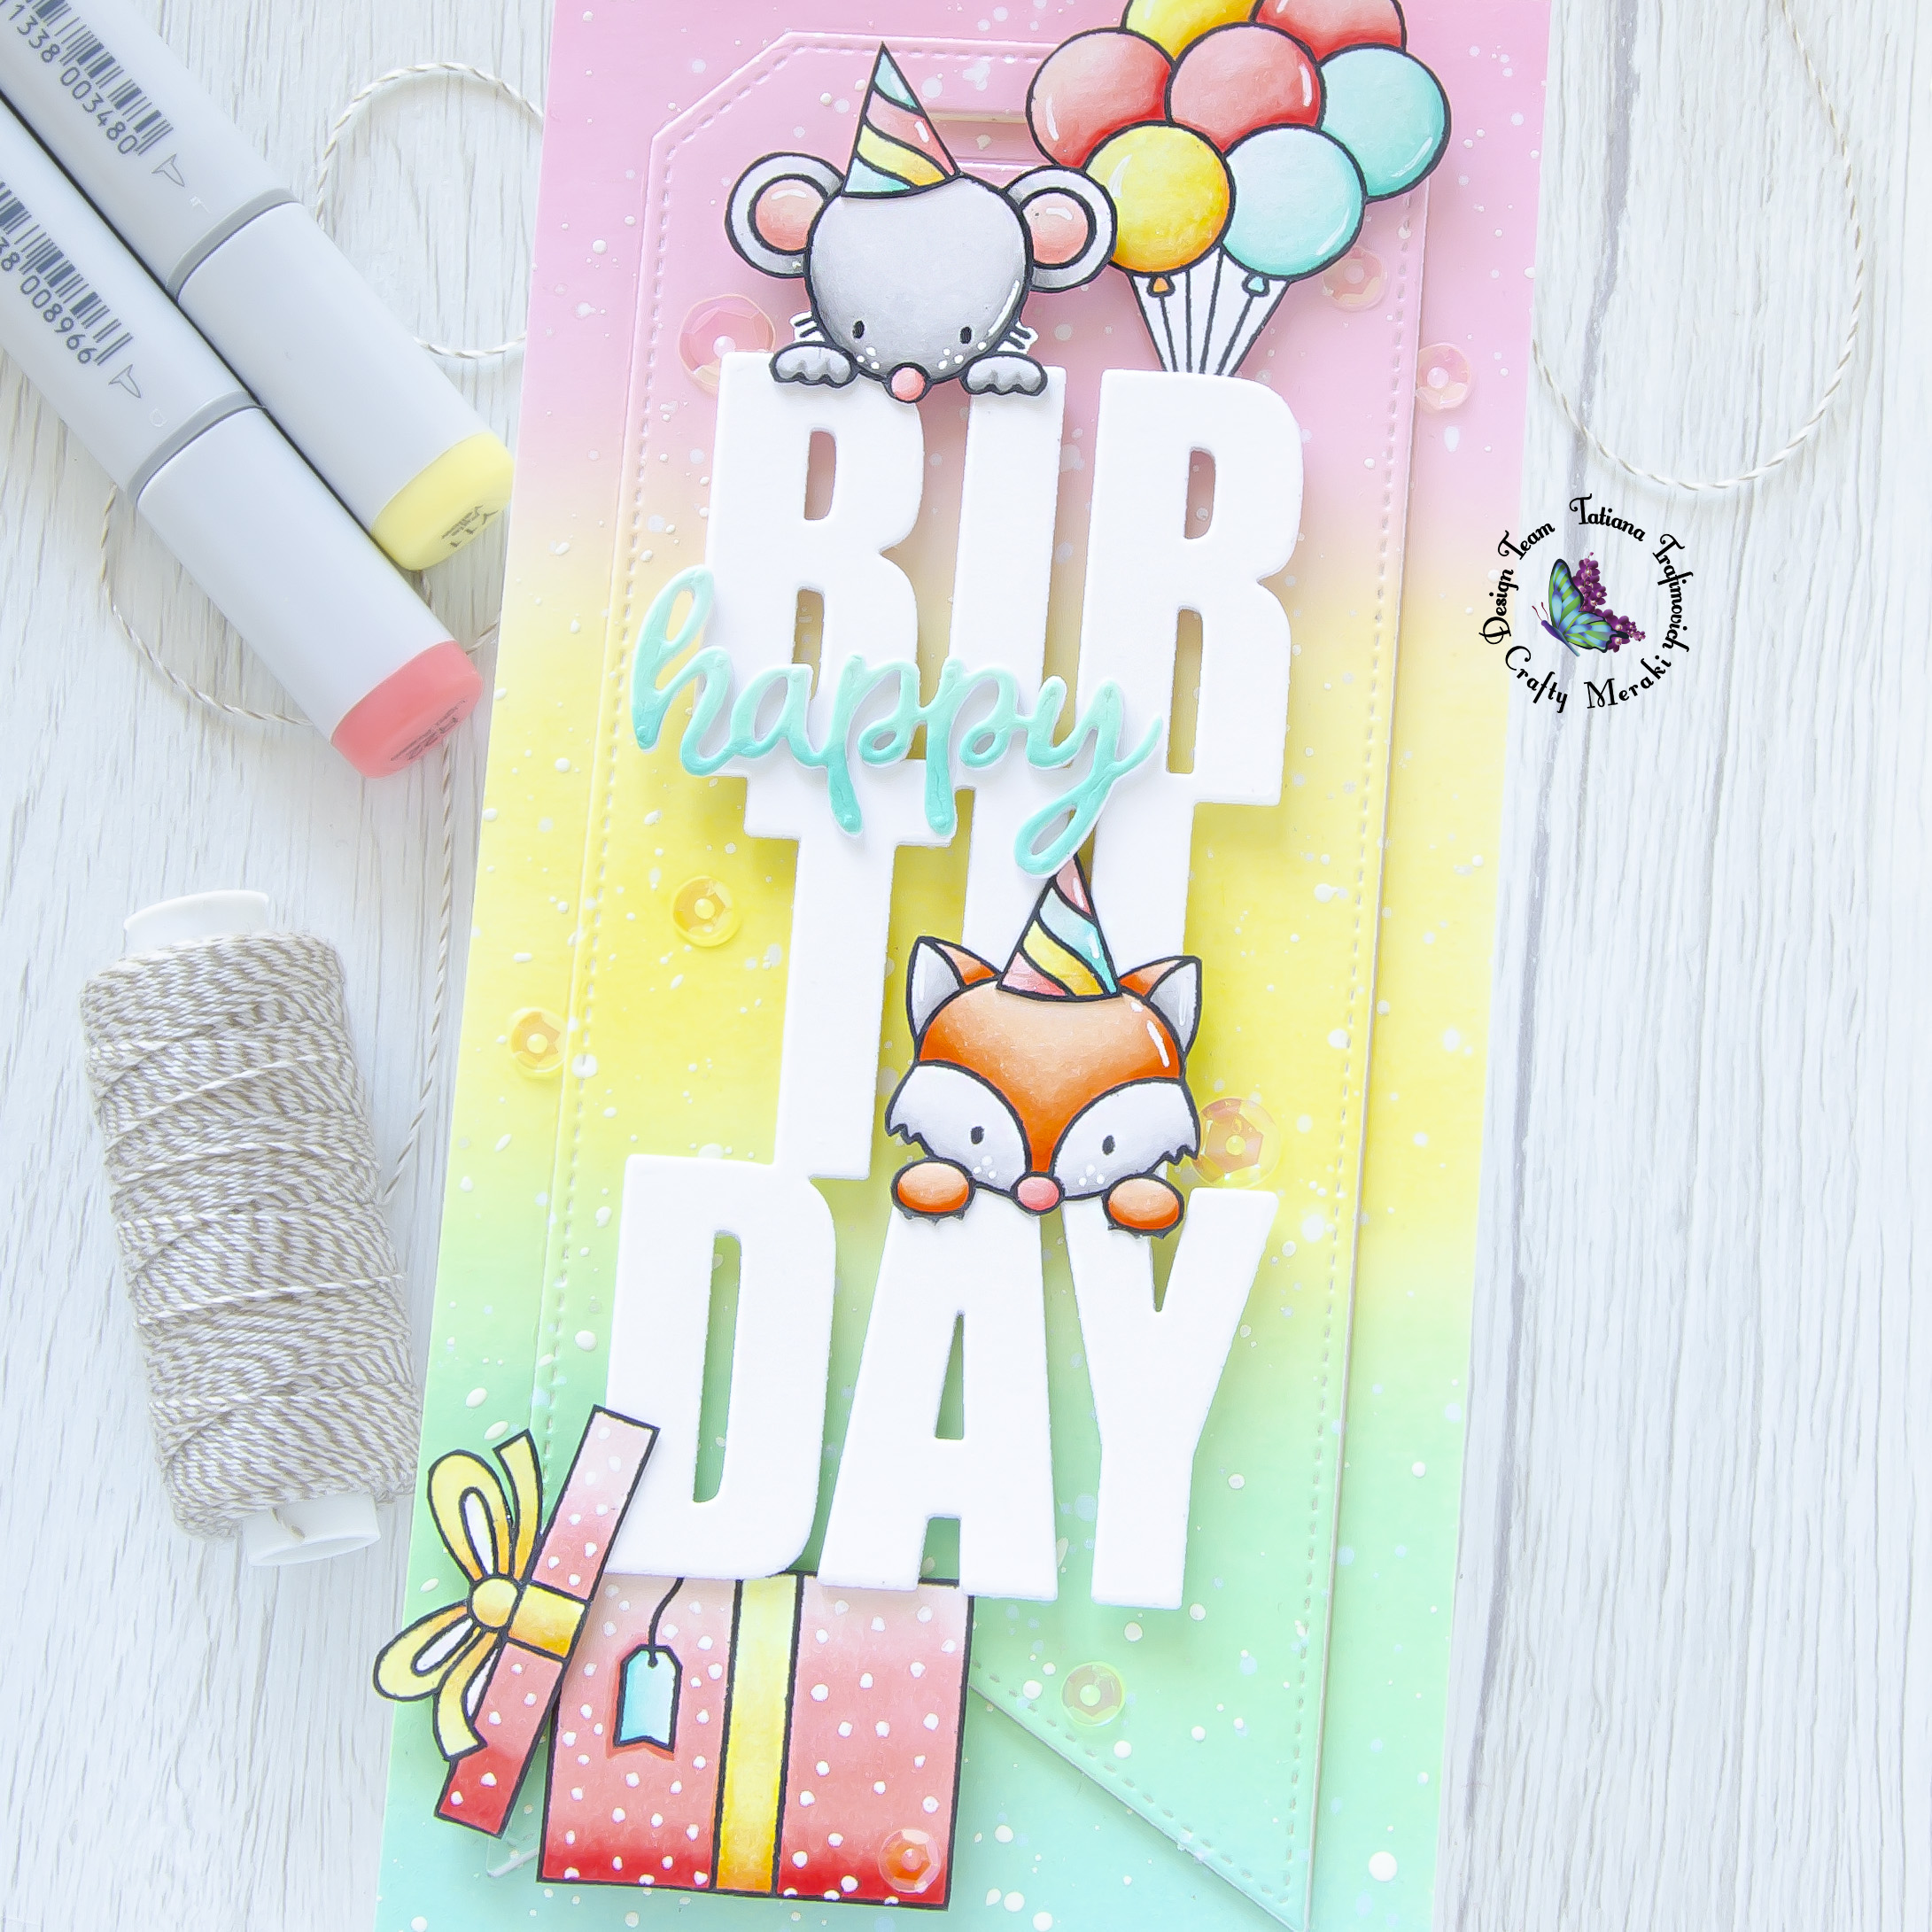
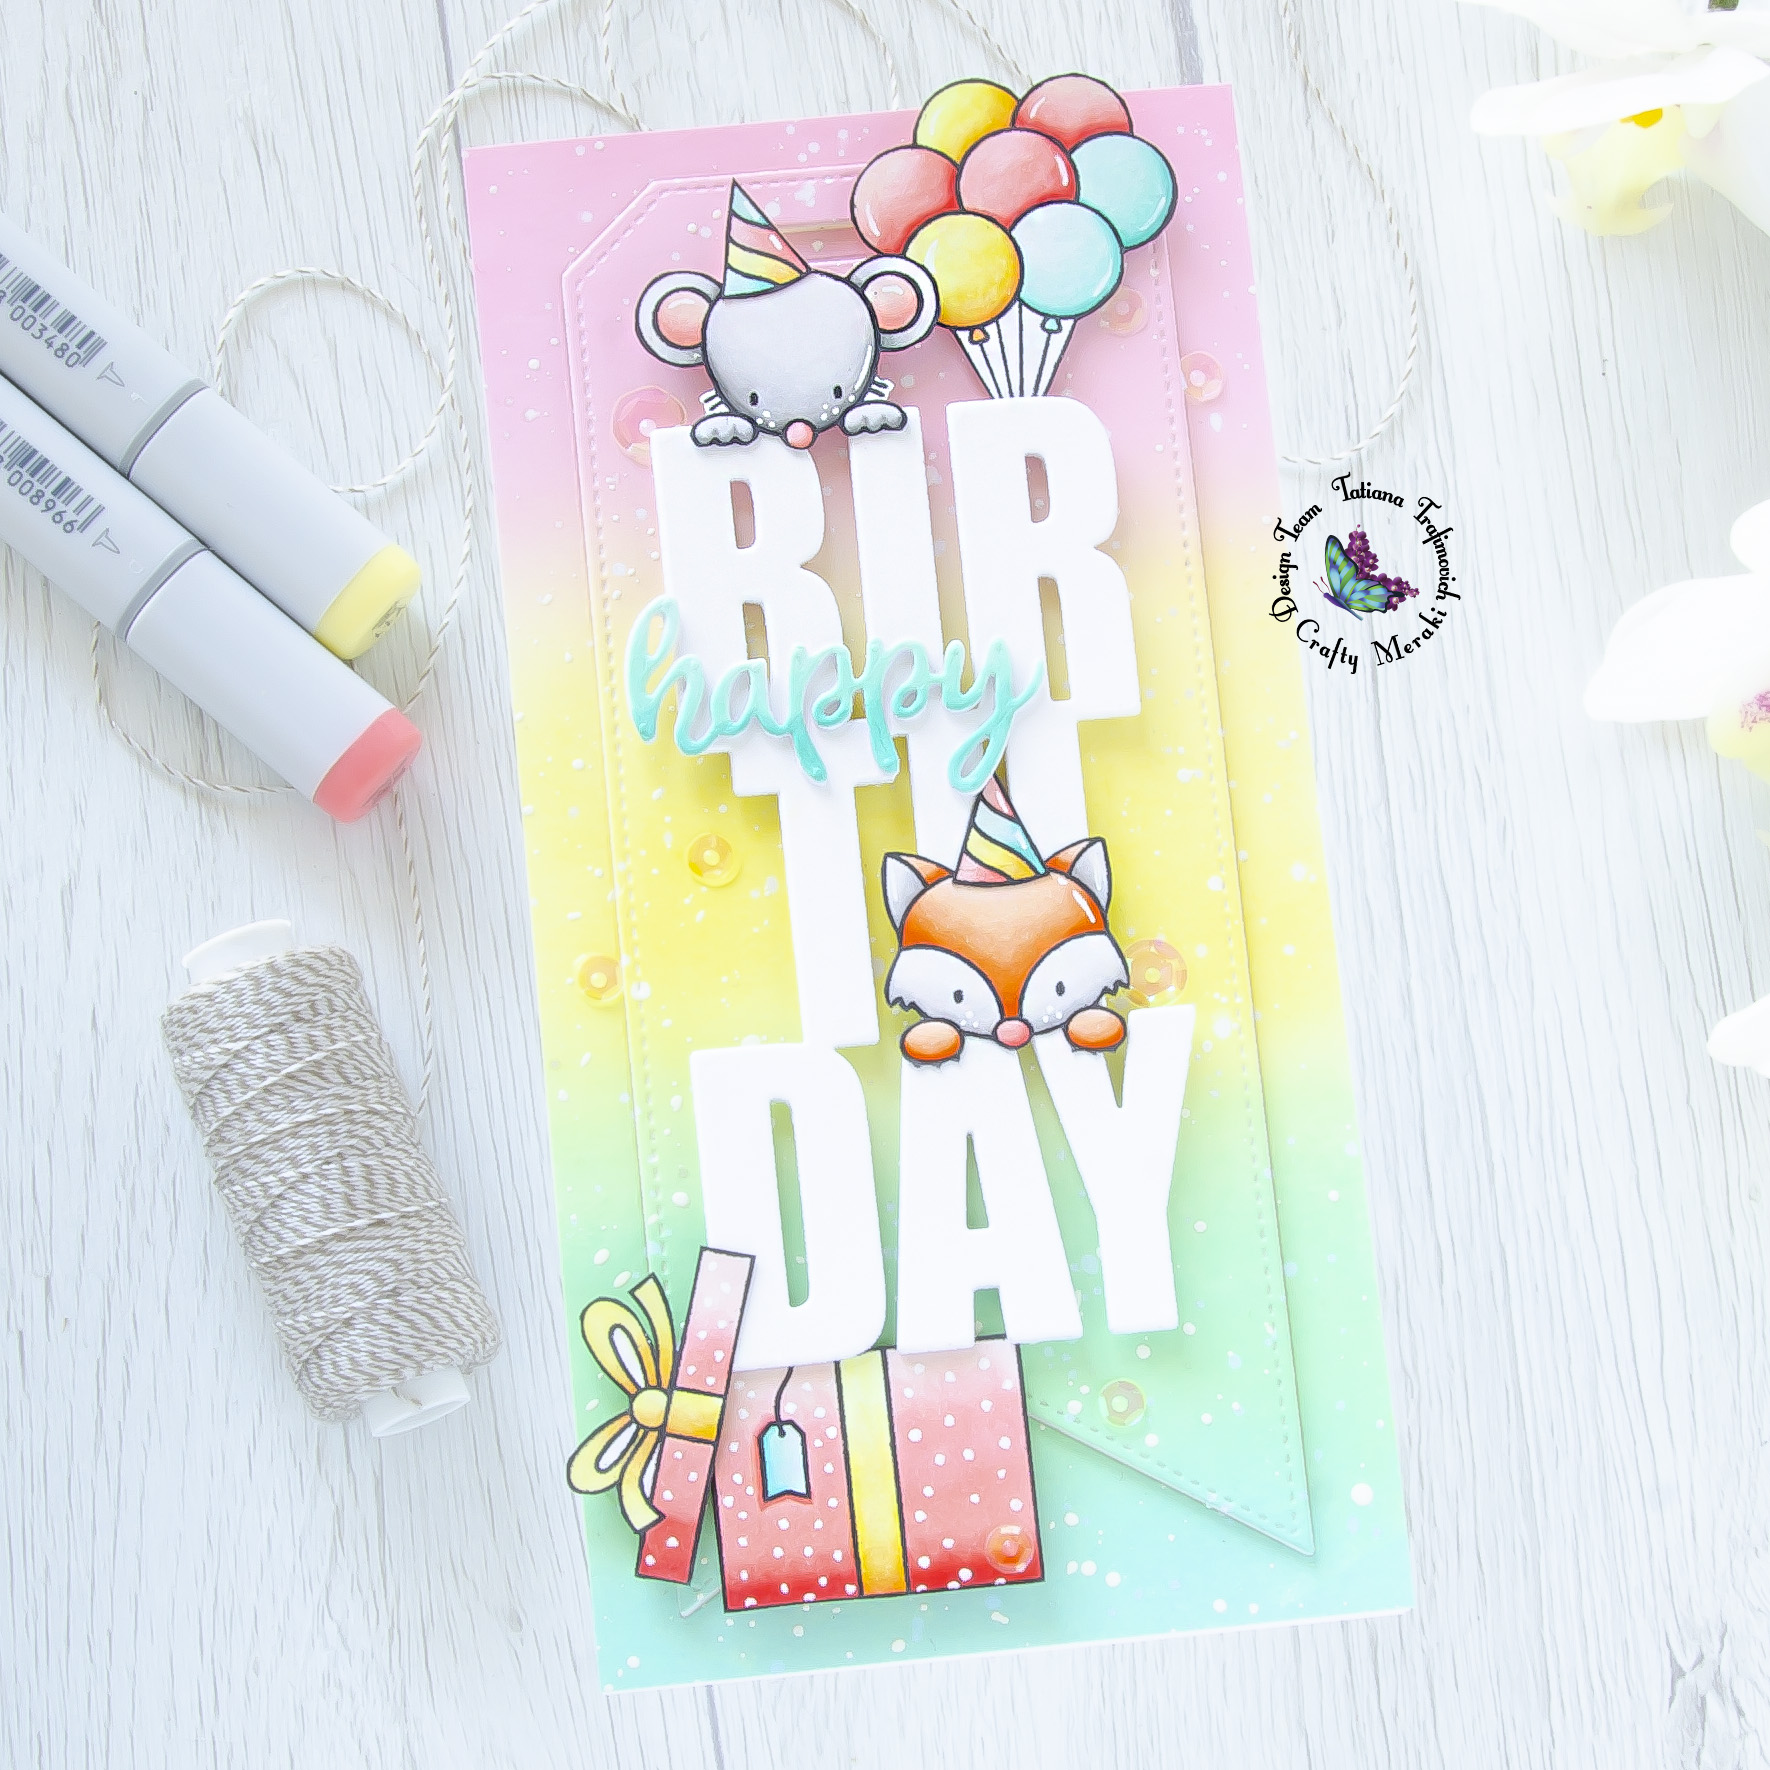
Thanks so much for joining me! I’m so excited to be on the Crafty Meraki blog today with a fun and cute birthday card mixing and matching a couple of my favorite products from different brands!

Working on this project I decided to try a bright, cheerful and colorful background inked with Distress inks. Then I arranged a big white die cut word birthday from Crafty Meraki Birthday Slimline Tag Die as a central focus point and surrounded it with fun and cute stamps from Heffy Doodle Popping By Stamp Set. A small slimline card base was slightly extended to fit better all the illustrations.
Don’t forget that I have a coupon code for you to use at Crafty Meraki online store. You can redeem 10% off your entire purchase by using “TATIANA10OFF” at the checkout.
DISCLOSURE. I’m currently on various Design Teams. I only join a team because I love their products and genuinely use them. All opinions are my own. I do not accept offers of direct payment for dedicated blog posts to promote products. I am part of various affiliate programs and link some supplies with compensated affiliate links when used where possible at no cost to you. When you click on an affiliate link and then go on to make a purchase, I receive a small commission. I use the money raised towards the cost of running this blog. I hope if you like the content of my blog you will support me by clicking through these links to make your purchases. Thank you!

Key Ingredients:
USE “TATIANA10OFF” COUPON CODE AT THE CHECKOUT ON CRAFTY MERAKI WEB SITE TO GET A 10% DISCOUNT OF YOUR PURCHASE.
Step By Step Instructions:
- Stamp on Copic X-Press paper all the illustrations you need from Popping By Stamp Set with Memento Tuxedo Black ink. I used MISTI stamping positioning tool for stamping.
- Fussy cut all the stamps with the sharp small scissors right against the stamp lines.
- Color all the elements with copic markers. I used:
- red R0000-R00-R21-R22-R24
- orange YR000-YR61-YR65-YR68
- yellow Y11-YR31-YR65
- teal BG10-BG11-BG13
- grey W00-W1-W3
- Paint the stamp edges with a black brush tip marker to hide any imperfection due to the fussy cutting.
- Trim and score a card base slightly taller than a small slimline one (7″ x 3 1/2″) from Neenah Solar White paper.
- Trim another 7″ x 3 1/2″ rectangle from a Bristol paper to use as a background.
- Ink it with (starting from the top):
- Splatter some tiny water droplets, a clear shimmer spray and a white gouache all across to add more interest to the pattern. Let the paper air dry or heat set it with a heat gun.
- Die cut the fish-tail banner, using Birthday Slimline Tag Die, in the center of the inked background.
- Die cut “Happy Birthday” words Birthday Slimline Tag Die three times. Stack all the layers together with Distress Collage Medium Matte.
- Add color to the word “happy” with copic markers.
- Arrange all the elements on the card front and glue them in place by popping some on a foam tape for a fun dimensional look.
- Finish with a couple of clear iridescent sequins adhered with Distress Collage Medium Matte, a generous coat of a clear glitter pen and a couple of highlights added with a white gel pen.

That’s all for today!!! As always thanks so much for stopping by and have a great day!!!
Hugs,
Tatiana
