Hello and welcome to Day 2 of the Newton’s Nook August release! Thanks so much for joining me! Today I keep sharing peeks on the amazing new products with two cute Halloween cards!
All the new August products will be available for purchase on Friday, August 20th at Newton’s Nook Designs online store and other craft retailers!
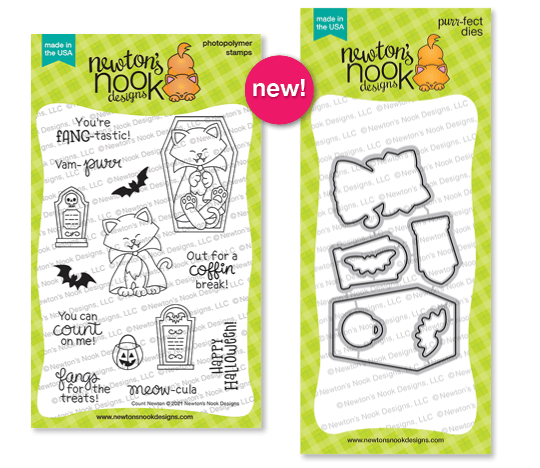
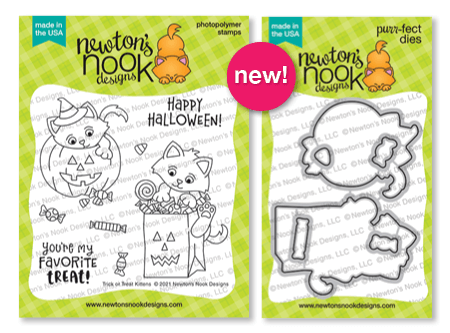
Cuteness overloads with two new absolutely adorable kitty sets called Count Newton Stamp Set and Trick or Treat Kittens Stamp Set. Both are super fun and filled with the most hilarious puns and yet designed in different styles! In case you’re interested both new stamp sets come with the coordinating Count Newton Dies and Trick or Treat Kittens Dies.
Giveaway alert!! NND is giving away both new Count Newton and Trick or Treat Kittens stamp sets to lucky winners so make sure you read all the way to the bottom of this post to see how to win!
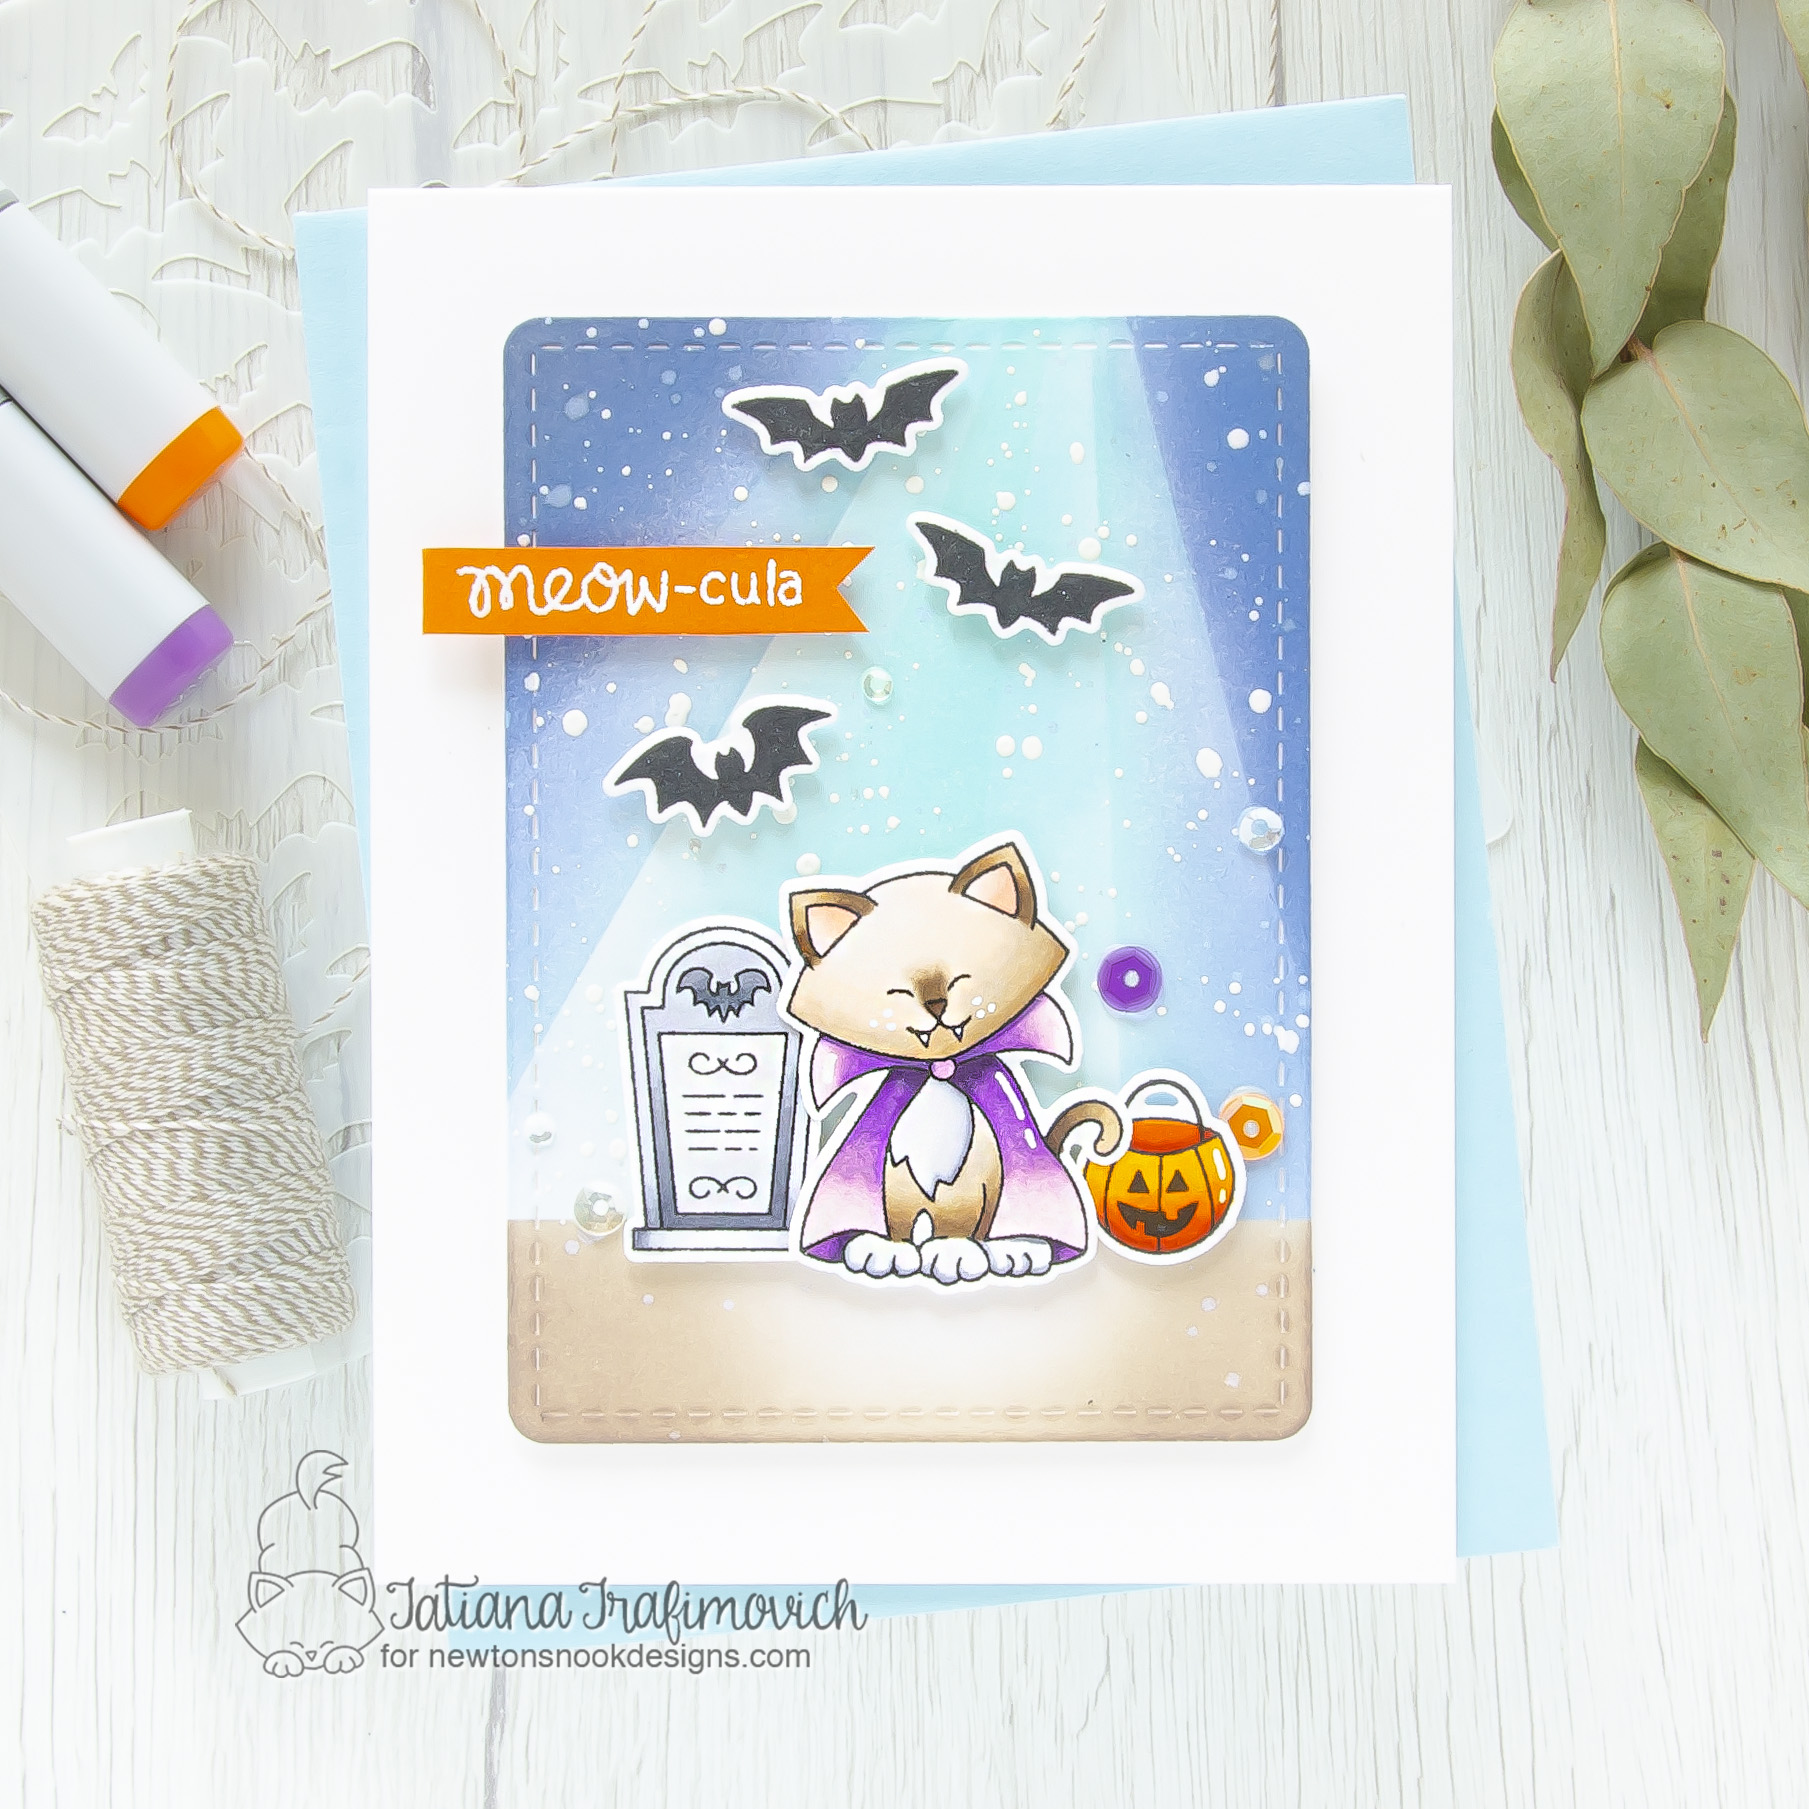
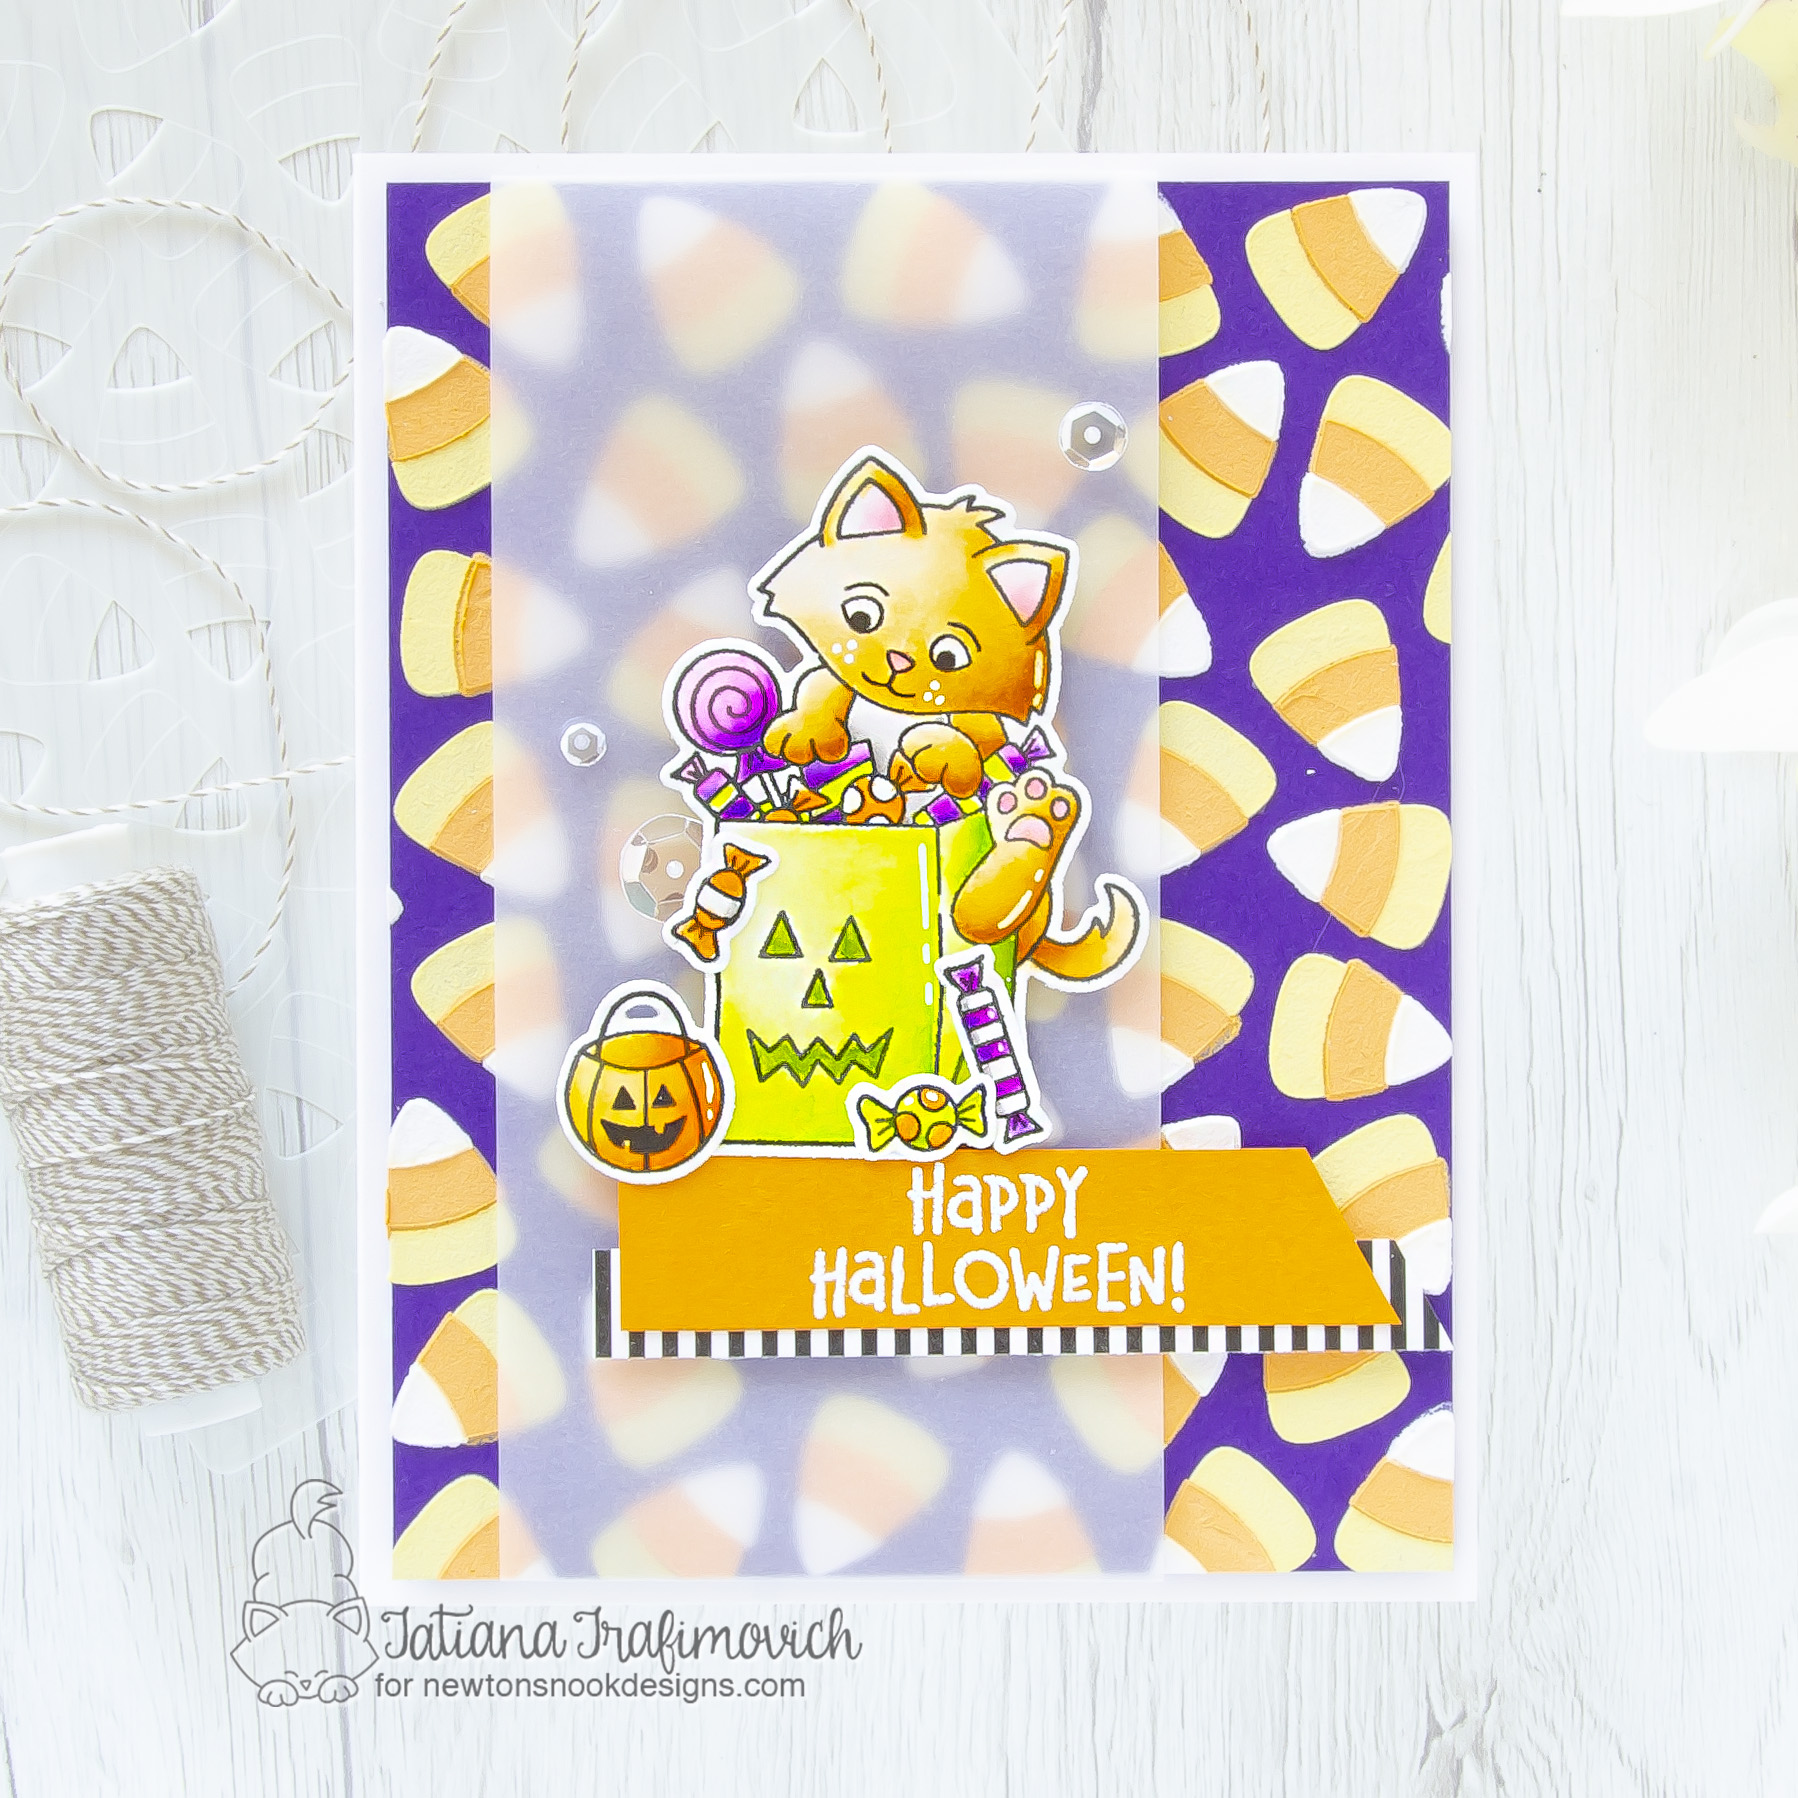
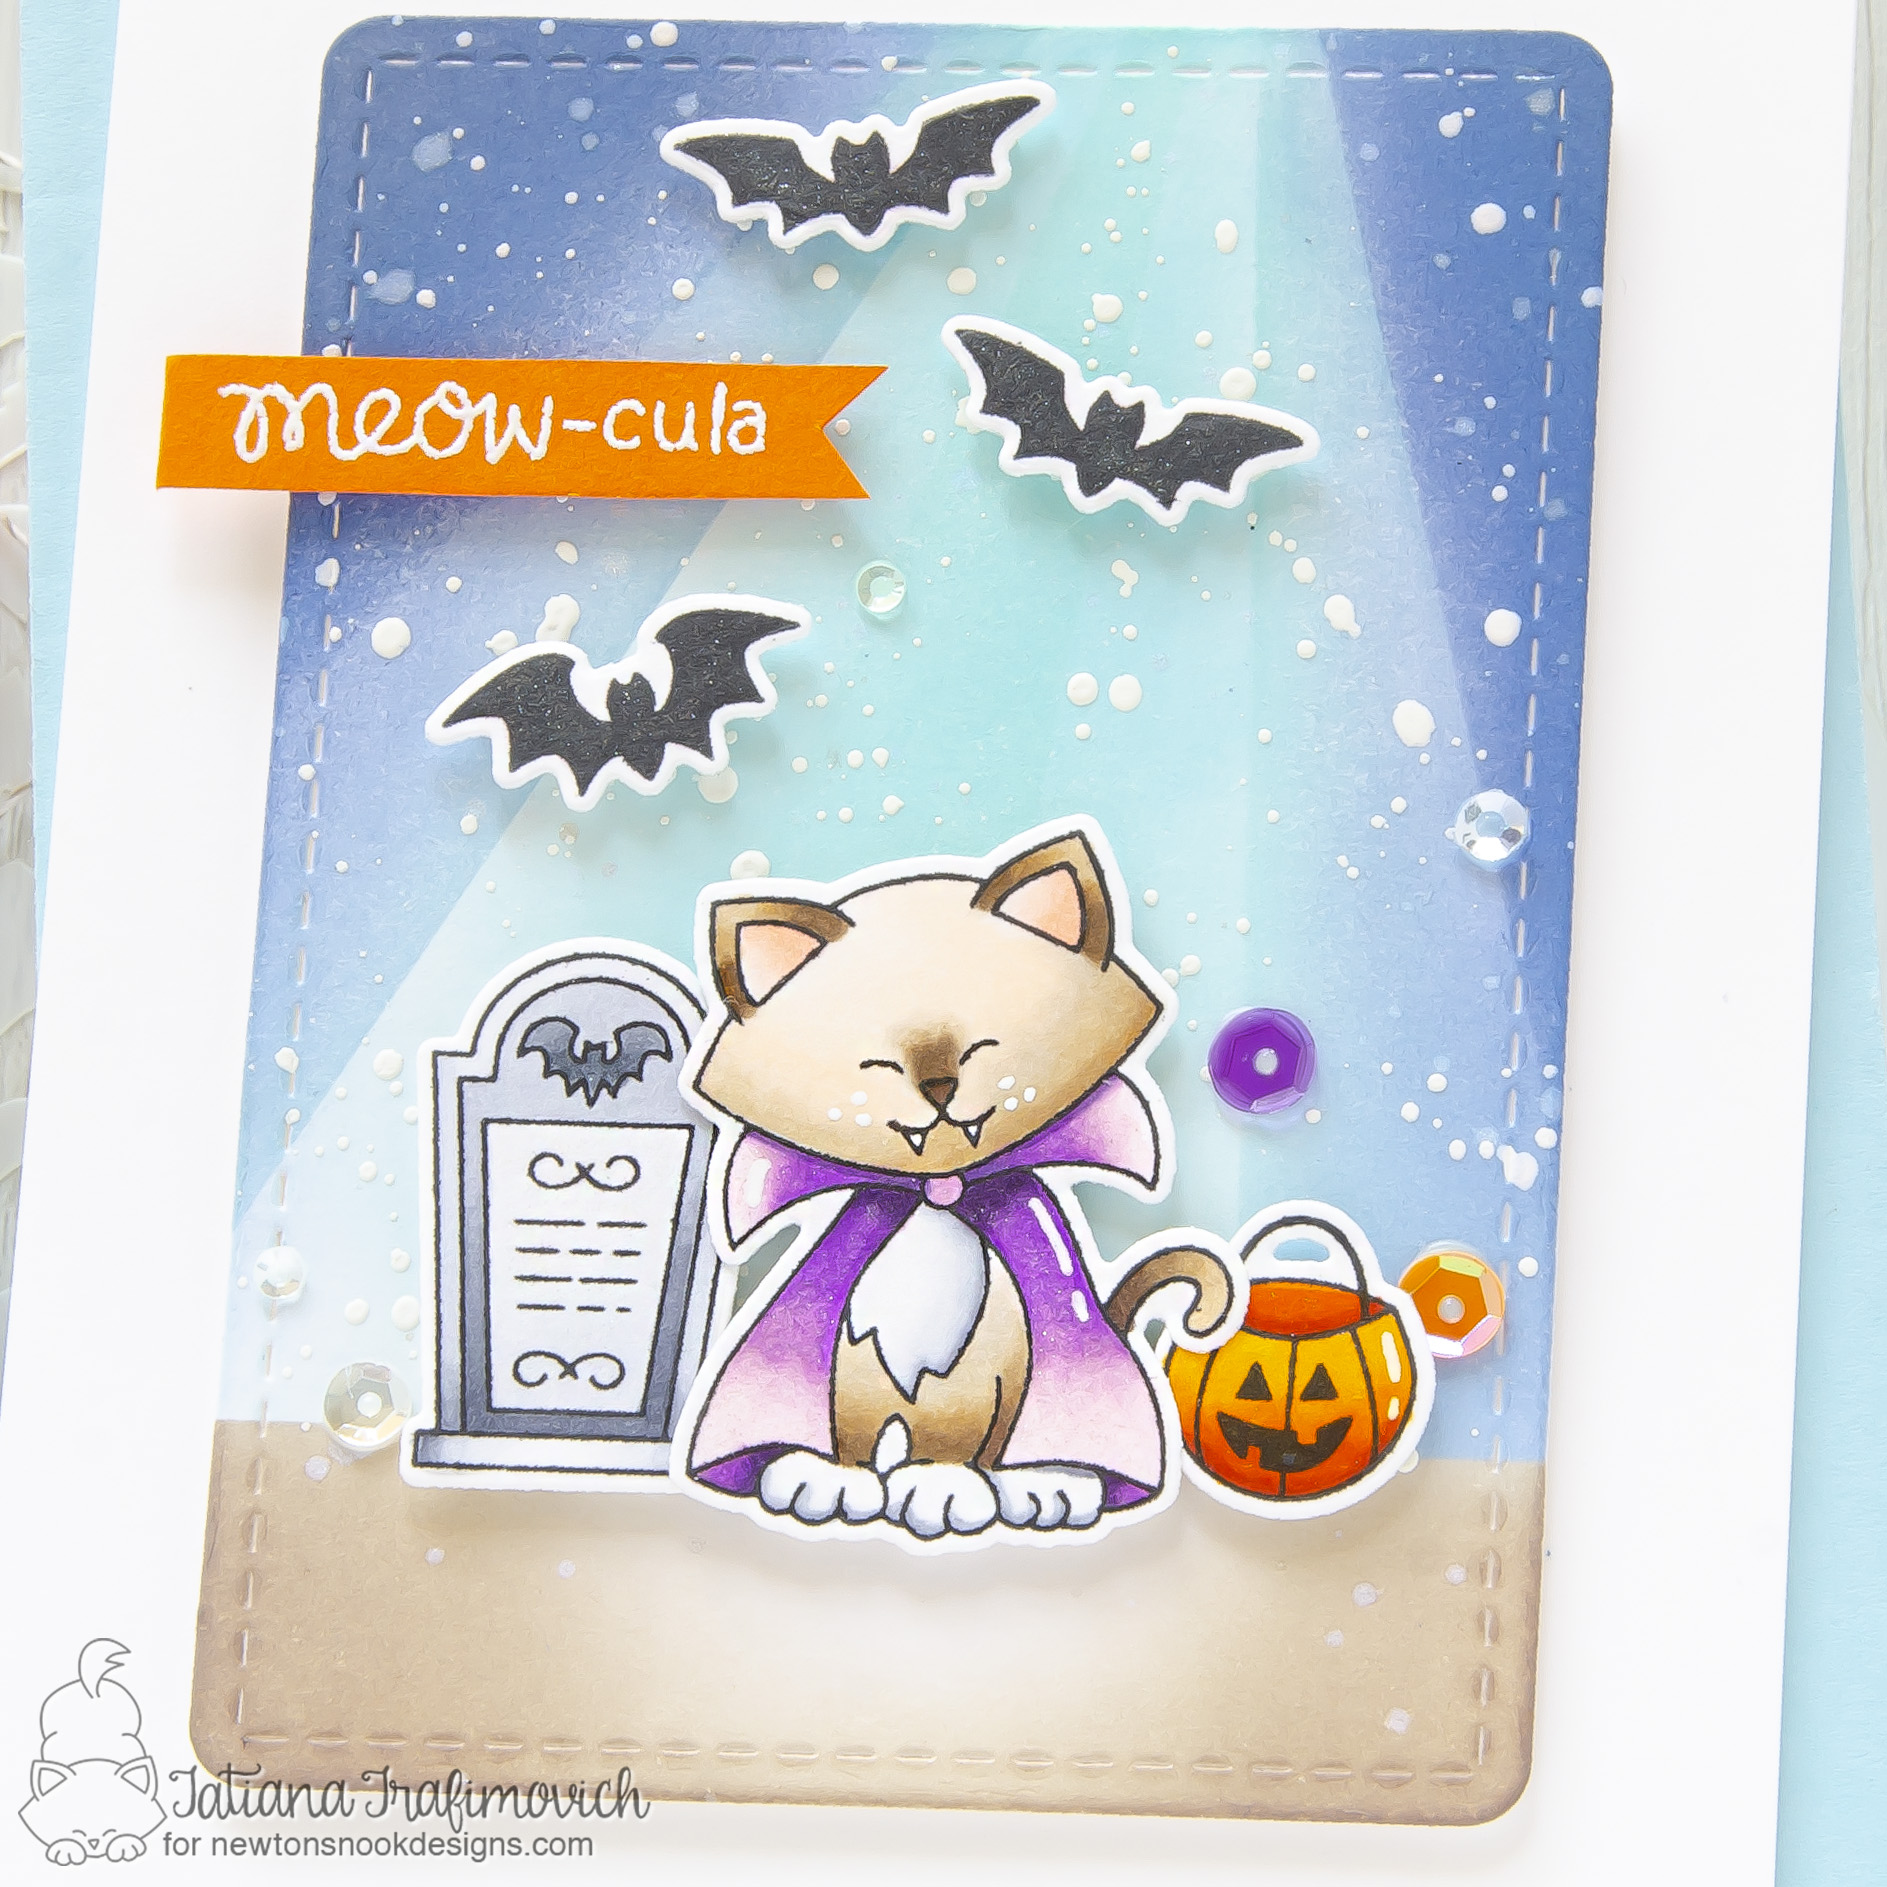
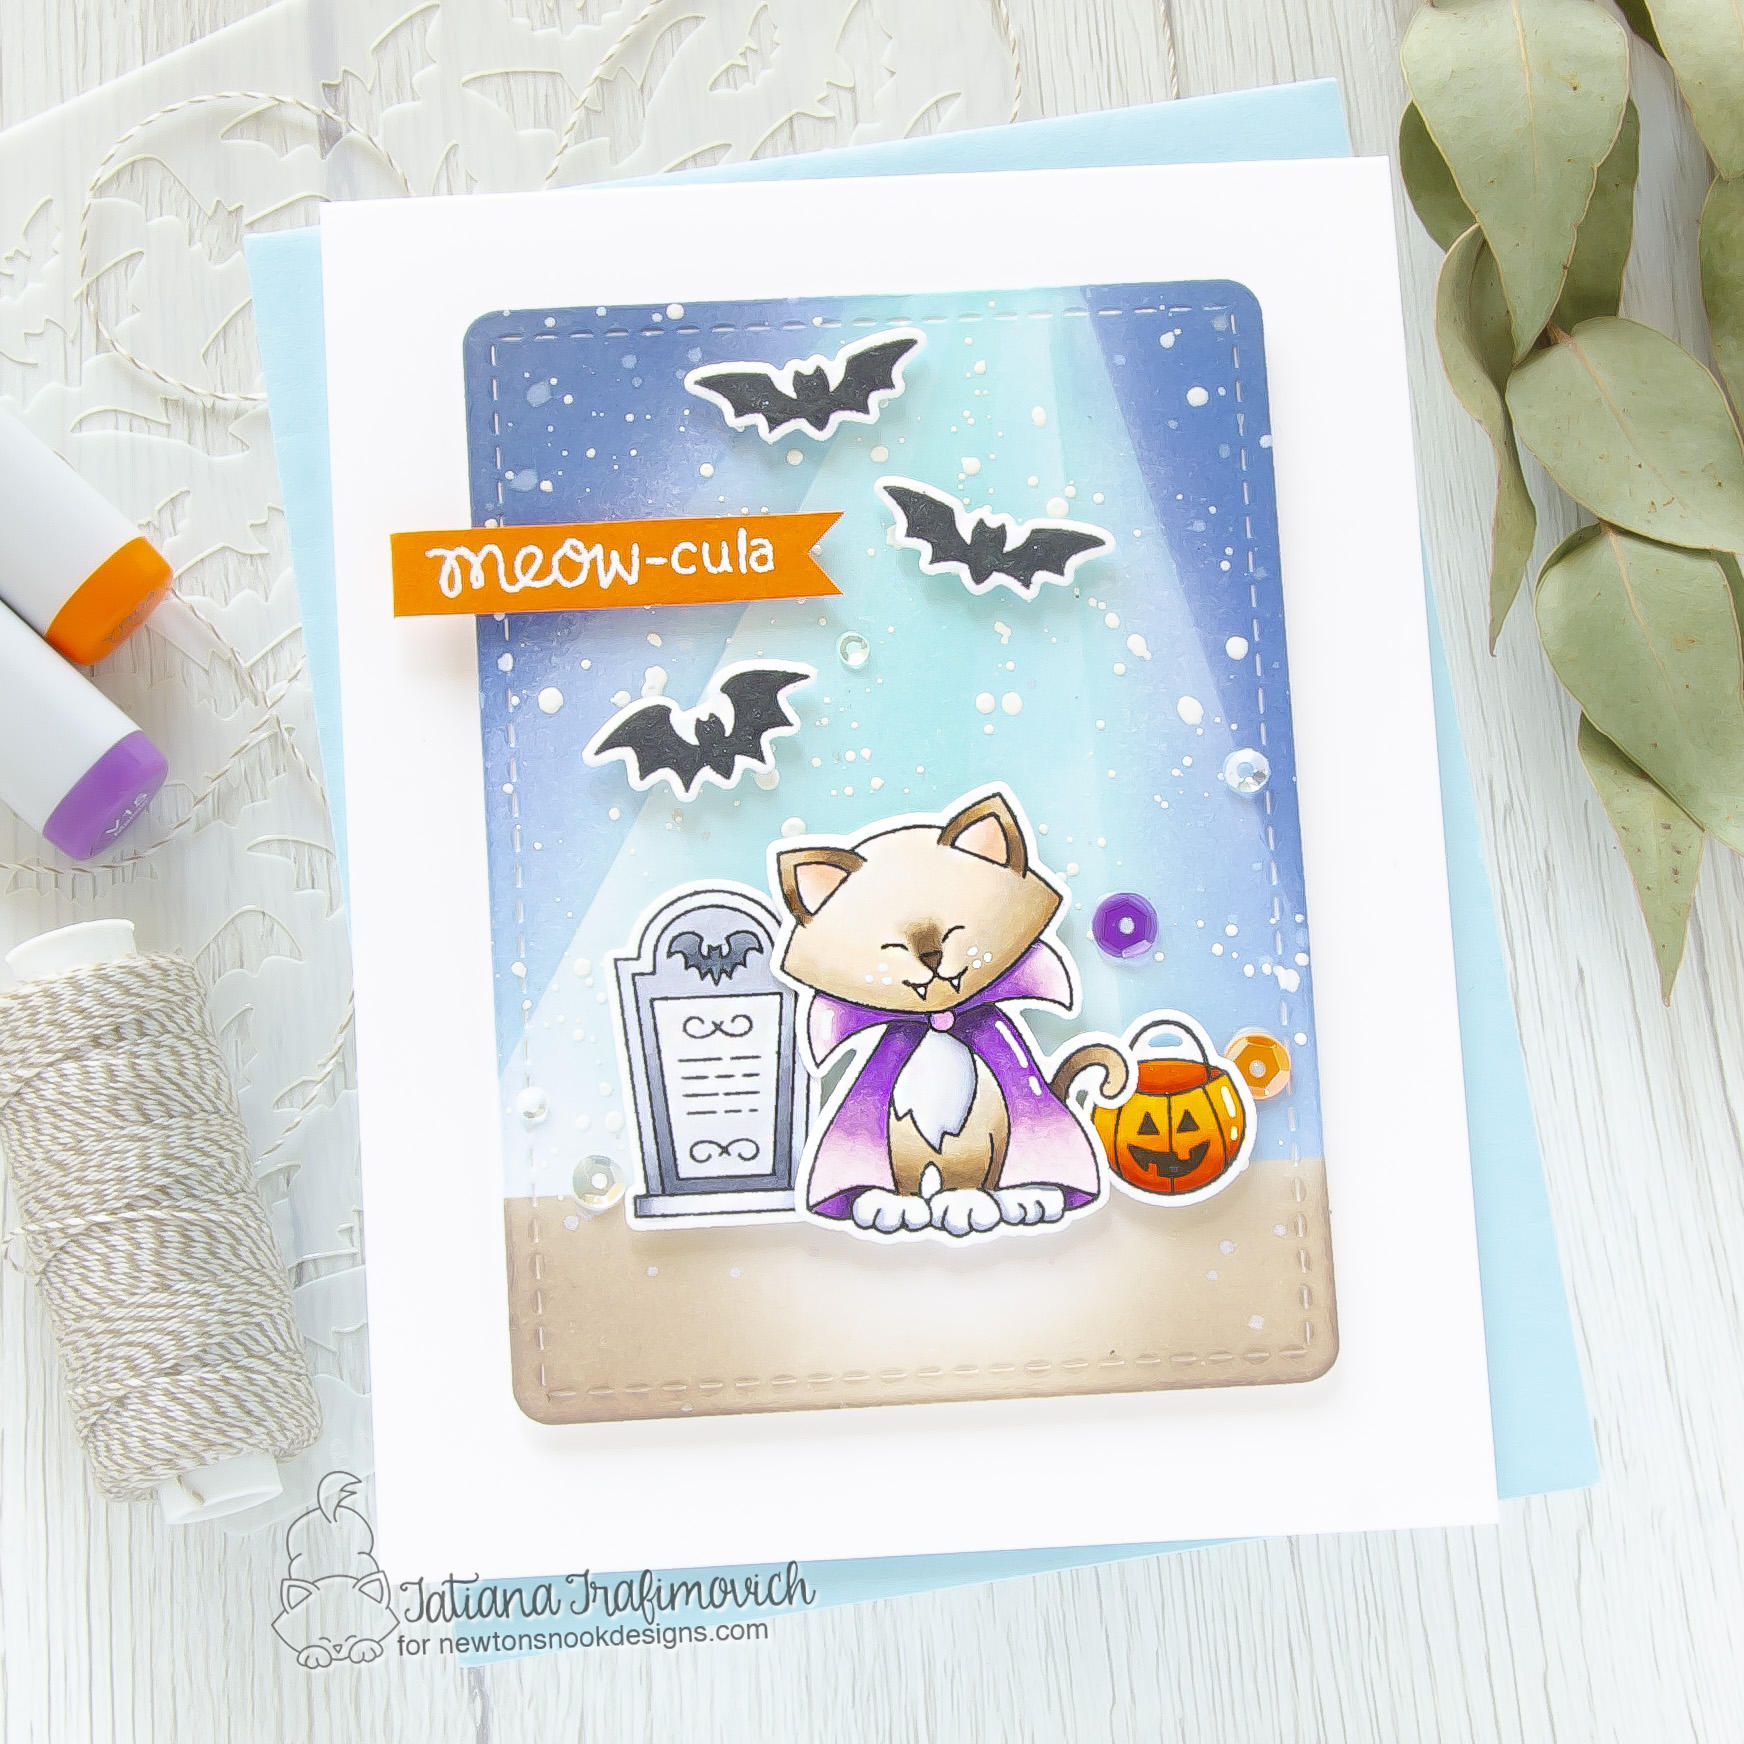
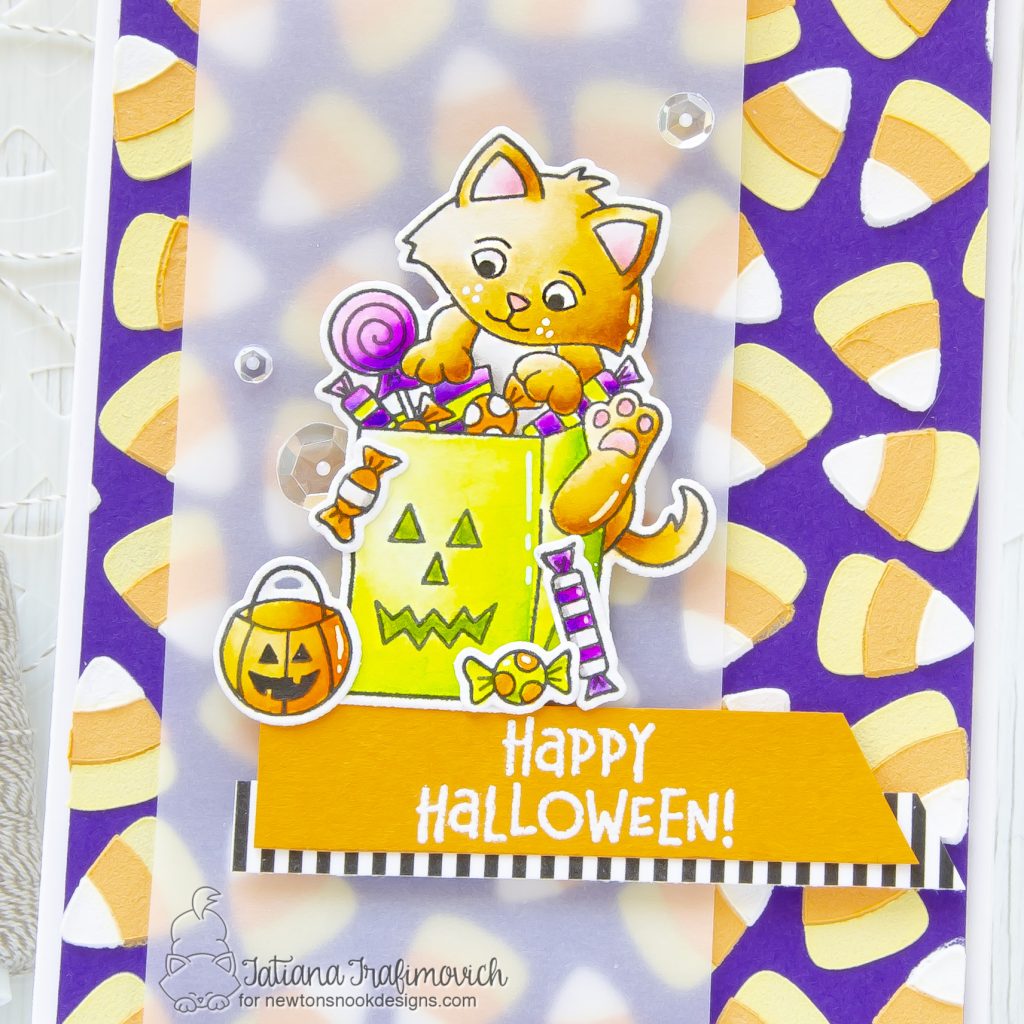
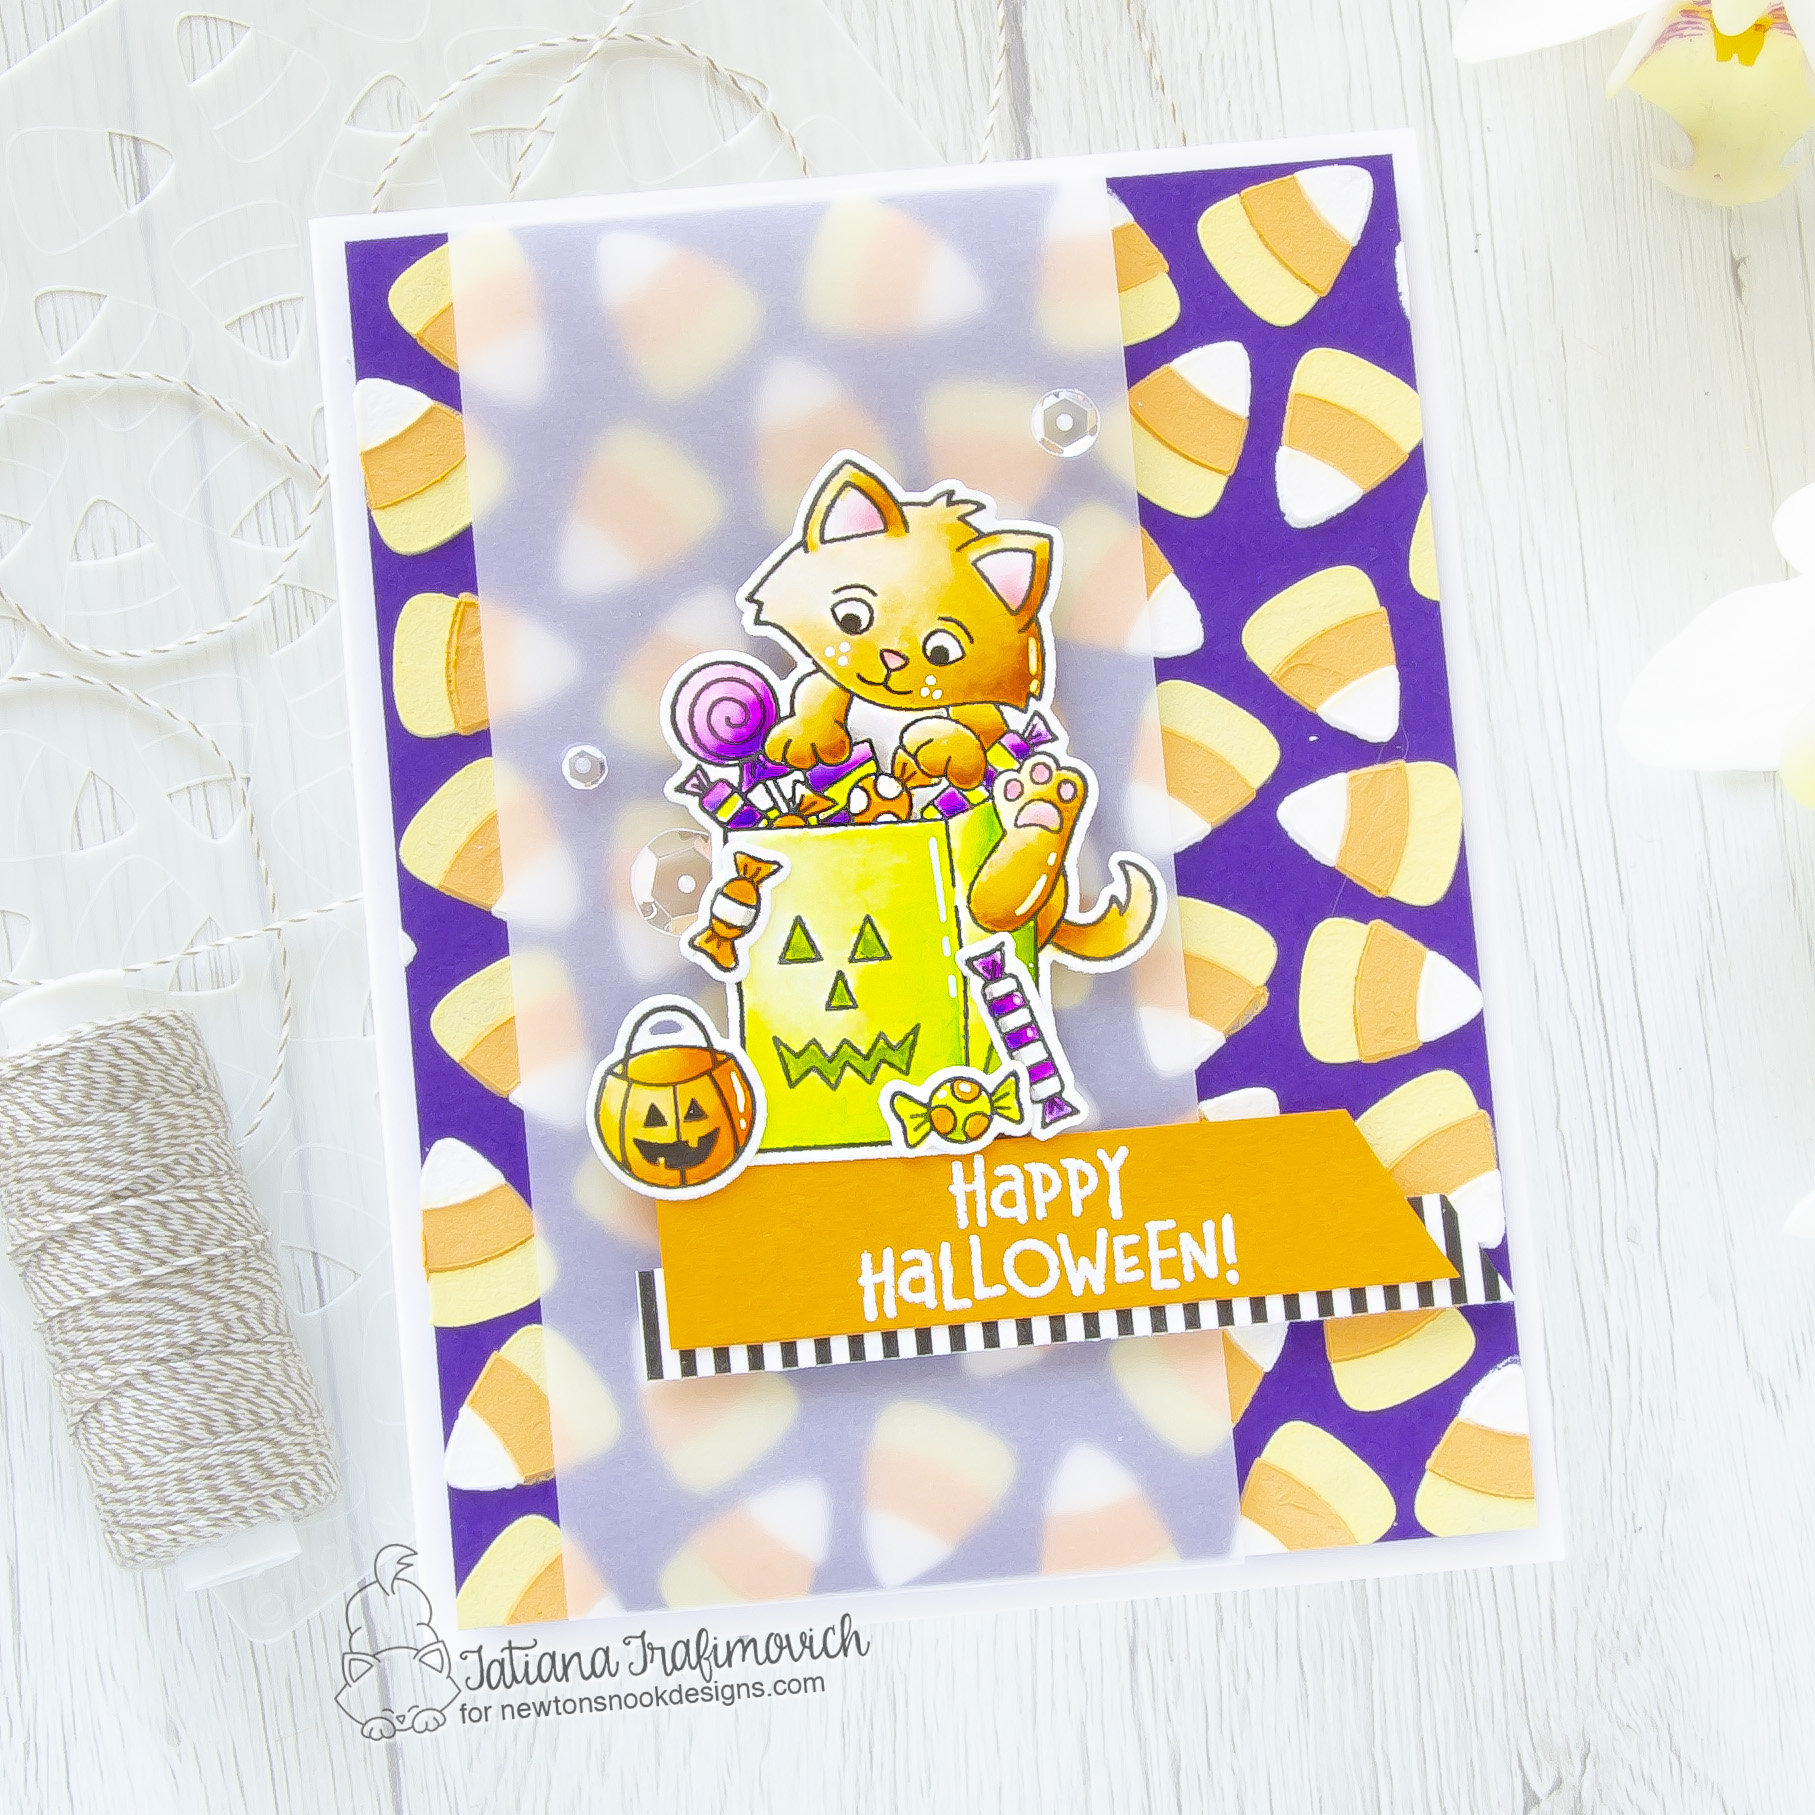
On my stop of this hop you will find two cute Halloween kittens! The first card was colored with copic markers and has Distress background inked through Sunscape Stencil. I masked the center portion on the rays and added the lightest color. Then lift up the stencil and worked from both sides darkening the night sky. The second card, colored with water based markers, has a fun textured background added through new just released yesterday Candy Corn Stencil Set. I mixed a plain white embossing paste with Distress inks to add colors on a dark purple background.
Key Ingredients:
Step By Step Instructions:
- Die cut from Neenah Solar White paper all the elements you need, using the coordinating Count Newton Die Set. I used on this project Sizzix Big Shot Die Cutting machine. Save the negative parts of the dies.
- Stamp the outline illustrations from Count Newton Stamp Set with Memento Tuxedo Black ink. Use the negative parts of the dies as a guide for a perfect alignment inside the stamping positioning tool.
- Color the stamps with COPIC MARKERS. I used on this card:
- cat E0000-E40-E41-E42-E43-E44-E47 plus R000-R11
- orange Y35-Y17-YR04-YR07-YR18-E09
- violet V0000-V01-V04-V15-V09
- grey C00-C0-C1-C3-C5-C7
- Trim and score an extended A2 size card base (5 1/2″ x 4 1/4″) from Neenah Solar White paper.
- Die cut from Neenah Solar White paper a faux stitched rectangle, using Frames & Flags Die Set.
- Mask the bottom part of the die cut rectangle, tape well the Sunscape Stencil with a removable tape to prevent any movement and ink the piece with Salvaged Patina Distress Oxide ink.
- Lift up the stencil and add more ink from both sides with Faded Jeans Distress, Faded Jeans Distress Oxide and Pumice Stone Distress inks. Use the blending brushes for a smooth result. Lift up the masking paper.
- Mask the top part of the die cut rectangle and ink the ground section with Pumice Stone Distress ink.
- Flick some tiny droplets of a clear shimmer spray and a white gouache all across. Let the background air dry or heat set it with a heat gun.
- Heat emboss in white onto orange the sentiment, using VersaMark Clear Embossing Ink and Powder Tool Applicator. I used Concord & 9th Marmalade cardstock.
- Arrange all the elements on the card front and glue them in place by popping some on a foam tape for fun dimensional look.
- Finish with a couple of highlights added with a white gel pen, a generous coat of Wink of Stella clear glitter pen and some clear sparkling sequins.
Key Ingredients:
- Trick or Treat Kittens Stamp Set
- Trick or Treat Kittens Die Set
- Count Newton Stamp Set
- Count Newton Die Set
- Candy Corn Stencil Set
Step By Step Instructions:
- Die cut from Strathmore Bristol paper all the elements you need for your card, using the coordinating Trick or Treat Kittens Die Set and Count Newton Die Set. I used on this project Sizzix Big Shot Die Cutting machine. Save the negative parts of the dies.
- Stamp the outline illustrations from Trick or Treat Kittens Stamp Set and Count Newton Stamp Set with VersaFine Onyx Black pigment ink. Use the negative parts of the dies as a guide for a perfect alignment inside the stamping positioning tool.
- Color all the elements with water based markers, making the blending with a small water brush. I used:
- TOMBOW DUAL BRUSH MARKERS
- N79; 025; 126; 133
- 173; 723; 933; 993
- ZIG CLEAN COLOR REAL BRUSH MARKERS
- n.61 Light Brown
- n.80 Violet
- n.82 Purple
- Trim and score an extended A2 size card base (5 1/2″ x 4 1/4″) from Neenah Solar White paper.
- Trim a slightly smaller rectangle from a purple cardstock. I used Simon Says Stamp Royal Purple.
- Smooth Mustard Seeds Distress ink on a slick surface like Ranger Craft Sheet and mix it with a white embossing paste. Tape the layer #1 of Candy Corn Stencil Set with a removable tape to the purple rectangle prevent any movement and apply the yellow mix all across. Let the paste air dry.
- Repeat the same steps with the layer #2, using Carved Pumpkin Distress ink. Don’t forget to let the paste air dry well.
- Finally proceed with layer #3, using just a white embossing paste.
- Heat emboss in white onto orange the sentiment, using VersaMark Clear Embossing Ink and Powder Tool Applicator. I used The Stamp Market Melon Orange cardstock.
- Trim a strip of vellum and MFT Black & White Stripes pattern paper.
- Arrange all the elements on the card front and glue them in place by popping some on a foam tape for fun dimensional look.
- Finish with a couple of highlights added with a white gel pen and some clear sparkling sequins.
Would you like to win the “Count Newton” or the “Trick or Treat Kittens” Stamp Set? We will choose ONE lucky winner for each stamp set!
Here’s how to win: Comment on the NND blog and Design Team blogs (see list below)! The winner will be chosen at random from the collective reveal posts. Make sure to check out each of their blogs and comment for your chance to win. You will not know which blog has been chosen so the more you comment on the better your chances are of winning! You have until Thursday August 19th at 9pm ET to comment – winners will be announced on the blog post on Friday, August 20th.
Check out all the awesome Design Team Blogs below to enter:
Newton’s Nook Designs
Tina Herbeck
Larissa Heskett
Samantha Mann
Zsofia Molnar
Farhana Sarker
Tatiana Trafimovich – you’re here
Samantha VanArnhem
Amanda Wilcox
That’s all for today! Hope you like these fun cards! Thanks so much for stopping by and have a fabulous day!
Hugs,
Tatiana

15 comments
Background focus with spotlighting look is wonderful and like use of vellum for your Halloween creations.
Melissa
“Sunshine HoneyBee”
Your cards are so cute! 🙂
Beautiful backgrounds! The kitties are just TOO CUTE!
Love the way the candy corn looks with the vellum!
Both cards are terrific! I really love the candy corn on the purple, it’s very eye catching.
Love that texture on the candy corn and also how the vellum strip tones down the BG. Such adorable cards!! Always love seeing a siamese kitty, too; my favorite!
These are both wonderful. Love the moonlight-even vampire kitties like sitting in a lit up spot.
These are beautifully done! Count Newton is my favorite stamp set seen so far and I love, love, love your scene! I will definitely tryout that background with the sun rays. Thank you for sharing the step-by-step. I’m also loving the vibrancy of your kitten card – that purple! TFS
Such cute cards!
Wooow! These cards are fabulous!
Love them!
Love Count Newton on your card so much.
Tatiana, these are absolutely wonderful! Love the spotlight on the first card. And that bright candy corn BG on the second is perfect!!
Both of your cards are so cute & colorful! Love the purple background on your trick or treat kitten card & your coloring on both cards is fabulous!
Your cards are beautiful! Love the technique for the candy corn stencil.
Love the candy corn. The light shining down on
Count Dracula is a great idea. Fun cards.
thanks for sharing txmlhl(at)yahoo(dot)com
Dracula Newton is so cute and love your background and sentiment selection – also the Newton and his candy bag are so adorable as well as the use of vellum – both are striking works of art TFS