Hello and welcome!
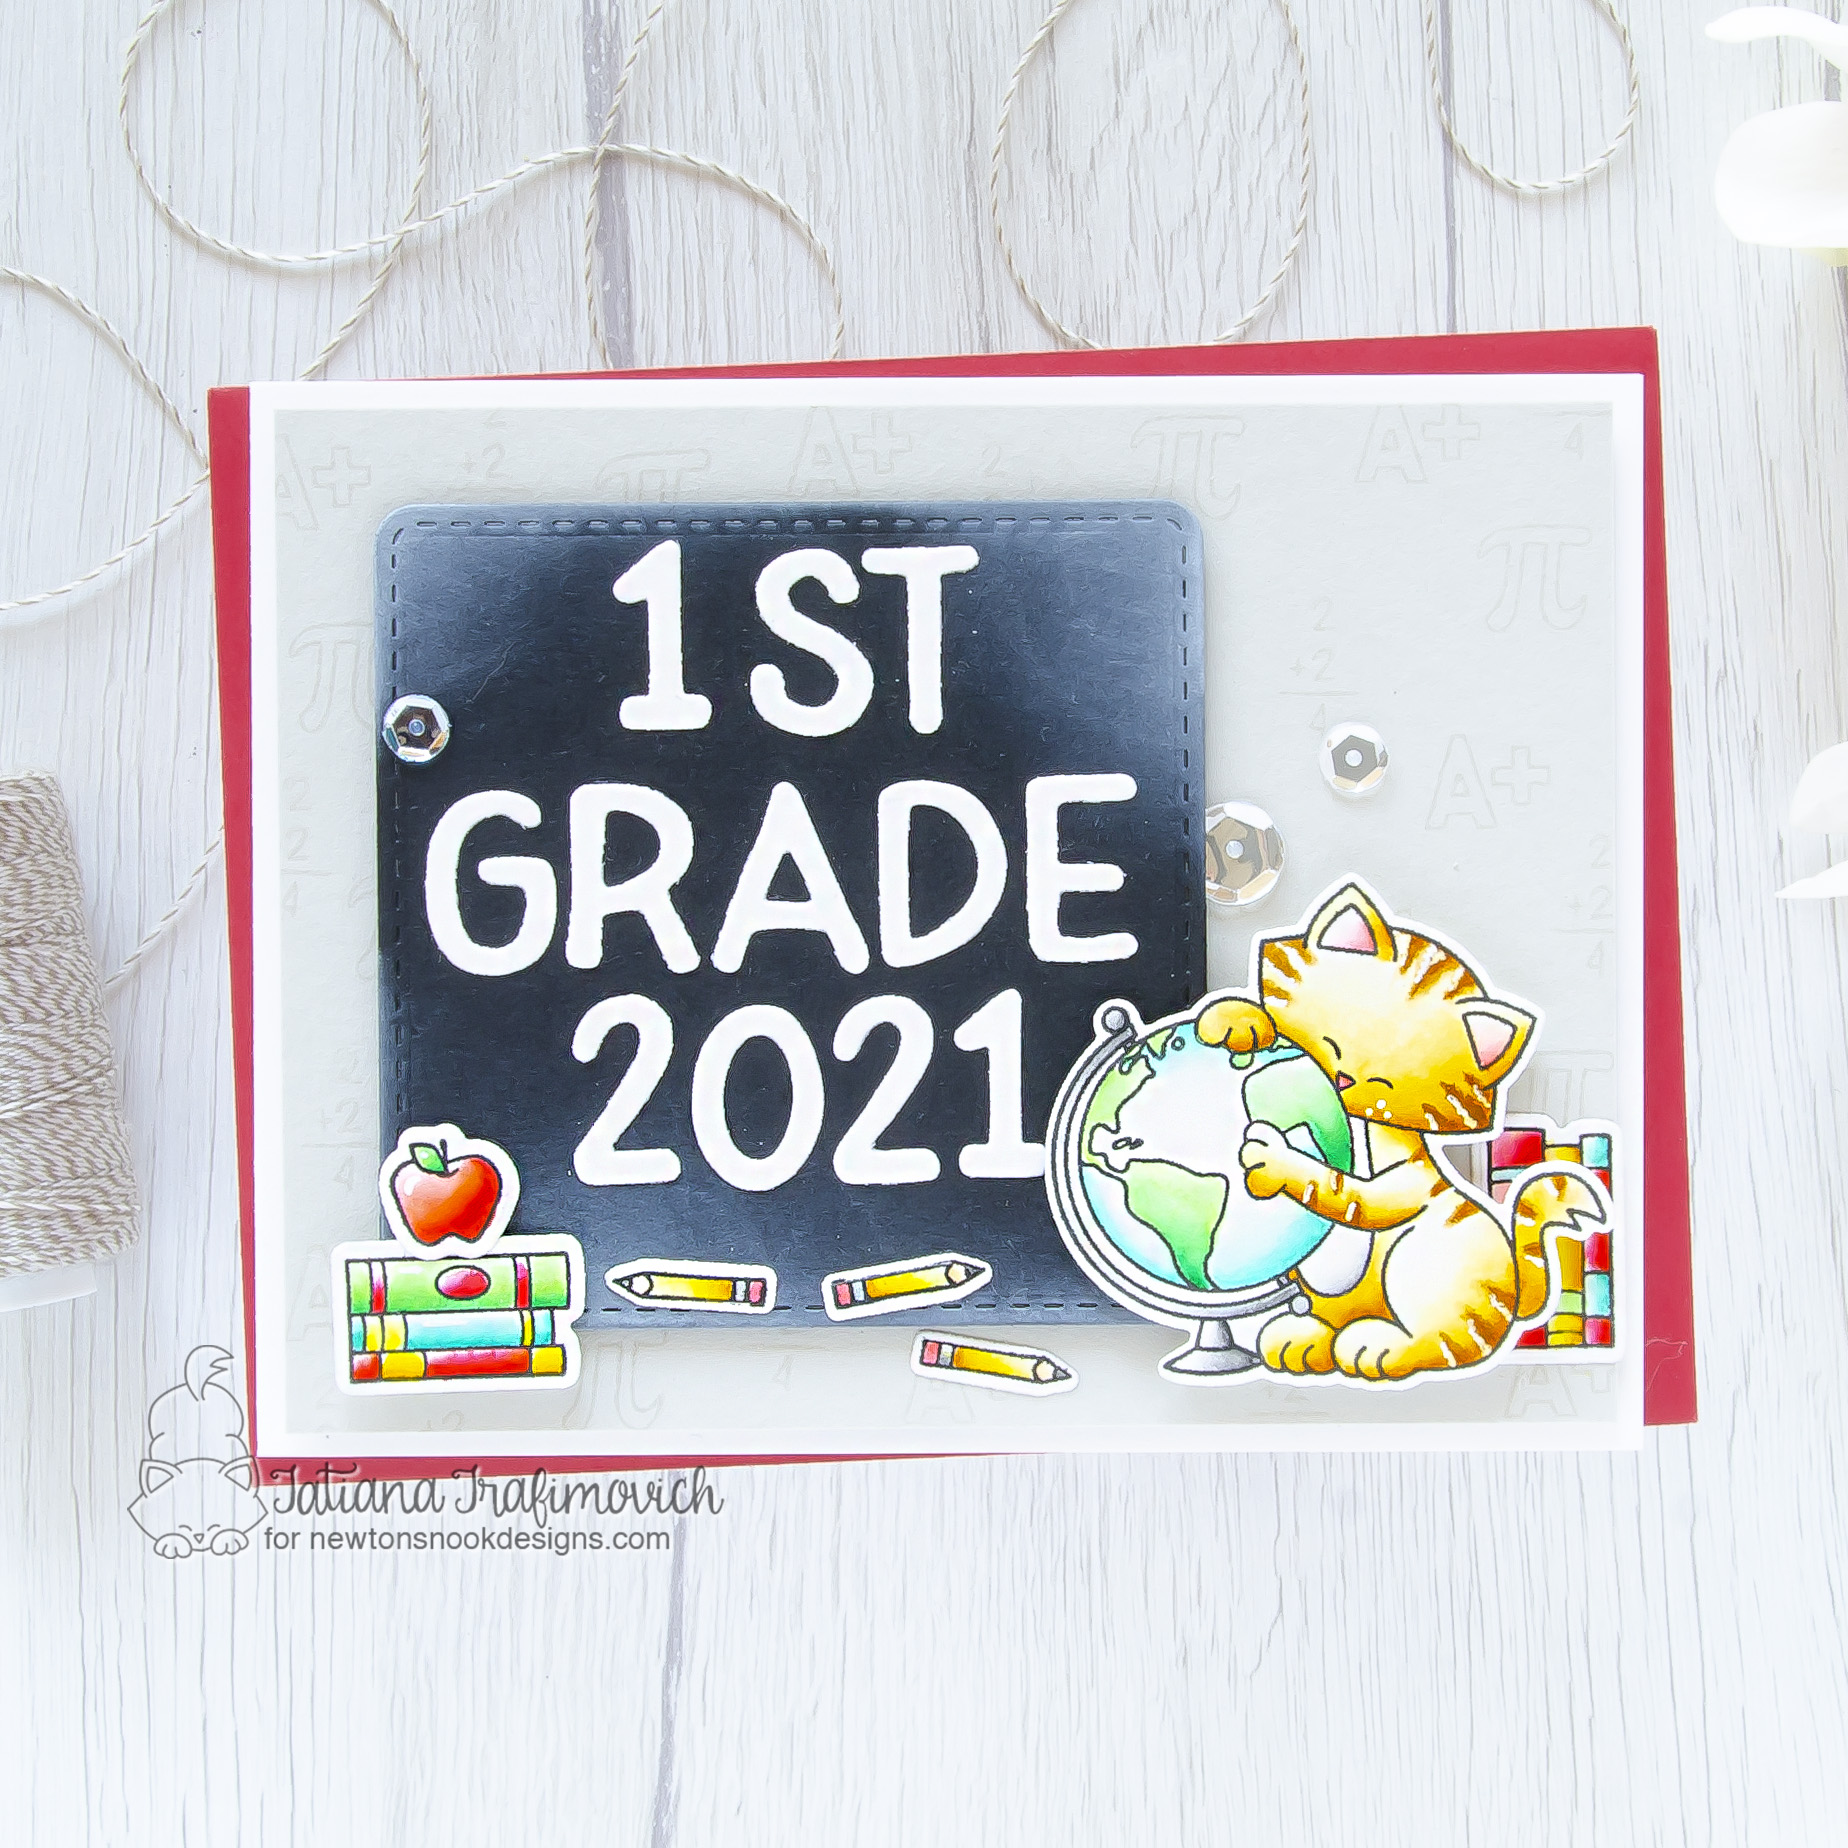
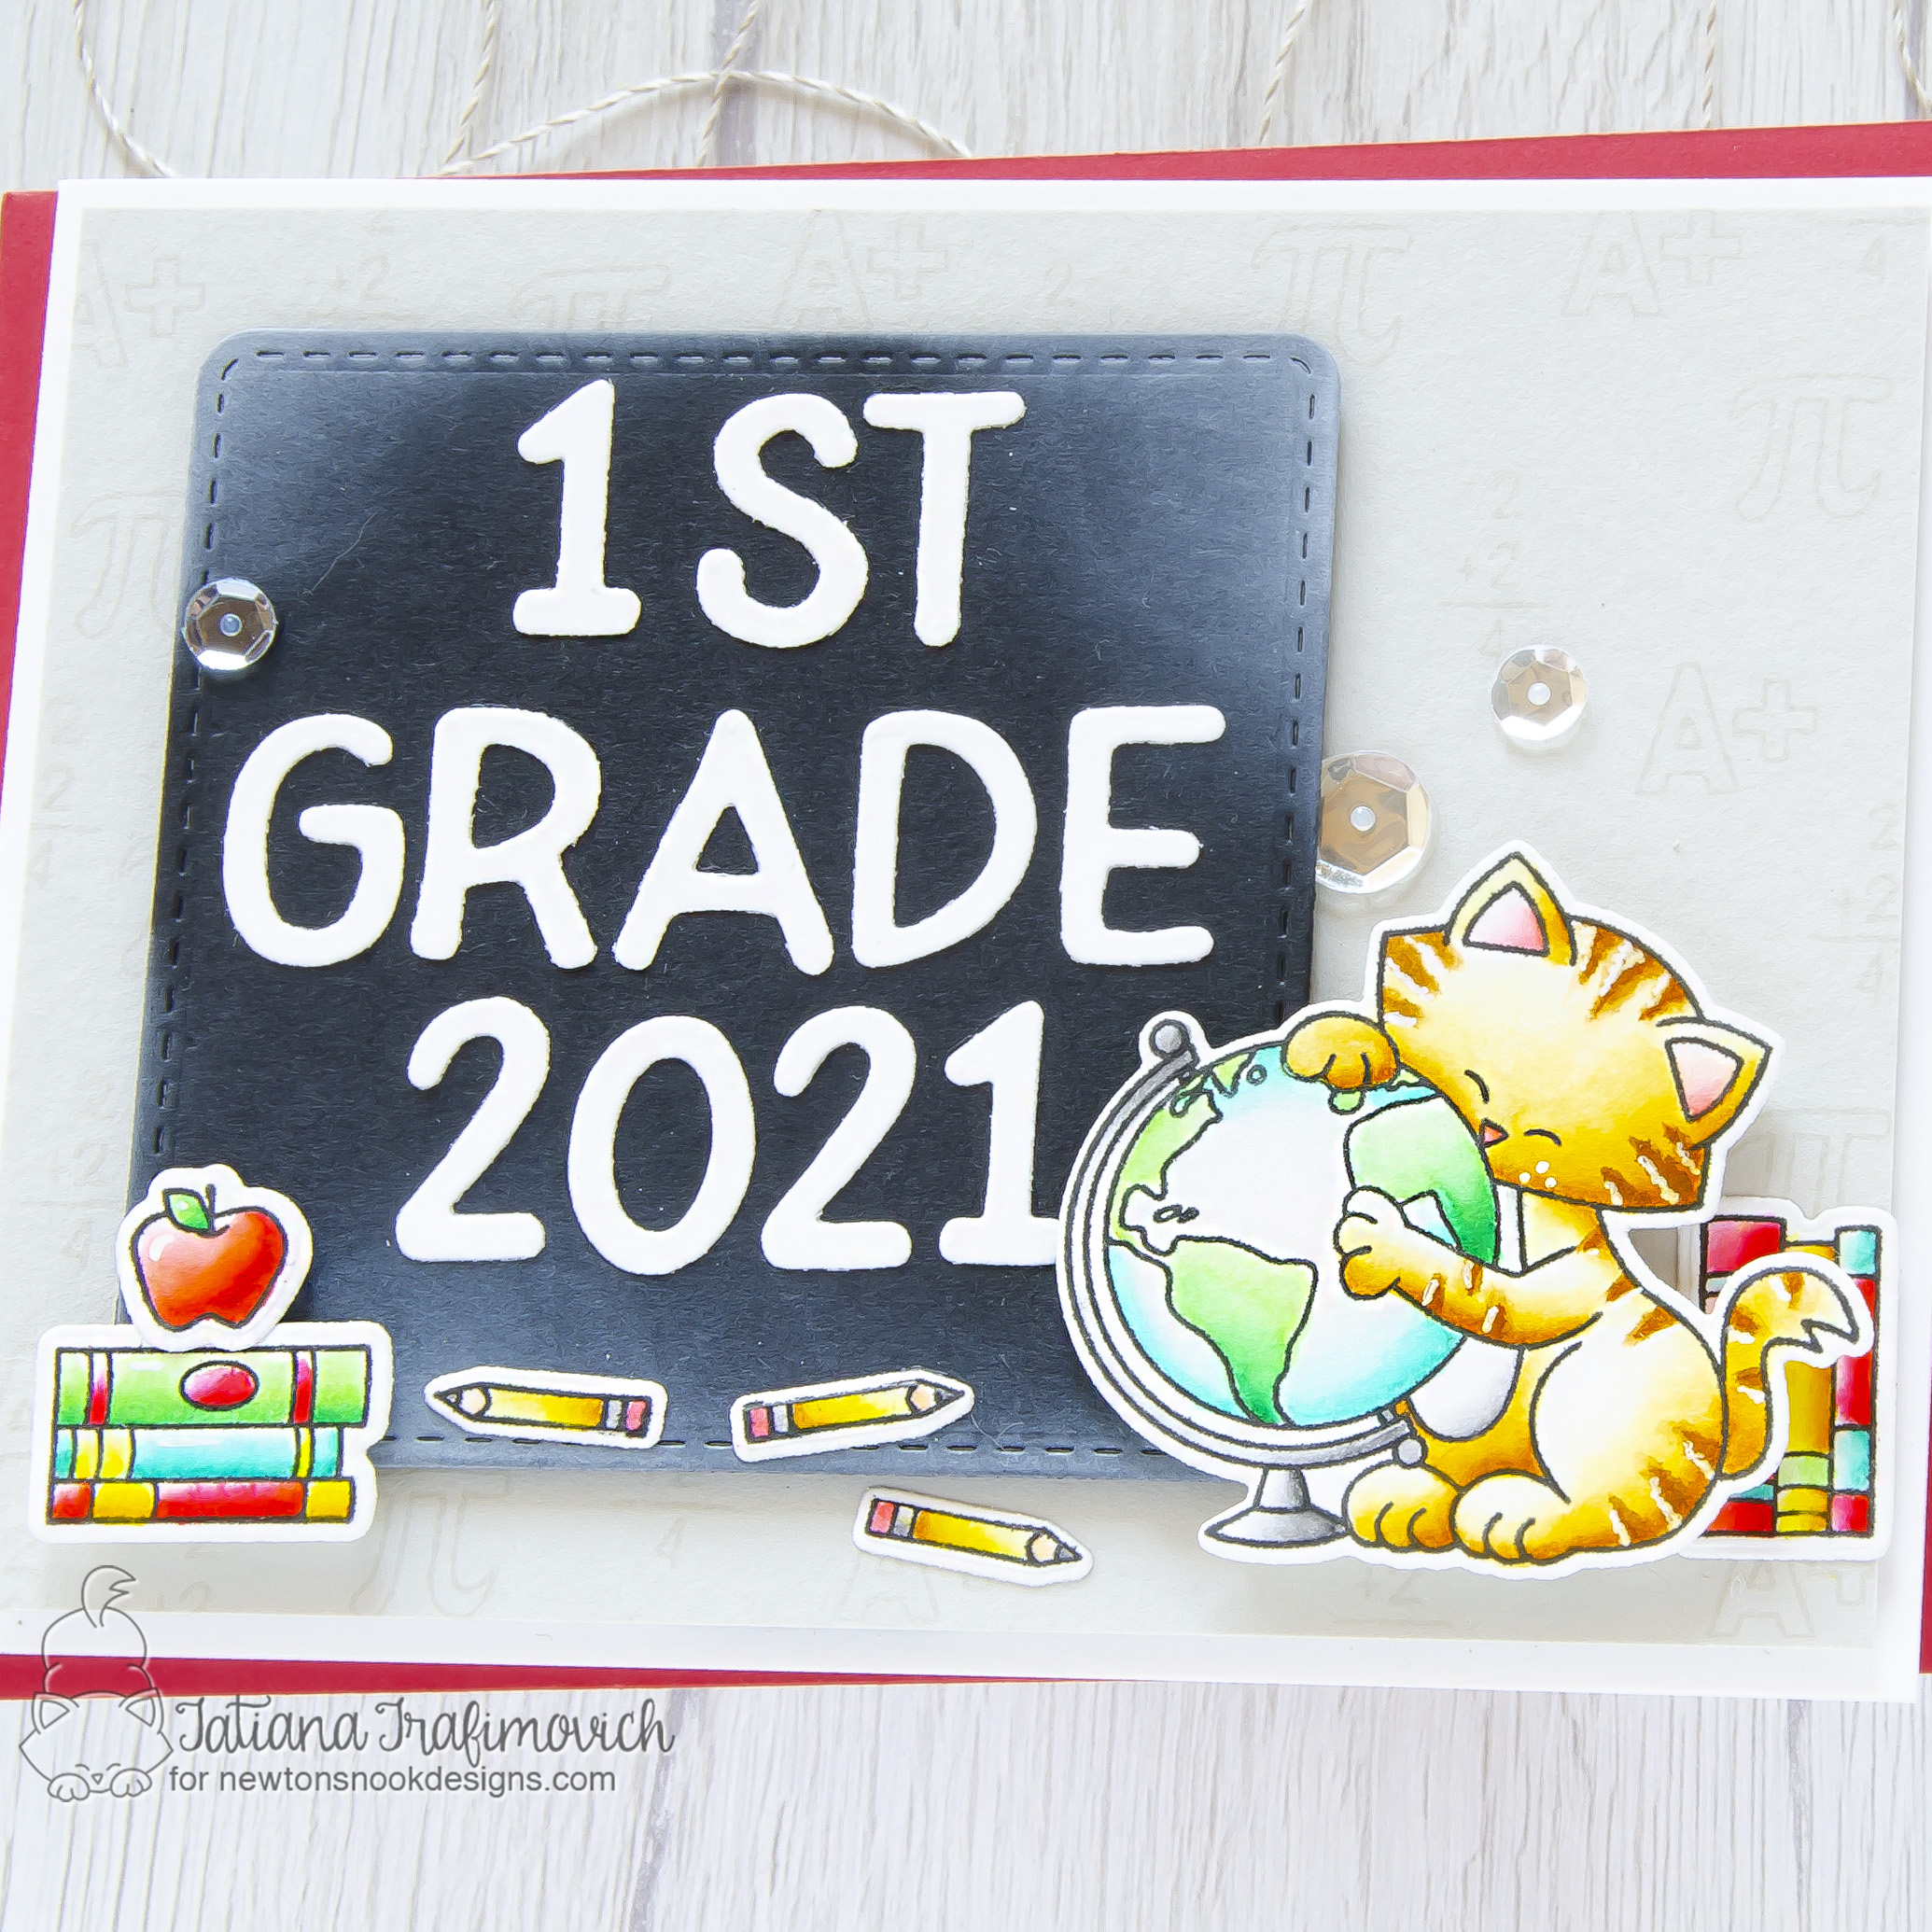
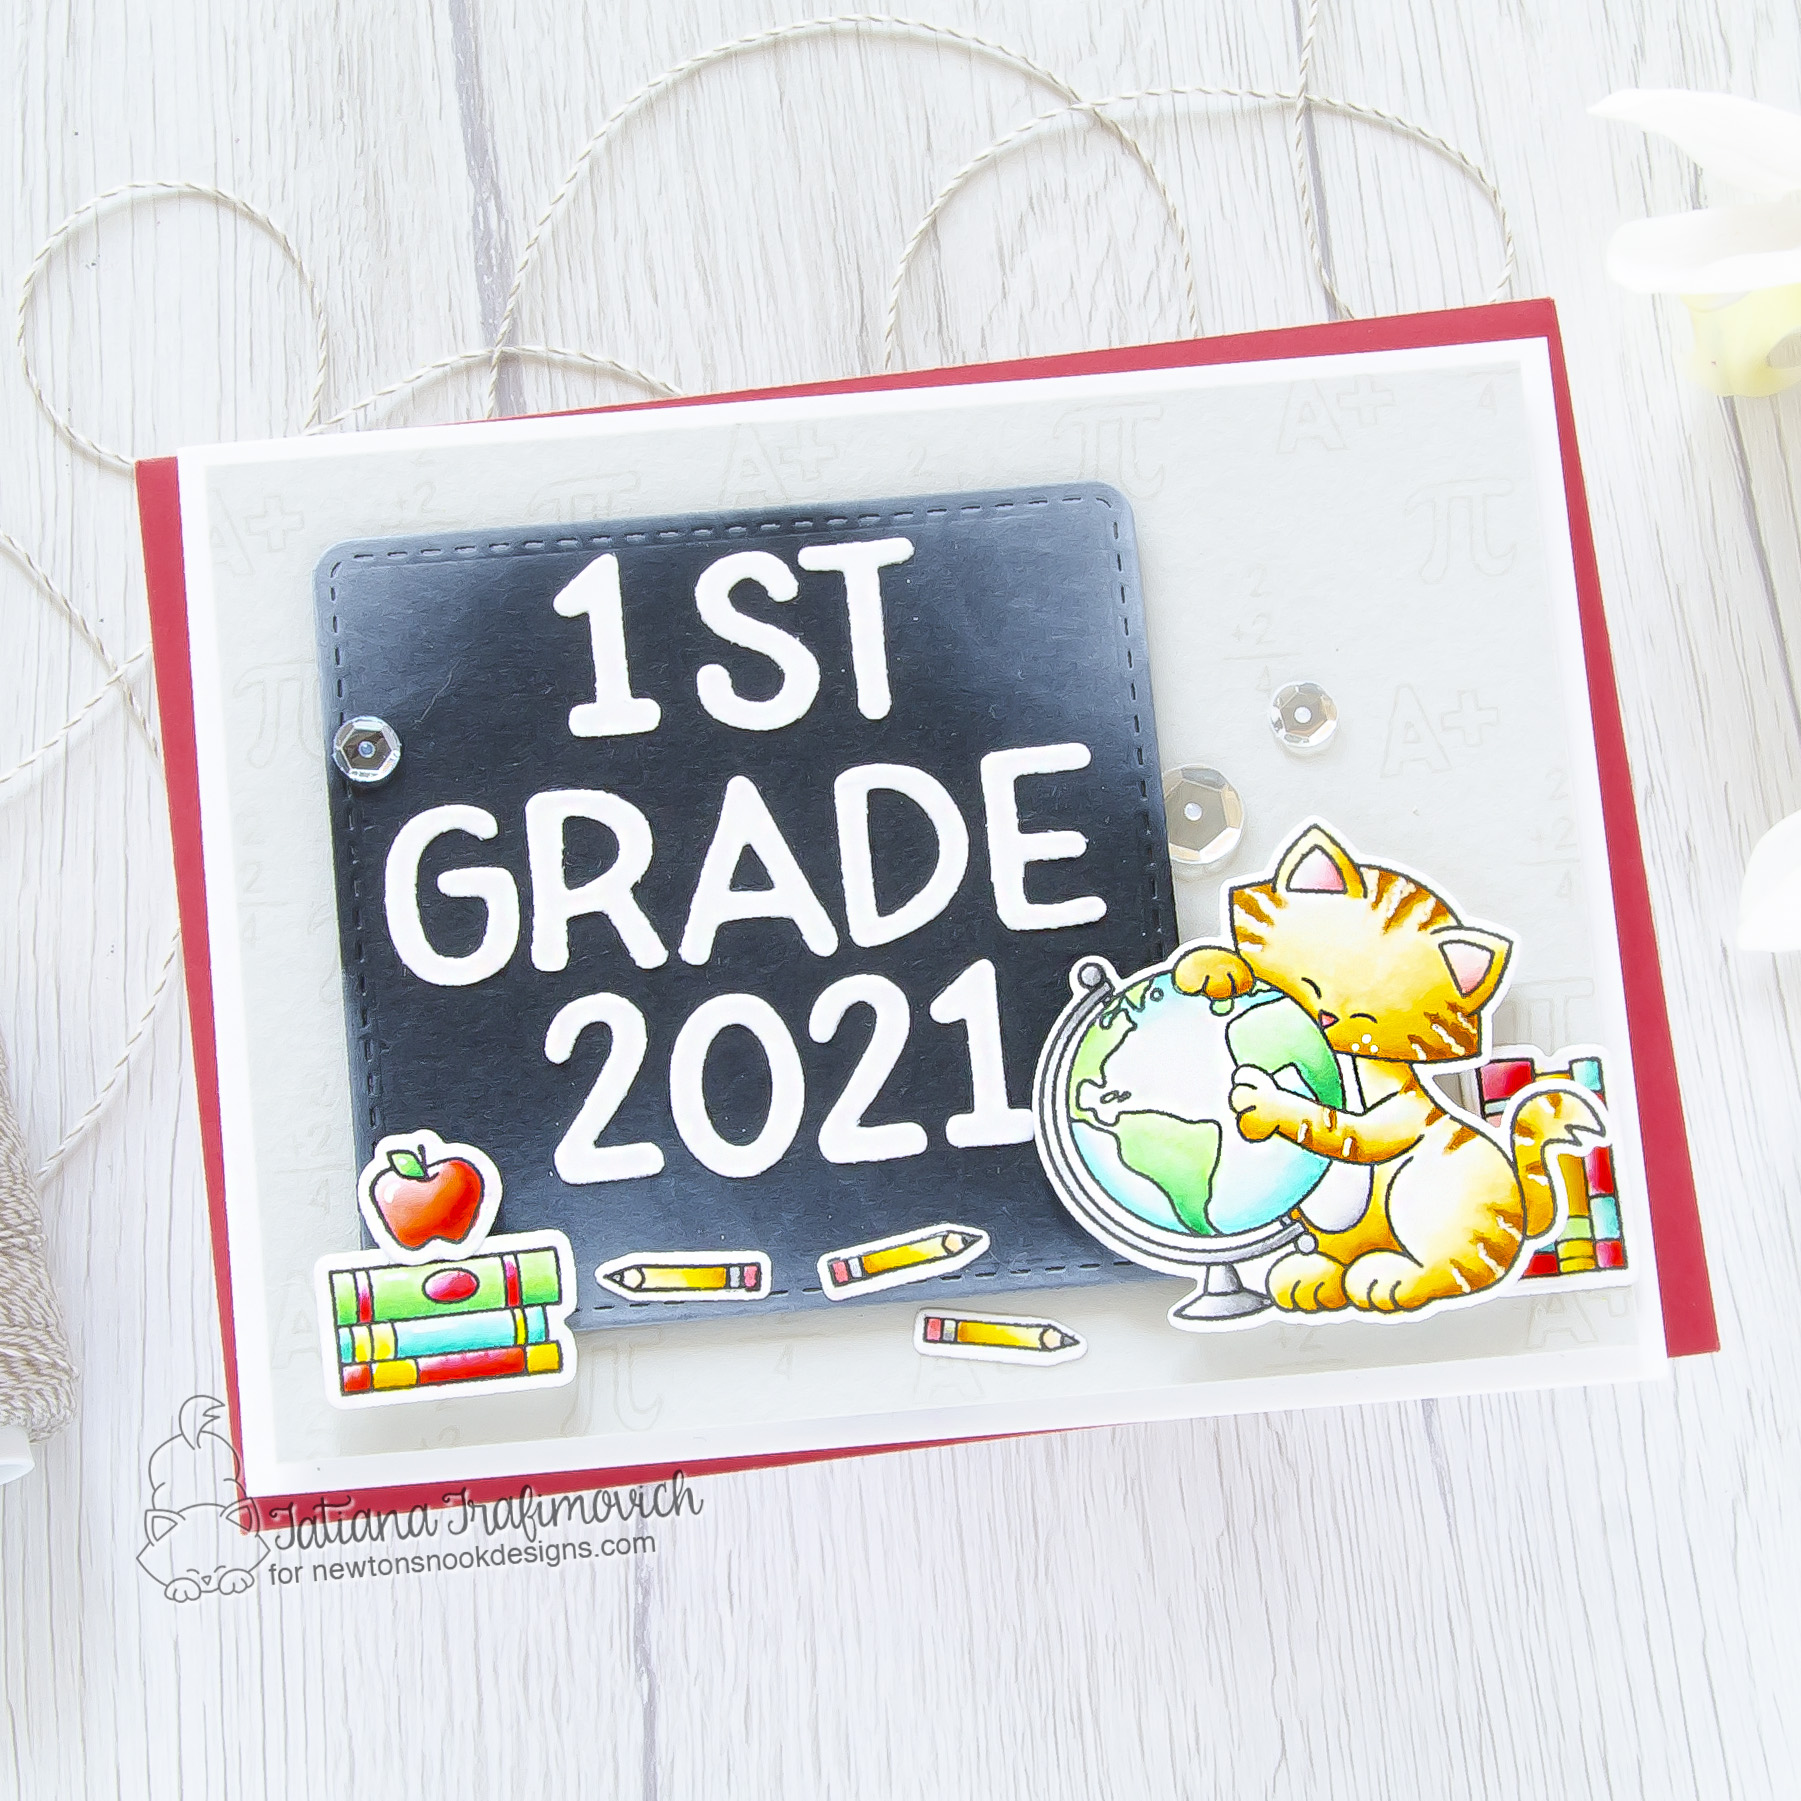
I’m so glad you’ve joined me today and even more excited to be on the Newton’s Nook Designs blog, sharing a cute personalised card made for my little nephew! In fact, he will start the first grade in a couple of days! I wanted to send him my congrats and best wishes for such milestone, creating a simple and fun project with a personalised touch! I mixed and matched a couple of Newton’s Nook Designs wonderful school themed sets, adding more elements to the scene, and composed my own sentiment with an alphabet die!

Key Ingredients:
- Newton’s Graduation Stamp Set
- Newton’s Graduation Die Set
- Classy Teachers Stamp Set
- Classy Teachers Die Set
- Newton’s Crafty Cardio Stamp Set
- Newton’s Crafty Cardio Die Set
- Essential Alphabet Die Set
- Frames Squared Die Set

Step By Step Instructions:
- Die cut from Strathmore Bristol paper all the elements you need for your card, using the coordinating Newton’s Graduation Die Set, Classy Teachers Die Set, Newton’s Crafty Cardio Die Set. I used on this project Sizzix Big Shot Die Cutting machine. Save the negative parts of the dies.
- Stamp the outline illustrations from Newton’s Graduation Stamp Set, Classy Teachers Stamp Set and Newton’s Crafty Cardio Stamp Set with VersaFine Onyx Black pigment ink. Use the negative parts of the dies as a guide for a perfect alignment inside the stamping positioning tool.
- Color all the elements with water based markers, making the blending with a small water brush. I used:
- TOMBOW DUAL BRUSH MARKERS
- 055; 991
- ZIG CLEAN COLOR REAL BRUSH MARKERS
- n.21 Light Carmine
- n.22 Carmine Red
- n.23 scarlet Red
- n.40 Green
- n.42 Turquoise
- n.45 Pale Green
- n.61 Light Brown
- n.72 Beige
- n.94 Gray Brown
- Trim and score an extended A2 size card base (5 1/2″ x 4 1/4″) from Neenah Solar White paper.
- Trim a slightly smaller rectangle from a light gray cardstock. I used Simon Says Stamp Fog cardstock.
- Repeatedly stamp with a matching light grey ink small images from Classy Teachers Stamp Set to create a tone on tone pattern. I used Simon Says Stamp Fog dye ink.
- Die cut from a black cardstock a stitched square, using Frames Squared Die Set.
- Ink slightly the edges of the black square with a white pigment ink to make it look like a school blackboard.
- Die cut all the letters you need to form the sentiment, using Essential Alphabet Die Set.
- Arrange and glue in place all the elements on the card front, by popping some of them on a foam tape for a fun dimensional look.
- Finish with a couple of clear sparkling sequins adhered with Distress Collage Medium Matte and some highlights added with a white gel pen.

That’s all for today! Hope you like this cute and fun card! Thanks so much for stopping by and have a fabulous day!
Hugs,
Tatiana
