Hello and welcome!
This week Newton’s Nook Designs is getting ready for Halloween with a fun Inspiration week! All week the NND Design Team will be sharing inspiration using some of their favorite Halloween products to get you in the mood for tricks and treats! Check out what I created today and don’t forget to check the NND Blog each day this week for more fun inspiration!

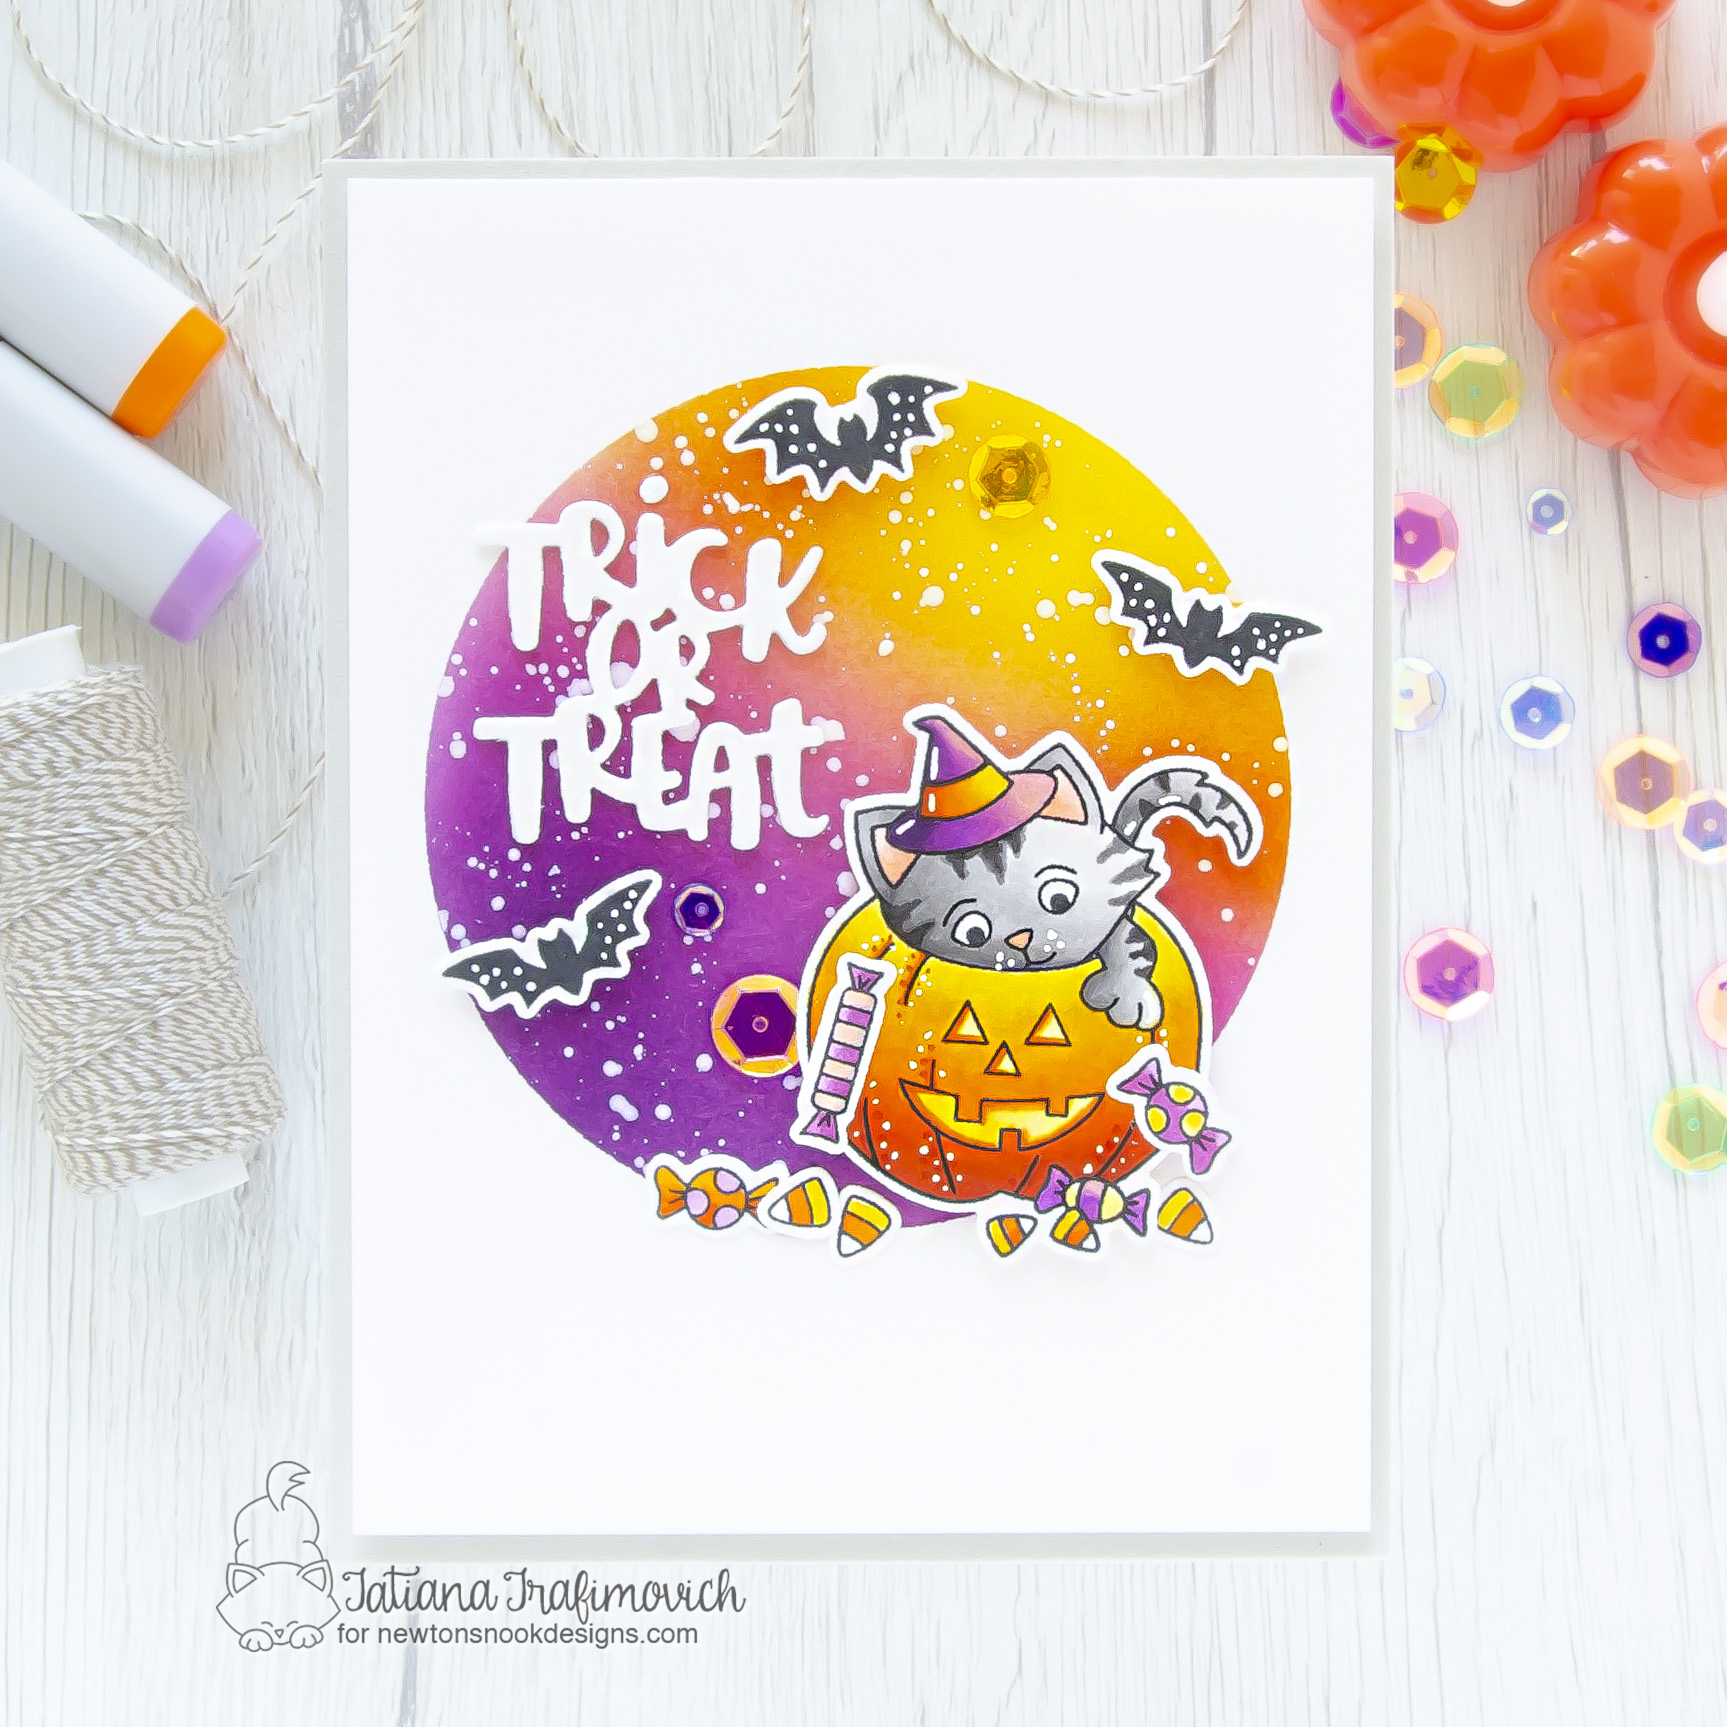
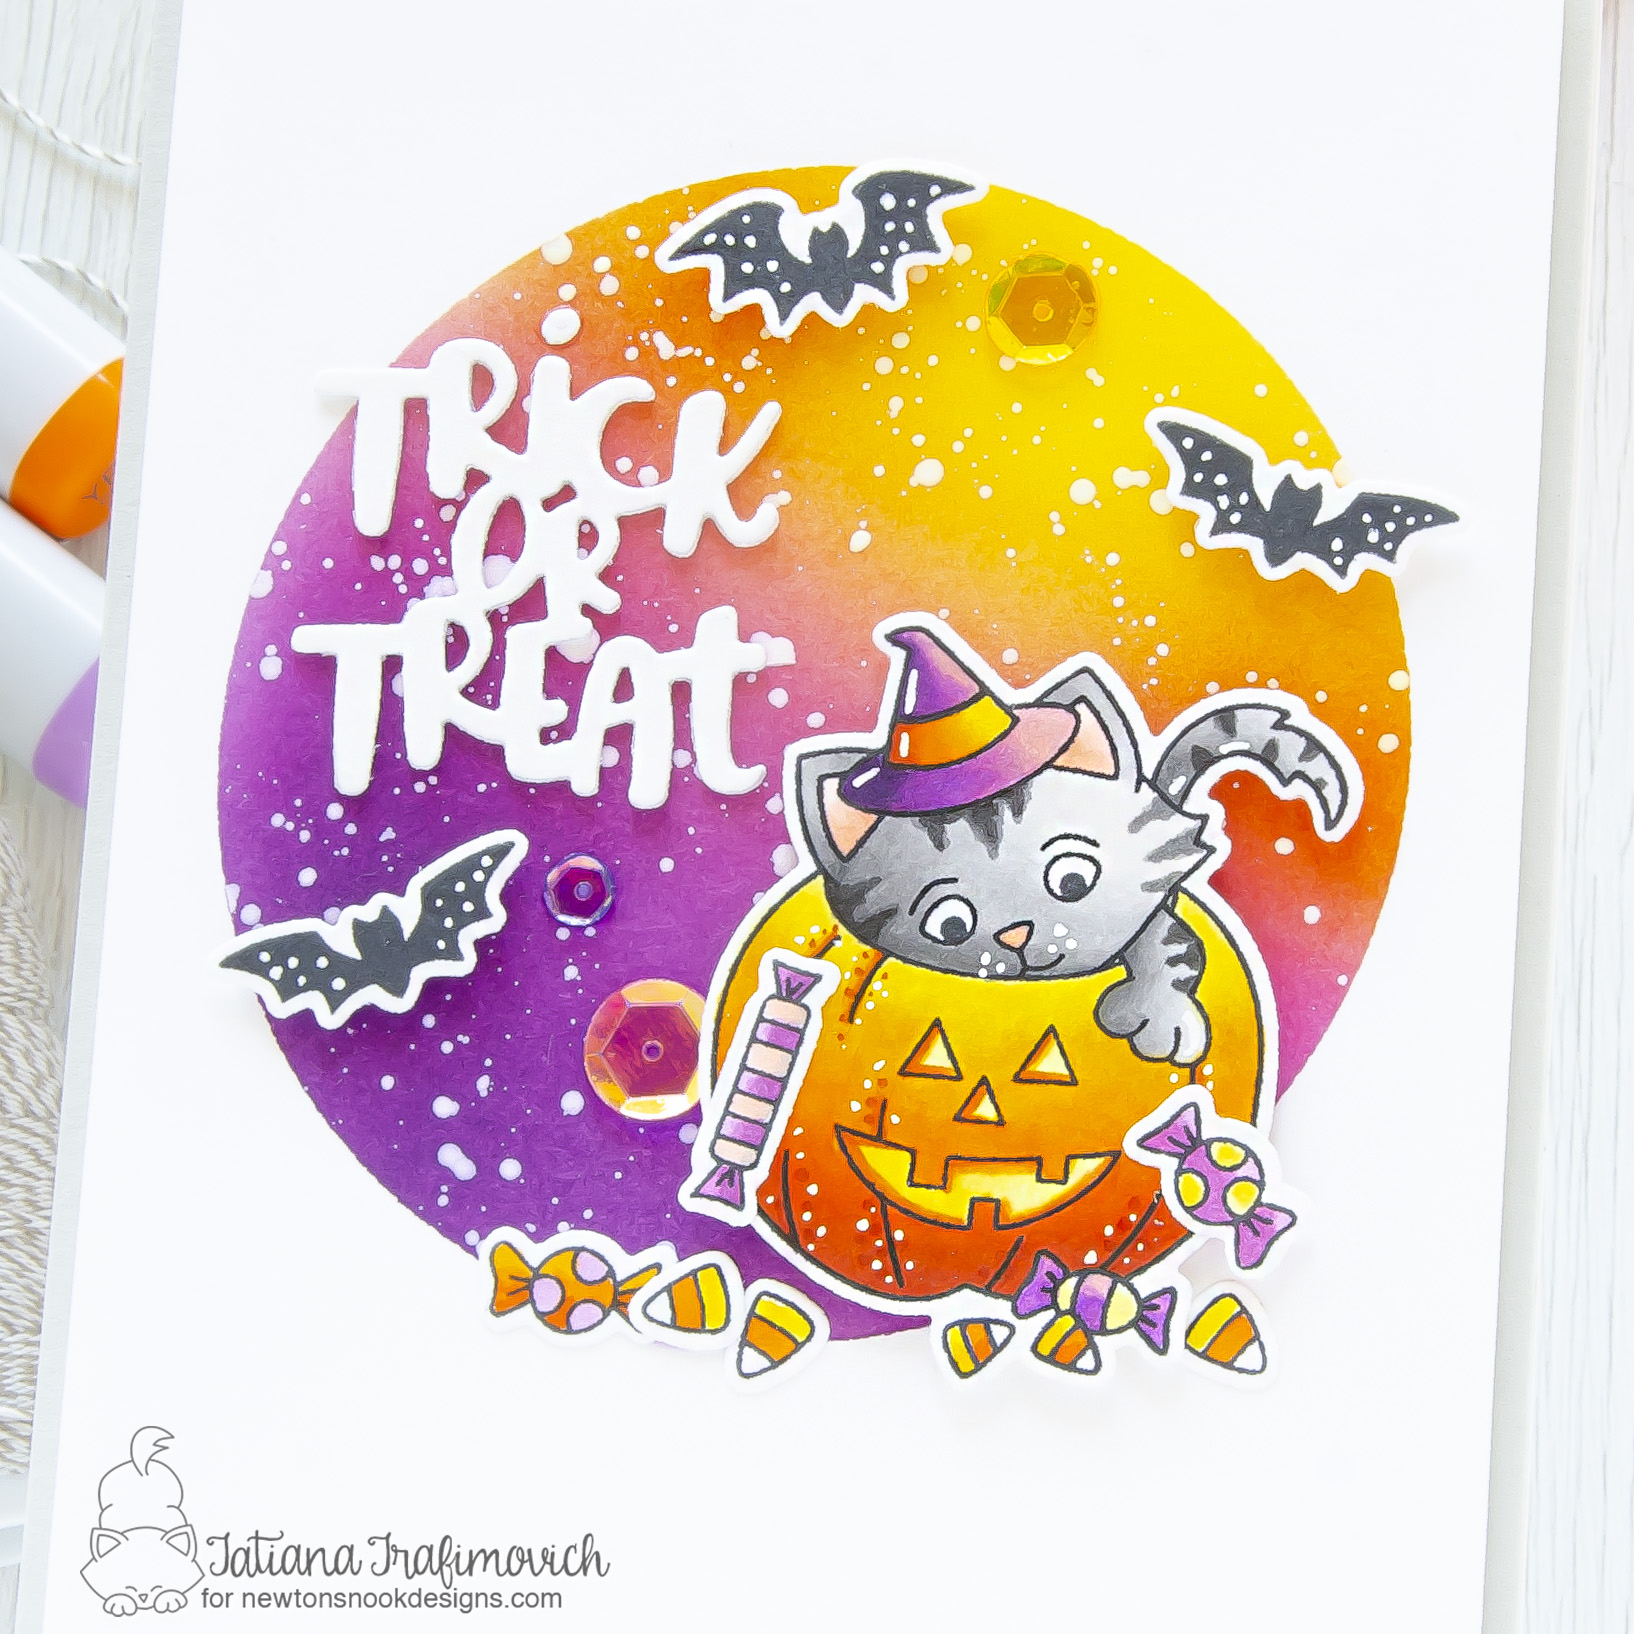
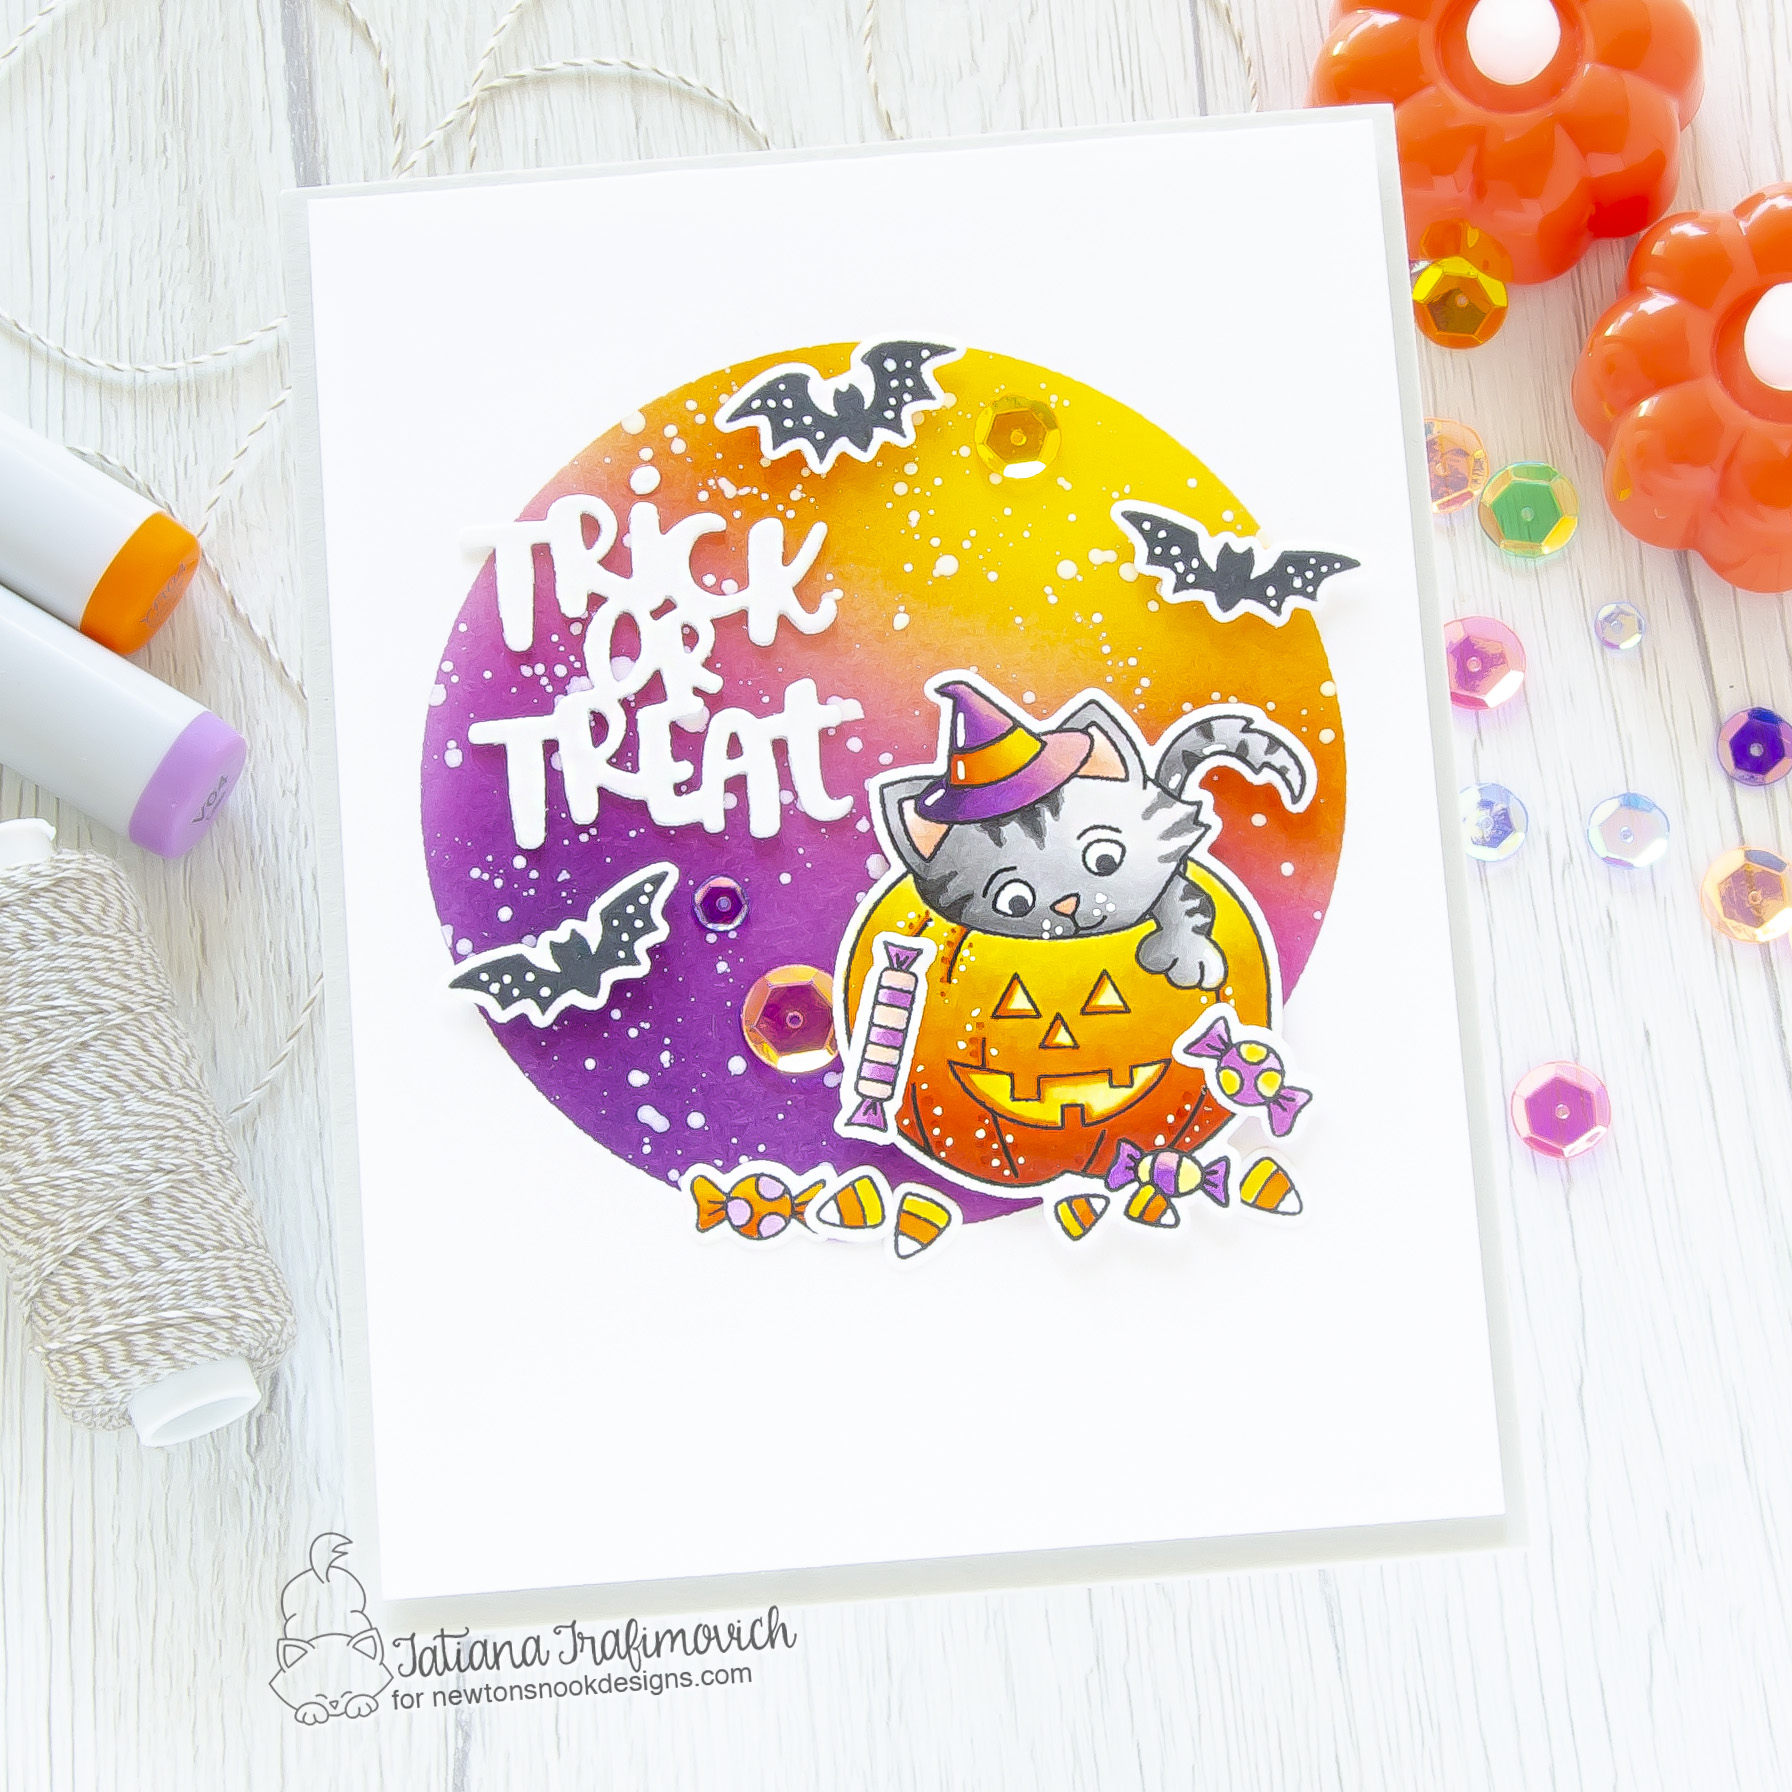
On my stop you will find a colorful and bright Halloween card! I decided to stick to a sweet and non spooky project, featuring a couple of super cute stamp sets from the NND latest release! The same color scheme was applied both to the copic colored illustrations and the inked background. I added a fun big die cut matching sentiment and a lot of highlights to give an extra special touch to my card.

Key Ingredients:
- Trick or Treat Kittens Stamp Set
- Trick or Treat Kittens Die Set
- Count Newton Stamp Set
- Count Newton Die Set
- Halloween Trio Die Set

Step By Step Instructions:
- Die cut from Neenah Solar White paper all the elements you need for your card, using the coordinating Trick or Treat Kittens Die Set and Count Newton Die Set. I used on this project Sizzix Big Shot Die Cutting machine. Save the negative parts of the dies.
- Stamp the outline illustrations from Trick or Treat Kittens Stamp Set and Count Newton Stamp Set with Memento Tuxedo Black ink. Use the negative parts of the dies as a guide for a perfect alignment inside the stamping positioning tool.
- Color the stamps with COPIC MARKERS. I used on this card:
- cat W00-T0-T1-T3-T5-T7 plus R000-R11
- yellow Y00-Y11-Y13-Y15-Y17
- orange YR04-YR07-YR09-YR18
- violet V01-V04-V05-V06-V09
- Die cut three times from Neenah Solar White paper “Trick or Treat” sentiment, using Halloween Trio Die Set. Stack all three layers together with Distress Collage Medium Matte.
- Trim and score an extended A2 size card base (5 1/2″ x 4 1/4″) from a light grey cardstock. I used Simon Says Stamp Fog cardstock.
- Trim a slightly smaller rectangle from Neenah Solar White paper.
- Trim a piece of a masking paper, die cut a circle inside and apply the negative part of the mask on the card front. Use the positive die cut circle to help yourself with the alignment.
- Ink the circle window with Mustard Seeds Distress, Spiced Marmalade Distress, Picked Raspberry Distress, and Dusty Concord Distress inks. Use the blending brushes to achieve a soft and smooth result.
- Splatter the inked window with a white gouache, using a small regular brush.
- Lift up the mask and let the gouache air dry.
- Arrange and glue in place all the elements on the card front, by popping some of them on a foam tape for a fun dimensional look.
- Finish with a couple of matching sparkling sequins adhered with Distress Collage Medium Matte and some highlights added with a white gel pen.

That’s all for today! Hope you like this cute and sweet card!
Don’t forget to visit the Halloween Products Category at Newton’s Nook Designs and get your favorites for creating cute and spooky Halloween crafts!
Thanks so much for stopping by and have a fabulous day!
Hugs,
Tatiana
