Hello and welcome!
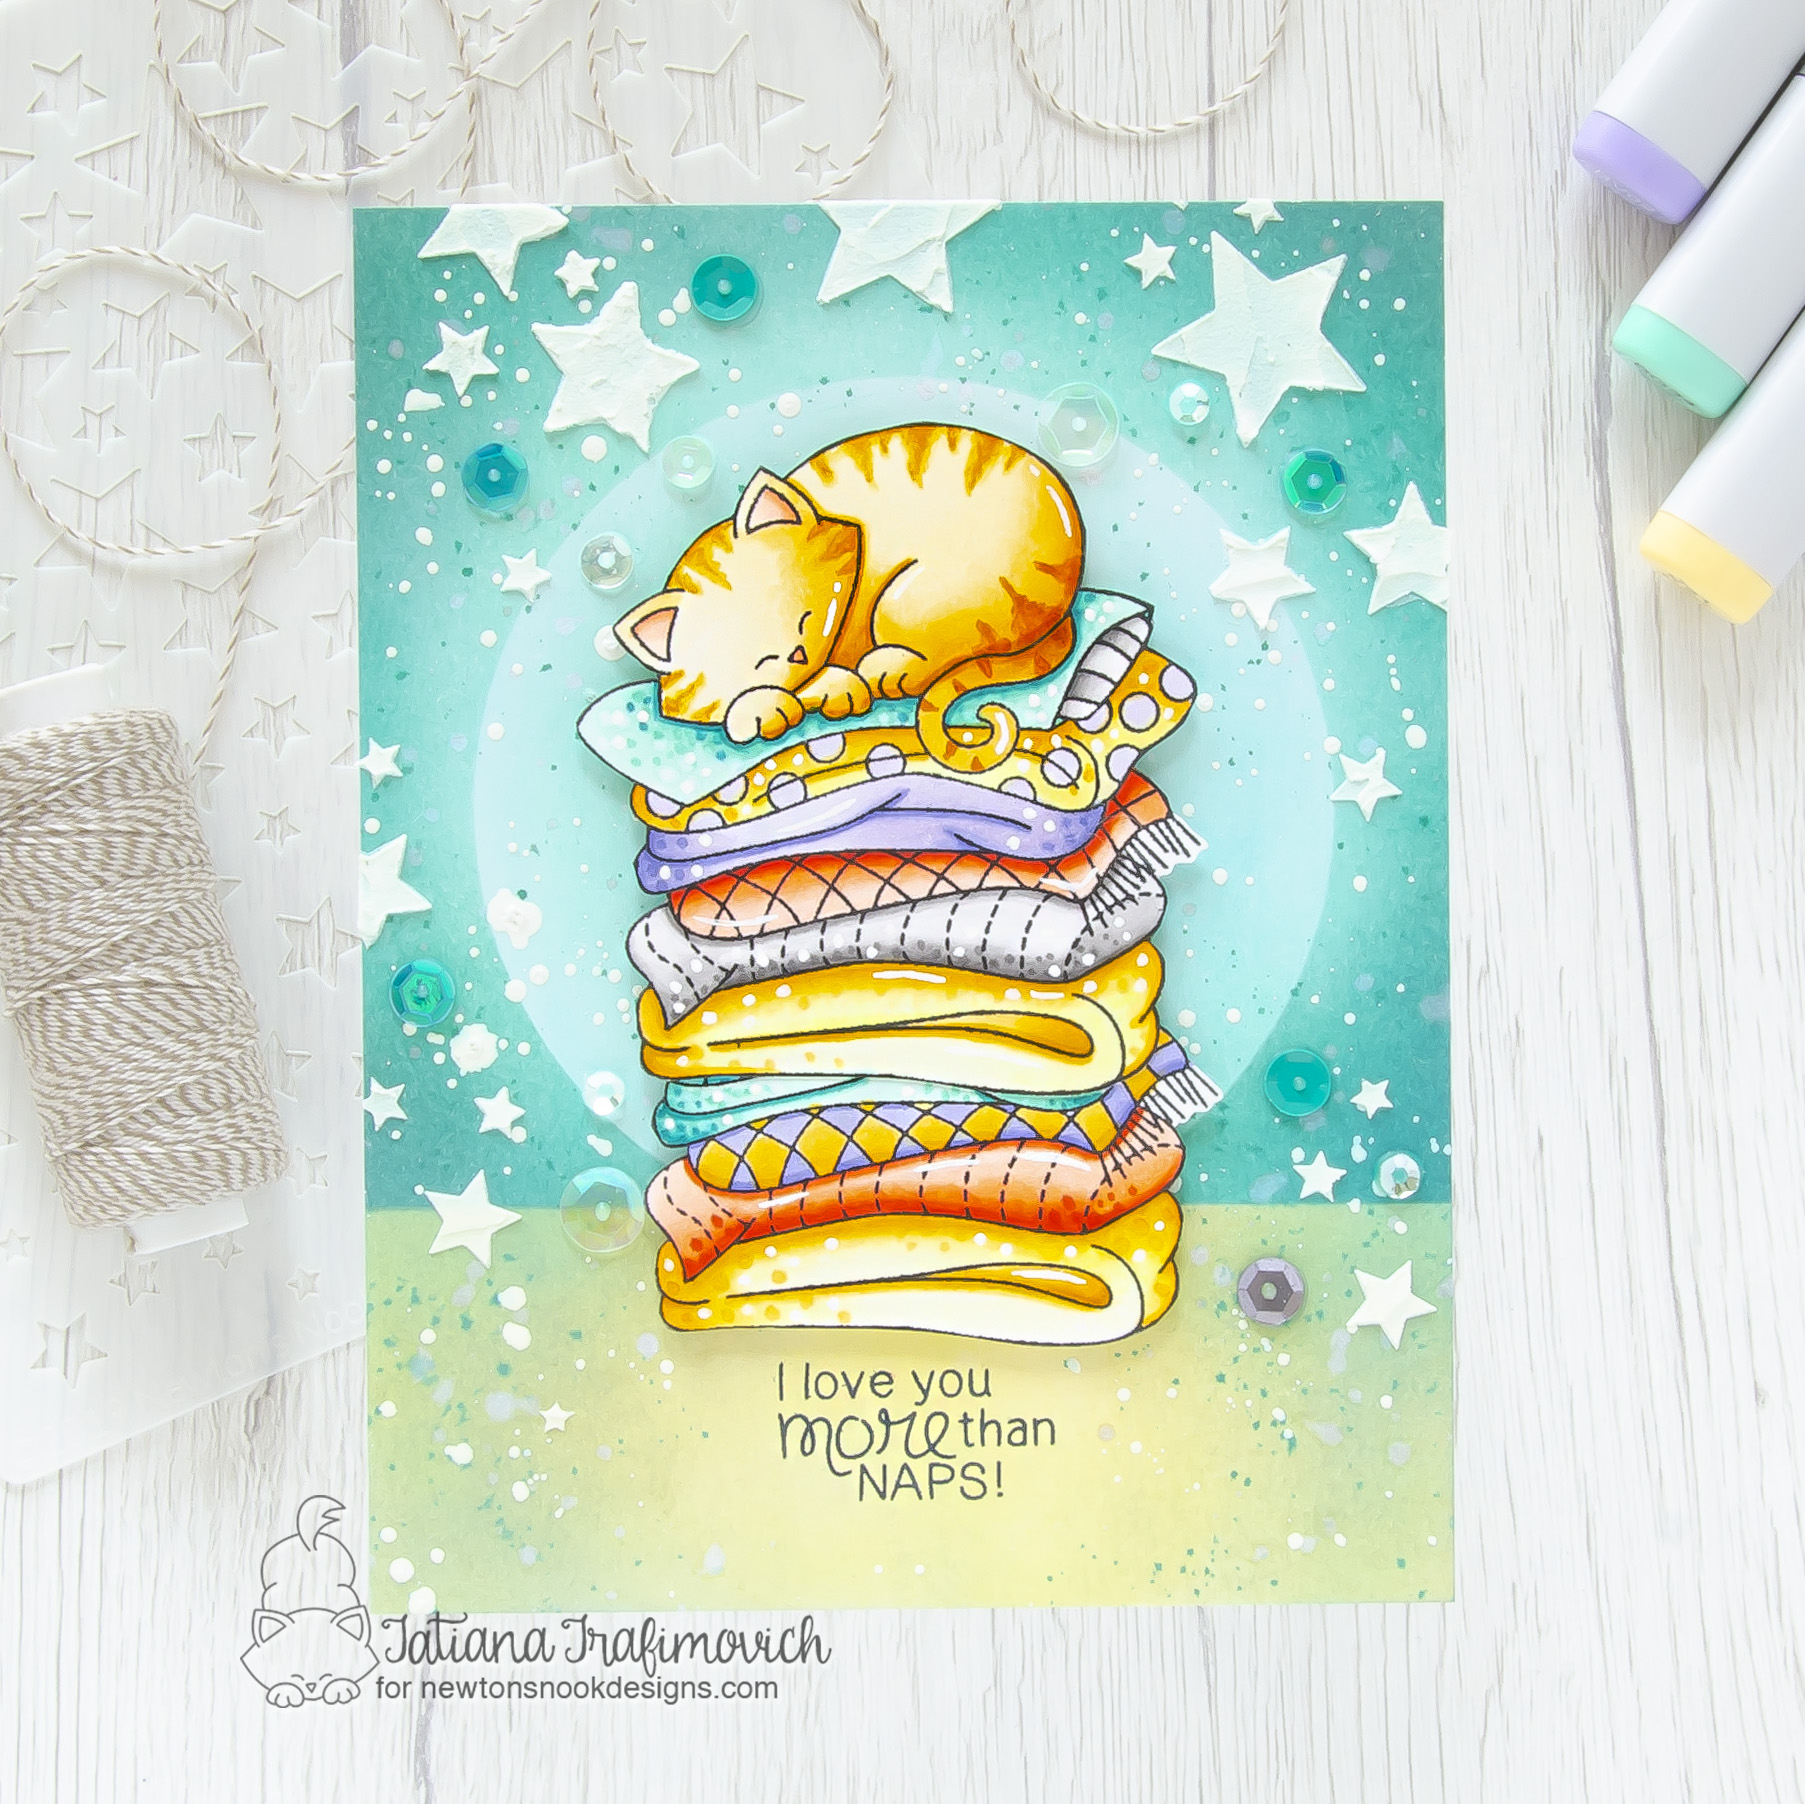
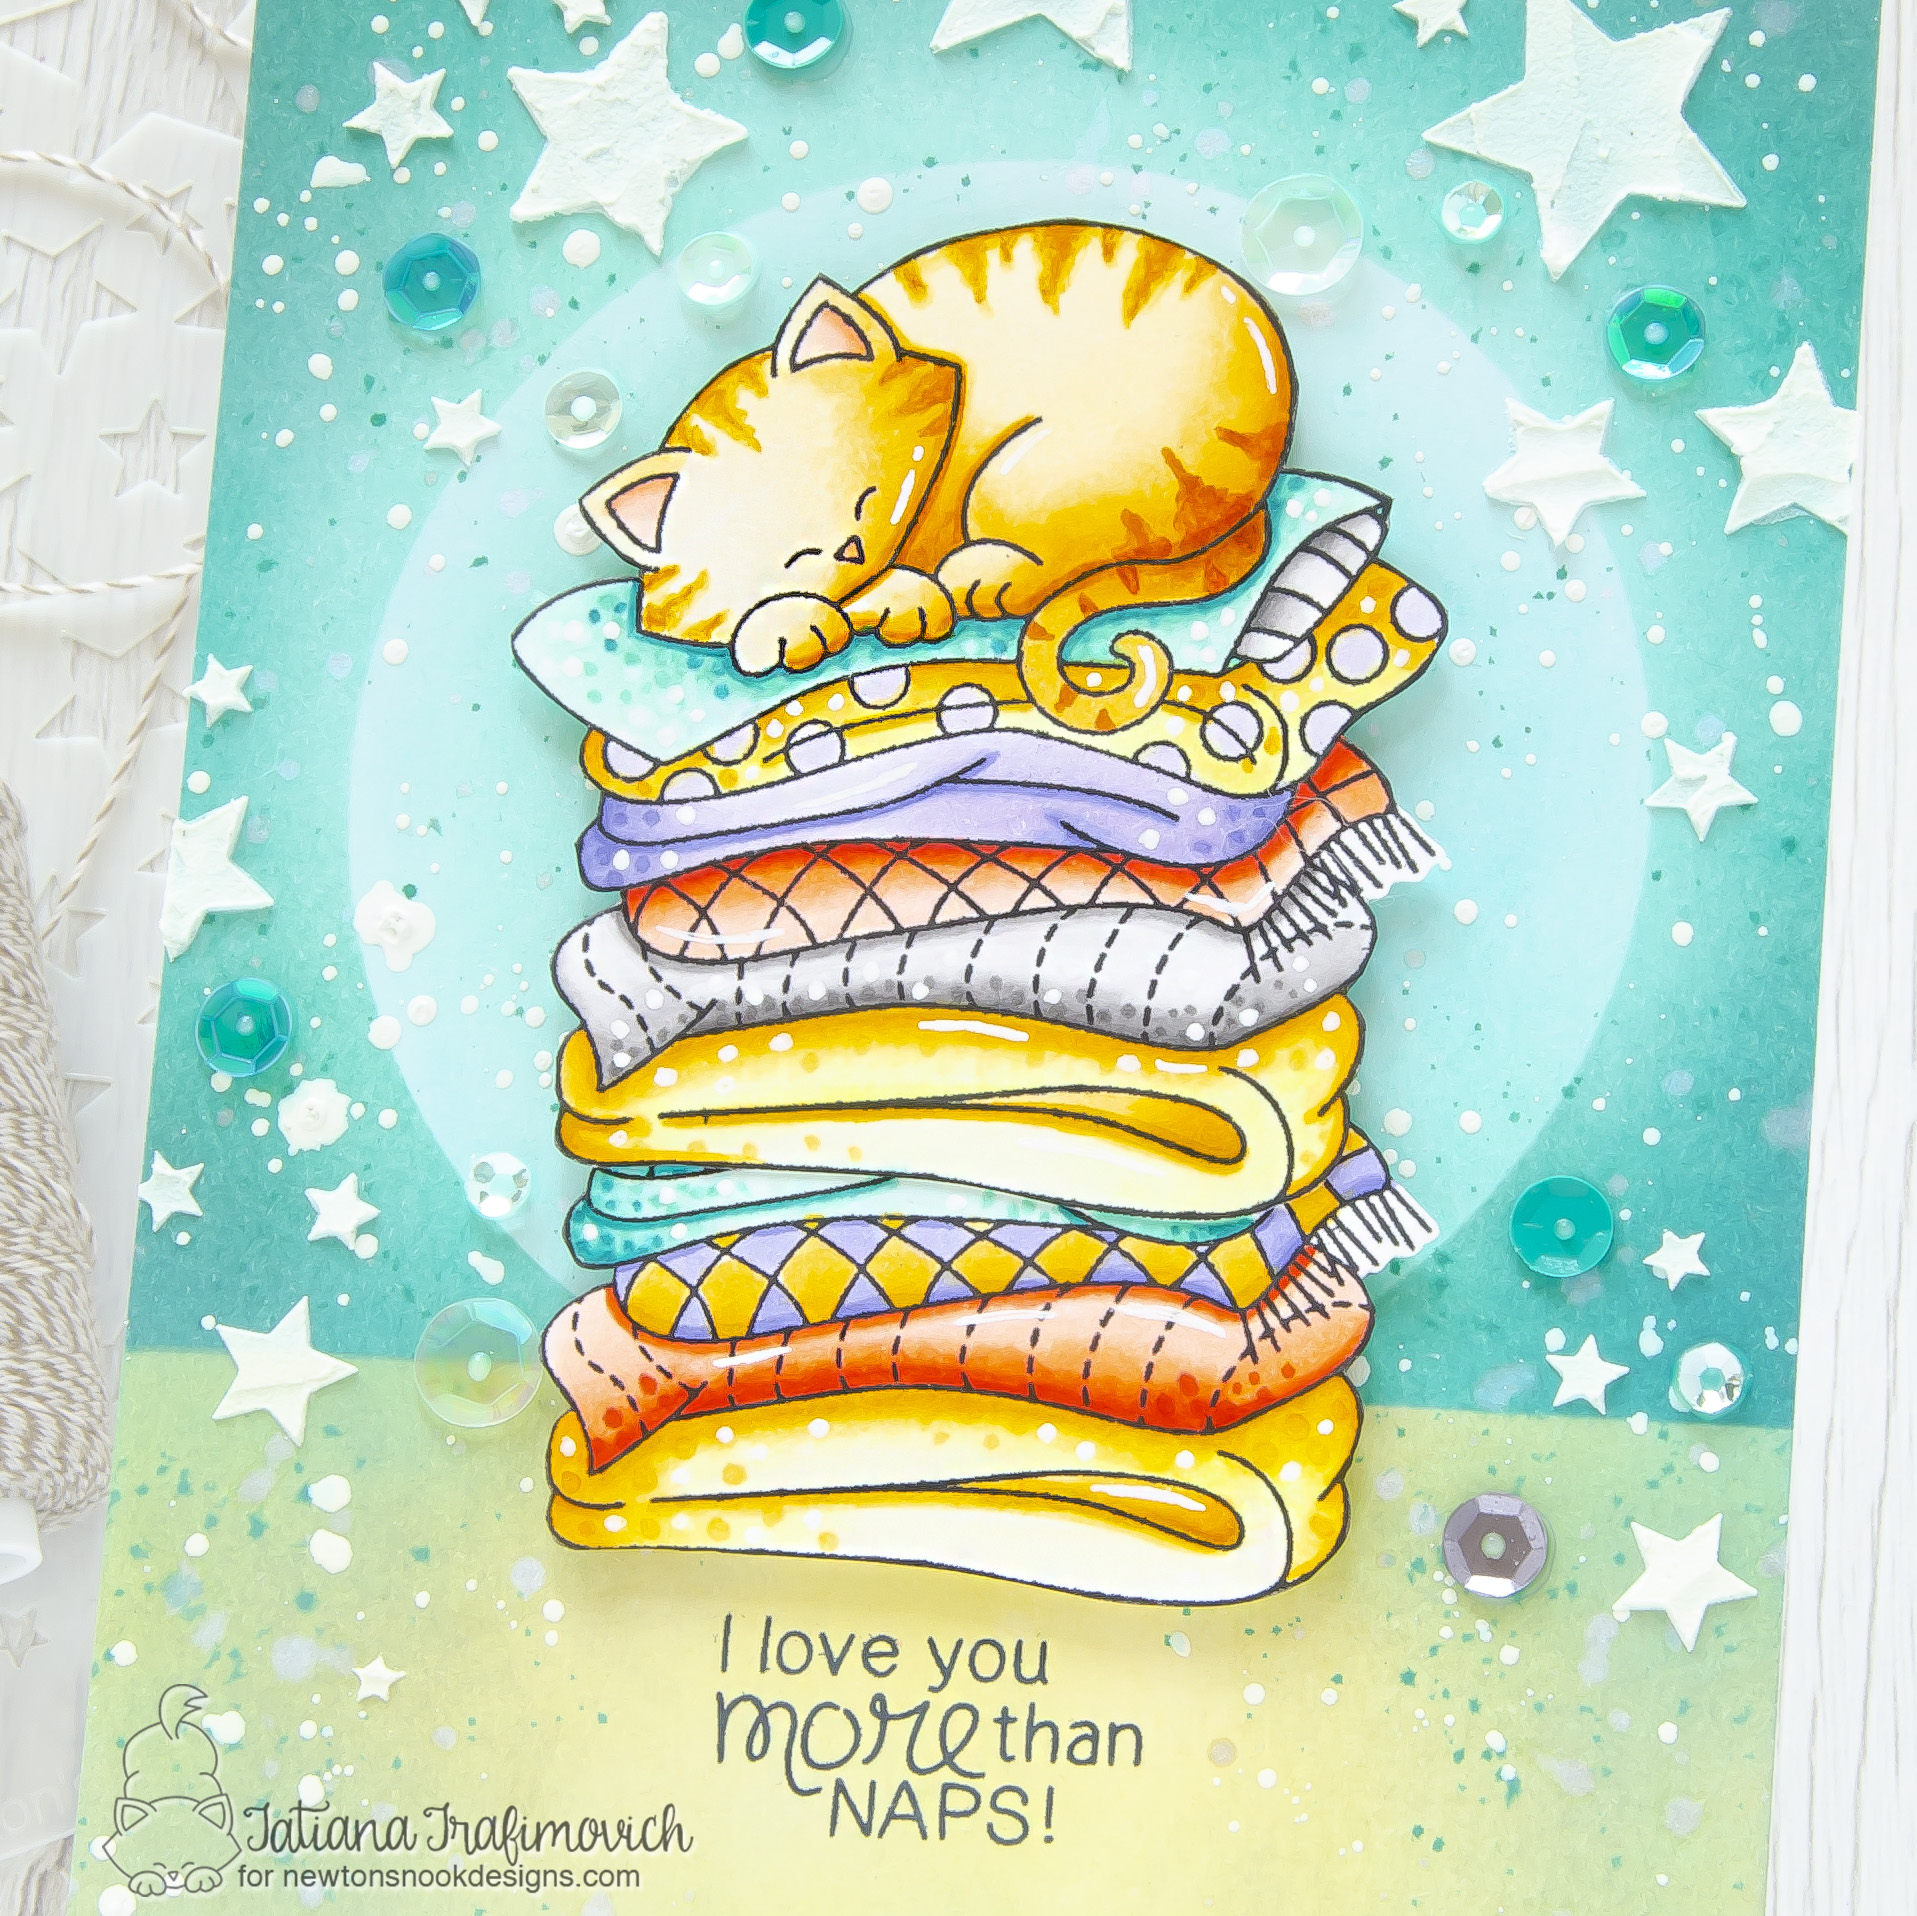
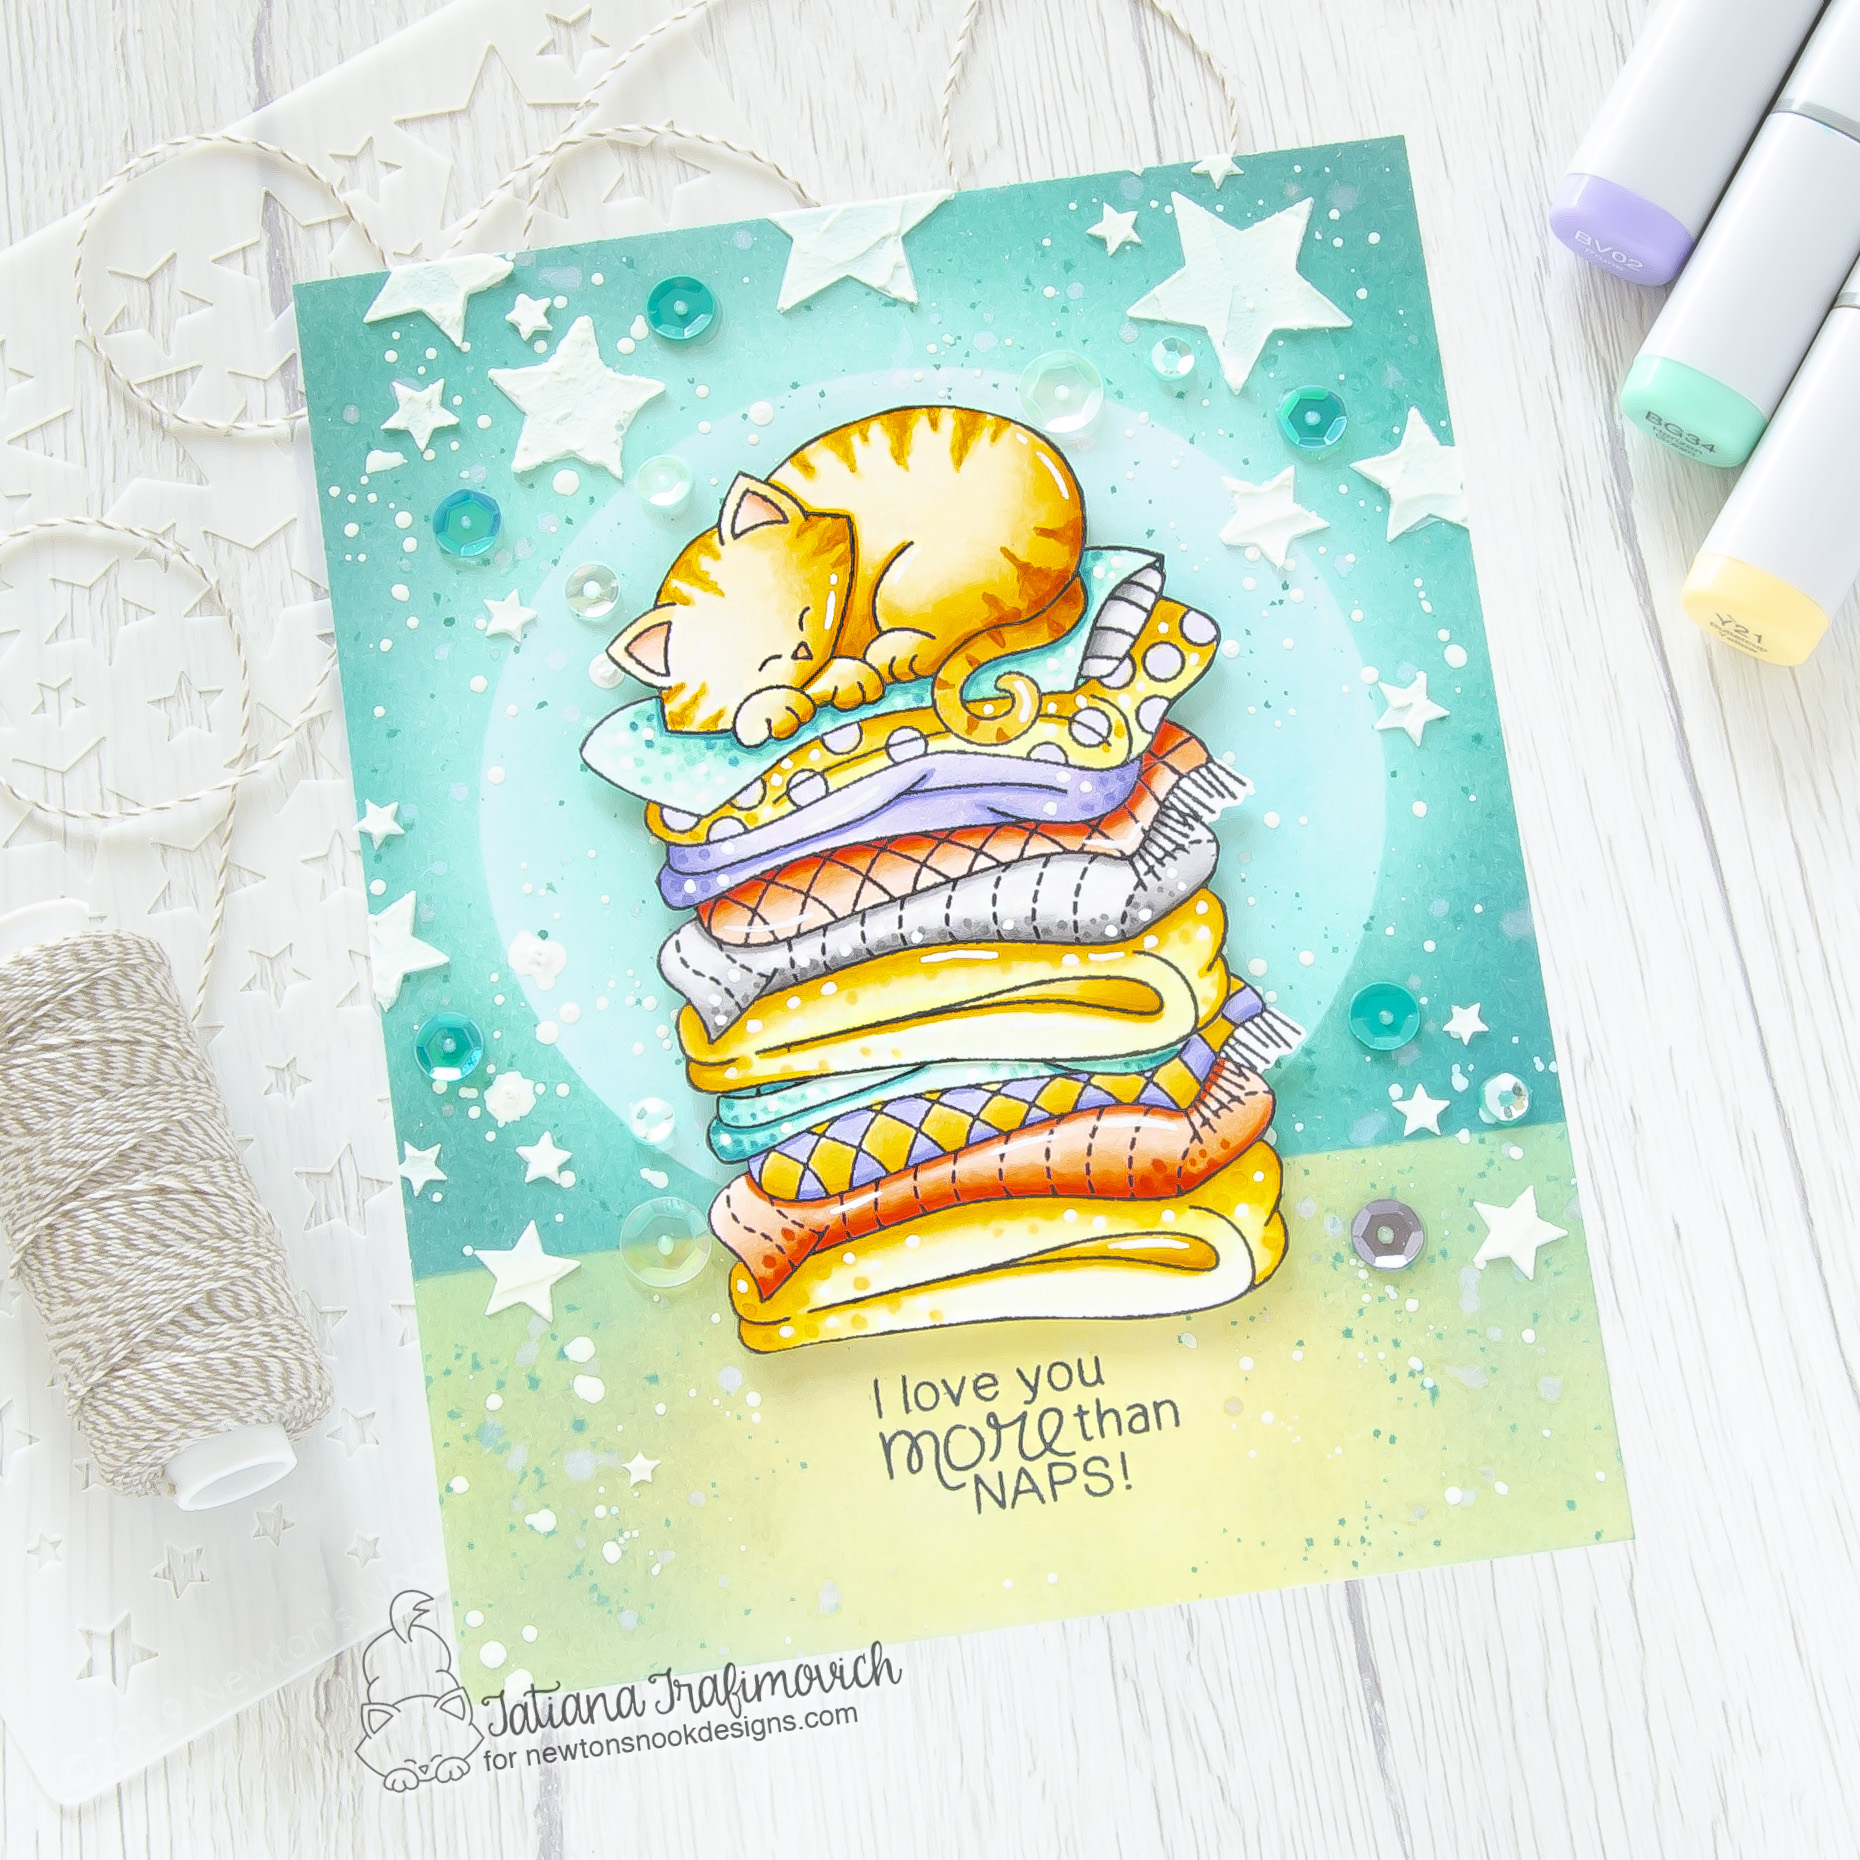
I’m so glad you’ve joined me today and even more excited to be on the Newton’s Nook Designs blog, sharing a sweet and dreamy card that features Newton’s Nook Designs “old”, but so stunning and one of my ever favorite Newton’s Naptime Stamp Set! I kept the layout simple since the card was already overloaded with colors both on the main illustration and the background. Please keep reading the full step-by-step tutorial!

Key Ingredients:

Step By Step Instructions:
- Stamp twice the outline illustration from Newton’s Naptime Stamp Set, using Memento Tuxedo Black ink ink and the stamping positioning tool.
- Fussy cut the whole illustration with the sharp small scissors plus the mattresses from the second one and glue them together to achieve a longer stamp.
- Color the stamp with COPIC MARKERS. I used on this card:
- cat Y32-YR21-Yr24-YR27
- red R00-R01-R02-R05-R08
- yellow Y0000-Y00-Y21-Y23-Y35-Y26
- teal BG10-Bg11-BG34-BG49
- blue-violet BV000-BV01-BV02-BV13
- grey T0-T1-T3-T5
- Paint the stamp edges with a black brush nib marker from the backside to hide any imperfection due to the fussy cutting.
- Trim and score an extended A2 size card base (5 1/2″ x 4 1/4″) from Neenah Solar White paper.
- Trim another rectangle large enough to cover the whole card front from a Bristol paper since it’s a bit smoother than Neenah Solar White paper.
- Die cut a circle from a masking paper and apply it in the center of the card front along with a masking stripe on the bottom part of the background to mask the Moon and ground elements. I used on this project Sizzix Big Shot Die Cutting machine.
- Start inking the background with Distress inks from the edges, keeping you hand lighter towards the center. Lift up the masks and continue with a very light layer of color over the Moon and the ground. I used the blending brushes and Distress inks in colors:
- Splatter the inked background with some tiny droplets of a clear shimmer spray and a white gouache to add more interest. Let the piece air dry or heat set it.
- Tape well the Cascading Stars Stencil with a removable tape to the inked background to prevent any movement and apply some stars here and there with a white embossing paste. Let the paste air dry.
- Stamp the sentiment from Newton’s Naptime Stamp Set with Memento Tuxedo Black ink.
- Arrange and glue in place all the elements on the card front, by popping the sleeping kitty on a foam tape for a fun dimensional look.
- Finish with a couple of matching sequins adhered with Distress Collage Medium Matte and some highlights added with a white gel pen.

That’s all for today! Hope you like this sweet sleepy kitty and my dreamy card! Thanks so much for stopping by and have a fabulous day!
Hugs,
Tatiana
