Hello and welcome to the final day of the Newton’s Nook Holiday release! Thanks so much for joining this week and for all you sweet and kind comments! I appreciate so much your love and support!

All the new Holiday products will be available for purchase on Friday, October 15th at Newton’s Nook Designs online store and other craft retailers!
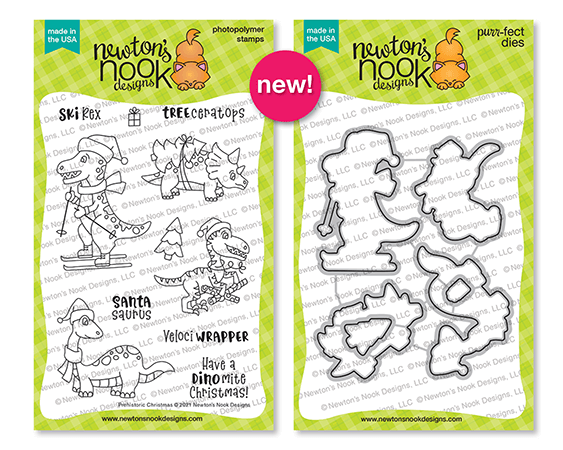
The last day of the holiday reveal has reserved us a lot of fun with Prehistoric Christmas Stamp and Christmas Pheasant Stamp sets. These both new sets come with the coordinating Prehistoric Christmas Dies and Christmas Pheasant Dies. Then there is a beautiful addition to the NND “Heart Card Front Product Line” with amazing new Heartfelt Holidays Stamp Set that perfectly works with the previously released Heart Frames Die and Banner Trio Die.
Giveaway alert!! NND is giving away new Prehistoric Christmas and Heartfelt Holidays stamp sets to lucky winners so make sure you read all the way to the bottom of this post to see how to win!
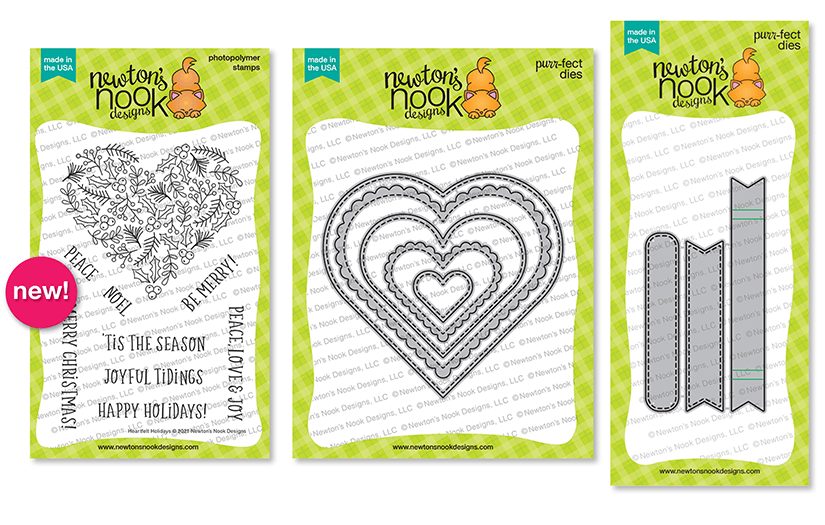
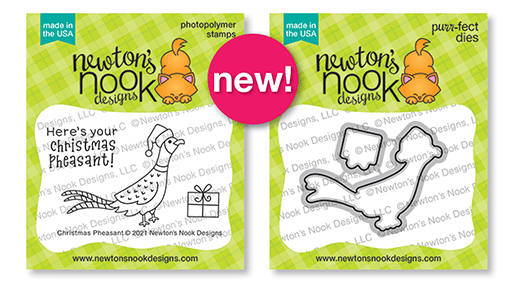
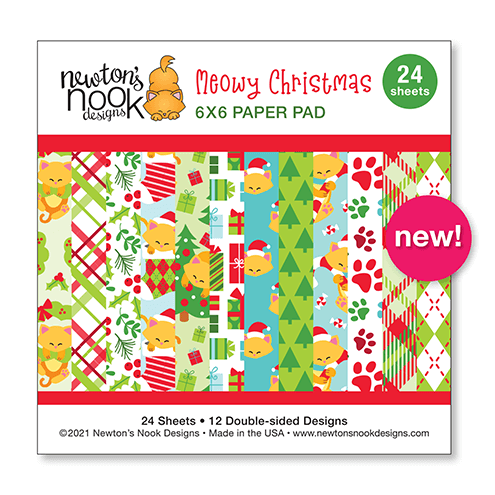
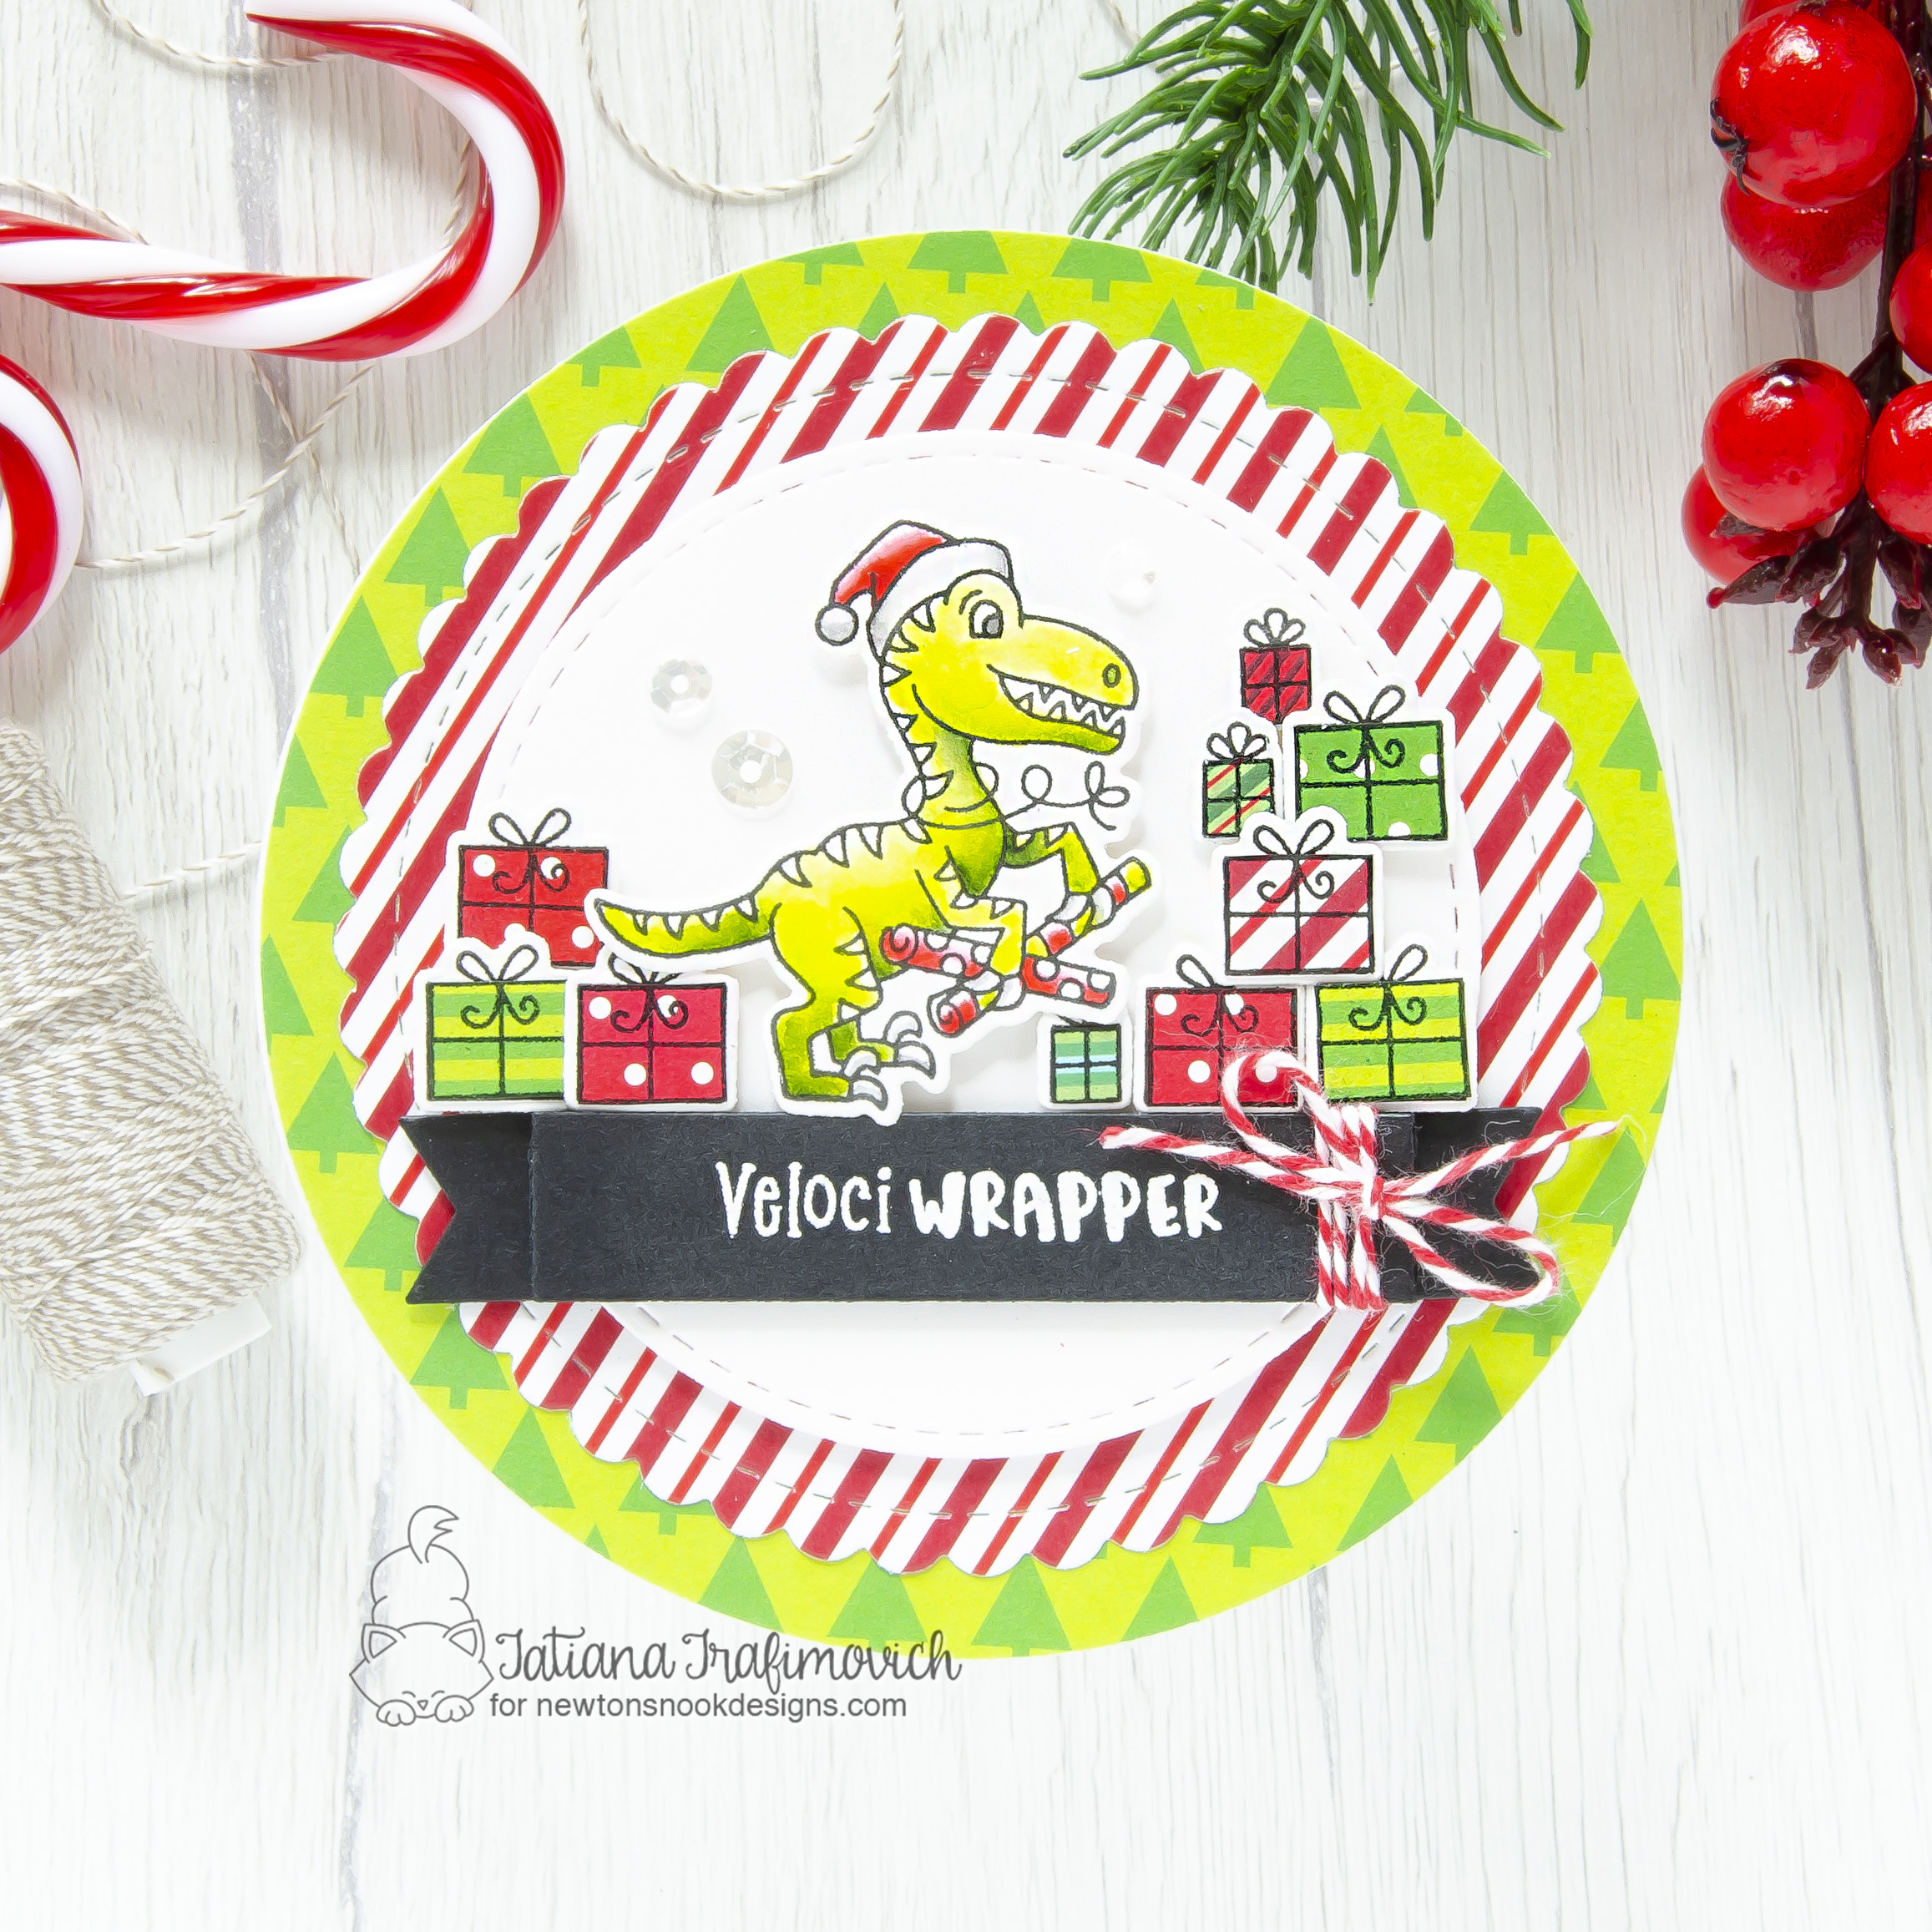
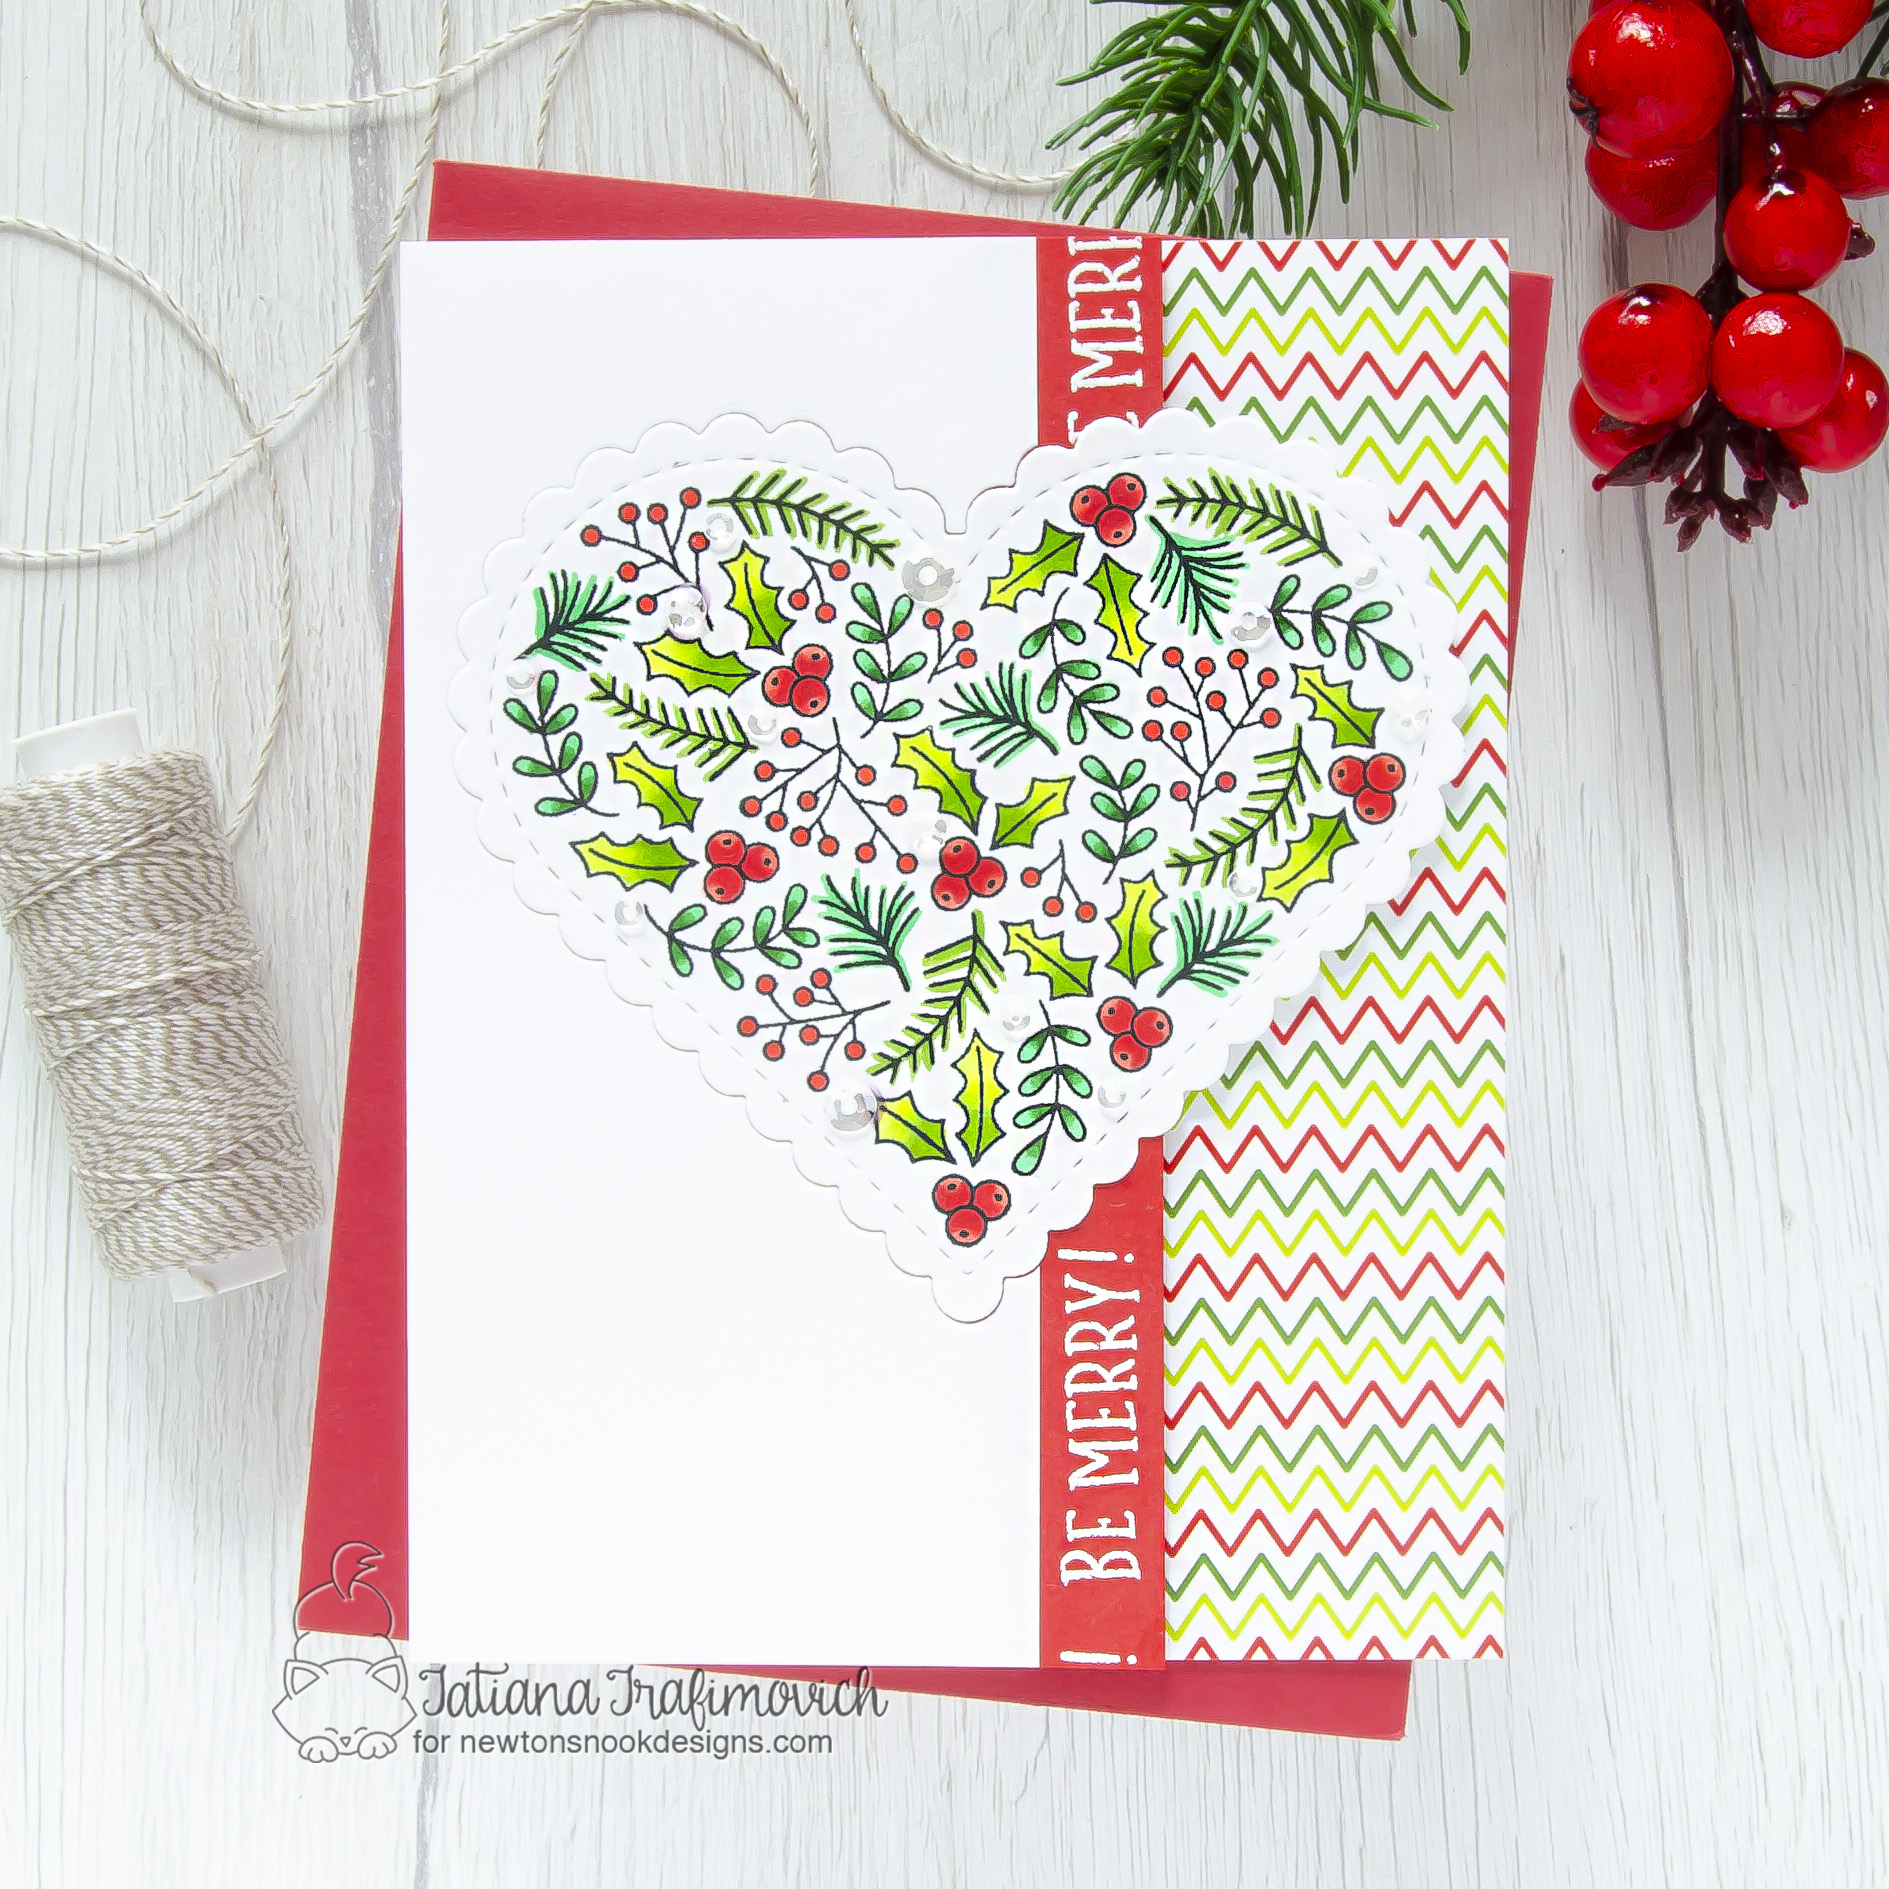
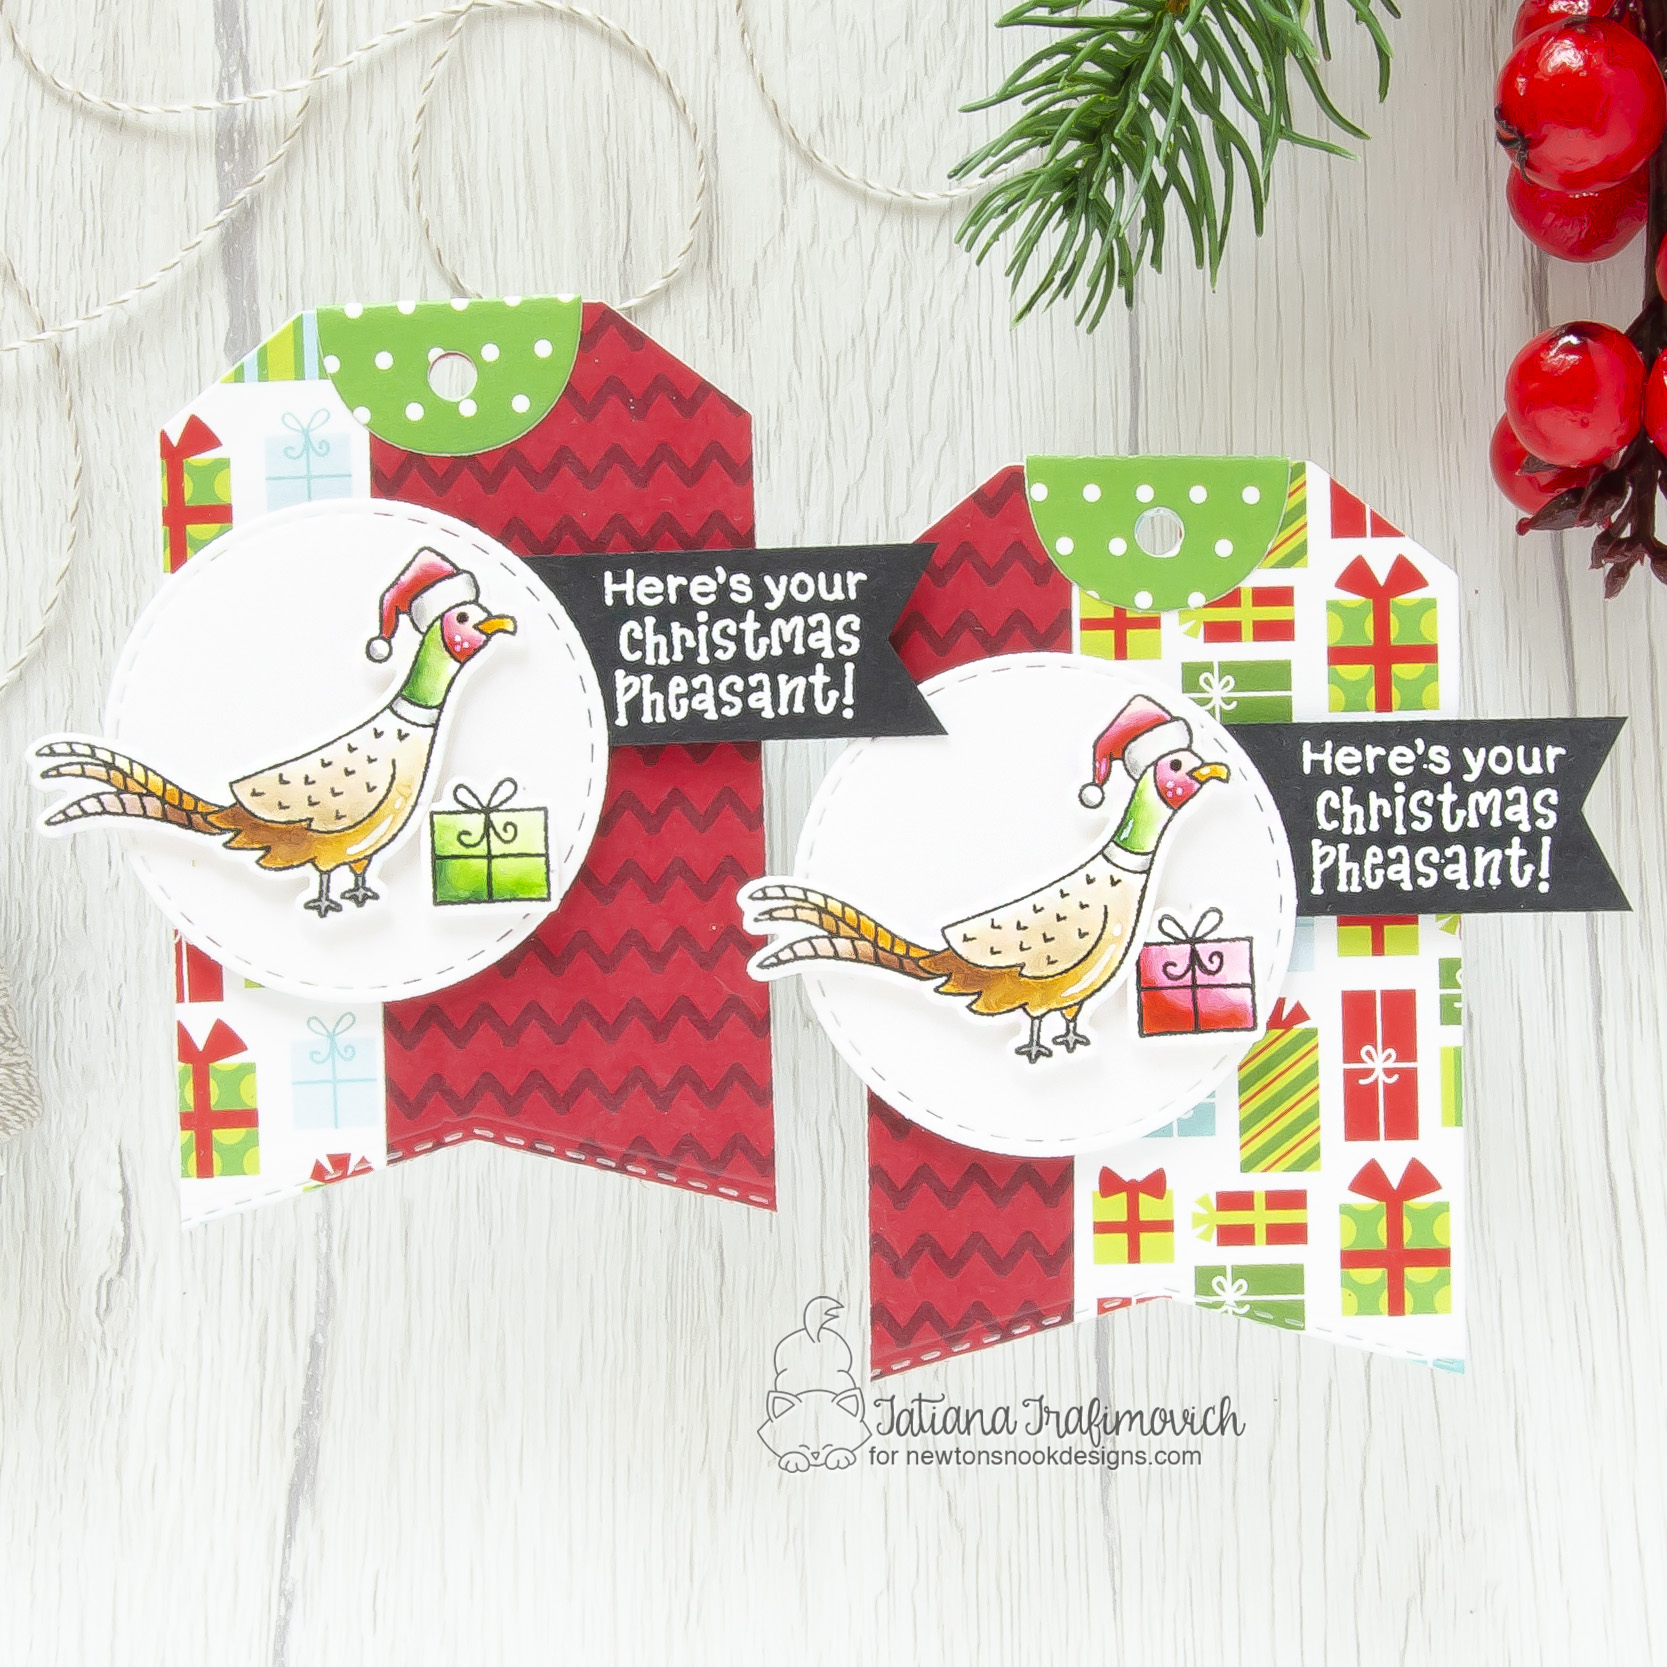
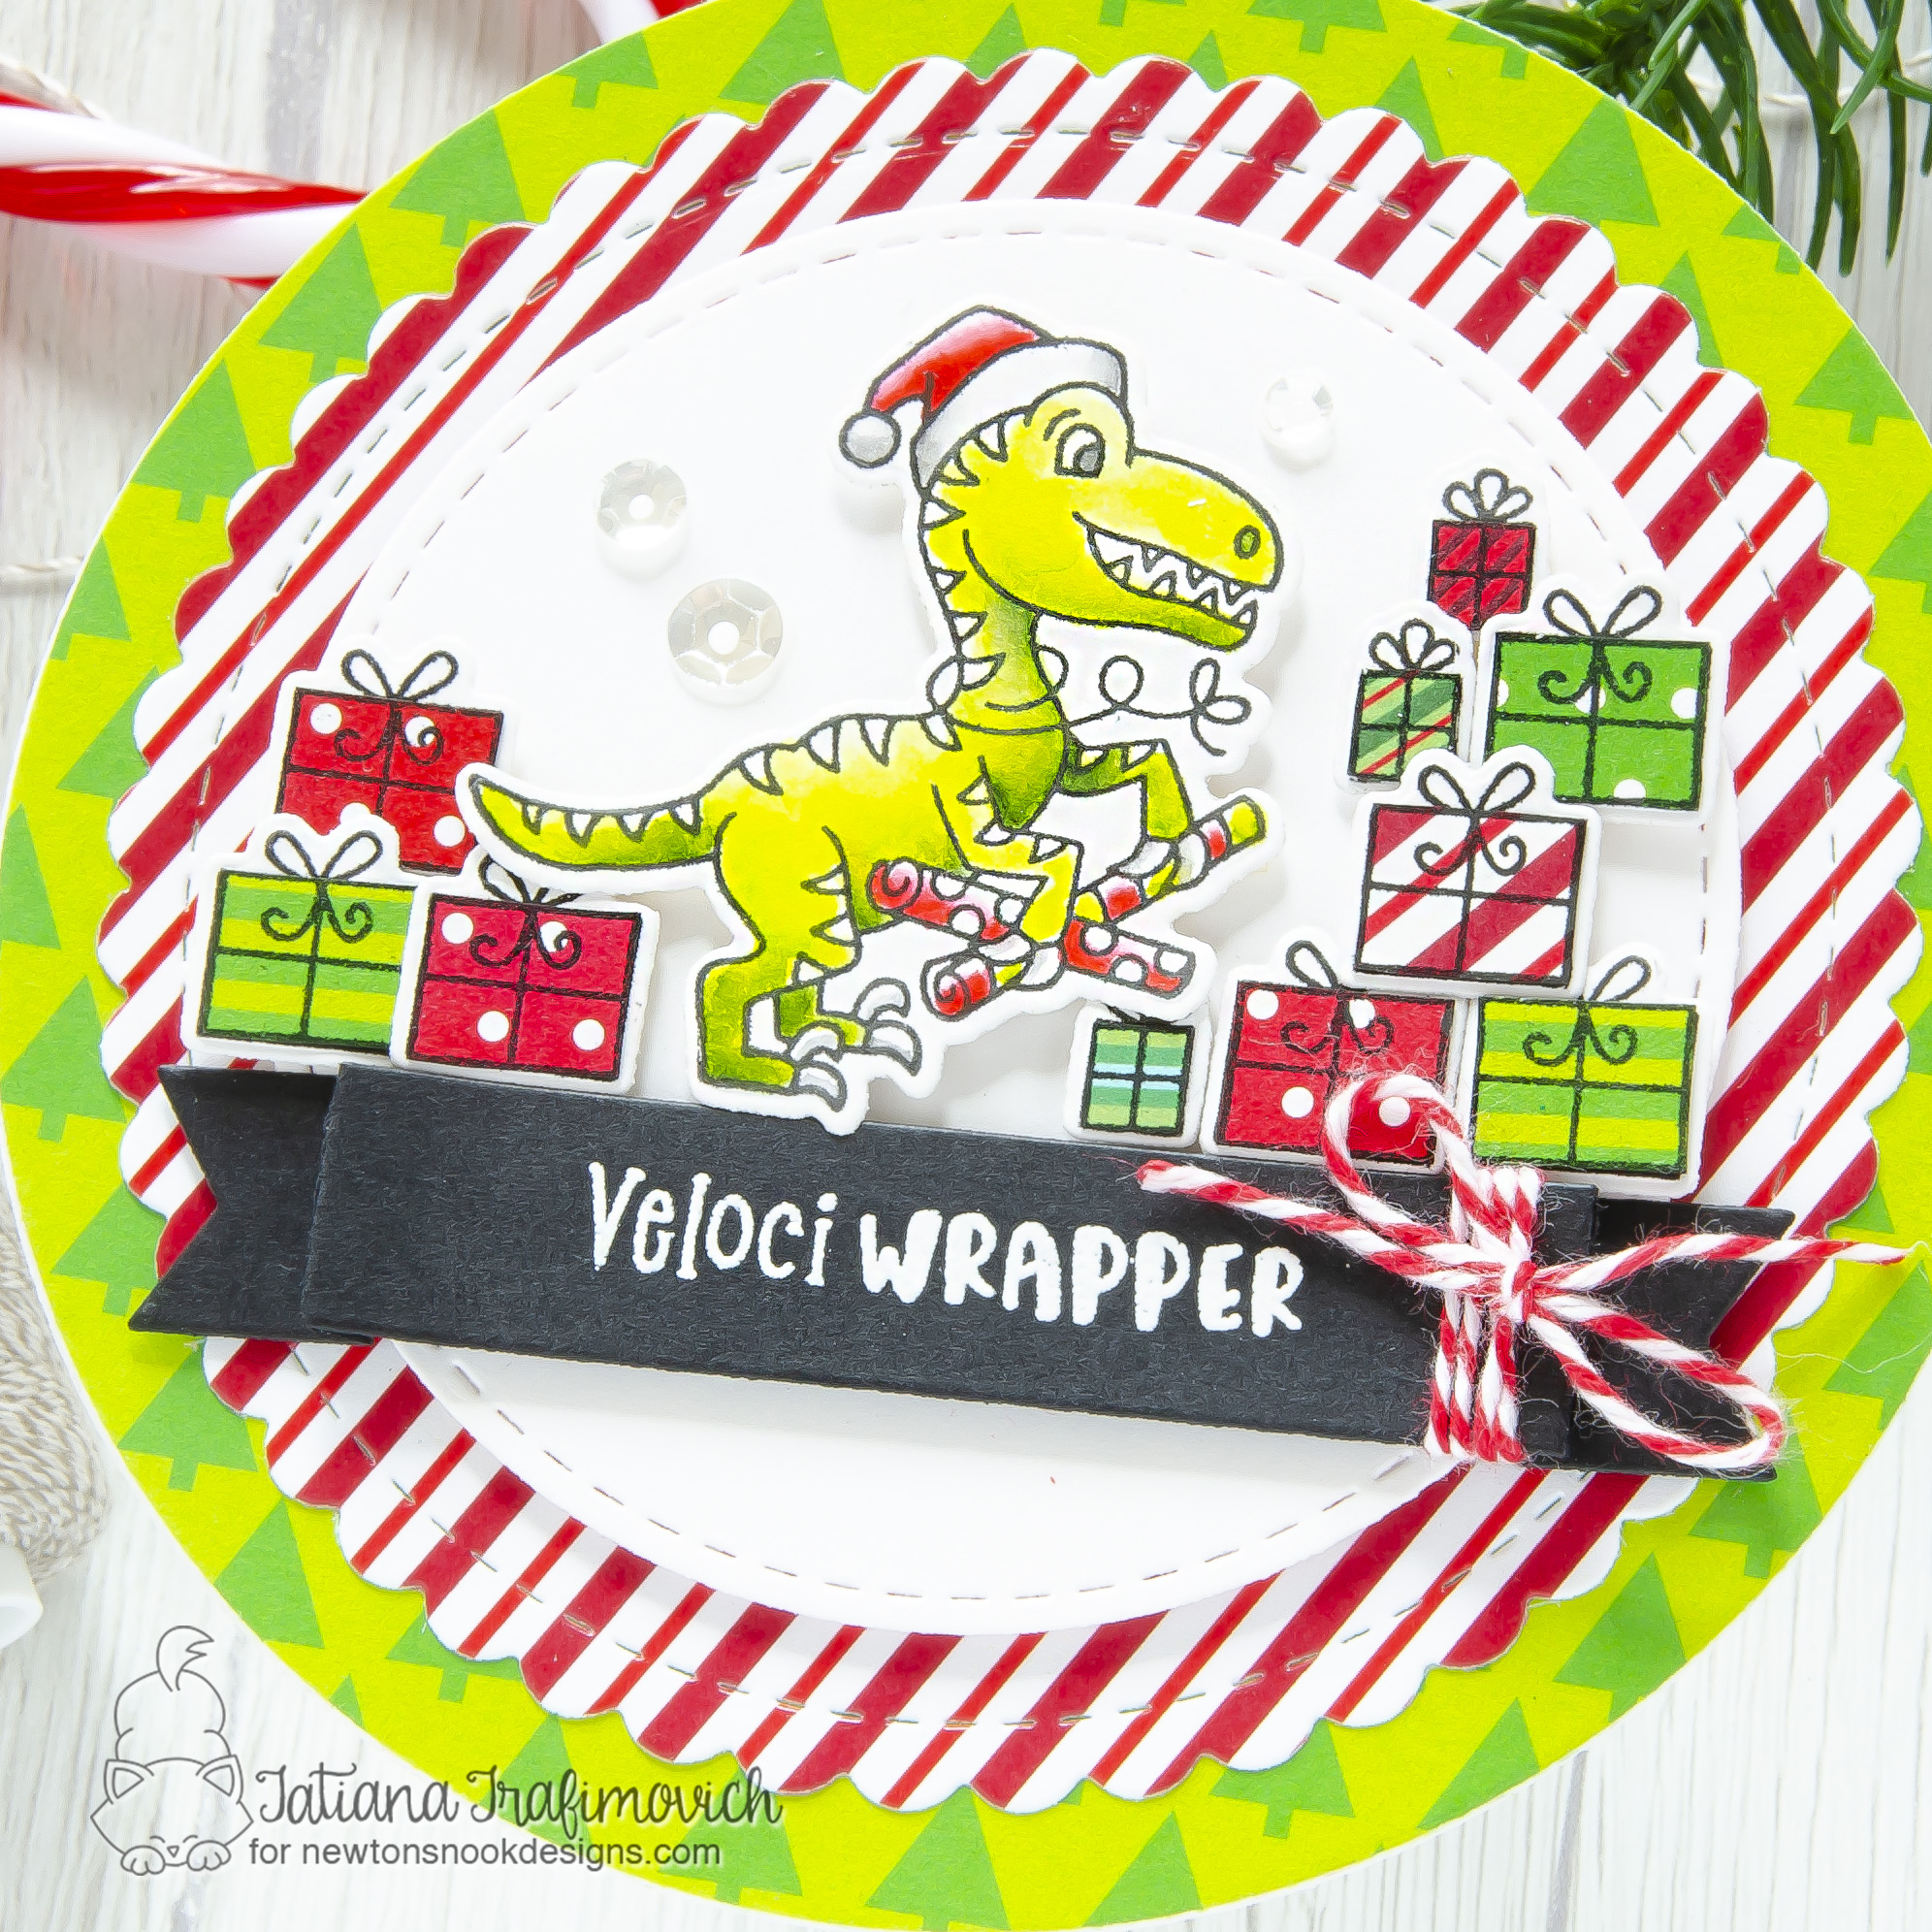
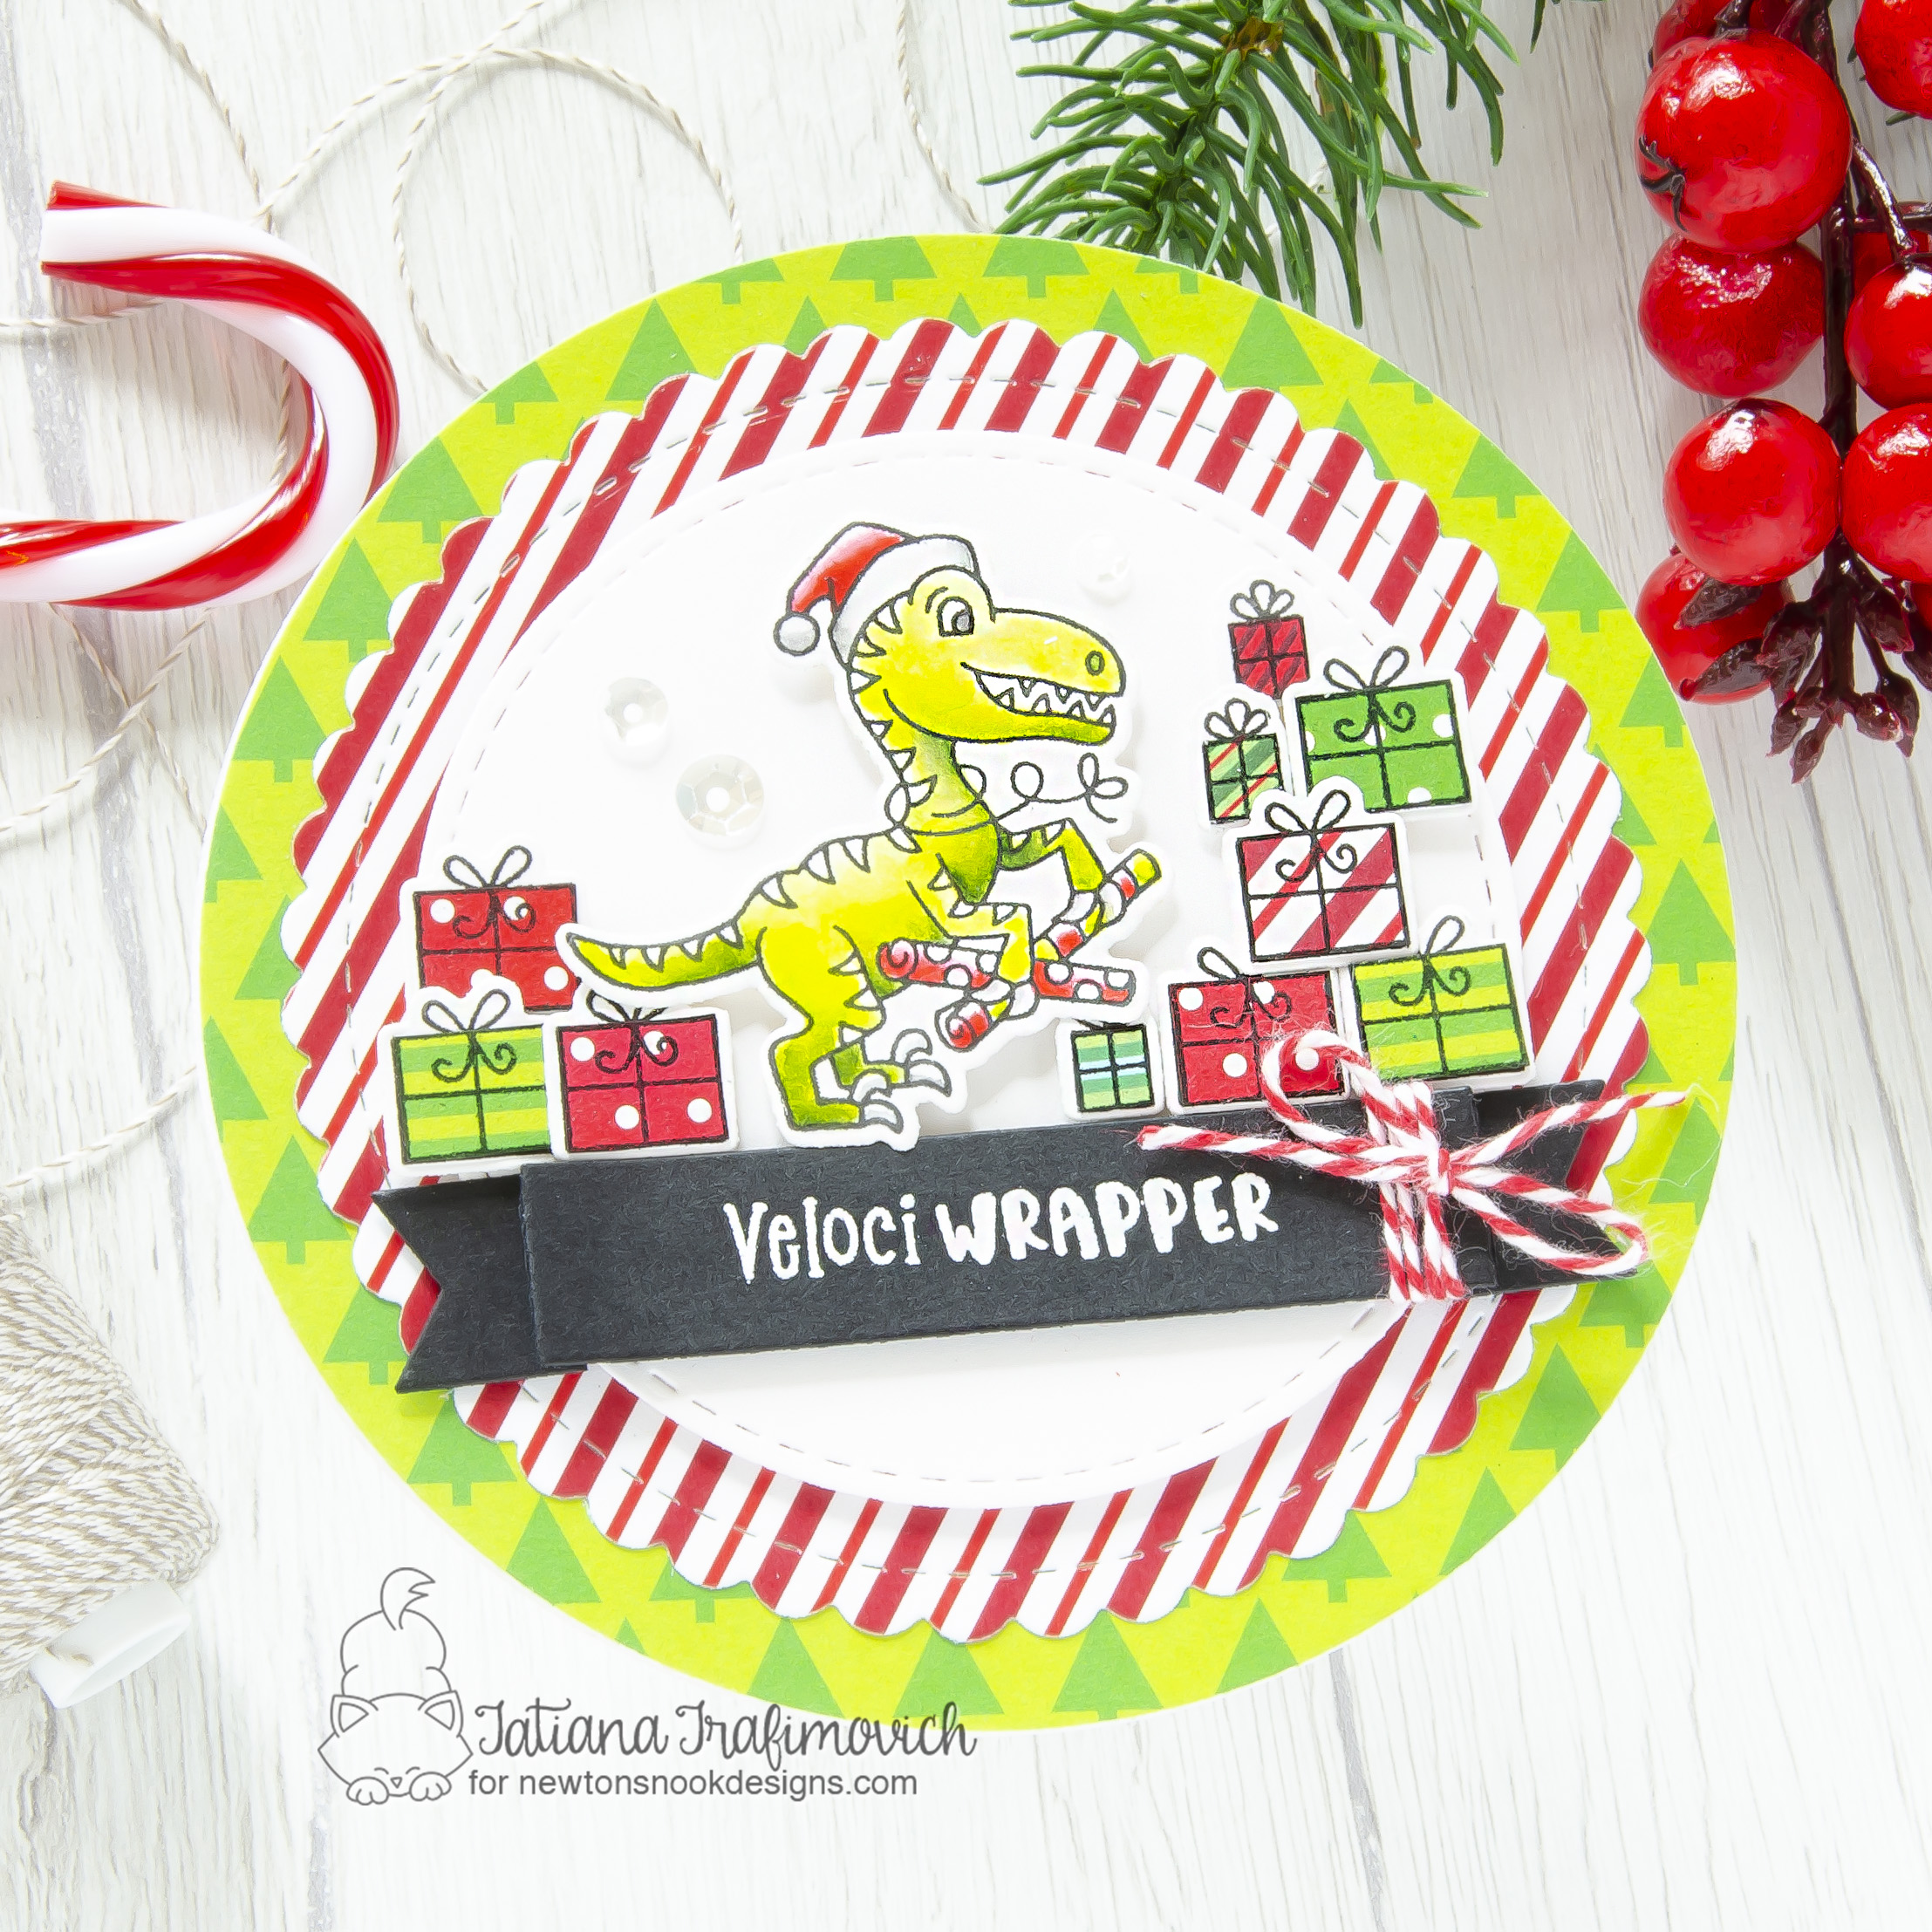
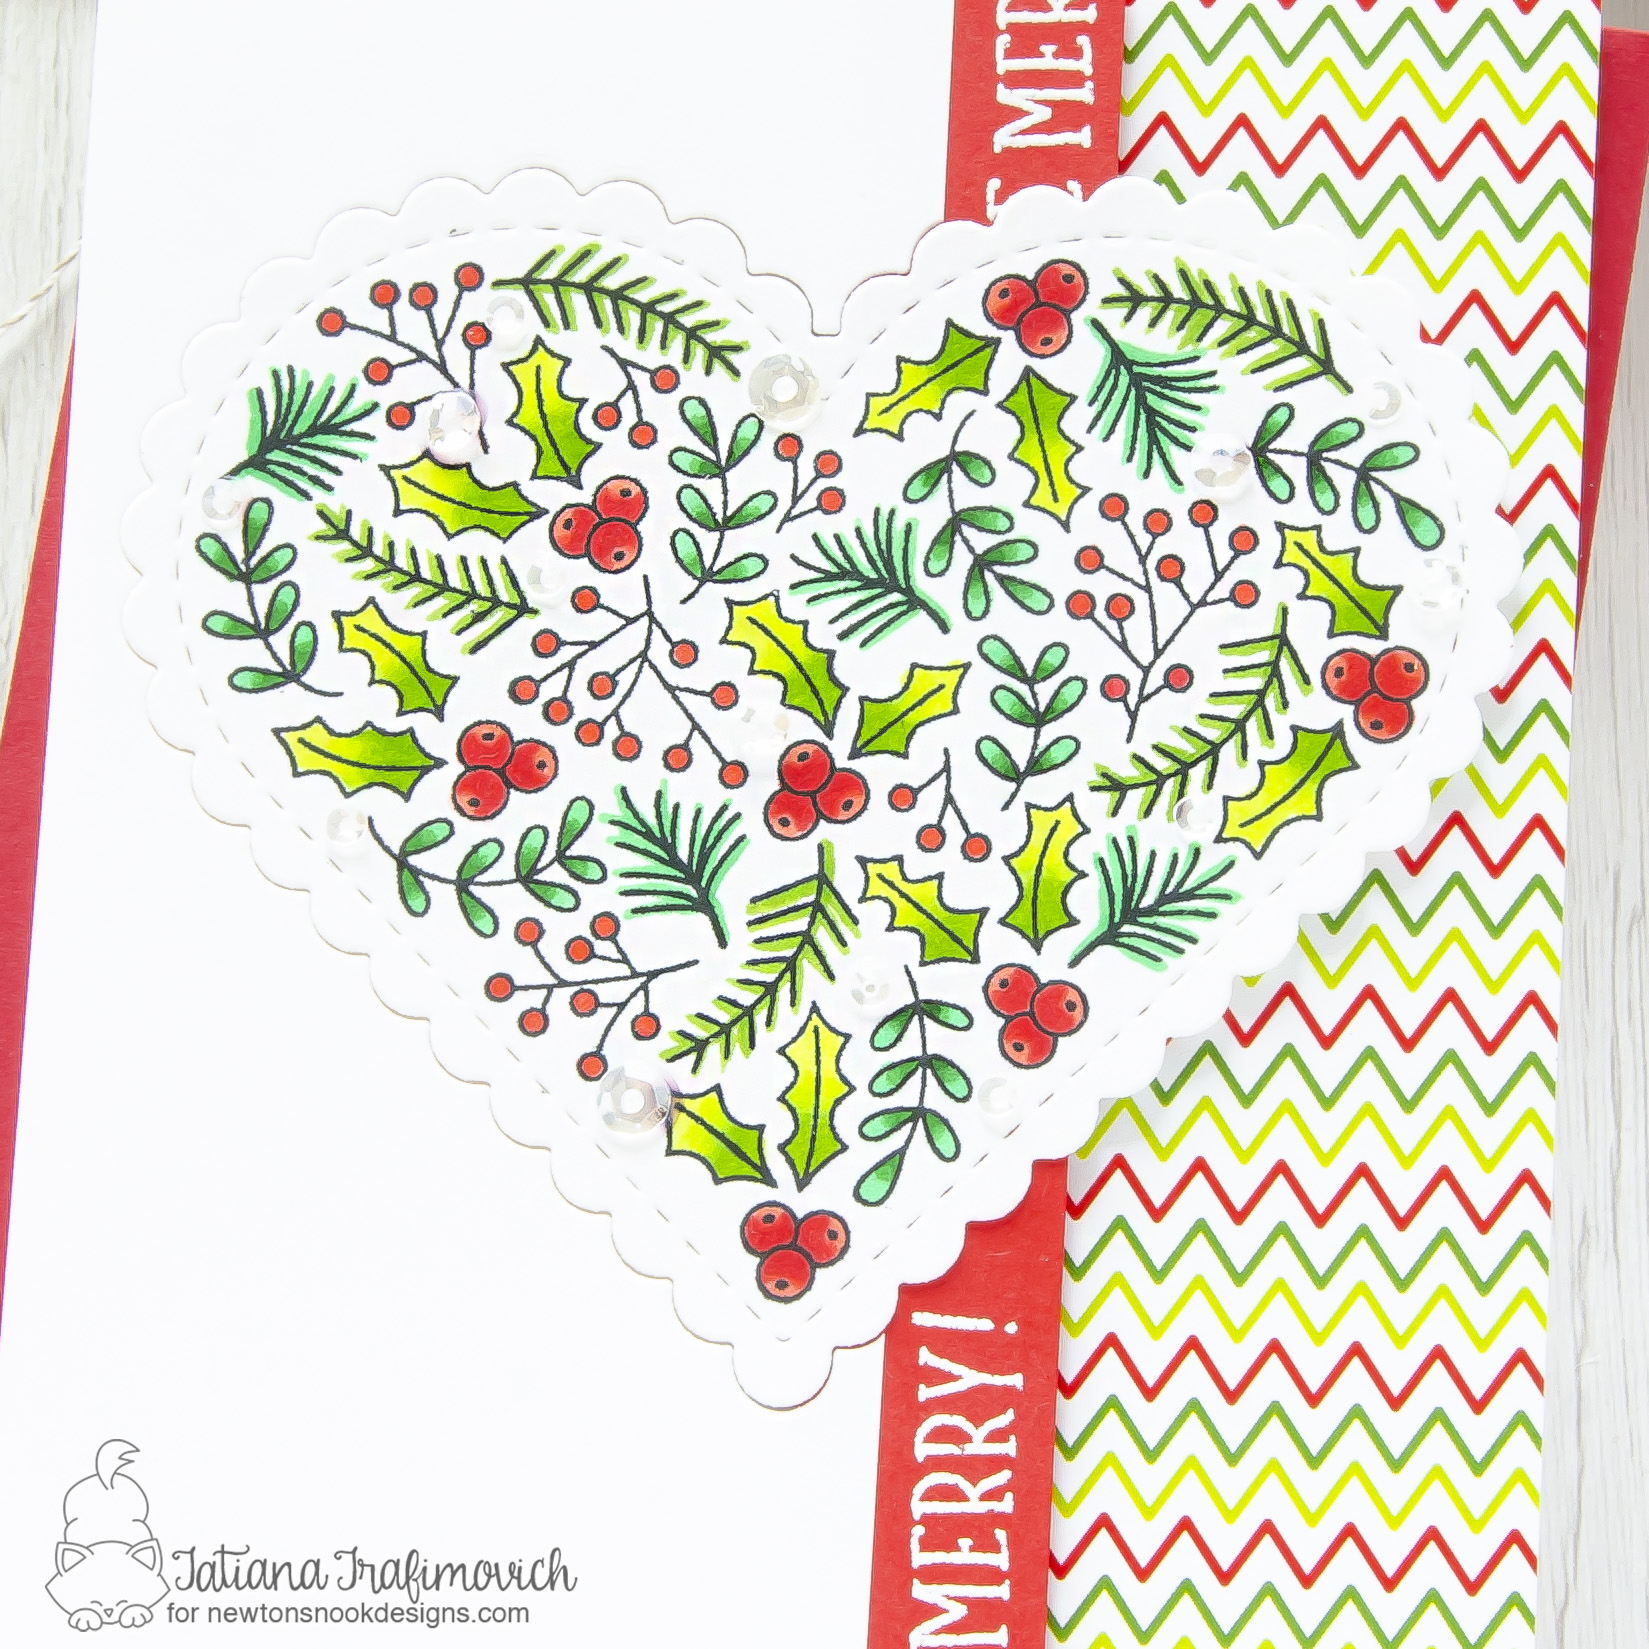
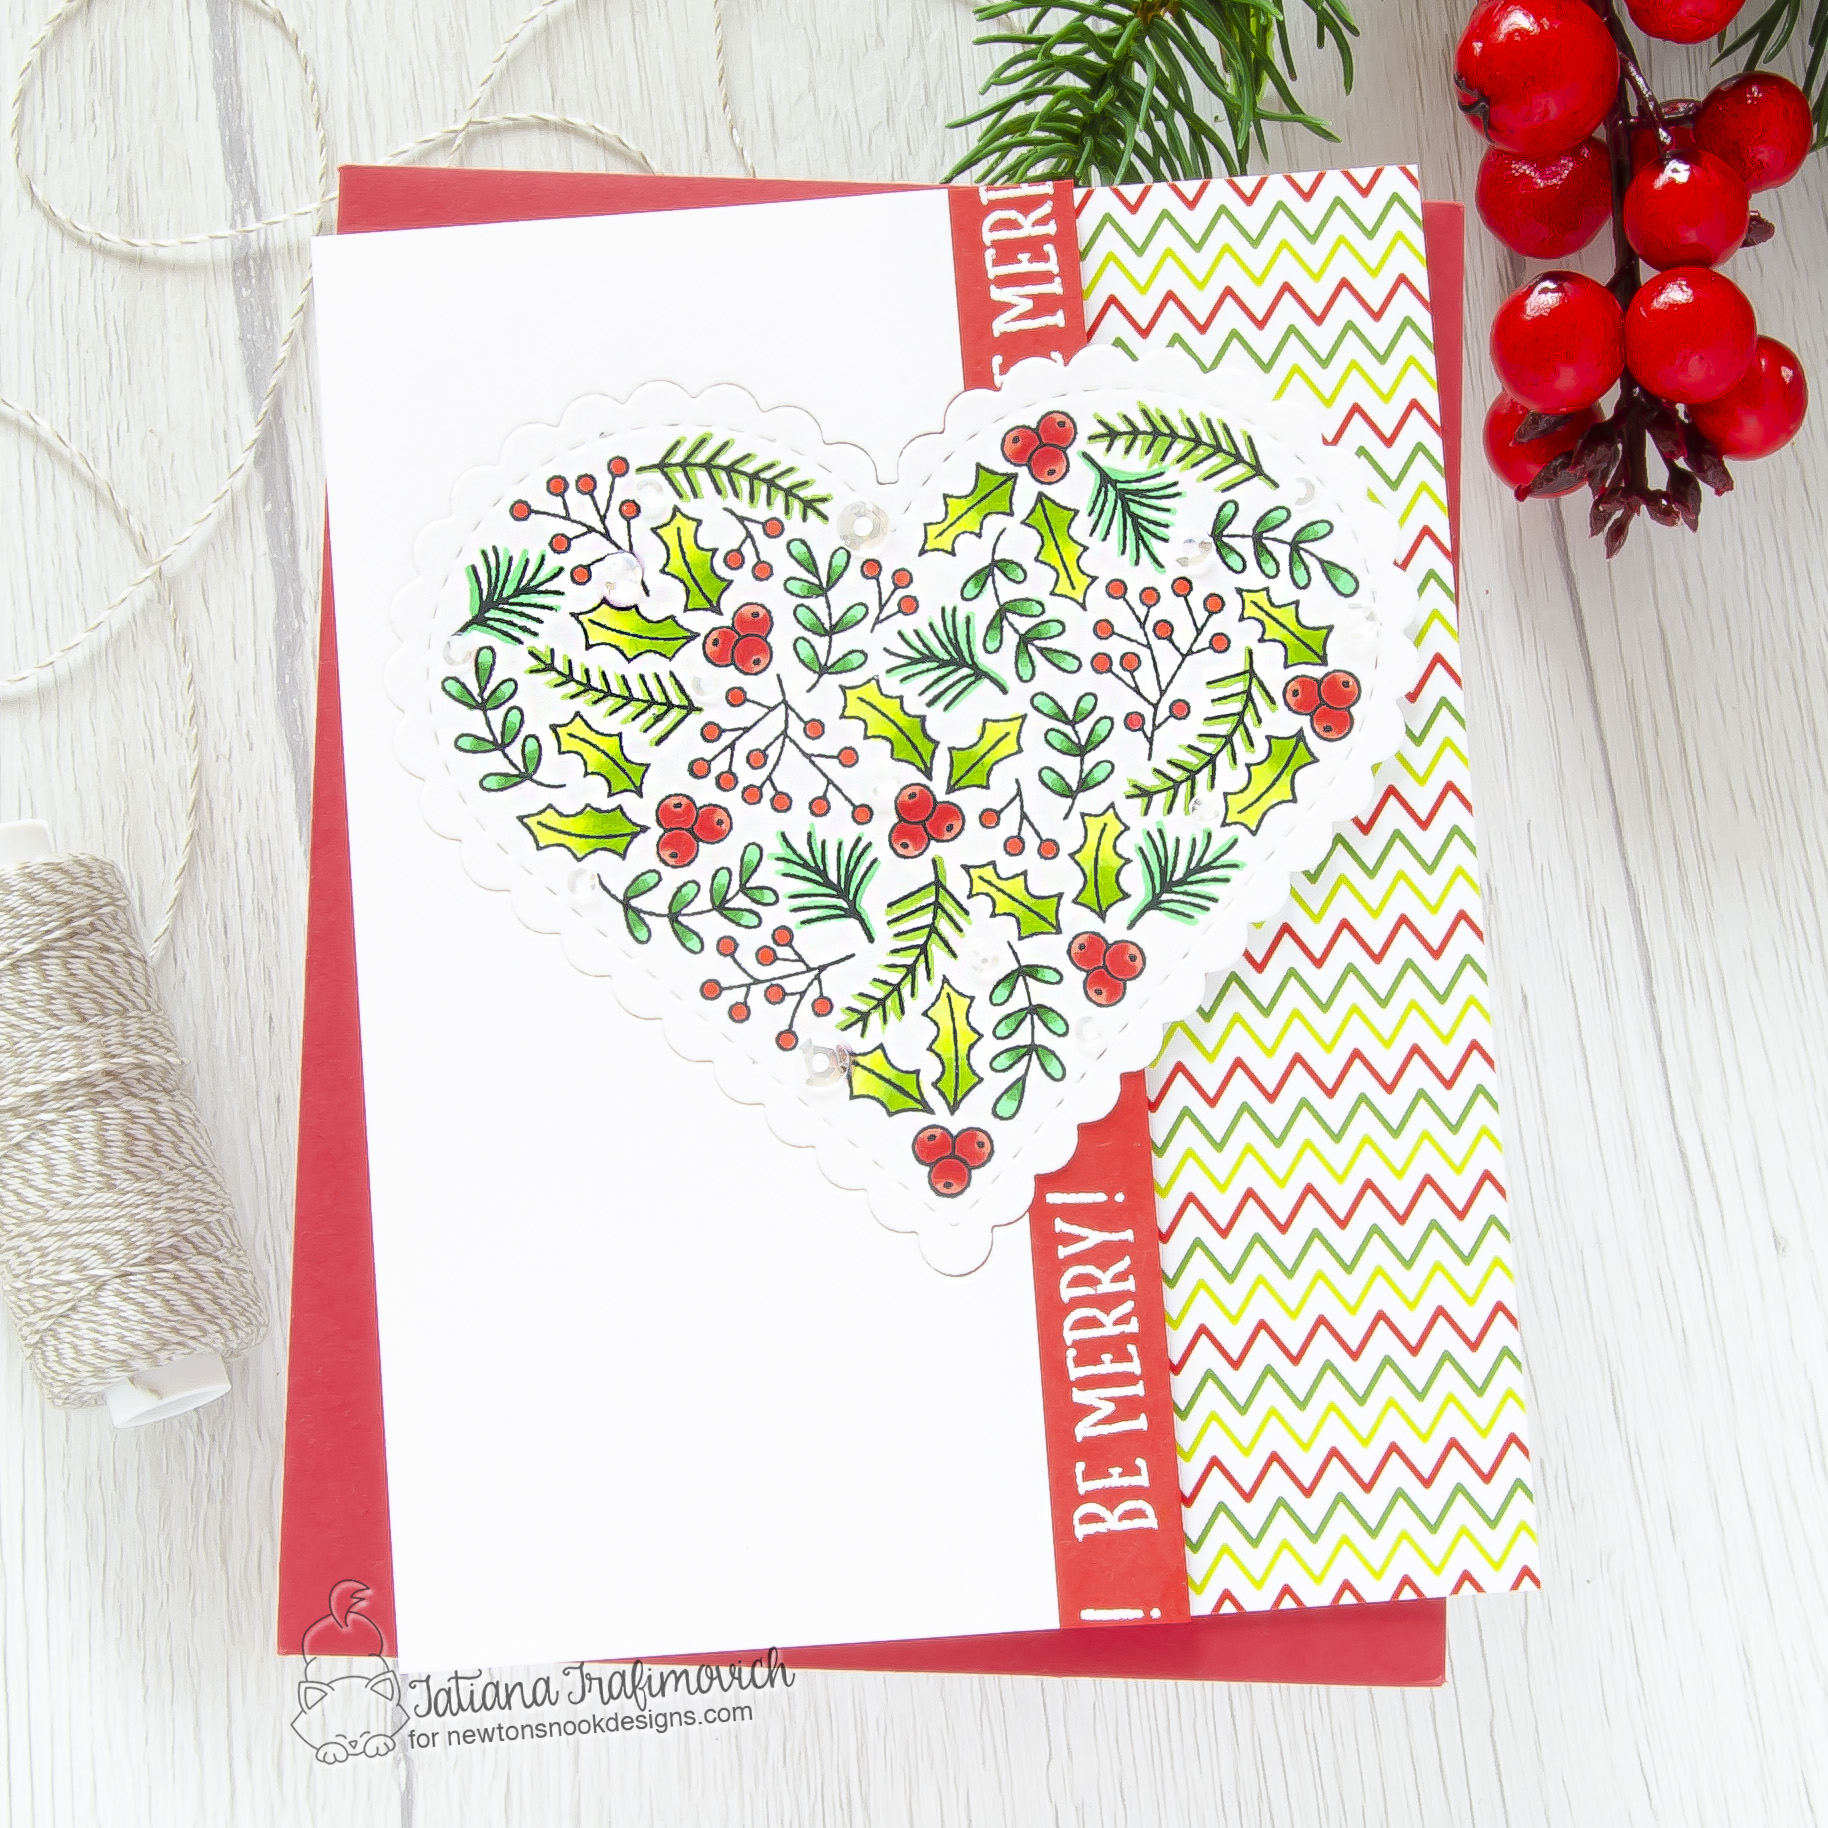
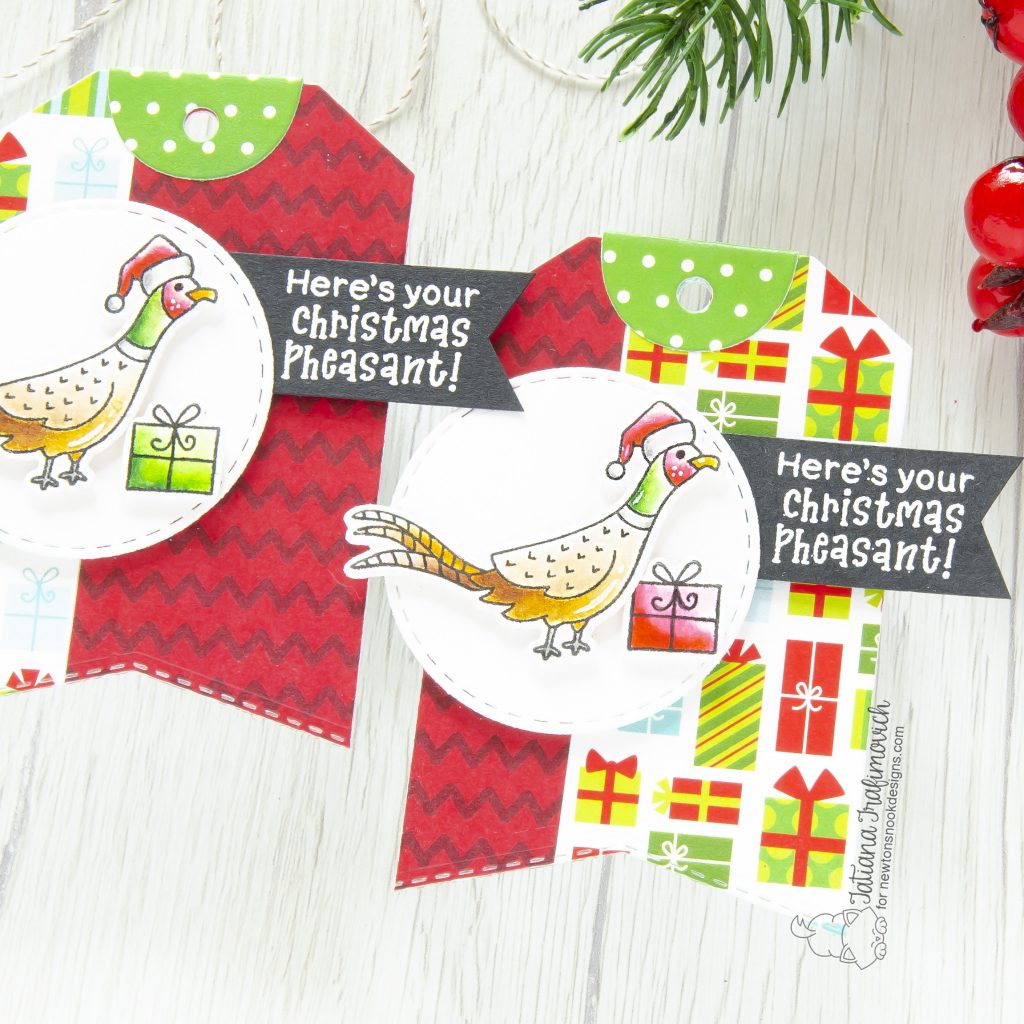
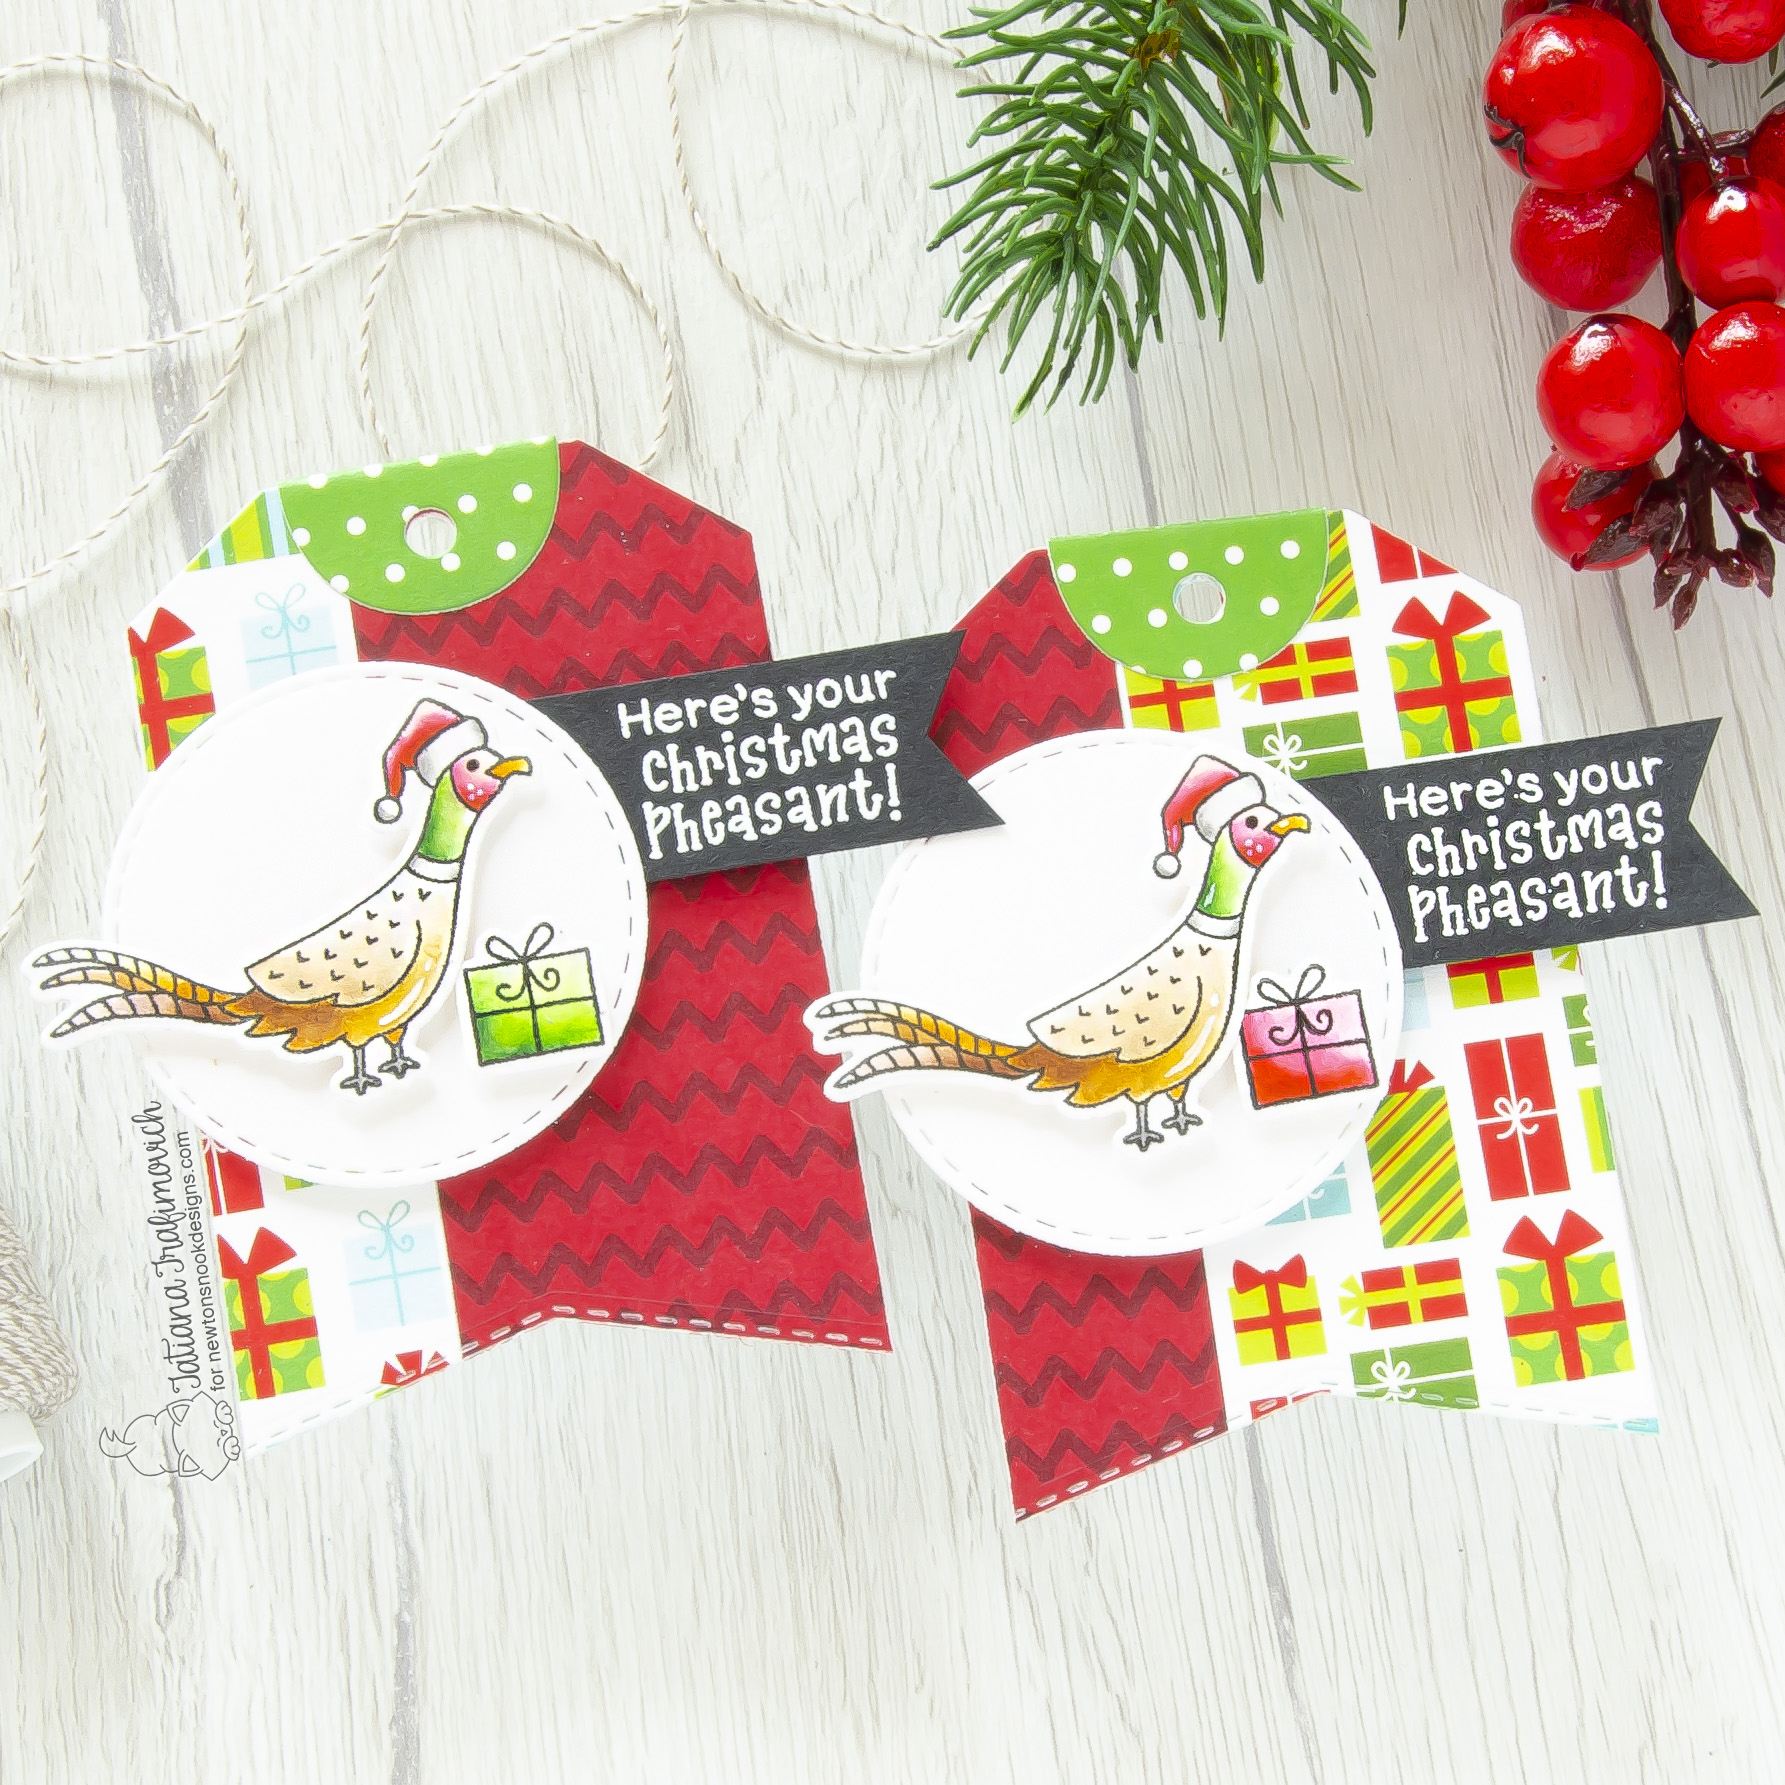
On my stop of this hop you will find three completely different projects!!! The cutest Veloci Wrapper dinosaur was simply watercolored with water based markers and then paired with fun festive pattern from new Meowy Christmas Paper Pad on a round shaped card. I used again the pattern papers to create a fun and easy Christmas tags, playing with the “pheasant” pun on my second project. The beautiful botanical pattern from Heartfelt Holidays Stamp Set was colored with copic markers and then assembled on an extended A2 size card with different dimensions: half of the die cut heart was inlaid in place while the other half was raised on a foam tape against the colorful sentiment stripe and pattern paper.
Key Ingredients:
- Prehistoric Christmas Stamp Set
- Prehistoric Christmas Die Set
- Christmas Pheasant Stamp Set
- Christmas Pheasant Die Set
- Circle Frames Die Set
- Banner Trio Die Set
- Meowy Christmas Paper Pad
Step By Step Instructions:
- Die cut from Strathmore Bristol paper all the elements you need for your card, using the coordinating Prehistoric Christmas Die Set and Christmas Pheasant Die Set. I used on this project Sizzix Big Shot Die Cutting machine. Save the negative parts of the dies.
- Stamp the outline illustrations from Prehistoric Christmas Stamp Set and Christmas Pheasant Stamp Set with VersaFine Onyx Black pigment ink. Use the negative parts of the dies as a guide for a perfect alignment inside the stamping positioning tool.
- Color the dinosaur with water based markers, making the blending with a small water brush. I used:
- TOMBOW DUAL BRUSH MARKERS
- 126; 133; 177; 835;
- ZIG CLEAN COLOR REAL BRUSH MARKERS
- n.94 Gray Brown
- Stamp again the presents on the variety of pattern papers from Meowy Christmas Paper Pad and fussy cut the rectangle parts with the sharp small scissors.
- Paint the edges of the fussy cut rectangles with a black brush tip marker to hide any imperfection due to the fussy cutting and adhere them on top of the stamped presents with Distress Collage Medium Matte.
- Die cut two circles from Neenah Solar White paper, using Sizzix Circles Dies, and glue them together to form a circle card base.
- Die cut a green tree pattern from Meowy Christmas Paper Pad, using the same circle die from Sizzix Circles Dies set.
- Die cut a red striped pattern from Meowy Christmas Paper Pad, using a scalloped circle die from Circle Frames Die Set.
- Die cut a white smaller circle from Neenah Solar White, using Circle Frames Die Set.
- Die cut a banner from a black cardstock, using Banner Trio Die Set.
- Heat emboss in white onto the black banner the sentiment from Prehistoric Christmas Stamp Set with VersaMark Clear Embossing Ink. Don’t forget to prep the cardstock with a Powder Tool Applicator to prevent the embossing powder to stick where you don’t want it!
- Wrap a red twine around the banner.
- Arrange all the elements on the card front and glue them in place by popping some on a foam tape for fun dimensional look.
- Finish with a couple of clear sparkling sequins.
Key Ingredients:
Step By Step Instructions:
- Trim and score an extended A2 size card base (5 1/2″ x 4 1/4″) from Neenah Solar White paper.
- Trim another 5 1/2″ x 4 1/4″ piece from the same Neenah Solar White paper to form the card front.
- Stamp the botanical pattern from Heartfelt Holidays Stamp Set on the card front with Memento Tuxedo Black ink. If you use a stamping positioning tool, ink and impress the illustration a couple of times to achieve bold black outlines.
- Frame the stamped image with a scalloped heart from Heart Frames Die Set. I used on this project Sizzix Big Shot Die Cutting machine.
- Trim the left side of the card front and save it.
- Color the stamp with COPIC MARKERS. I used on this card:
- red R22-R24-R27
- yellow green YG01-YG23-YG25
- mint green G02-G05-G07
- darker green YG17
- Repeatedly heat emboss in white onto a long red stripe “Be Merry!” sentiment from Heartfelt Holidays Stamp Set with VersaMark Clear Embossing Ink. Don’t forget to prep the cardstock with a Powder Tool Applicator to prevent the embossing powder to stick where you don’t want it!
- Trim a piece of a pattern paper from Meowy Christmas Paper Pad.
- Arrange all the elements on the card front and glue them in place by popping some on a foam tape for fun dimensional look.
- Finish with some clear sparkling sequins.
Key Ingredients:
- Christmas Pheasant Stamp Set
- Christmas Pheasant Die Set
- Circle Frames Die Set
- Fancy Edges Tag Die Set
- Meowy Christmas Paper Pad
Step By Step Instructions:
- Die cut from Strathmore Bristol paper all the elements you need for your card, using the coordinating Christmas Pheasant Die Set. I used on this project Sizzix Big Shot Die Cutting machine. Save the negative parts of the dies.
- Stamp the outline illustrations from Christmas Pheasant Stamp Set with VersaFine Onyx Black pigment ink. Use the negative parts of the dies as a guide for a perfect alignment inside the stamping positioning tool.
- Color all the elements with water based markers, making the blending with a small water brush. I used:
- TOMBOW DUAL BRUSH MARKERS
- 899; 977; 992;
- ZIG CLEAN COLOR REAL BRUSH MARKERS
- n.22 Carmine Red
- n.24 Wine Red
- n.44 Deep Green
- n.41 Light Green
- n.50 Yellow
- n.61 Light Brown
- n.71 Flesh Colour
- n.94 Gray Brown
- Heat emboss in white onto black the sentiments from Christmas Pheasant Stamp Set with VersaMark Clear Embossing Ink. Don’t forget to prep the cardstock with a Powder Tool Applicator to prevent the embossing powder to stick where you don’t want it!
- Shape the sentiments into fish-tail banners with the sharp small scissors.
- For each tag:
- Die cut the base from Neenah Solar White paper plus two tag shapes and the top decor from different pattern papers, using Fancy Edges Tag Die Set and Meowy Christmas Paper Pad. Trim the colorful tags in half.
- Glue the pattern papers on the white base and shape the bottom edge into a fish-tail, using again Fancy Edges Tag Die Set.
- Die cut from Neenah Solar White paper a white circle, using Circle Frames Die Set.
- Assemble all the elements together. Pop some of them on a foam tape for fun dimensional look.
Would you like to win the “Prehistoric Christmas” or the “Heartfelt Holidays” Stamp Set? We will choose ONE lucky winner for each stamp set!
Here’s how to win: Comment on the NND blog and Design Team blogs (see list below)! The winner will be chosen at random from the collective reveal posts. Make sure to check out each of their blogs and comment for your chance to win. You will not know which blog has been chosen so the more you comment on the better your chances are of winning! You have until Thursday October 14th at 9pm ET to comment — winners will be announced on the blog post on Friday, October 15th.
Check out all the awesome Design Team Blogs below to enter:
Newton’s Nook Designs
Ellen Haxelmans
Tina Herbeck
Larissa Heskett
Samantha Mann
Zsofia Molnar
Maria Russell
Farhana Sarker
Tatiana Trafimovich <– you’re here
Samantha VanArnhem
Amanda Wilcox
That’s all for today! Hope you like today’s sweet Holiday cards! Thanks so much for stopping by and have a fabulous day!
Hugs,
Tatiana

12 comments
Whimsy sentiments to go with whimsy images. CAS with style & coloring on heart shaped.
Melissa
“Sunshine HoneyBee”
I love how you used the bright colored papers and darling dinos! These are wonderful!
I LOVE your super cute Christmas tags!! The heart card is Gorgeous!! Wonderful coloring.
Love the play on words. The Christmas “pheasant” is
fun. Wonderful cards. thanks for sharing
txmlhl(at)yahoo(dot)com
So cute! Love your coloring!
Those pheasants make the perfect addition to a holiday gift tag 😉
wow!
these are stunning cards!
Love your cards and tags!
Love the traditional color palette and the variety! I love shaped cards and am always looking for new tag ideas! Beautiful.
Hello Heidi! Thanks so much for your kind words! You are a lucky winner of Prehistoric Christmas stamp set! Please, e-mail at info@newtonsnookdesigns.com with your full name, mailing address and the name of the set you won to claim your prize!
Your heart card is so beautiful!
So fun! Love the way you incorporated the pretty papers!