Hello and welcome!
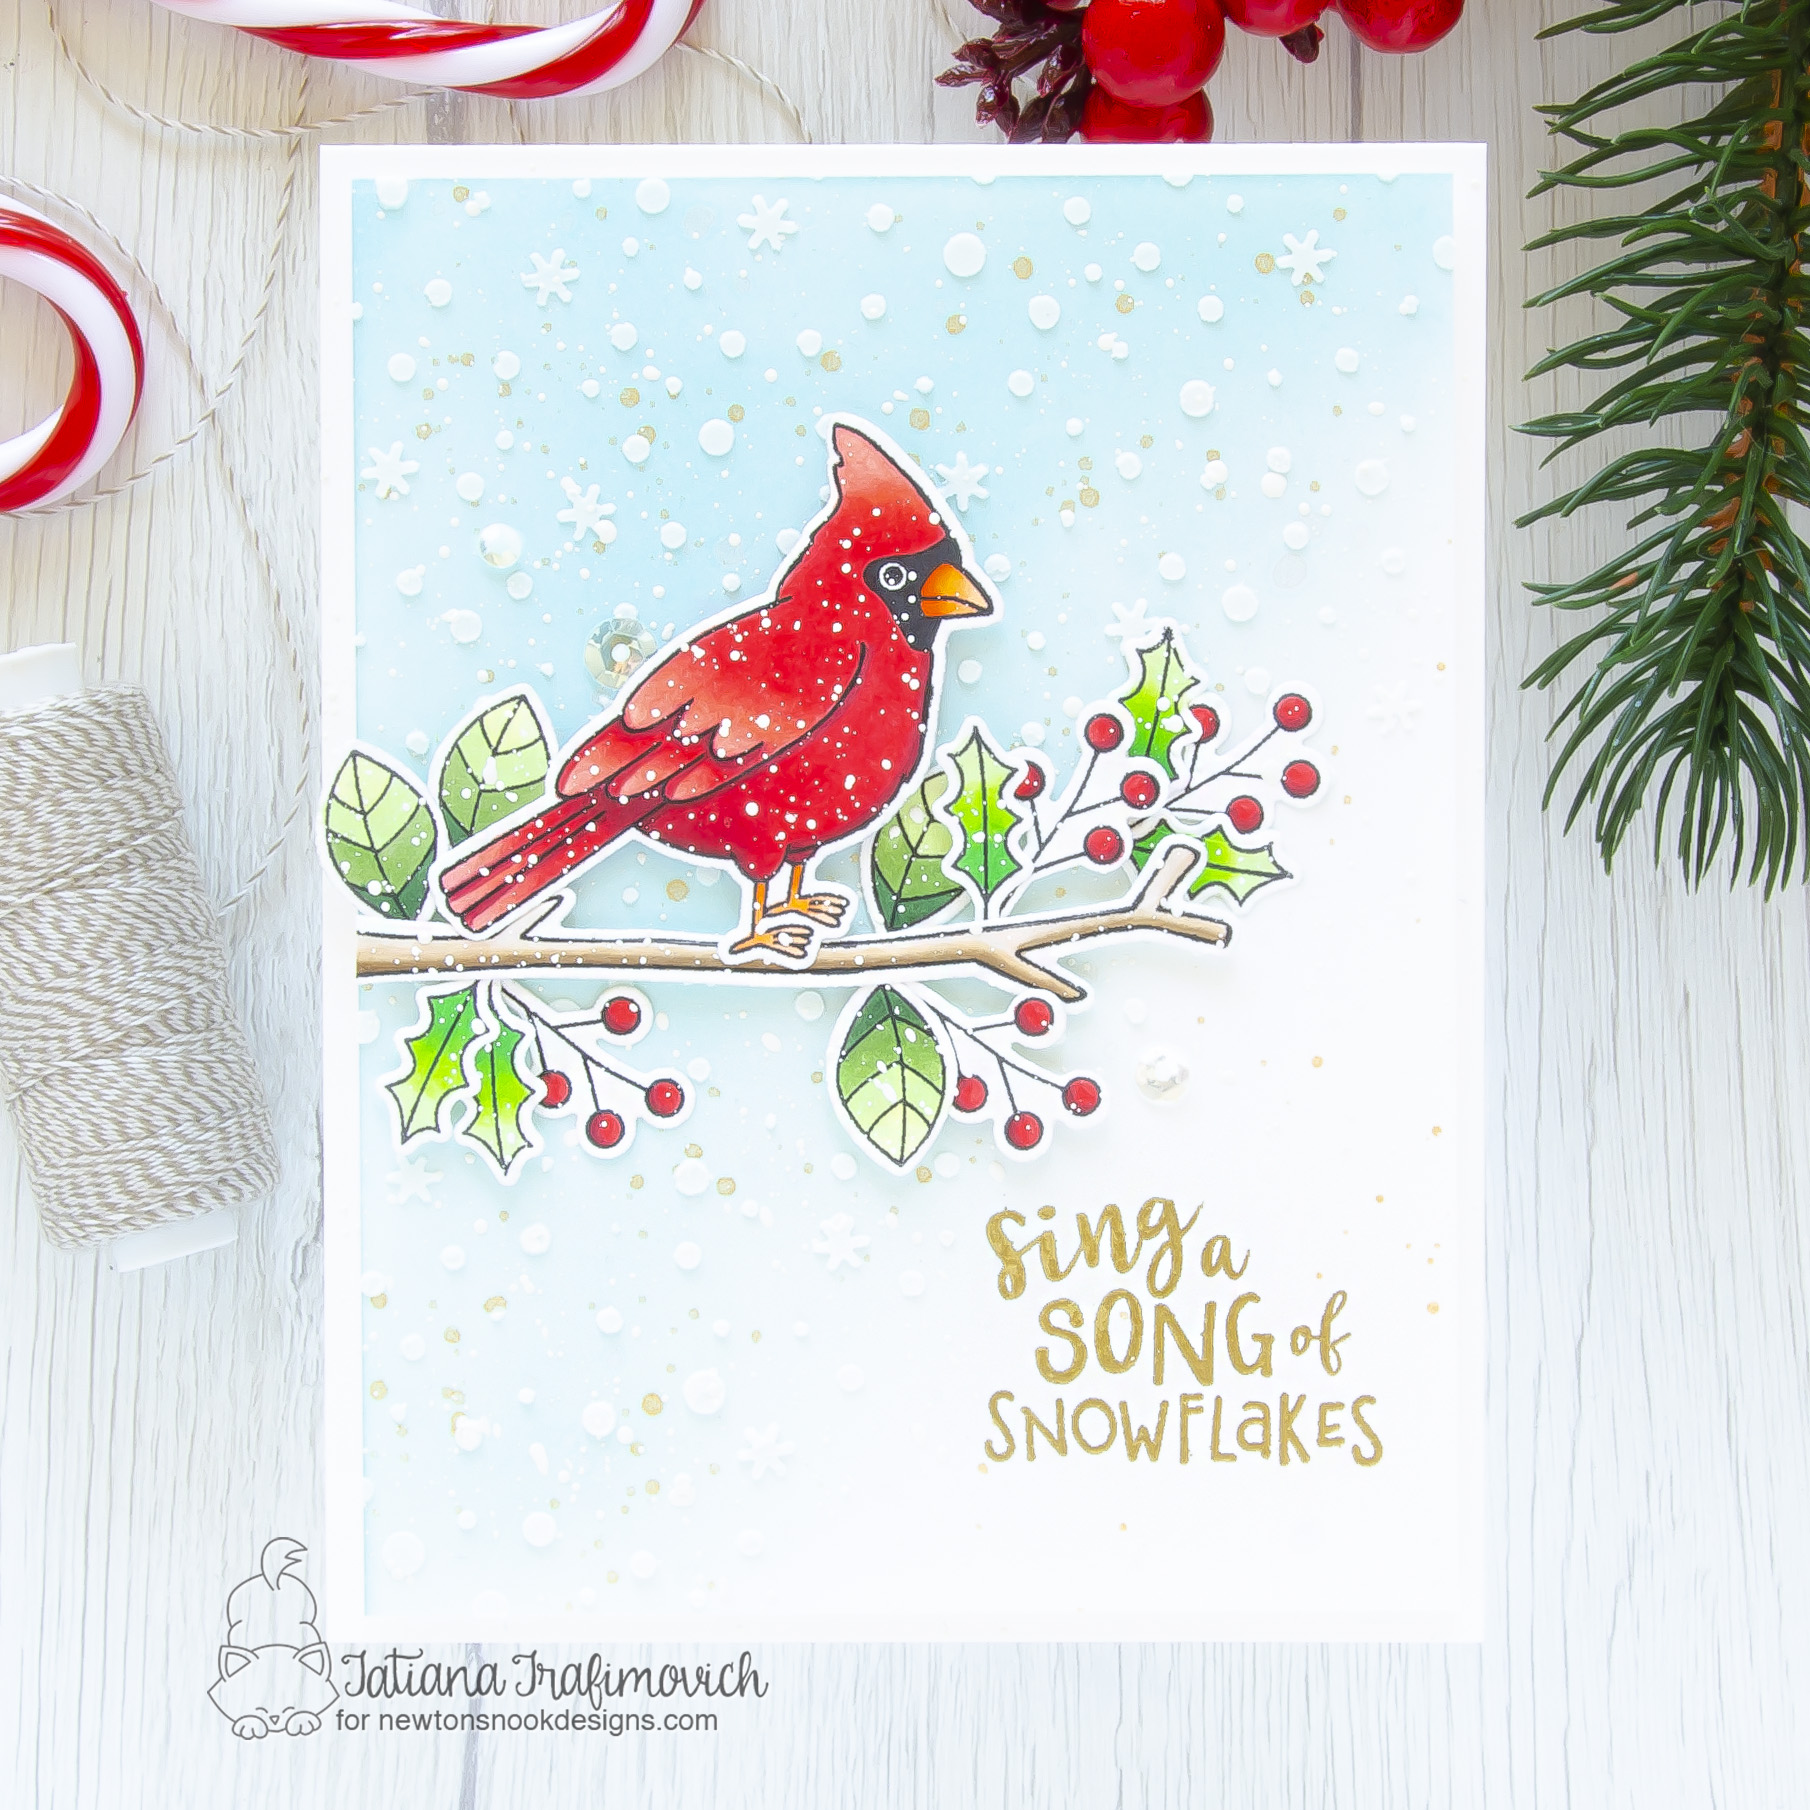
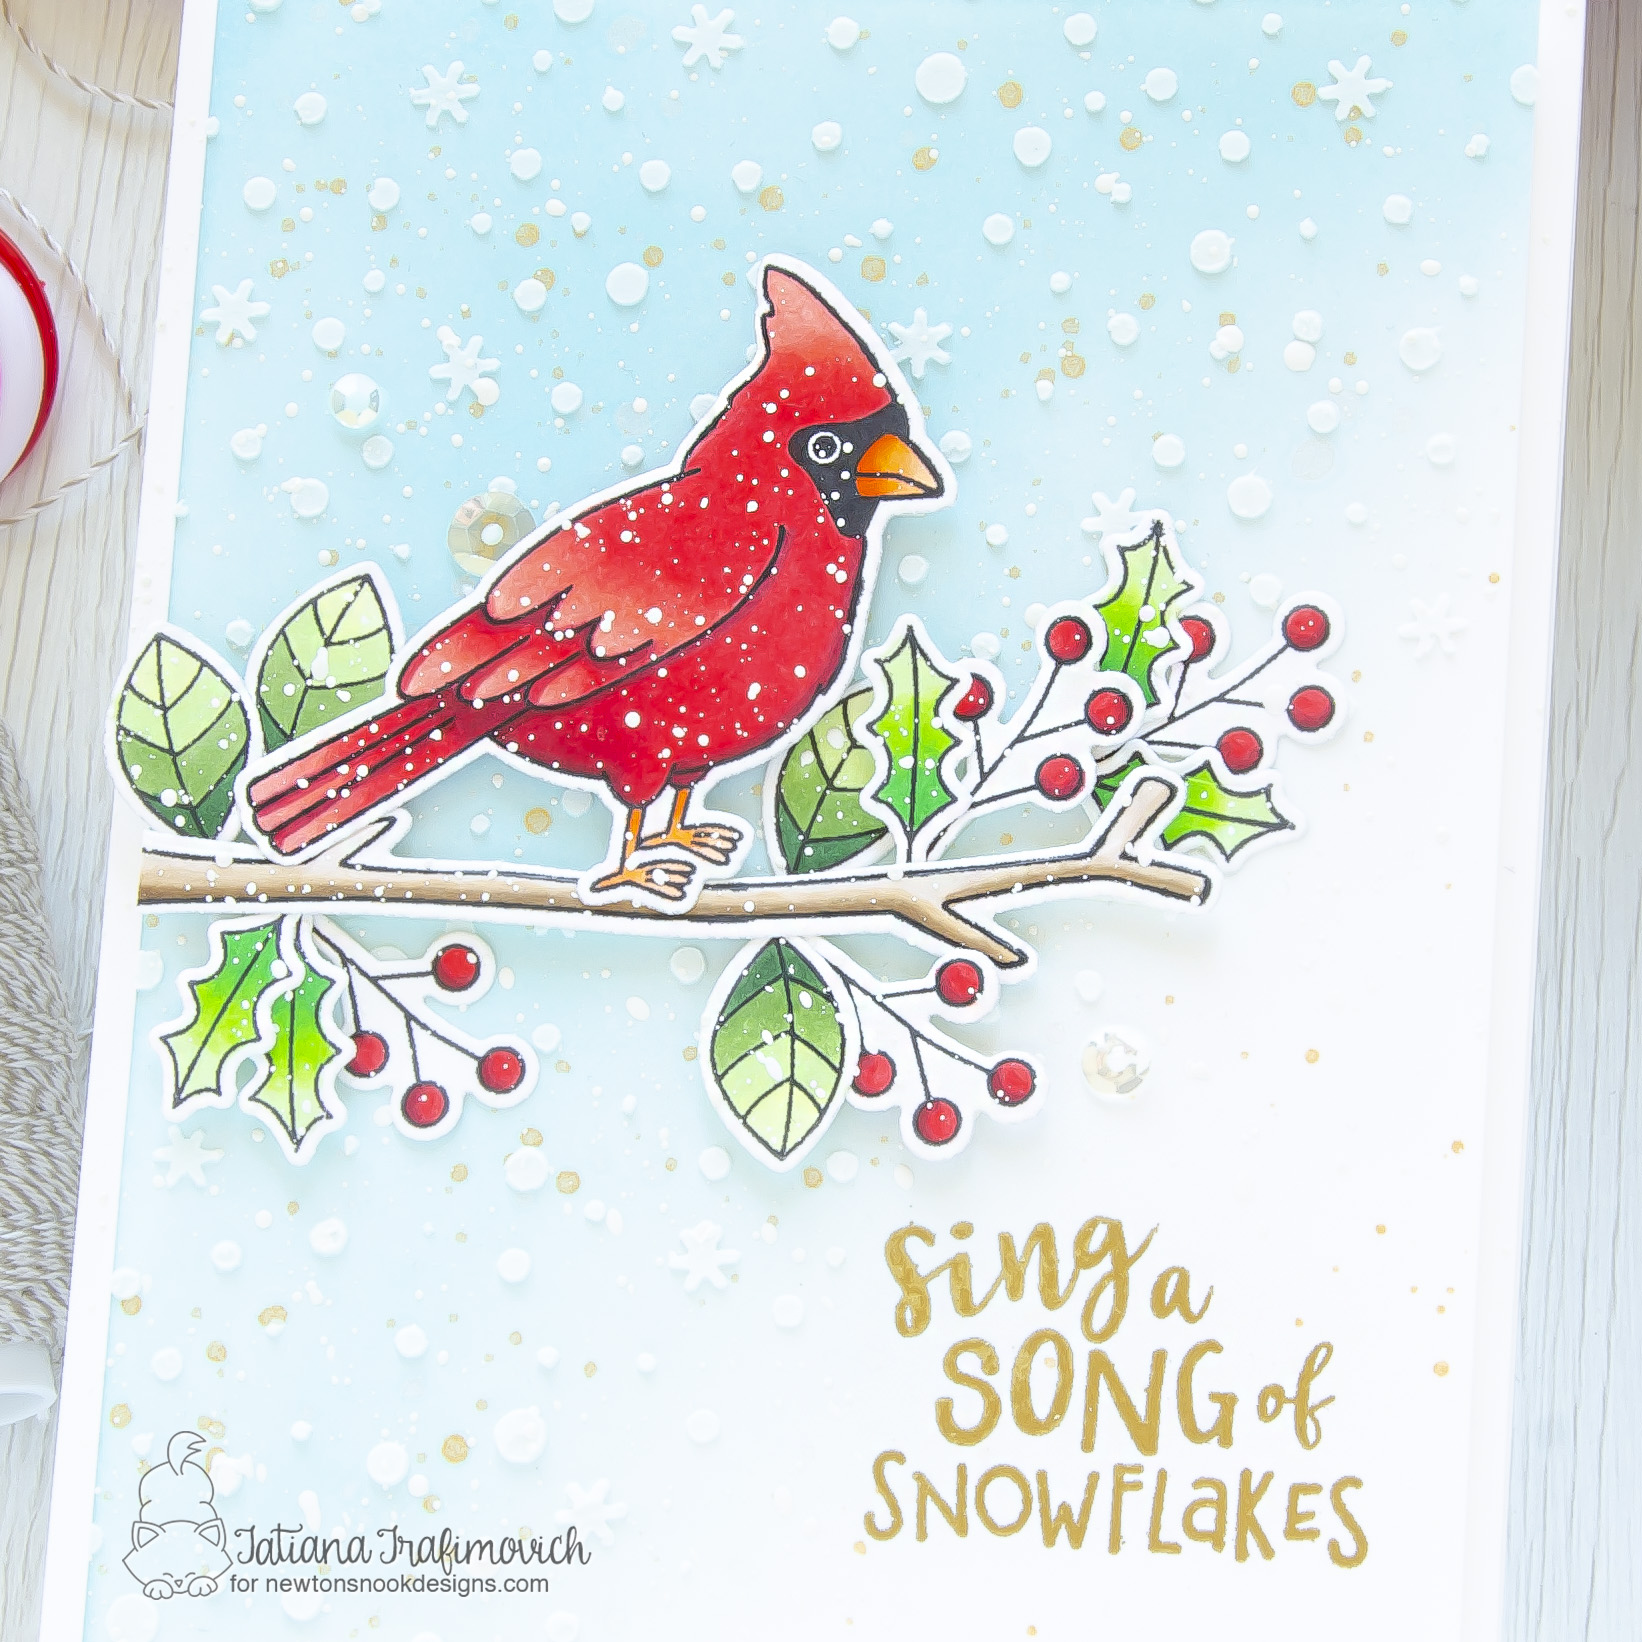
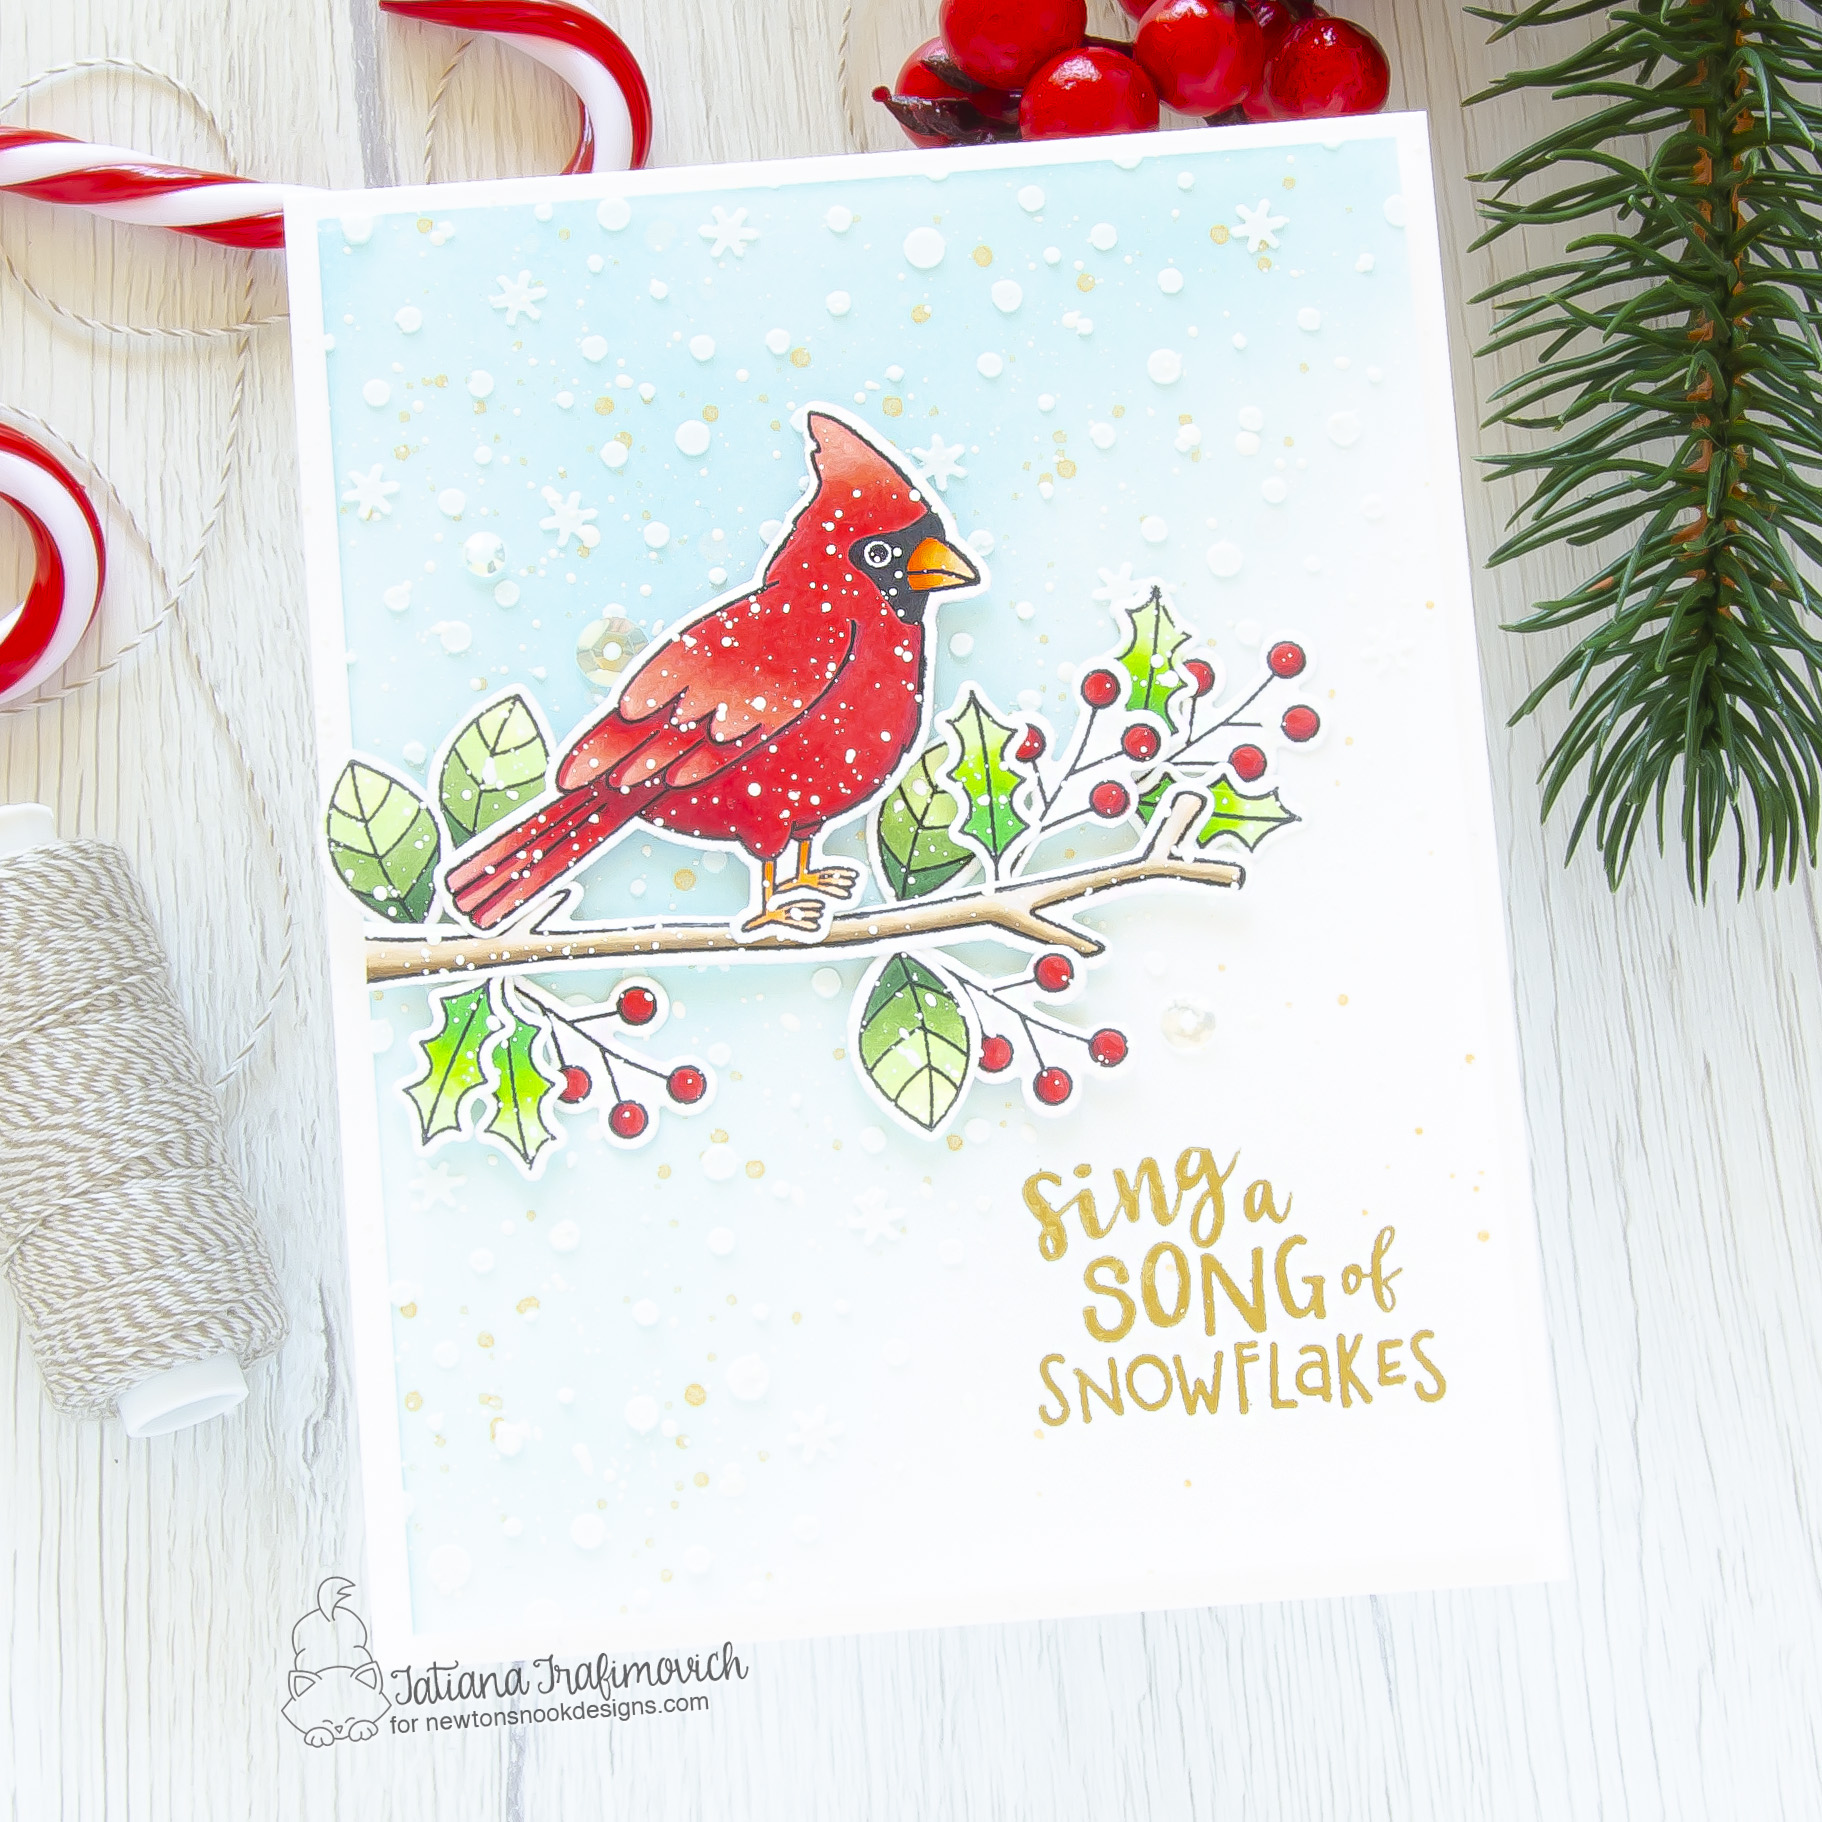
I’m so glad you’ve joined me today and even more excited to be on the Newton’s Nook Designs blog, sharing a clean and simple holiday card with a pop of bright festive colors!

Key Ingredients:
- Winter Birds Stamp Set
- Winter Birds Die Set
- Poinsettia Blooms Stamp Set
- Poinsettia Blooms Die Set
- Petite Snow Stencil

Step By Step Instructions:
- Die cut from Neenah Solar White paper all the elements you need, using the coordinating Winter Birds Die Set and Poinsettia Blooms Die Set. I used on this project Sizzix Big Shot Die Cutting machine. Save the negative parts of the dies.
- Stamp the outline illustrations from Winter Birds Stamp Set and Poinsettia Blooms Stamp Set with Memento Tuxedo Black ink. Use the negative parts of the dies as a guide for a perfect alignment inside the stamping positioning tool.
- Color the stamps with COPIC MARKERS. I used on this card:
- red R30-R32-R35-R37-R39
- orange YR61-YR65-YR68
- bright green G40-YG05-YG09
- green G20-G40-G24-G28
- brown E40-E41-E42-E43
- Trim and score an extended A2 size card base (5 1/2″ x 4 1/4″) from Neenah Solar White paper.
- Trim another rectangle from the same Neenah Solar White paper for a perfect match of color slightly smaller that the card front.
- Ink it at an angle, using Tumbled Glass Distress Oxide, Speckled Egg Distress inks and the blending brushes to achieve a smooth and soft result.
- Splatter the inked background with some tiny droplets of gold spray to add more interest. Let the piece air dry or heat set it.
- Tape well Petite Snow Stencil with a removable tape to the inked background to prevent any movement and spread a white embossing paste all across, leaving free the right bottom angle for the sentiment. Let the paste air dry.
- Heat emboss in gold the sentiment from Winter Birds Stamp Set with VersaMark Clear Embossing Ink. Don’t forget to prep the cardstock with a Powder Tool Applicator to prevent the embossing powder to stick where you don’t want it!
- Arrange and glue in place all the elements on the card front, by popping some on a foam tape for a fun dimensional look.
- Mask the sentiment and splatter the whole card with some tiny droplets of a white gouache to emulate the falling snow.
- Finish with a couple of clear sparkling sequins adhered with Distress Collage Medium Matte.

That’s all for today! Hope you like this lovely holiday card! Thanks so much for stopping by and have a fabulous day!
Hugs,
Tatiana
