Hello and welcome!
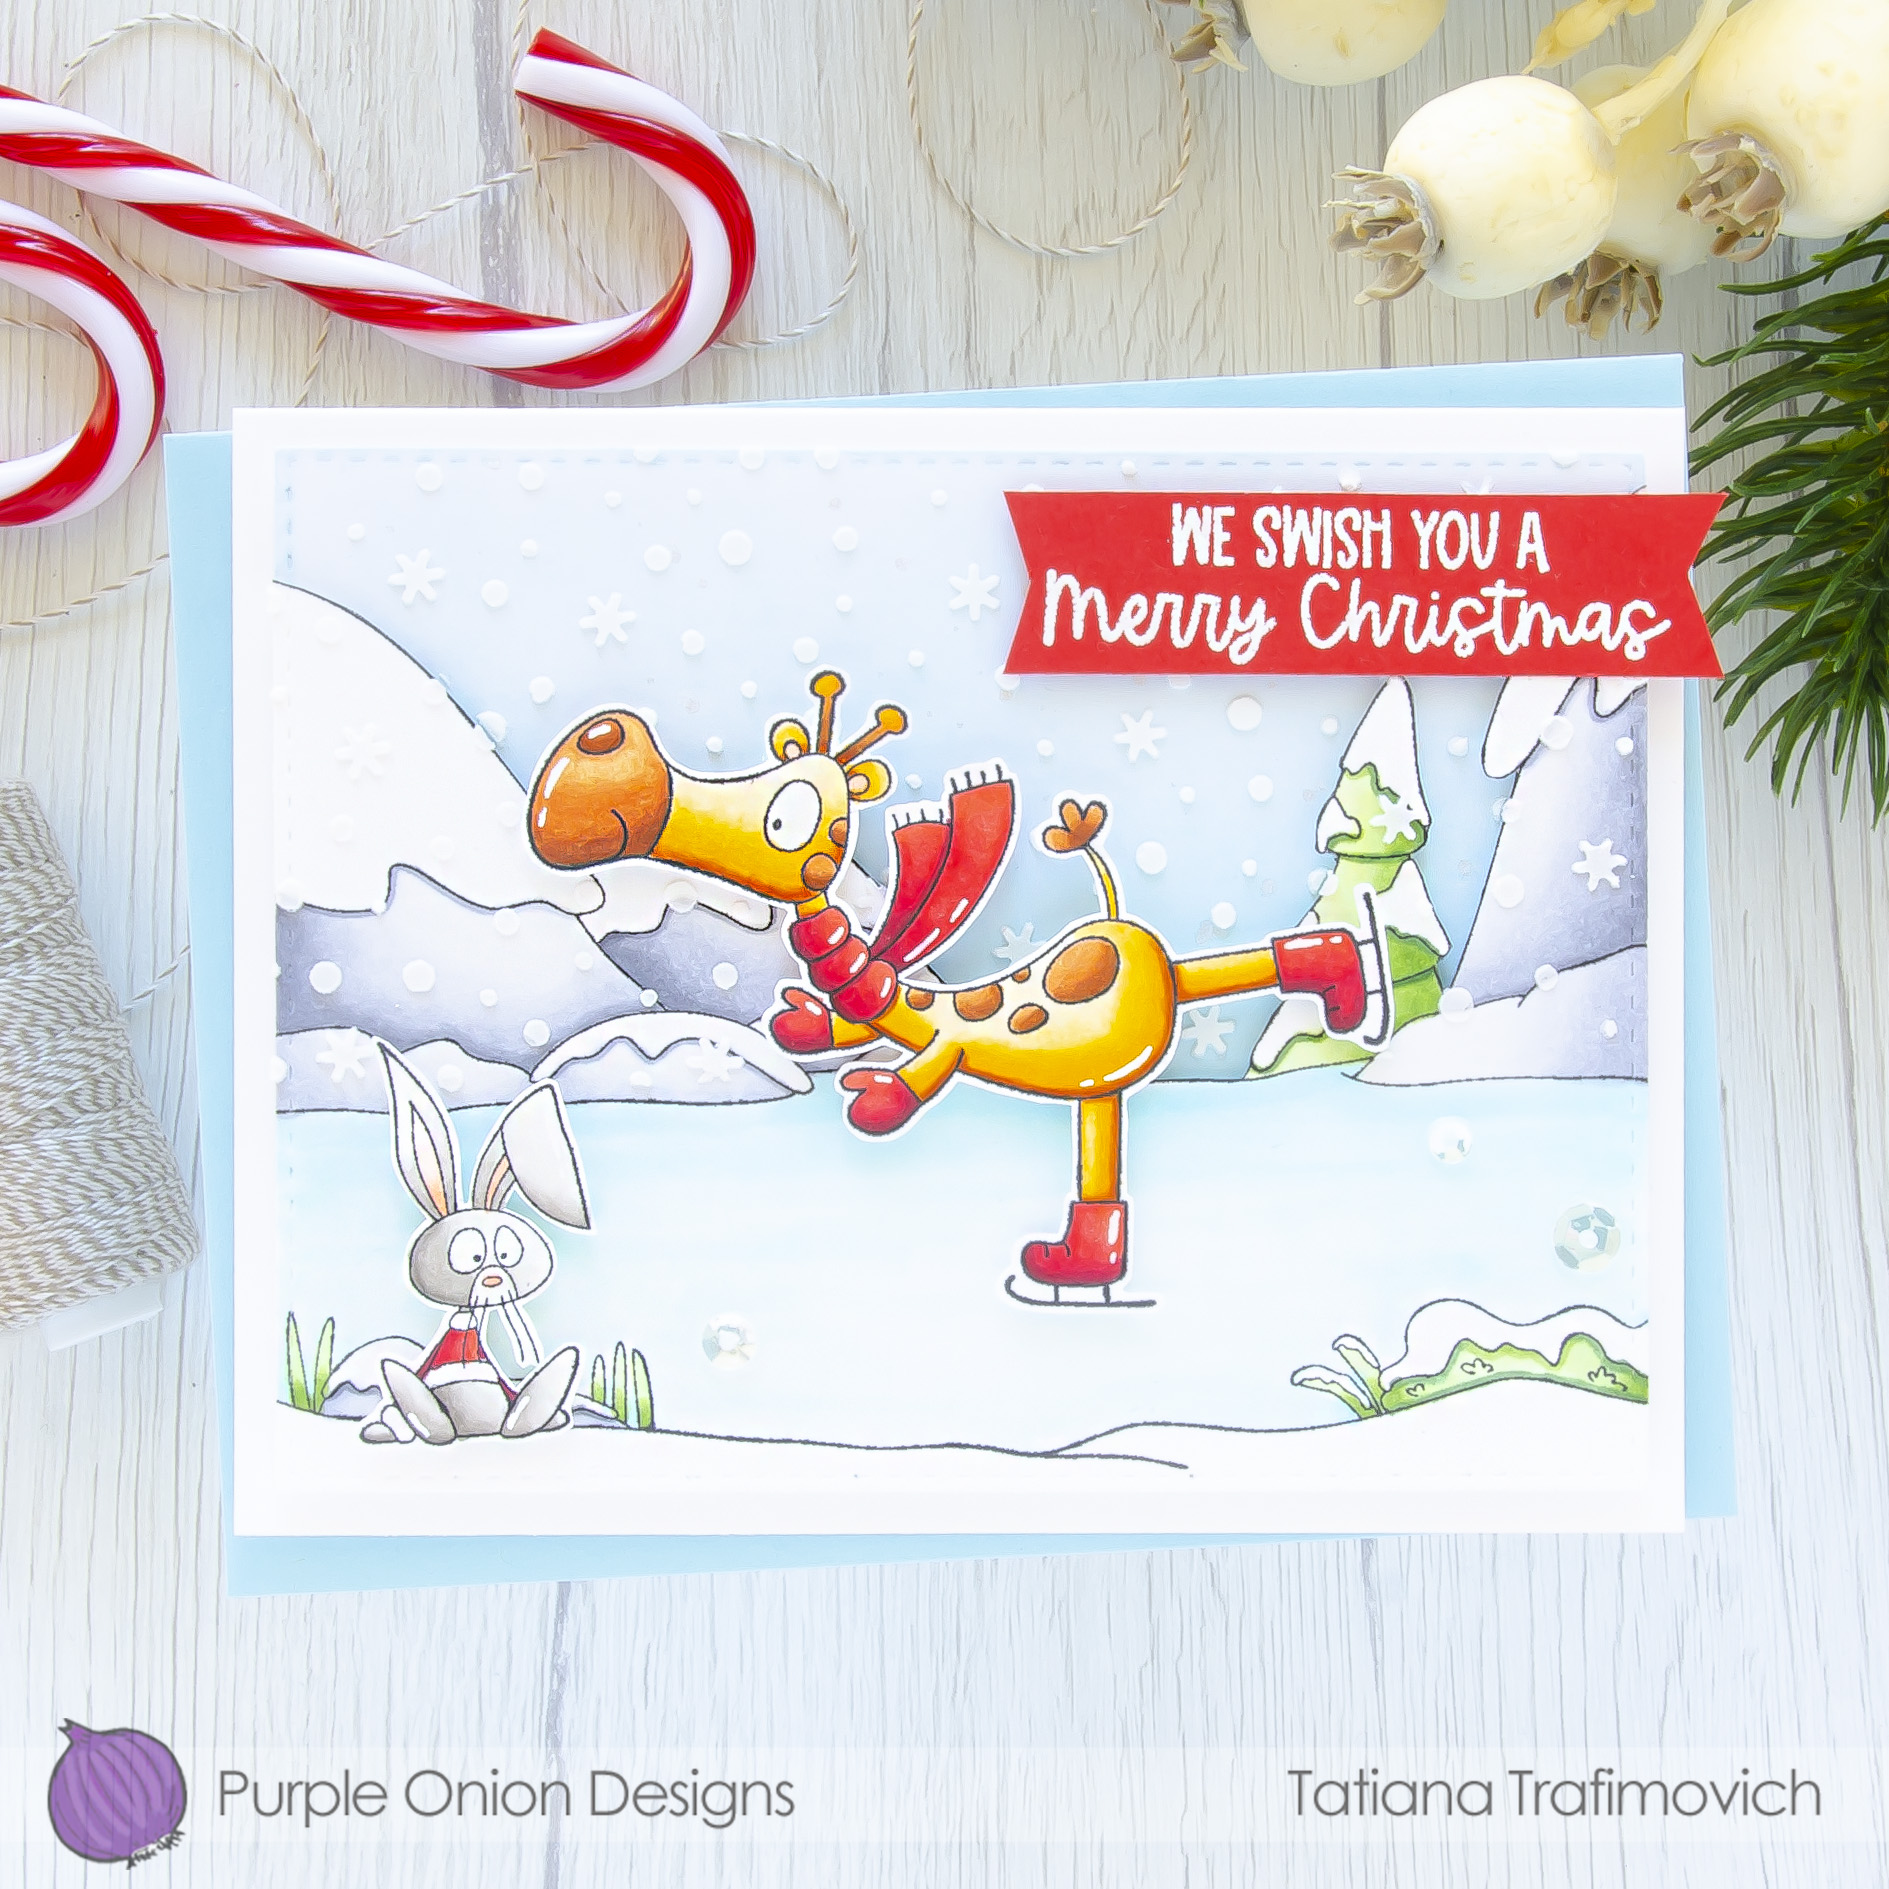
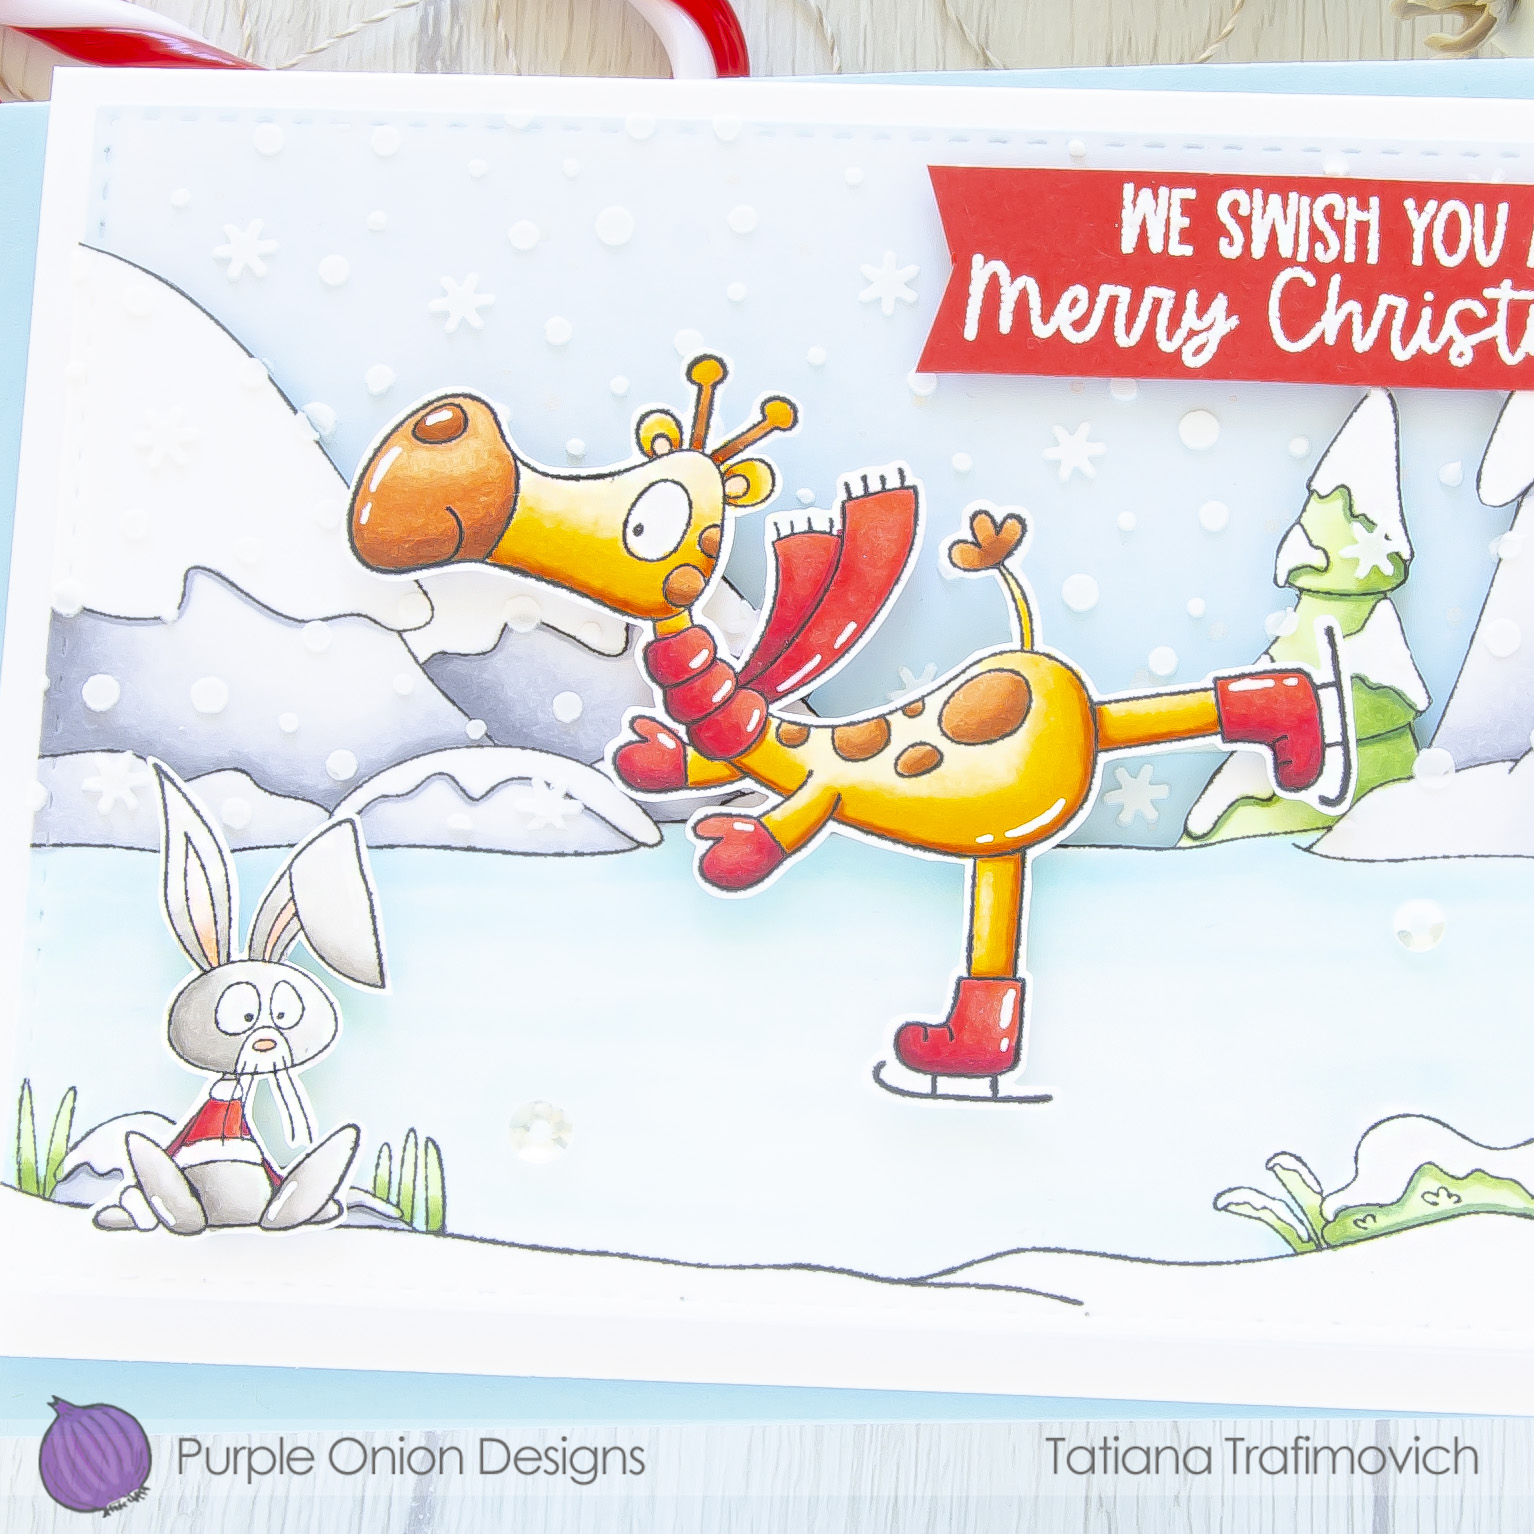
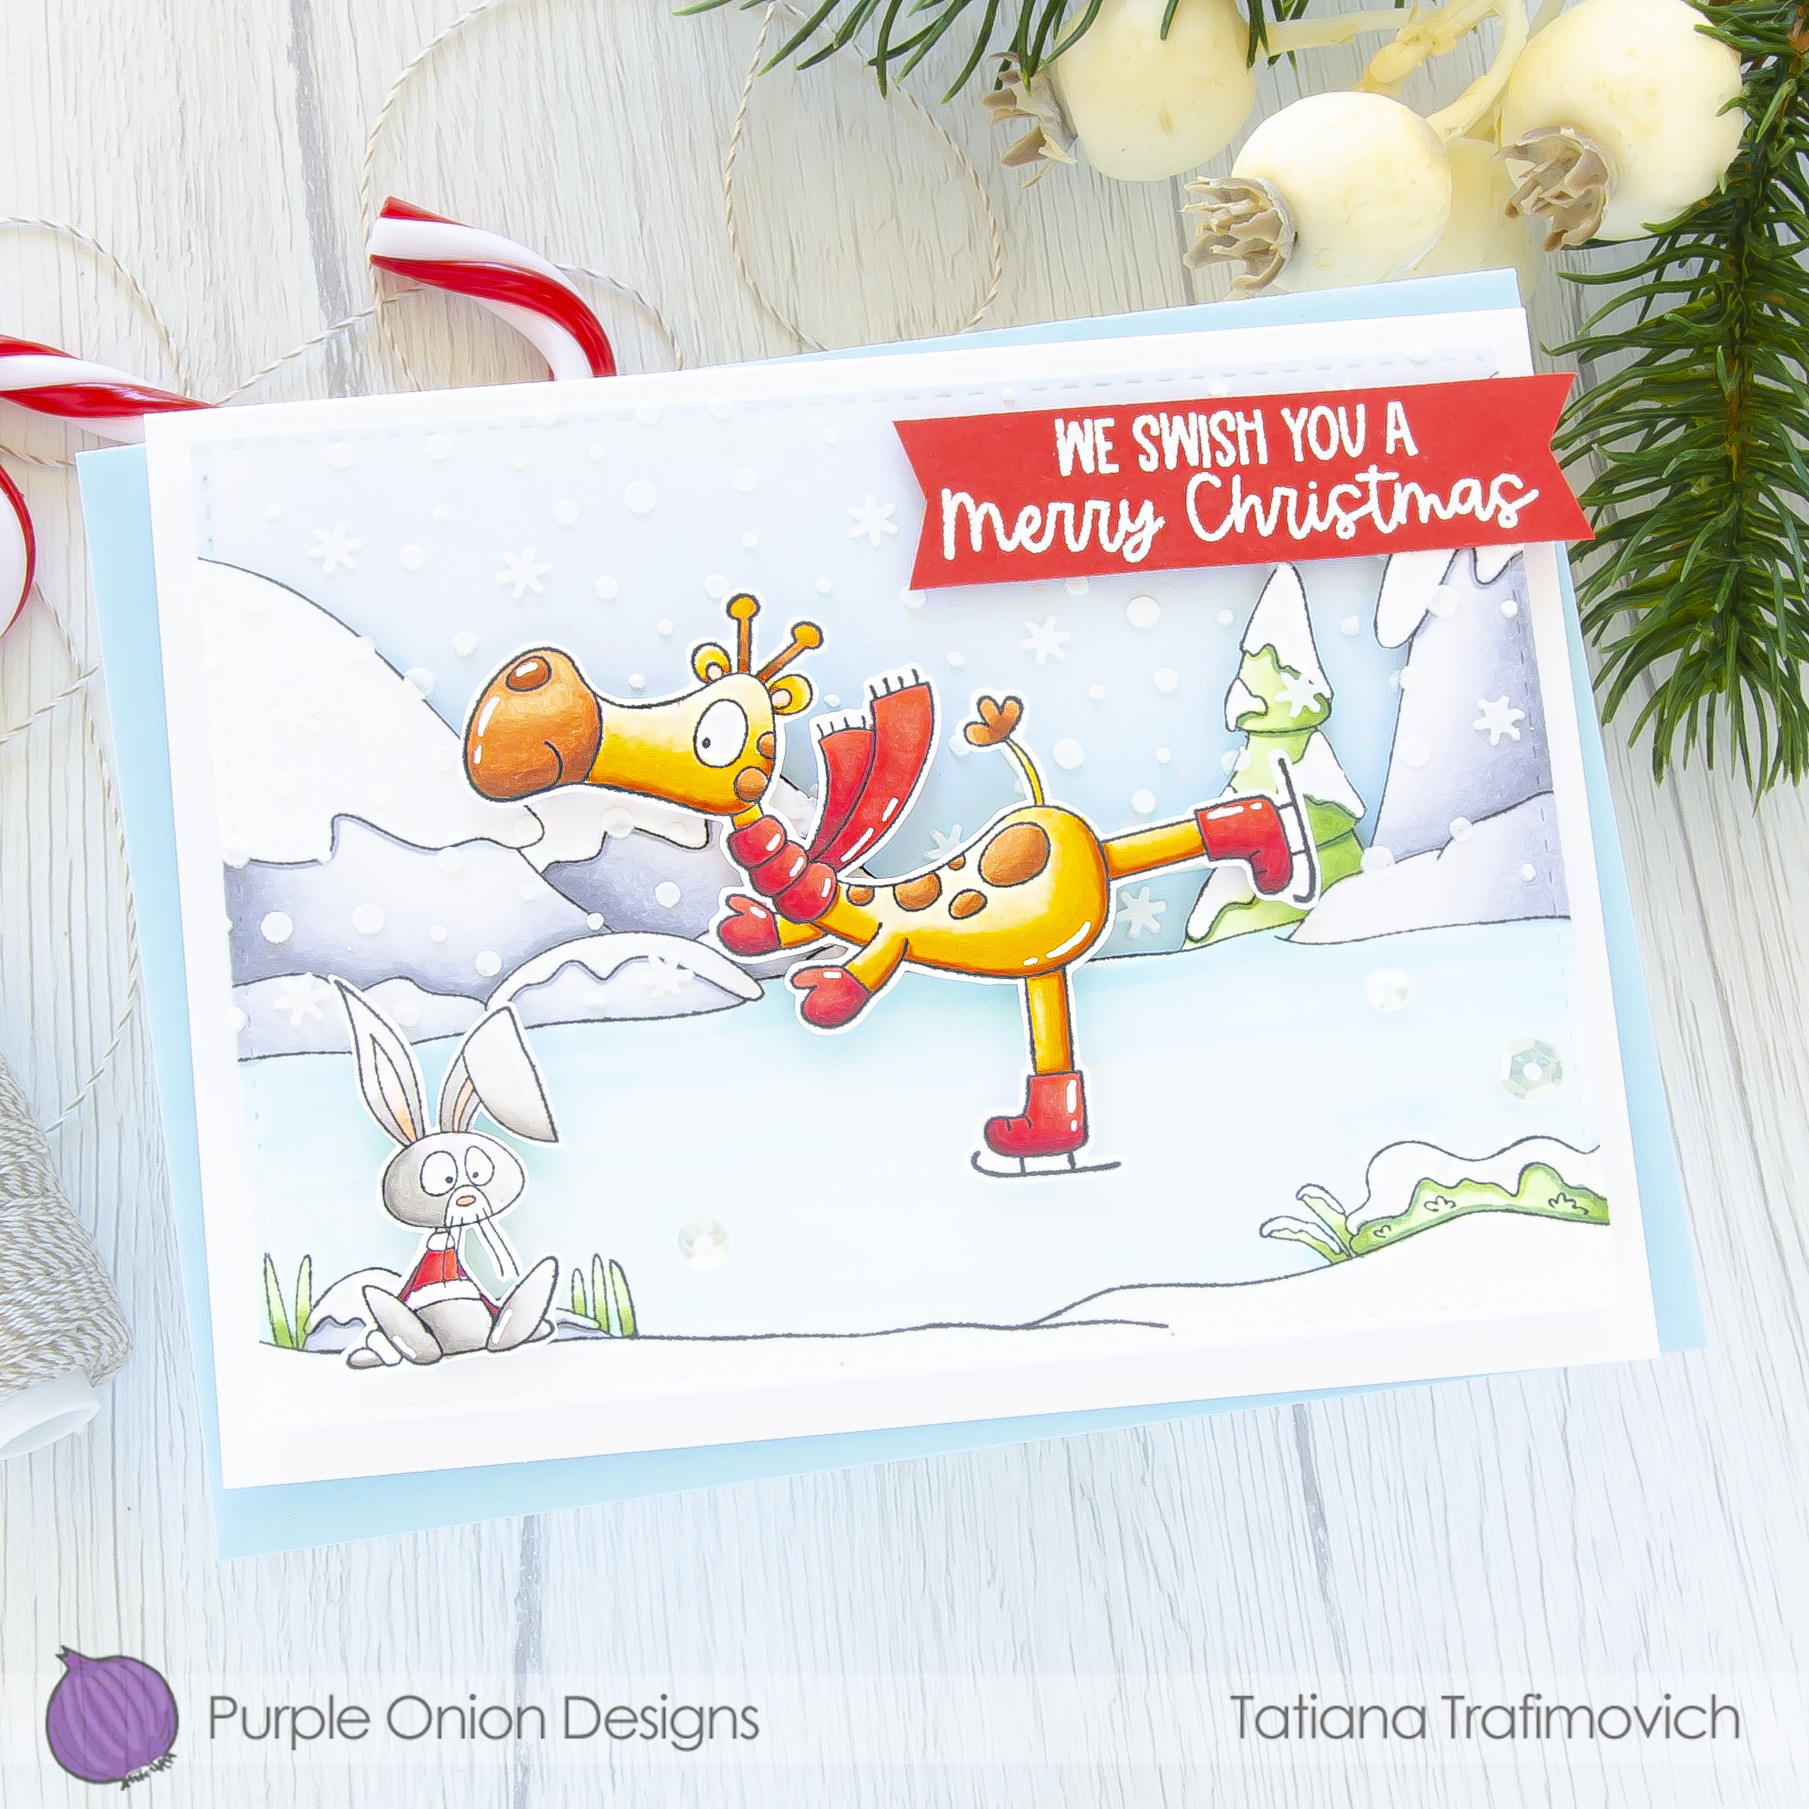
Today I’m so excited to start introducing you new absolutely stunning holiday collections of rubber stamps from Purple Onion Designs! My first card features some fabulous critters and a big background stamp from “Snow Much Fun” collection designed by Shari Bresciani.
SALE ALLERT! For a limited time, you can purchase the entire Snow Much Fun collection that consists of 19 stamps along with the Snow Much Fun Sentiment Set as a bundle. This bundle is $90.00, which is also about a 30% savings. You can purchase it here: Snow Much Fun Stamp Bundle. The bundled promotion ends on Friday, November 12, 2021.

Key Ingredients:
- Muriel (Giraffe Skating) Stamp
- Fiona (Bunny Sitting) Stamp
- Snow Much Fun Background Stamp
- Snow Much Fun Sentiment Set

Step By Step Instructions:
- Stamp on Neenah Solar White paper Muriel (Giraffe Skating), Fiona (Bunny Sitting) and Snow Much Fun Background stamps with Memento Tuxedo Black ink.
Designer’s Tip:
Since rubber stamps from Purple Onion Designs come unmounted, you will need a temporary mounting solution to work with. A Clear Mounting Stamp is one of the options. You can apply this clear stamp on an acrylic block or acrylic stamping platform to hold your unmounted stamps in place while stamping. Remove and store it when finished until next time. The clear stamp can be cleaned with water and a little liquid soap.
- Fussy cut all the stamps with the sharp small scissors, leaving a little white edge around (including the top edge of the background).
- Color all the elements with COPIC MARKERS. I used:
- giraffe YR30-YR31-Y35-YR27 & spots E97-E99 & ears R000-R11
- bunny W00-W0-W1-W3
- red R14-R35-RV29-R39
- green G20-G43-G46
- grey C00-C0-C1-C3
- blue B0000-B000-B00
- Heat emboss in white onto red the sentiment from Snow Much Fun Sentiment Set with VersaMark Clear Embossing Ink. Don’t forget to prep the cardstock with a Powder Tool Applicator to prevent the embossing powder to stick where you don’t want it!
- Trim and score an extended A2 size card base (5 1/2″ x 4 1/4″) from Neenah Solar White paper.
- Die cut from a Bristol paper a faux stitched rectangle, using Heffy Doodle’s Stitched Rectangles Die Set. I used on this project Sizzix Big Shot Die Cutting machine.
- Ink it with Tumbled Glass Distress Oxide ink, creating an ombré effect. Use a blending brush for a soft and smooth result.
- Die cut the bottom edge of the colored Snow Much Fun Background with the same faux stitched rectangle die from Heffy Doodle’s Stitched Rectangles Die Set.
- Tape the copic colored and the inked background pieces together, quickly masked the bottom part with a Memo Tape, apply Newton’s Nook Design’s Petite Snow Stencil on top and spread a white embossing paste all across. Take apart the background pieces while the embossing paste is still wet and let them air dry well.
- Assemble all the elements together using a foam tape for a fun dimensional look.
- Add a few highlights with a white gel pen and a generous coat of a clear glitter pen.

That’s all for today! Hope you like this cute winter card! Thanks so much for stopping by and have a fabulous day!
Hugs,
Tatiana
