Hello and welcome!
I’m SO glad you stopped by to see what crafty inspiration I have today! I’m up on the Heffy Doodle Blog with “Stretch Your Supplies” card series!!! It means that I’m focusing on how to get more from your craft supplies and think out of boxes, giving new life to your crafty stash! So let start!
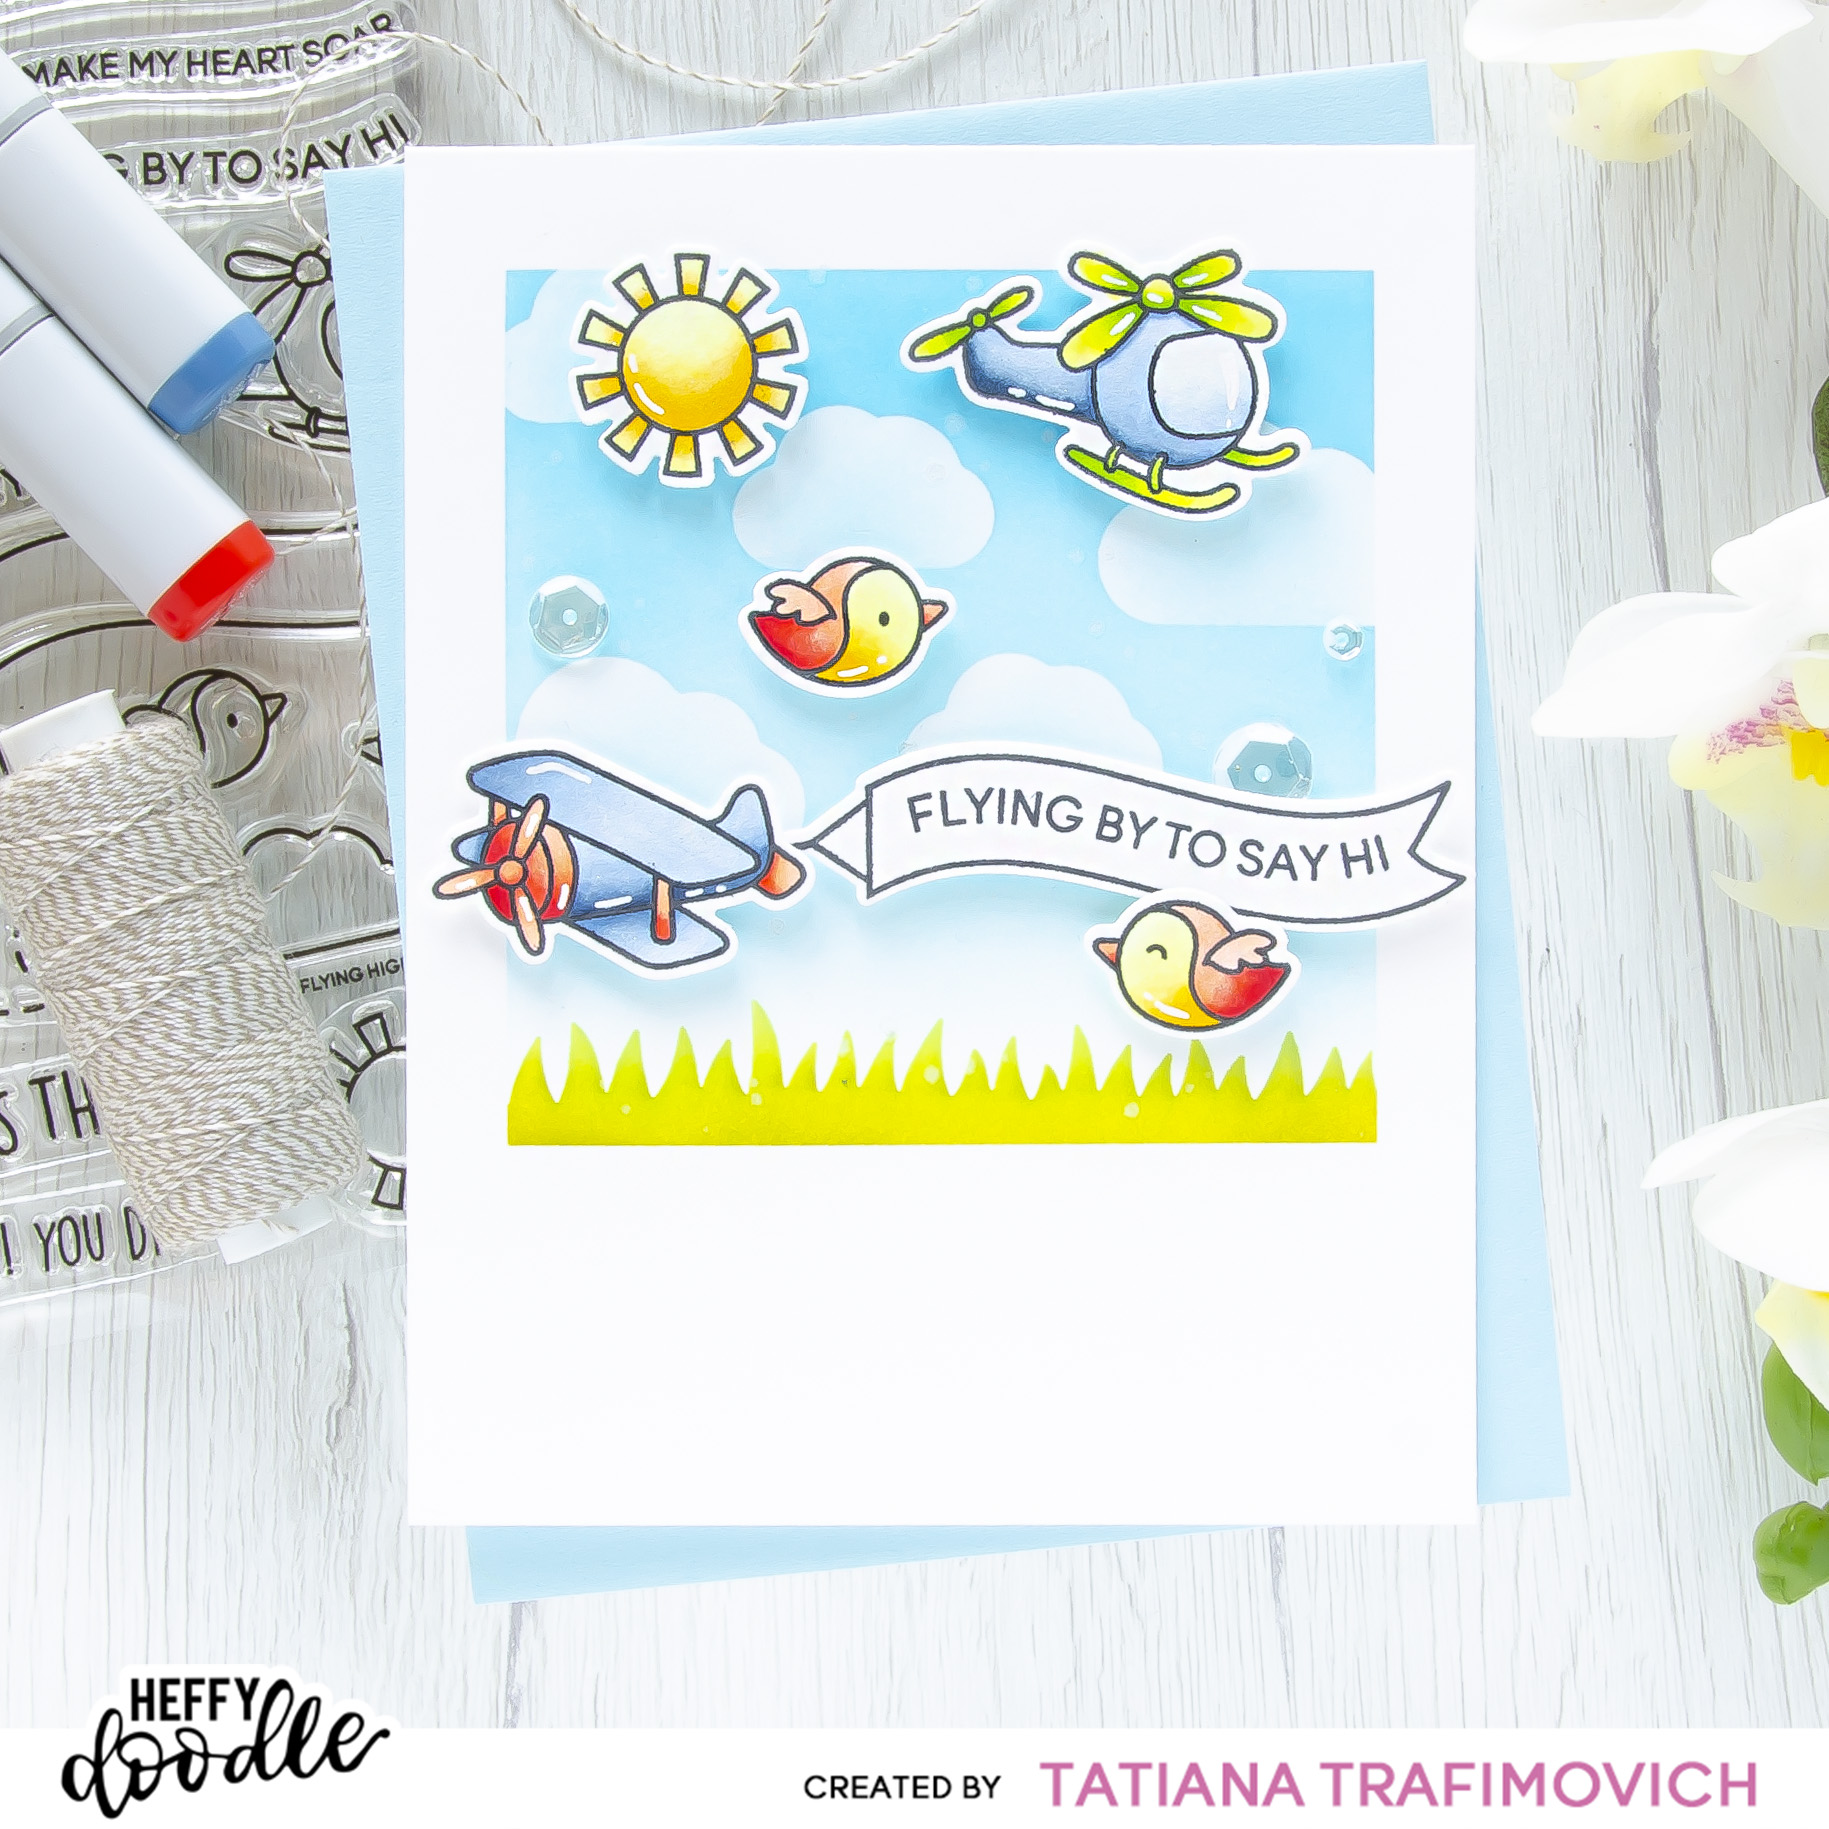

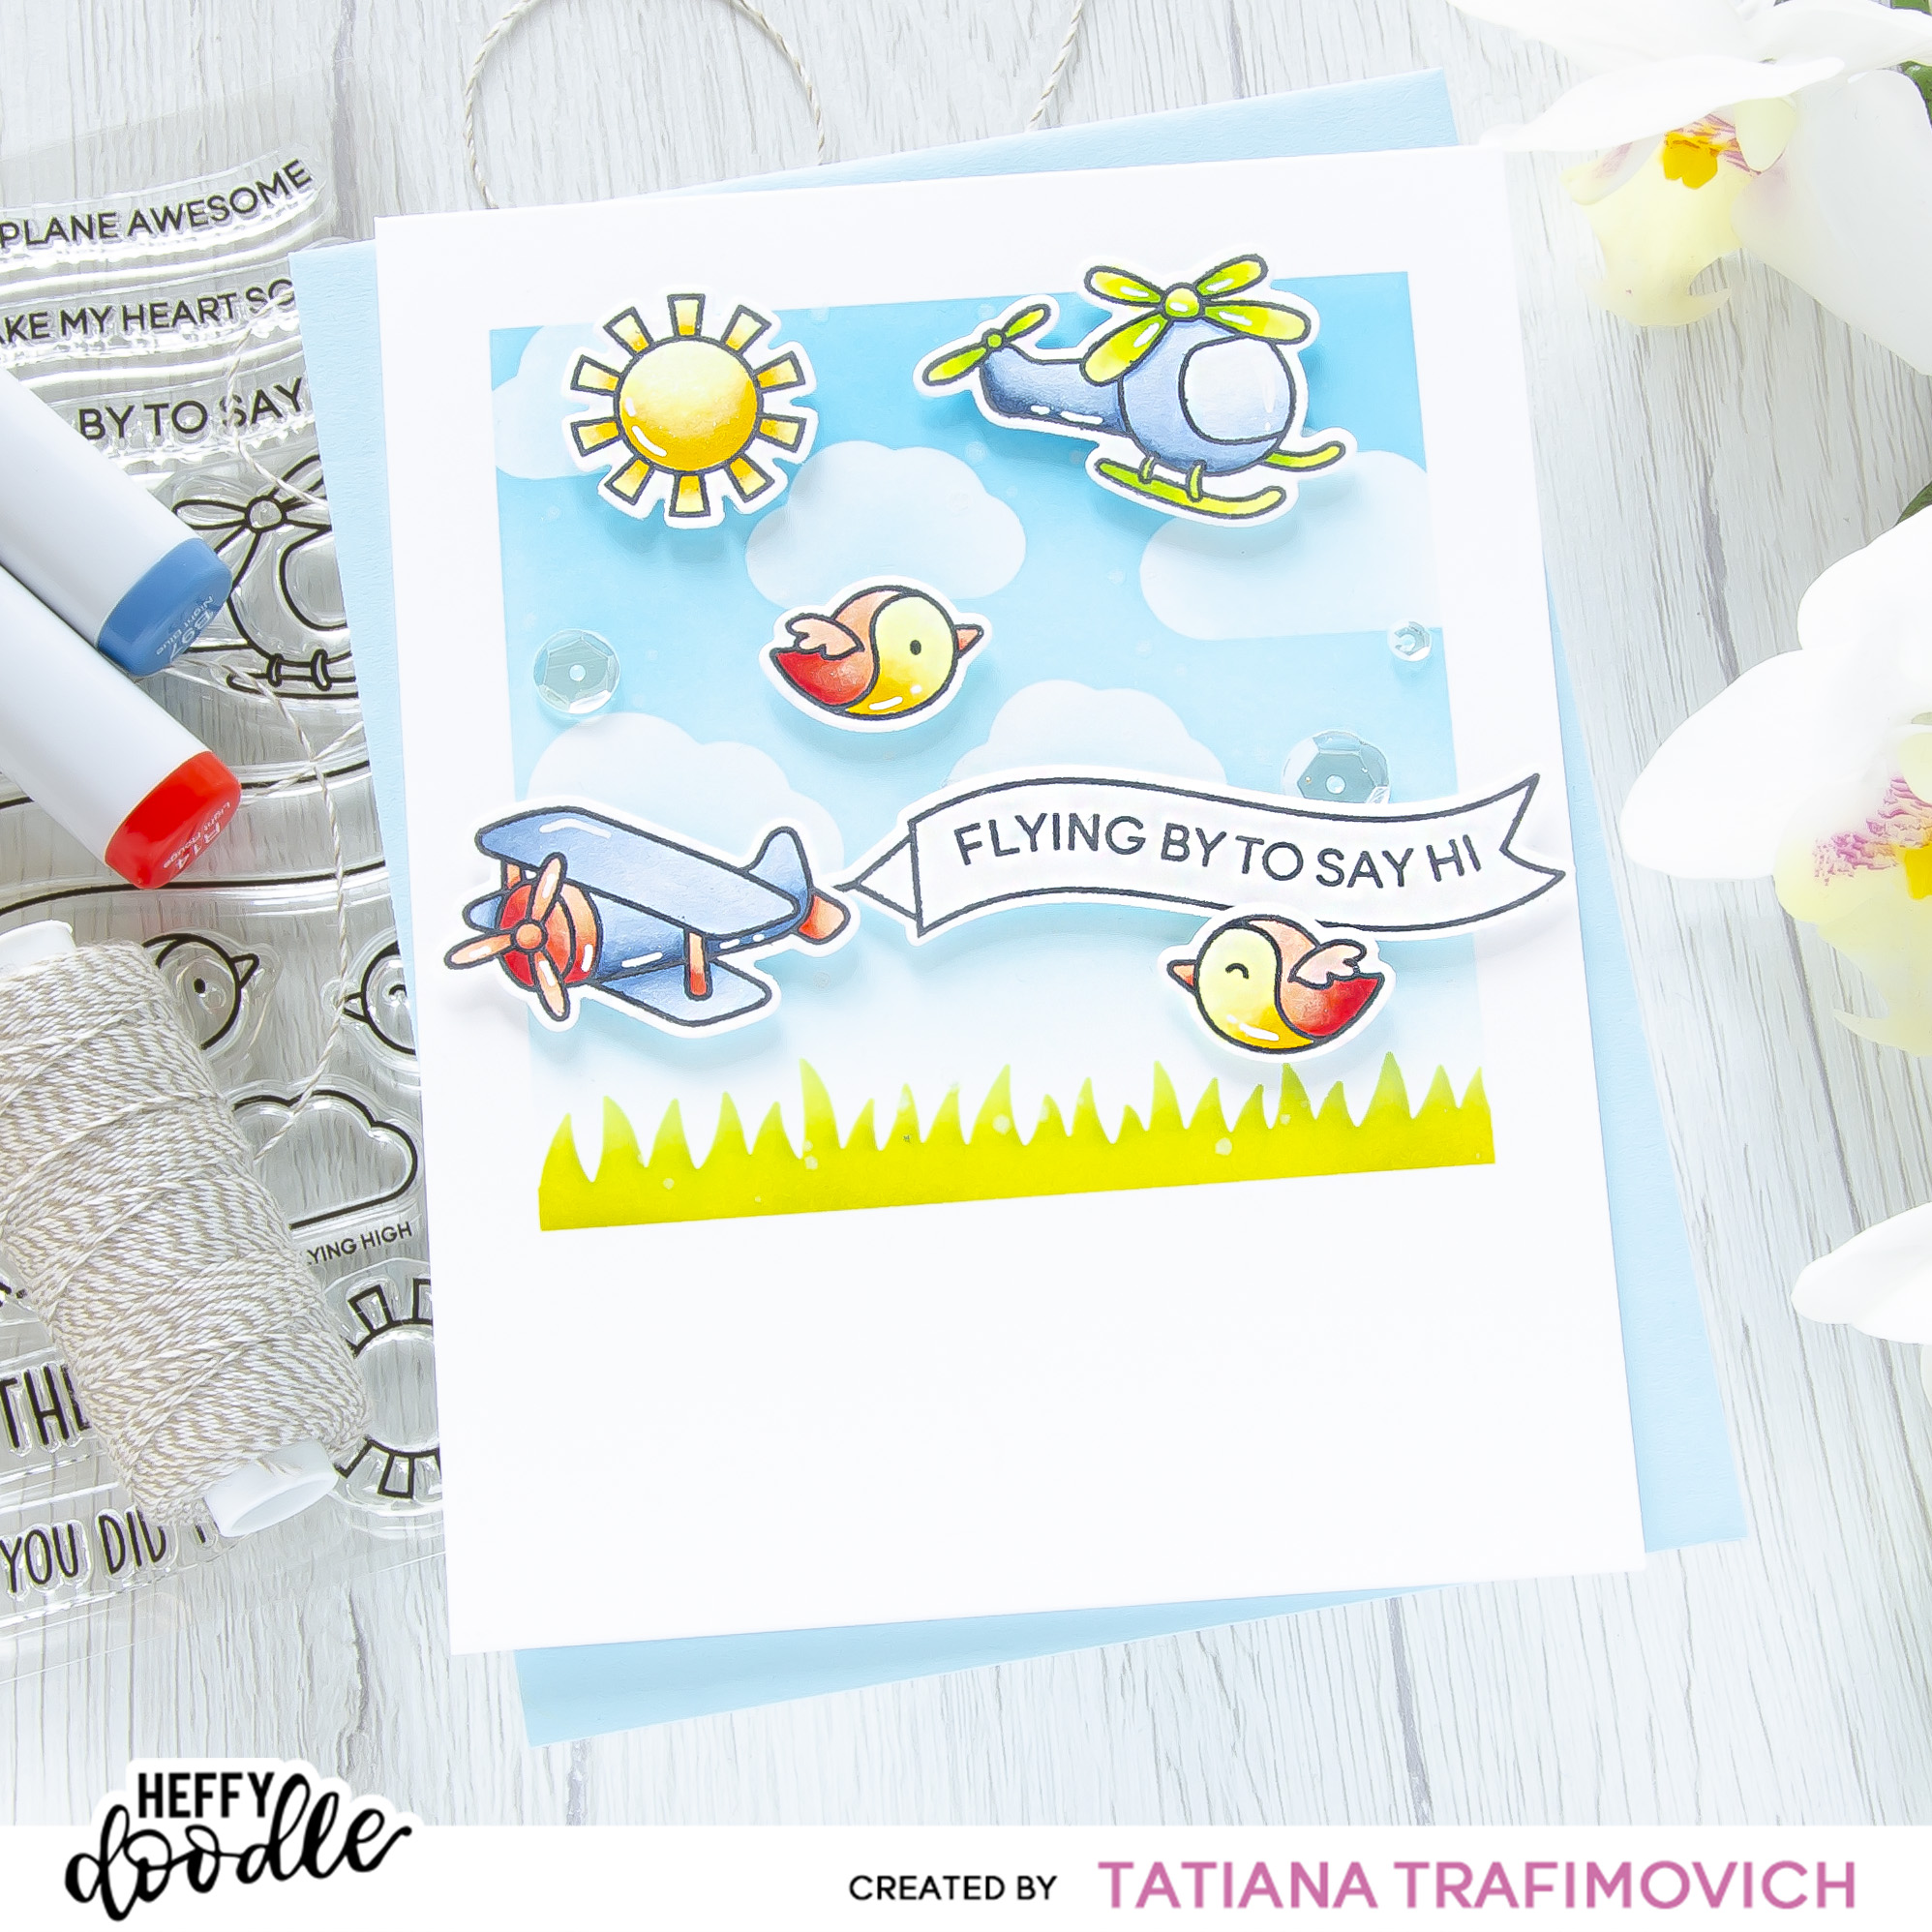
Today I came up with a clean and simple “hello” card, focusing on Heffy Memo Tape! I was using this product for some months by now and really love it!!! It became a must have on my craft desk! It’s a low tack tape that is perfect for many techniques, it comes as a wide roll and what is most important it doen’t leave any sticky residue or imprint on your card! On today’s card I’m going to illustrate you how to create a one layer background, masking a square window on the card front. And how to add a cloudy sky portion to your scenes, using the coordinating Flying High Dies. Besides Heffy Memo Tape is useful to temporarily holding down elements like stencils while you make ink blending and dies while you run them through a die cutting machine.
DISCLOSURE. I’m currently on various Design Teams. I only join a team because I love their products and genuinely use them. All opinions are my own. I do not accept offers of direct payment for dedicated blog posts to promote products. I am part of various affiliate programs and link some supplies with compensated affiliate links when used where possible at no cost to you. When you click on an affiliate link and then go on to make a purchase, I receive a small commission. I use the money raised towards the cost of running this blog. I hope if you like the content of my blog you will support me by clicking through these links to make your purchases. Thank you!
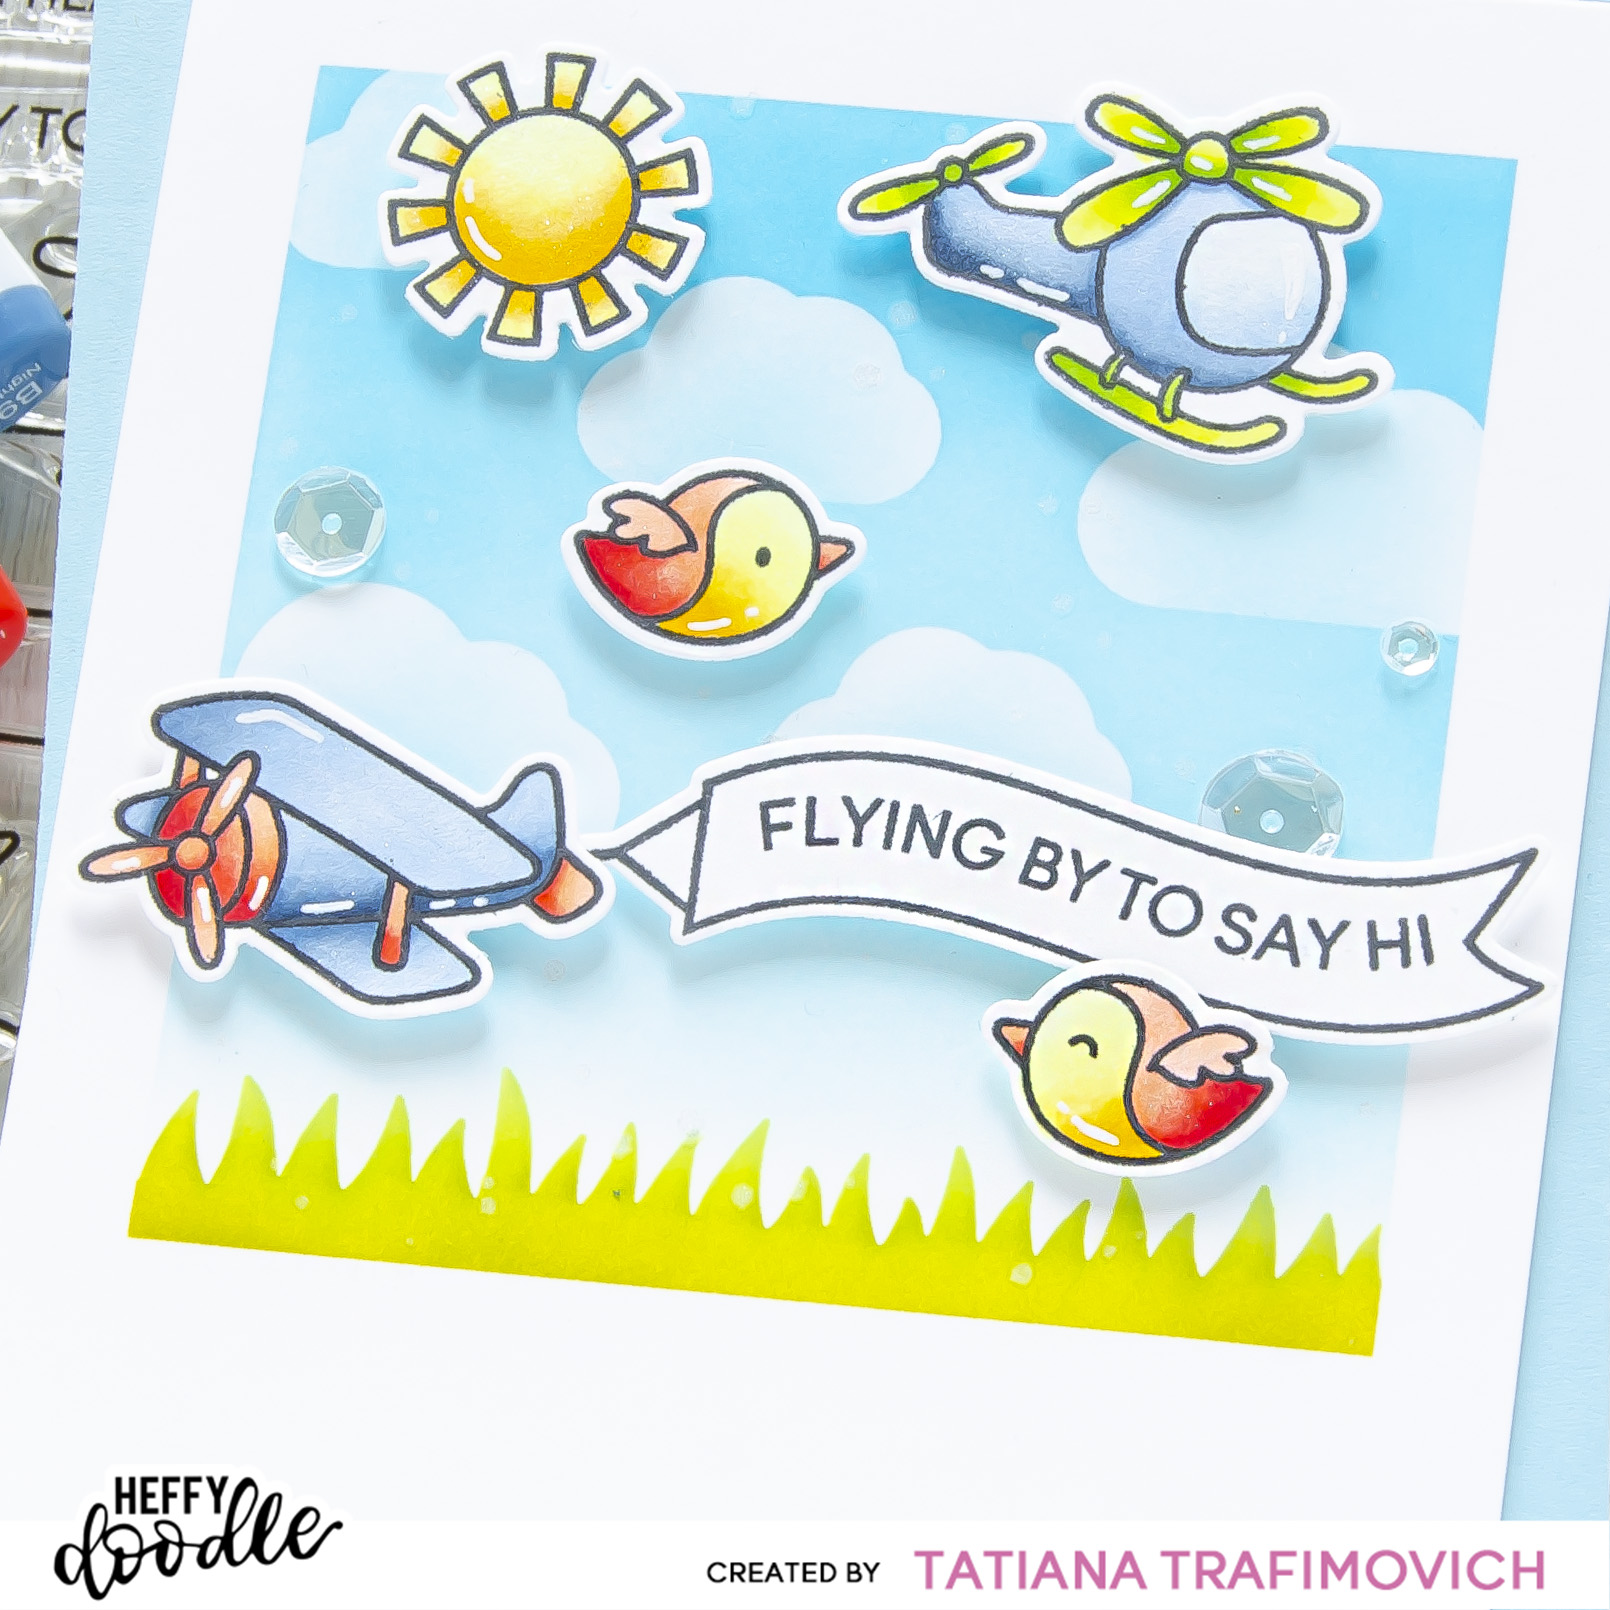
Key Ingredients:
- STAMPS AND DIES:
- Flying High Stamp Set (available at Heffy Doodle and Scapbook.com)
- Flying High Dies (available at Heffy Doodle and Scapbook.com)
- Green Fields Stencil (available at Heffy Doodle and Scapbook.com)
- OTHER CRAFT SUPPLES
Step By Step Instructions:
- Die cut from Neenah Solar White paper all the elements you need, using the coordinating Flying High Dies and Heffy Doodle Mini Die Cutting Machine or Sizzix Big Shot Die Cutting machine. Save the negative parts of the dies.
- Stamp the outline illustration from Flying High Stamp Set with Memento Tuxedo Black ink. Use the negative parts of the dies as a guide for a perfect alignment inside the stamping positioning tool.
- Color the stamps with COPIC MARKERS. I used on this card:
- blue BG70-B91-B93-B95-B97-B99
- red R11-R12-R14-R27
- green YG00-YG03
- yellow Y00-Y11-Y18-Y21
- Trim and score an extended A2 size card base (5 1/2″ x 4 1/4″) from Neenah Solar White paper.
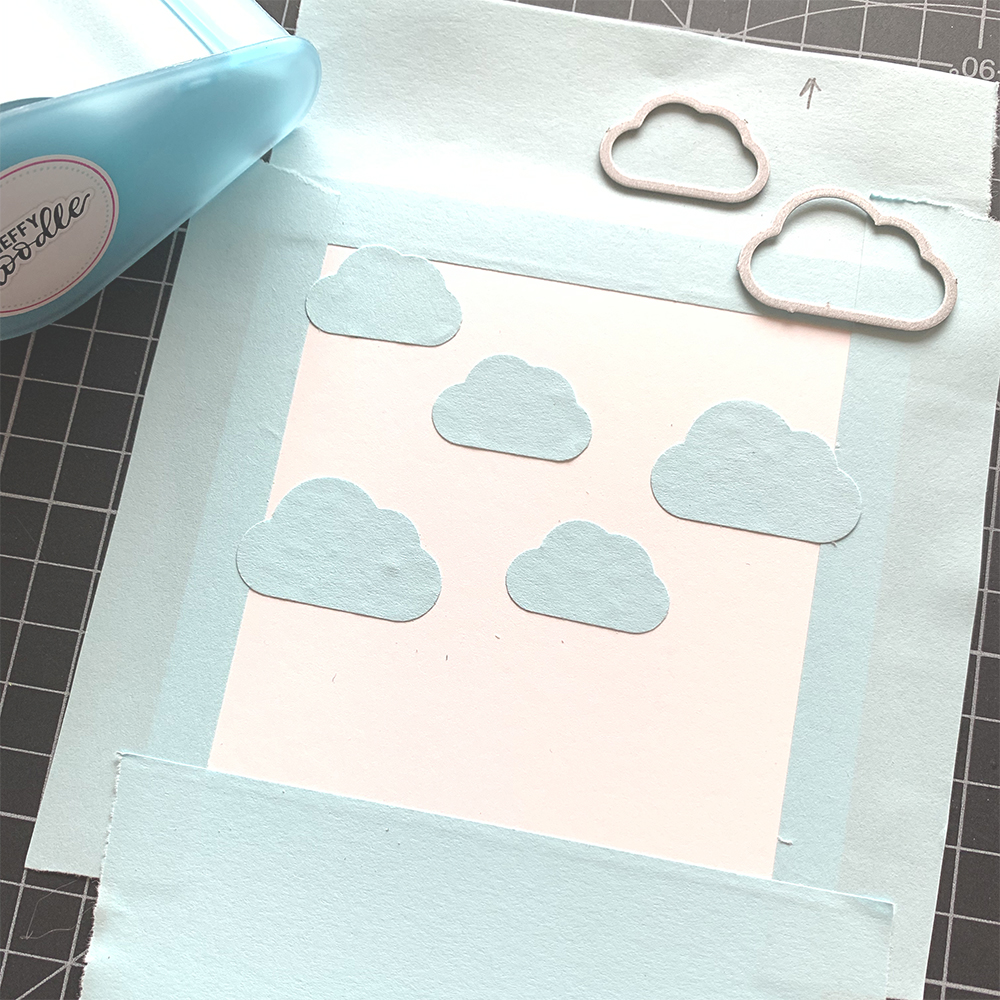
- Mask a square approx. 3 1/2″ by 3 1/2″ with Heffy Memo Tape in the center on the card front.
- Die cut from the same Heffy Memo Tape a few clouds, using the coordinating Flying High Dies, and apply them on the card front.
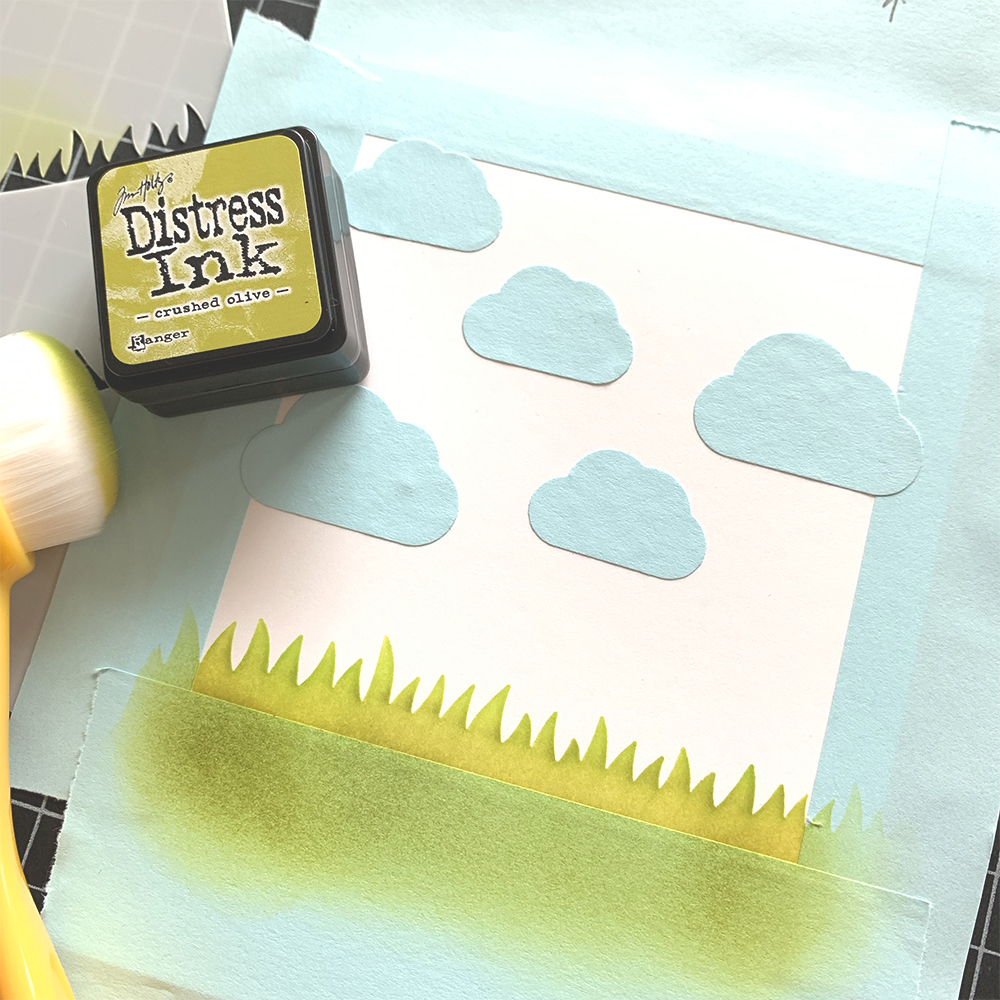
- Tape well Green Fields Stencil towards the bottom edge of the square window with Heffy Memo Tape and ink the grass portion with Twisted Citron Distress, Crushed Olive Distress and Peeled Paint Distress inks, using the blending brushes.
- Ink the sky portion with Tumbled Glass Distress Oxide and Mermaid Lagoon Distress Oxide inks starting from the top edge, working with the blending brushes to create a smooth ombré effect.
- Splatter the inked background with some tiny droplets of a clear shimmer spray to add more interest and remove all the masks.
- Arrange and glue in place all the elements, using a foam tape to add a bit of dimension.
- Finish with a generous coat of a clear glitter pen, a couple of highlights added with a white gel pen and a few clear sparkling sequins adhered with Glubert – Craft Glue .
That’s all for today! Hope you like this cute card! Thanks so much for stopping by and have a fabulous day!
Hugs,
Tatiana
