Hello and welcome!
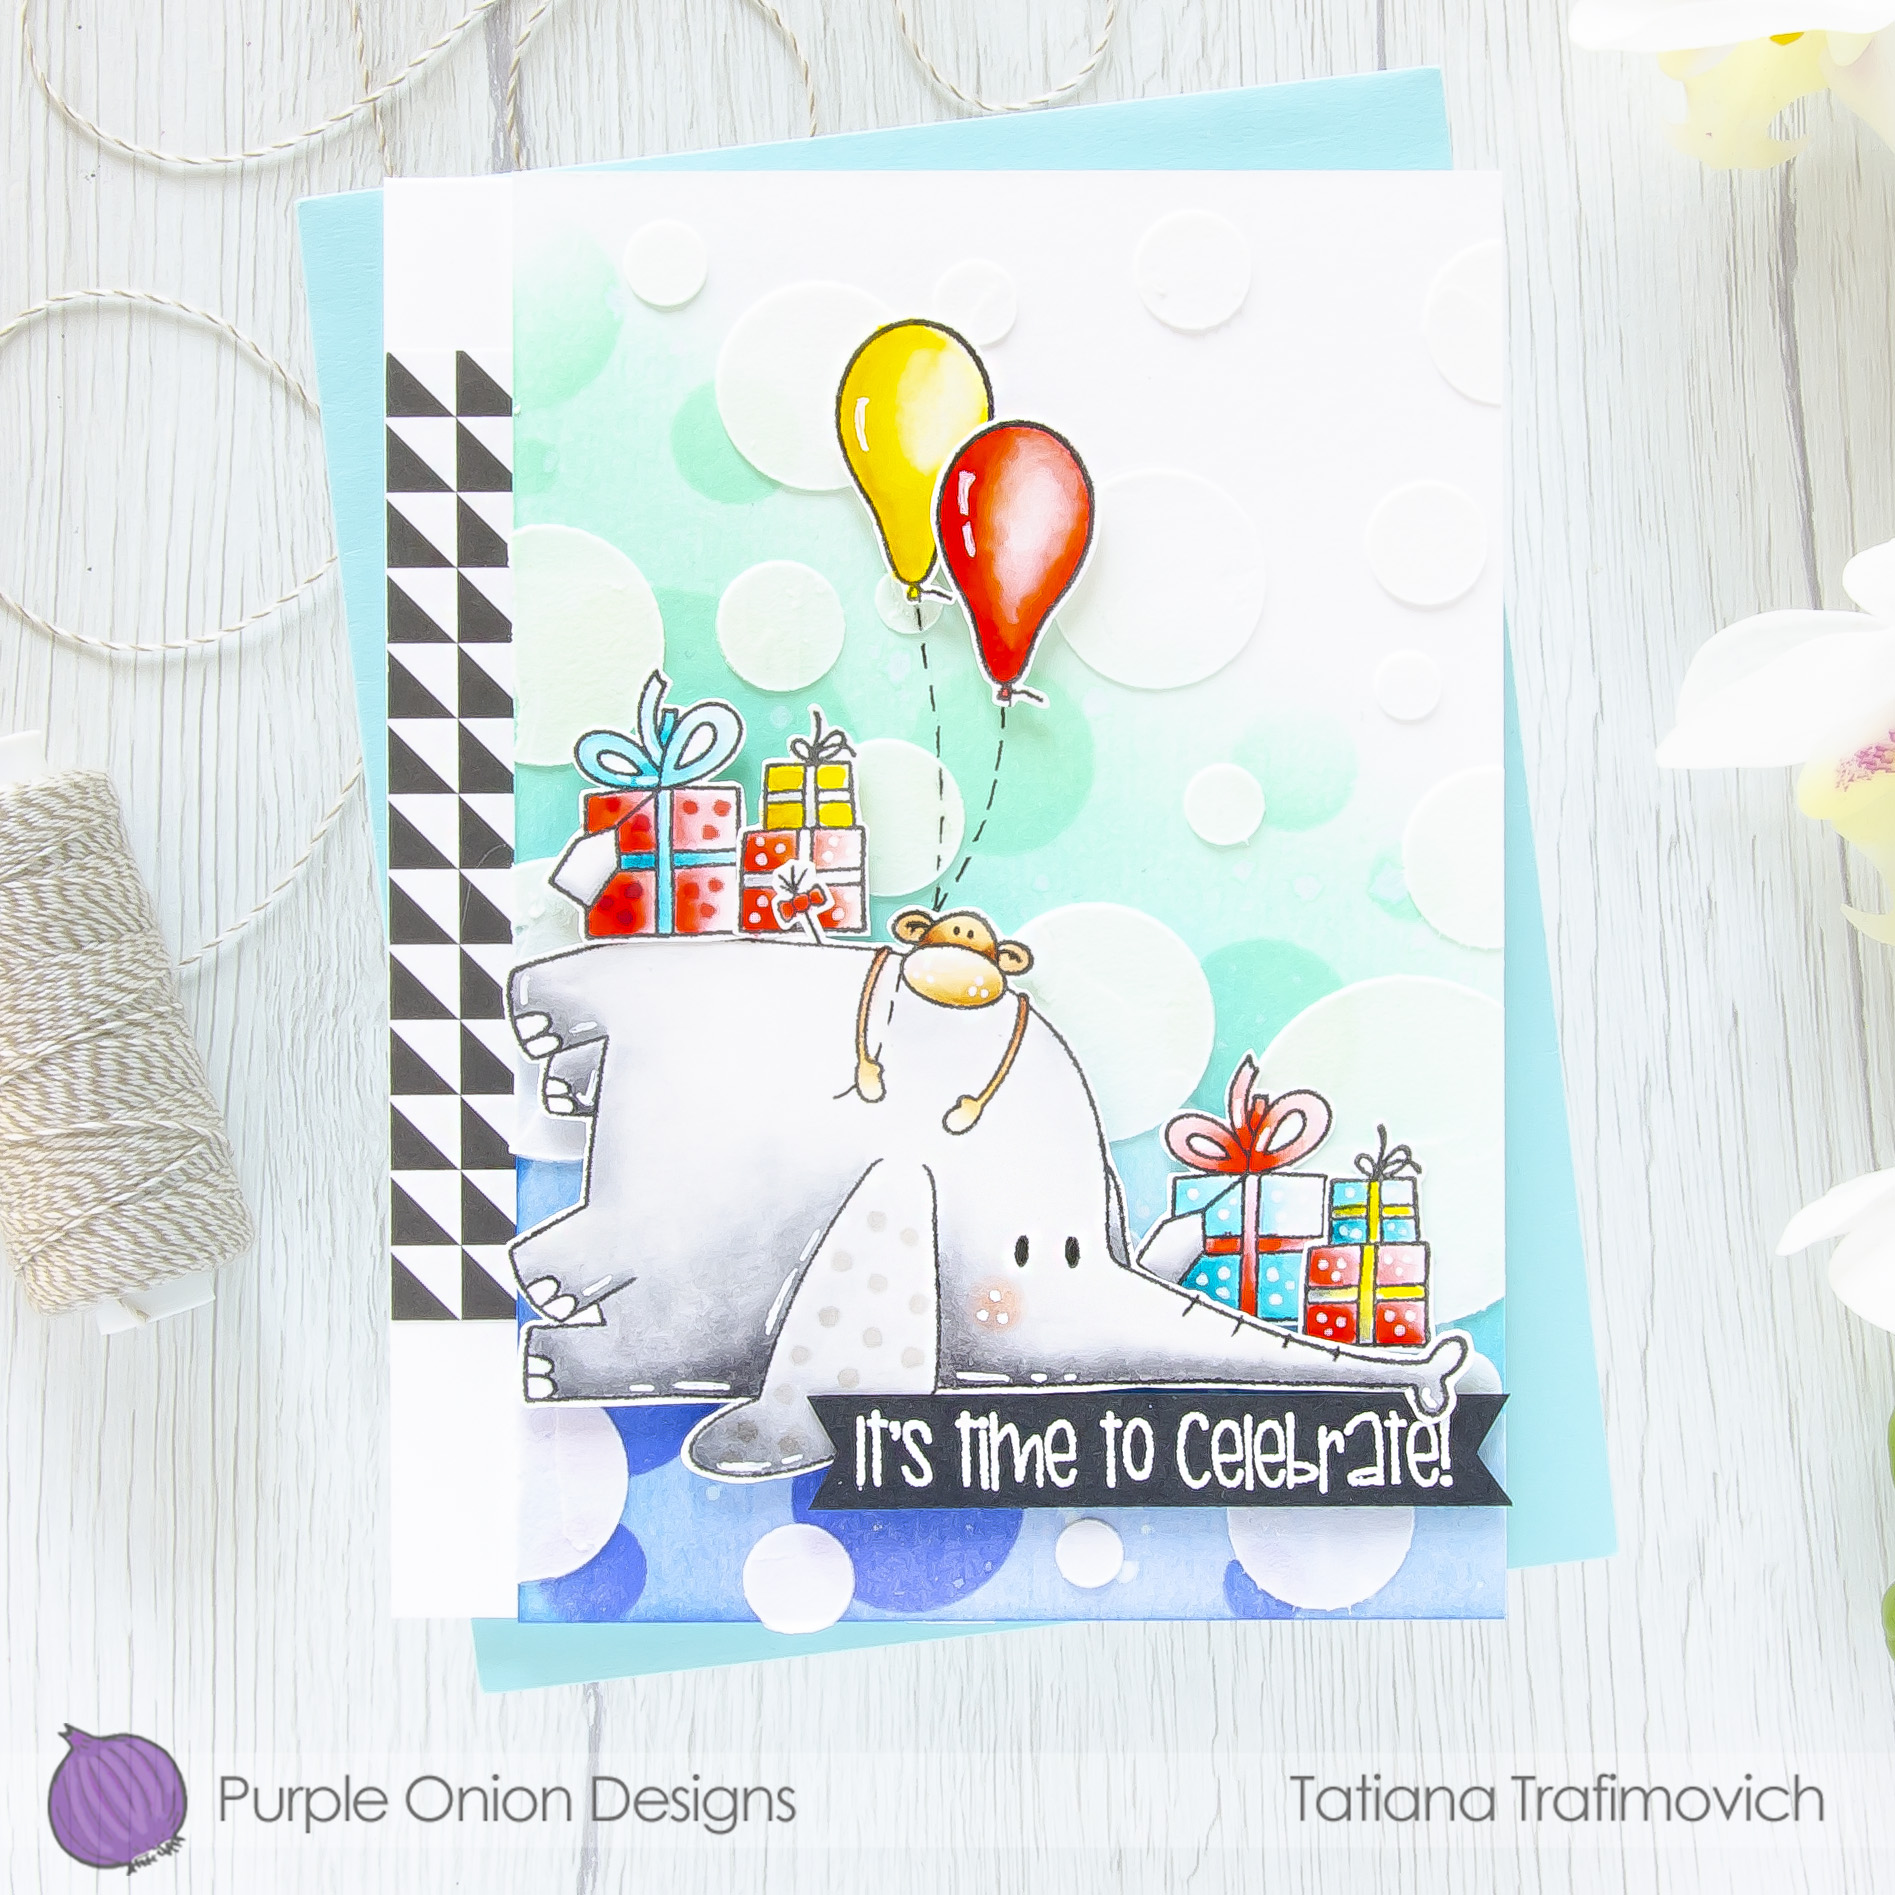
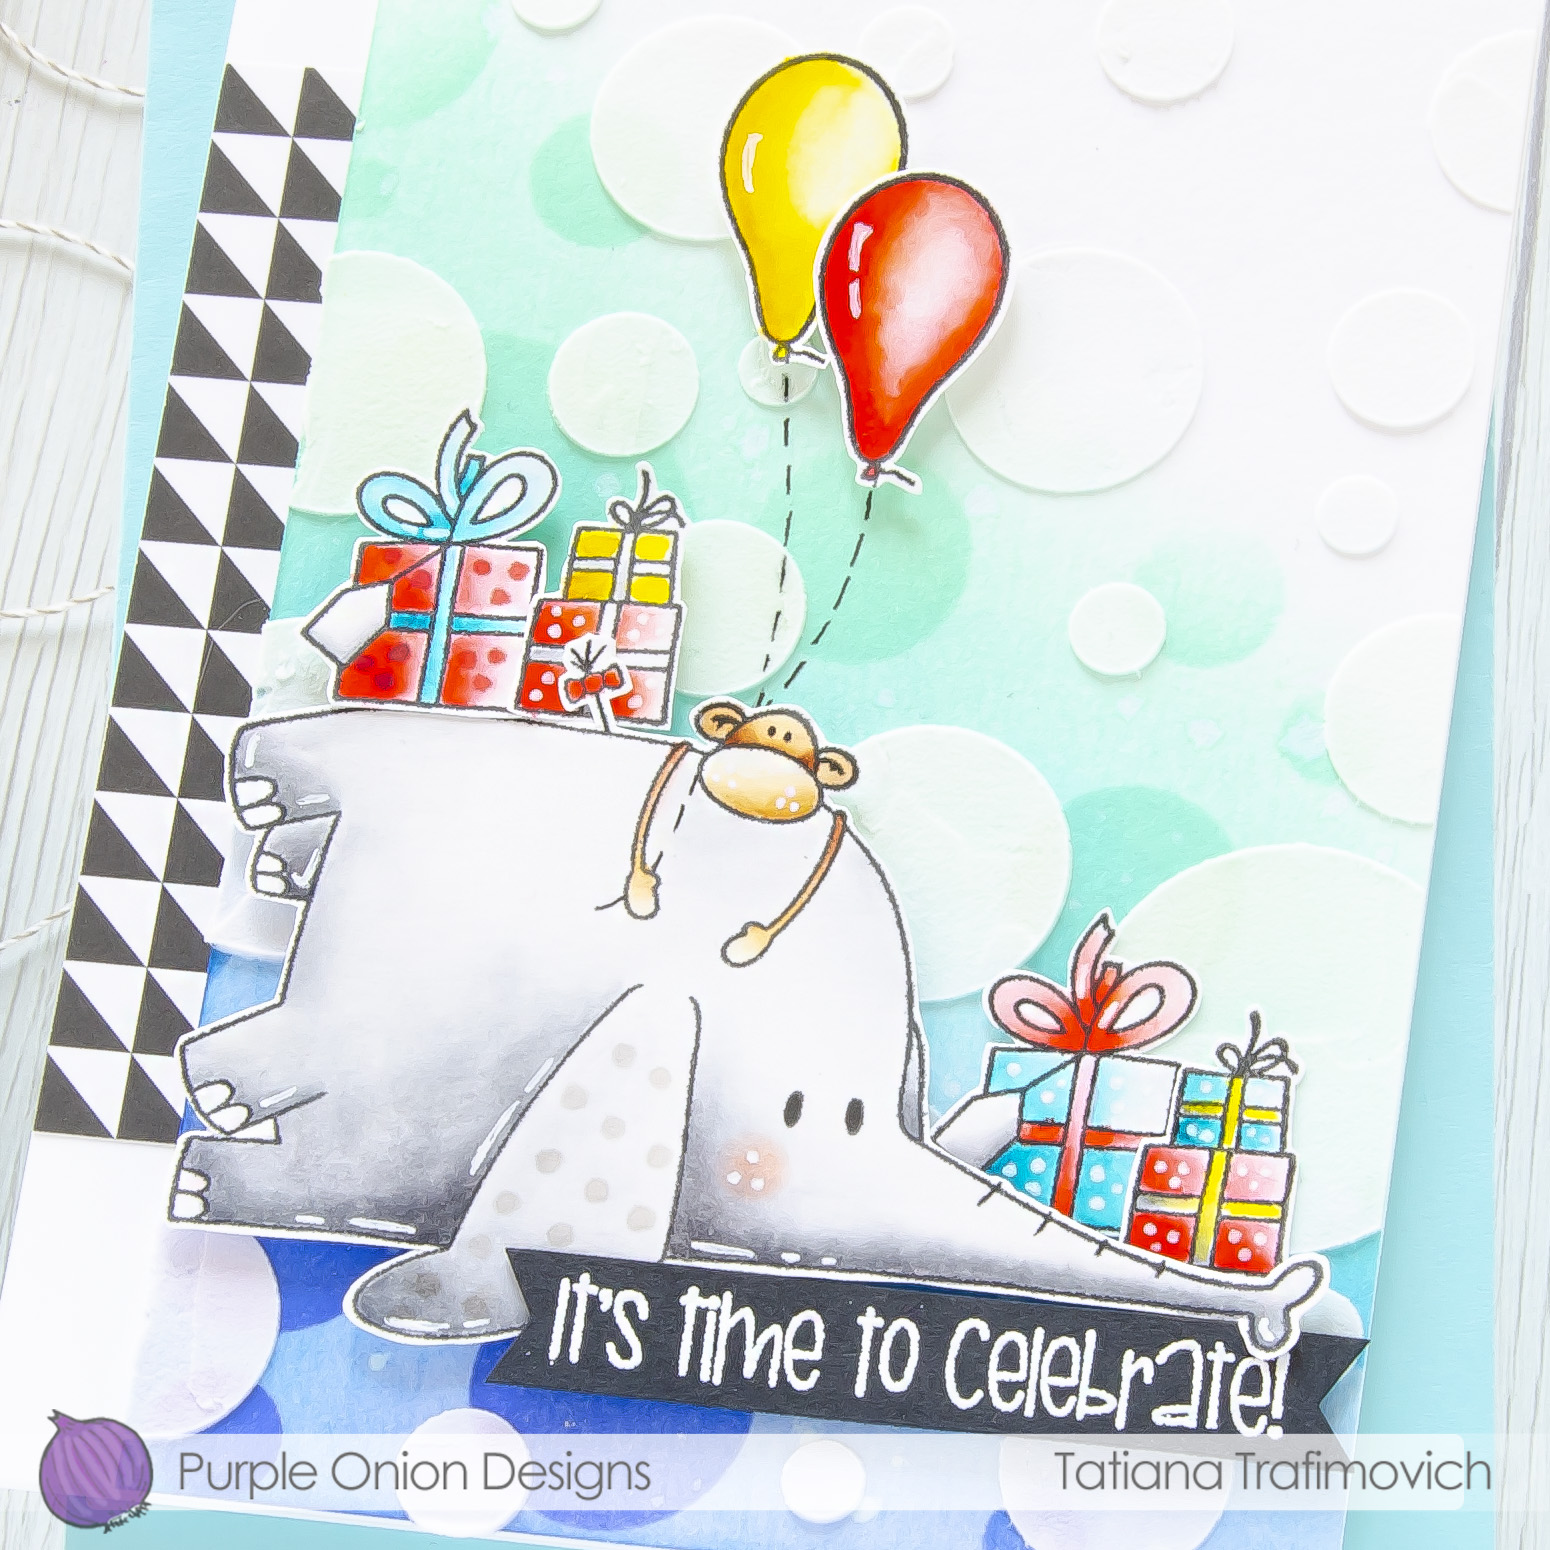
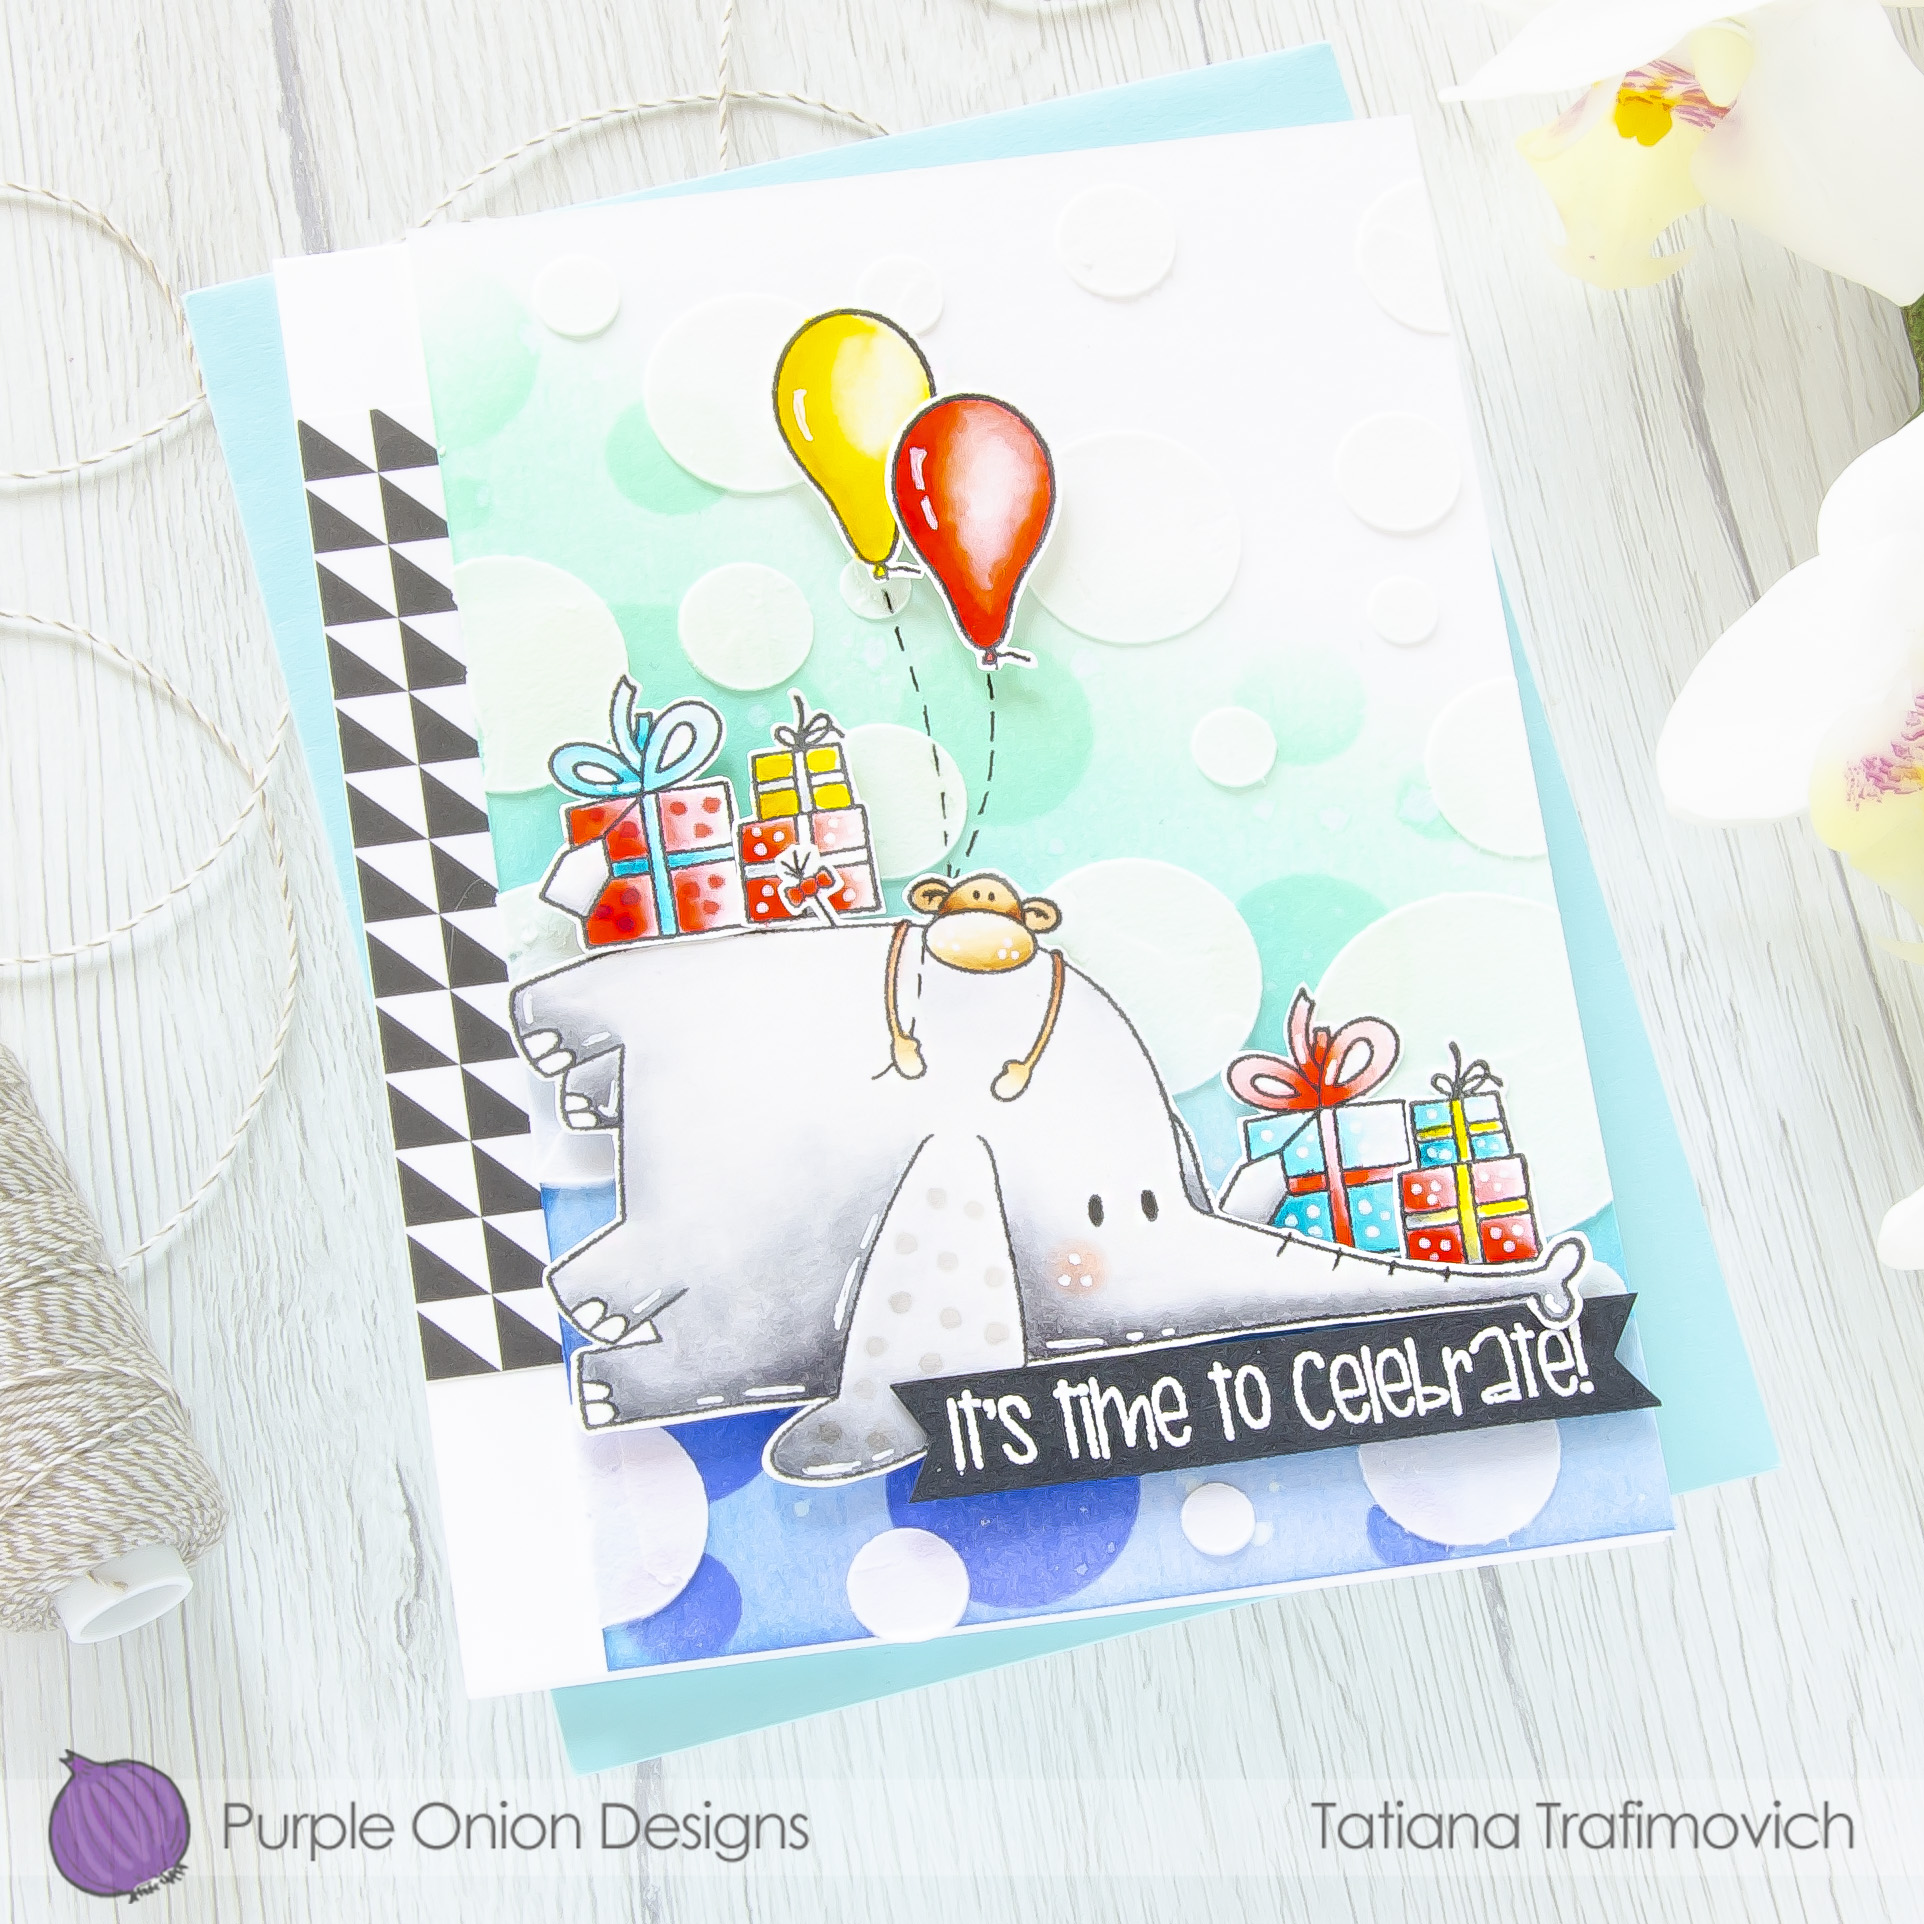
Thanks so much for joining me today! I popped in with another cute birthday card made from some unbirthday stamps by Purple Onion Designs! This card came out from a couple of different sets all designed by Julian Charlton. I paired the sweet animal couple from get well themed “Feeling Blue?” stamp set with a couple of amazing balloons and some gift packs from holiday/winter themed Happy Winter Forest Friends set to get a fun, colorful and bright birthday card to use all year round!

Key Ingredients:

Step By Step Instructions:
- Stamp on Strathmore Bristol paper the elephant from Elliot & Marcel – Feeling Blue? stamp set, two balloons from Lottie’s Gang – Birthday Squad stamp set and a some gift packs from Happy Winter Forest Friends stamp set with VersaFine Onyx Black pigment.
Designer’s Tip:
Since rubber stamps from Purple Onion Designs come unmounted, you will need a temporary mounting solution to work with. A Clear Mounting Stamp is one of the options. You can apply this clear stamp on an acrylic block or acrylic stamping platform to hold your unmounted stamps in place while stamping. Remove and store it when finished until next time. The clear stamp can be cleaned with water and a little liquid soap.
- Fussy cut all the stamps with the sharp small scissors leaving a little white edge around.
- Color all the illustrations with water based markers. I used KARIN BRUSHMARKER PRO set:
- grey 276, 277, 278
- brown 105, 272
- yellow 166, 272
- red 051, 092
- teal 204, 654
- Ink at an angle a piece of Tim Holtz Watercolor cardstock with Cracked Pistachio Distress, Mermaid Lagoon Distress and Blueprint Sketch Distress inks, using the blending brushes to get a smooth result.
- Tape well layer #1 from Newton’s Nook Designs Bokeh Stencil Set a low tack tape on the inked area and add more color through the stencil to achieve a tone on tone pattern with the same shades of Distress inks.
- Splatter the inked background with some tiny droplets of a clear shimmer spray diluted with a small amount of water.
- Switch to the layer #2 from the same Bokeh Stencil Set and spread all over a white embossing paste. Don’t forget to tape the stencil to the paper with a low tack tape to prevent any movement.
- Trim a piece of black and white patterned paper.
- Trim and score an extended A2 size card base (5 1/2″ x 4 1/4″) from Neenah Solar White paper.
- Arrange all the elements on the card front and glue them in place by popping some on a foam tape for a fun dimensional look.
- Finish with a few hand draw details added with a white gel pen and copic markers.

That’s all for today! Hope you like this cute birthday card! Thanks so much for stopping by and have a fabulous day!
Hugs,
Tatiana
