Hello and welcome to the final day of the Newton’s Nook March release! Thanks so much for joining me throughout this week and for all your kind and sweet comments! I appreciate so so so much all your love and support!!!

All the new March products will be available for purchase tomorrow on Thursday, March 17th at Newton’s Nook Designs online store and other craft retailers!
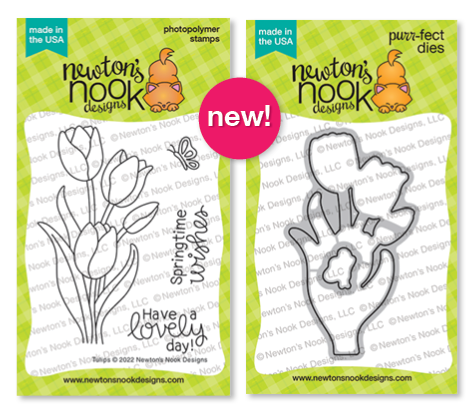
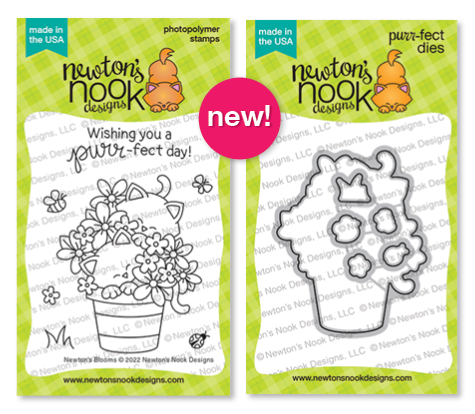
The last day of the March reveals has reserved us the most beautiful floral Tulips Stamp Set and just gorgeous spring kitty couple in Newton’s Blooms Stamp Set. Both sets come with the coordinating Tulips Die Set and Newton’s Blooms Die Set.
Giveaway alert!! NND is giving away both new Tulips and Newton’s Blooms stamp sets to lucky winners so make sure you read all the way to the bottom of this post to see how to win!
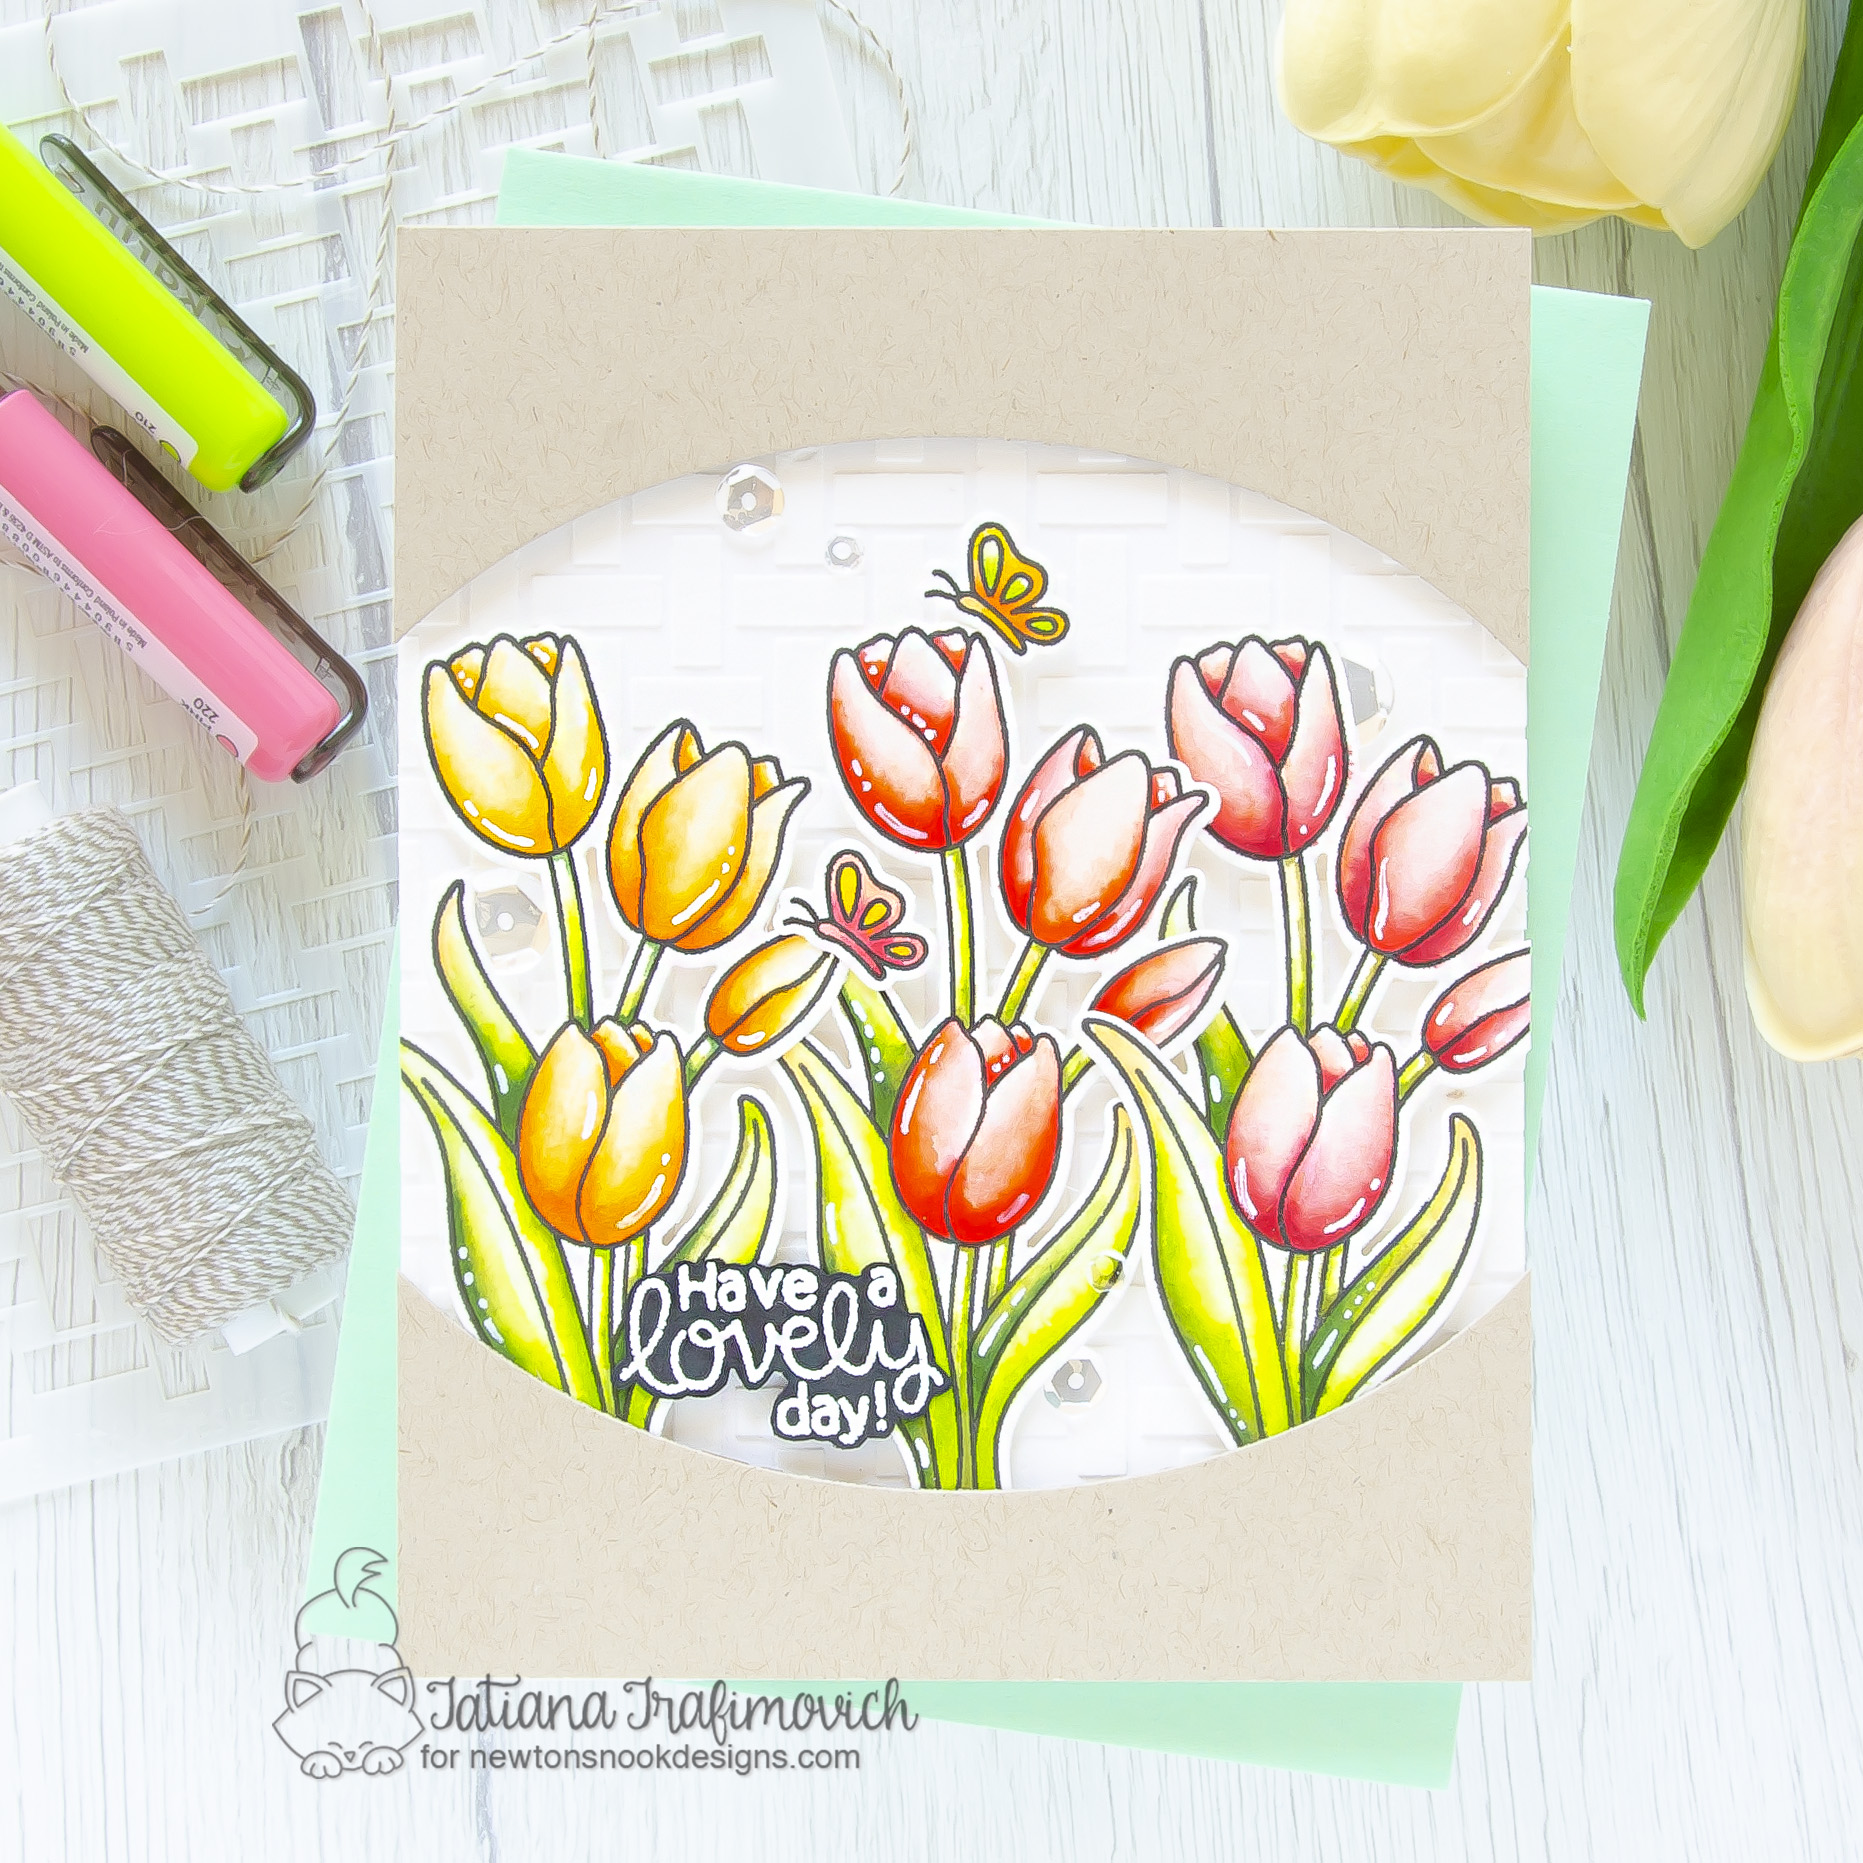
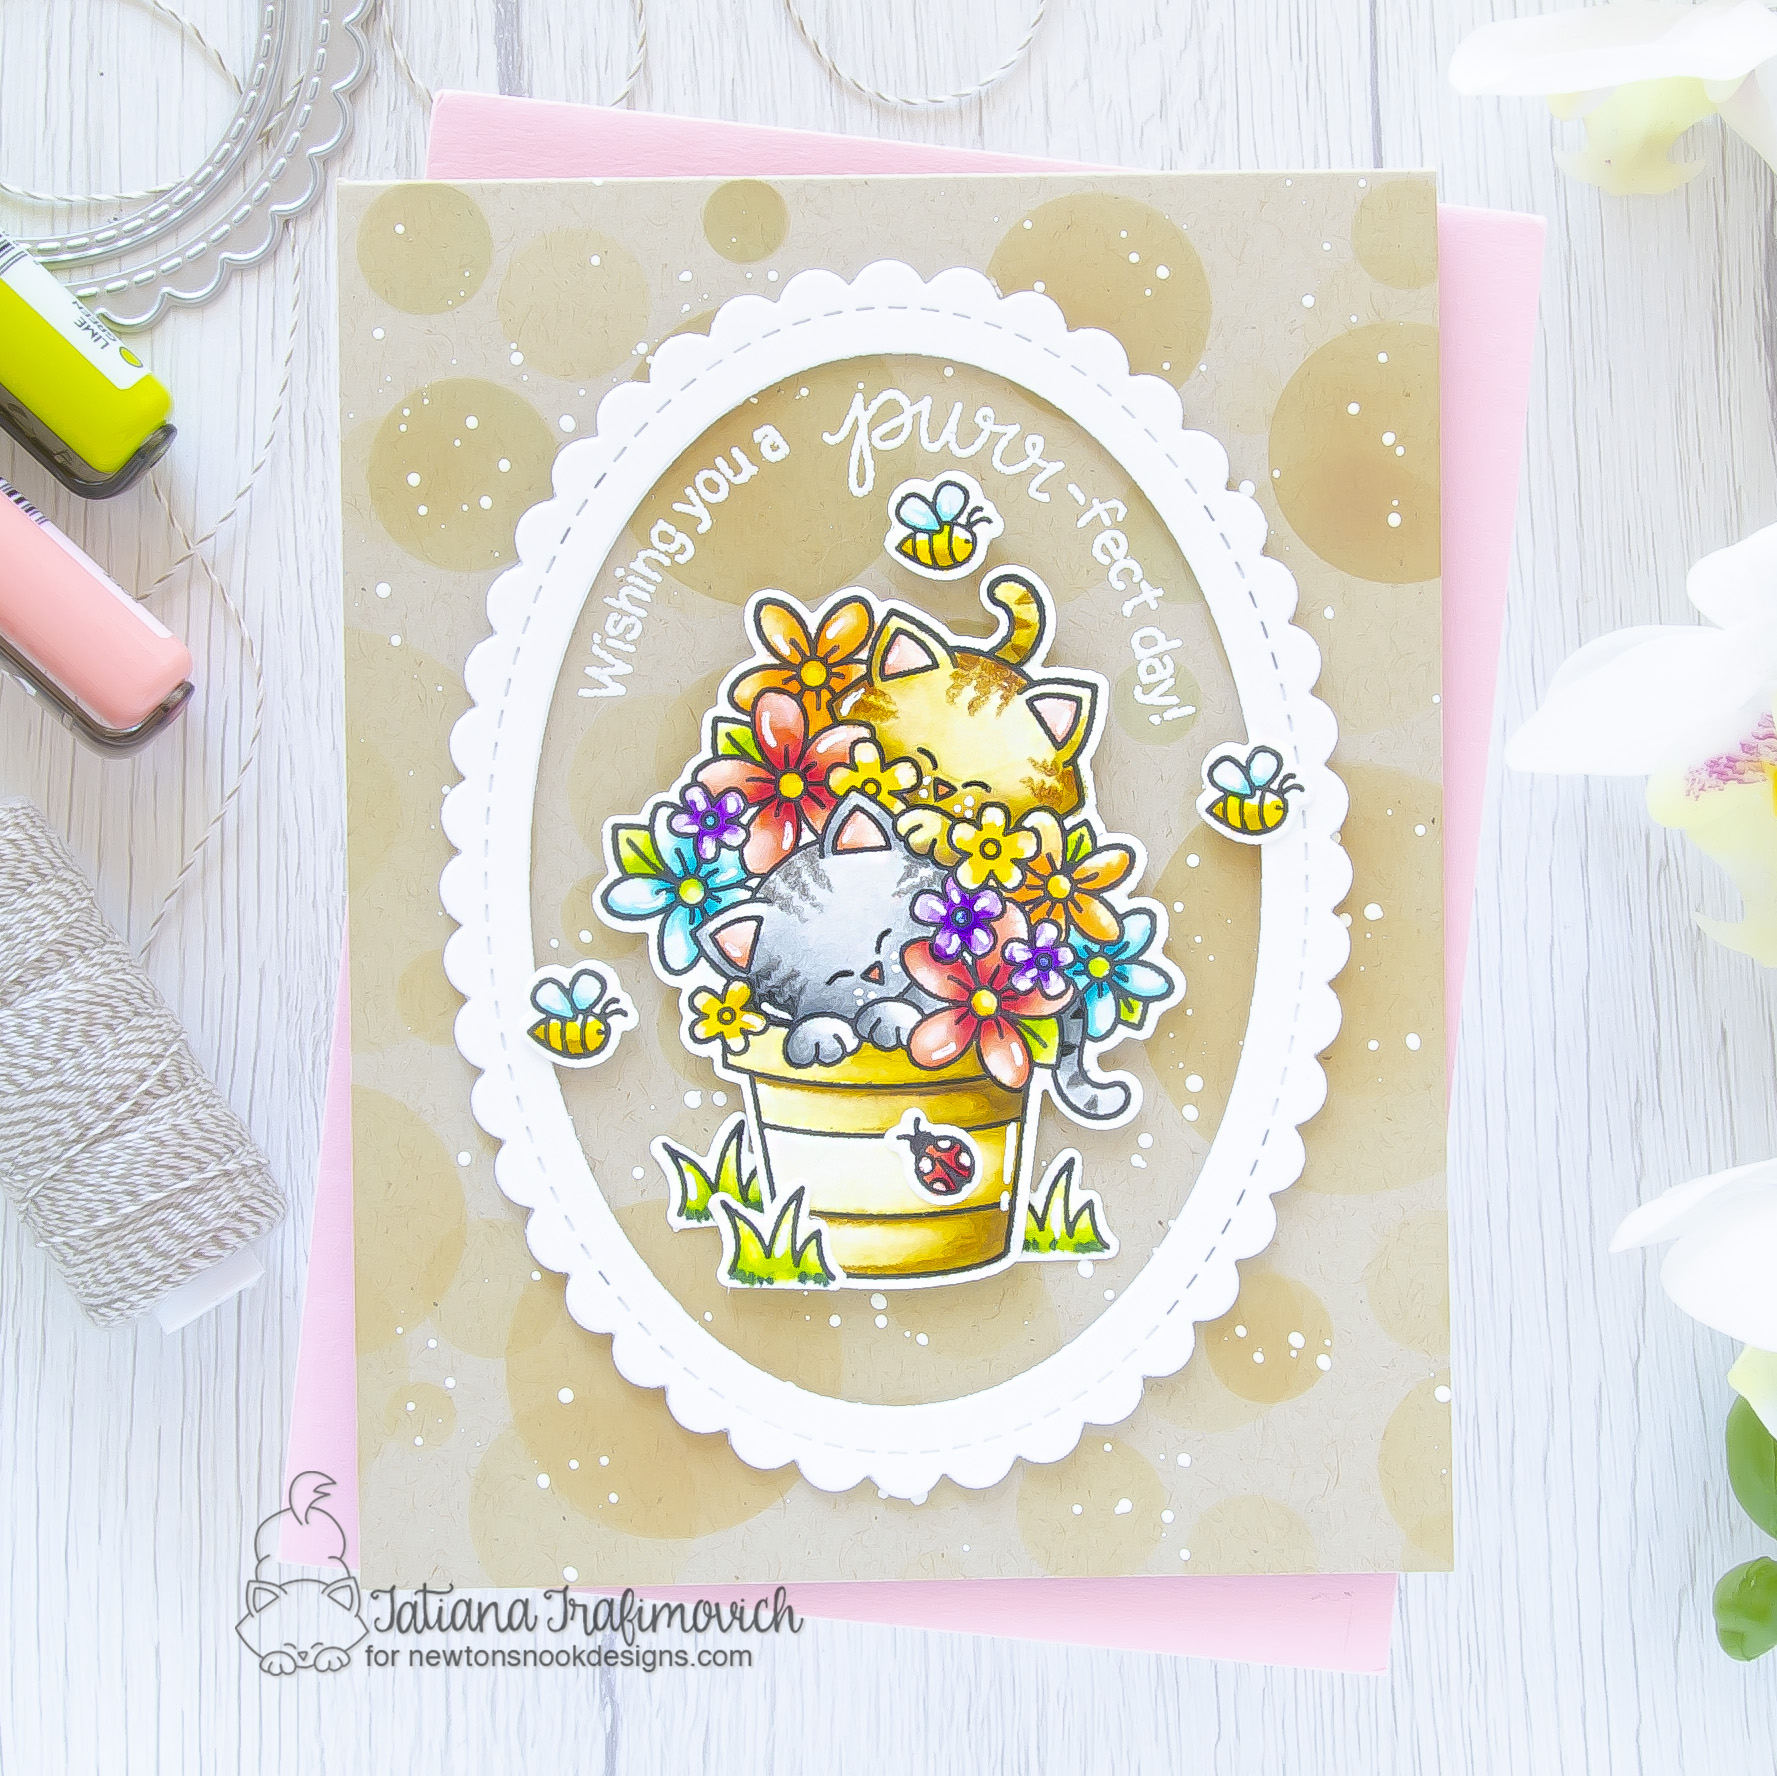
On my stop of this hop you will find two watercolored cards, both with Karin Brushmarkers Pro. I keep testing these water based medium, experimenting with different papers and just enjoy the bright colors that these markers give me for my spring projects. This time I stamped both illustrations on hot pressed watercolor paper. However the final results look a bit different since the tulips has larger areas for blending while all the elements on the kitty couple are very small.
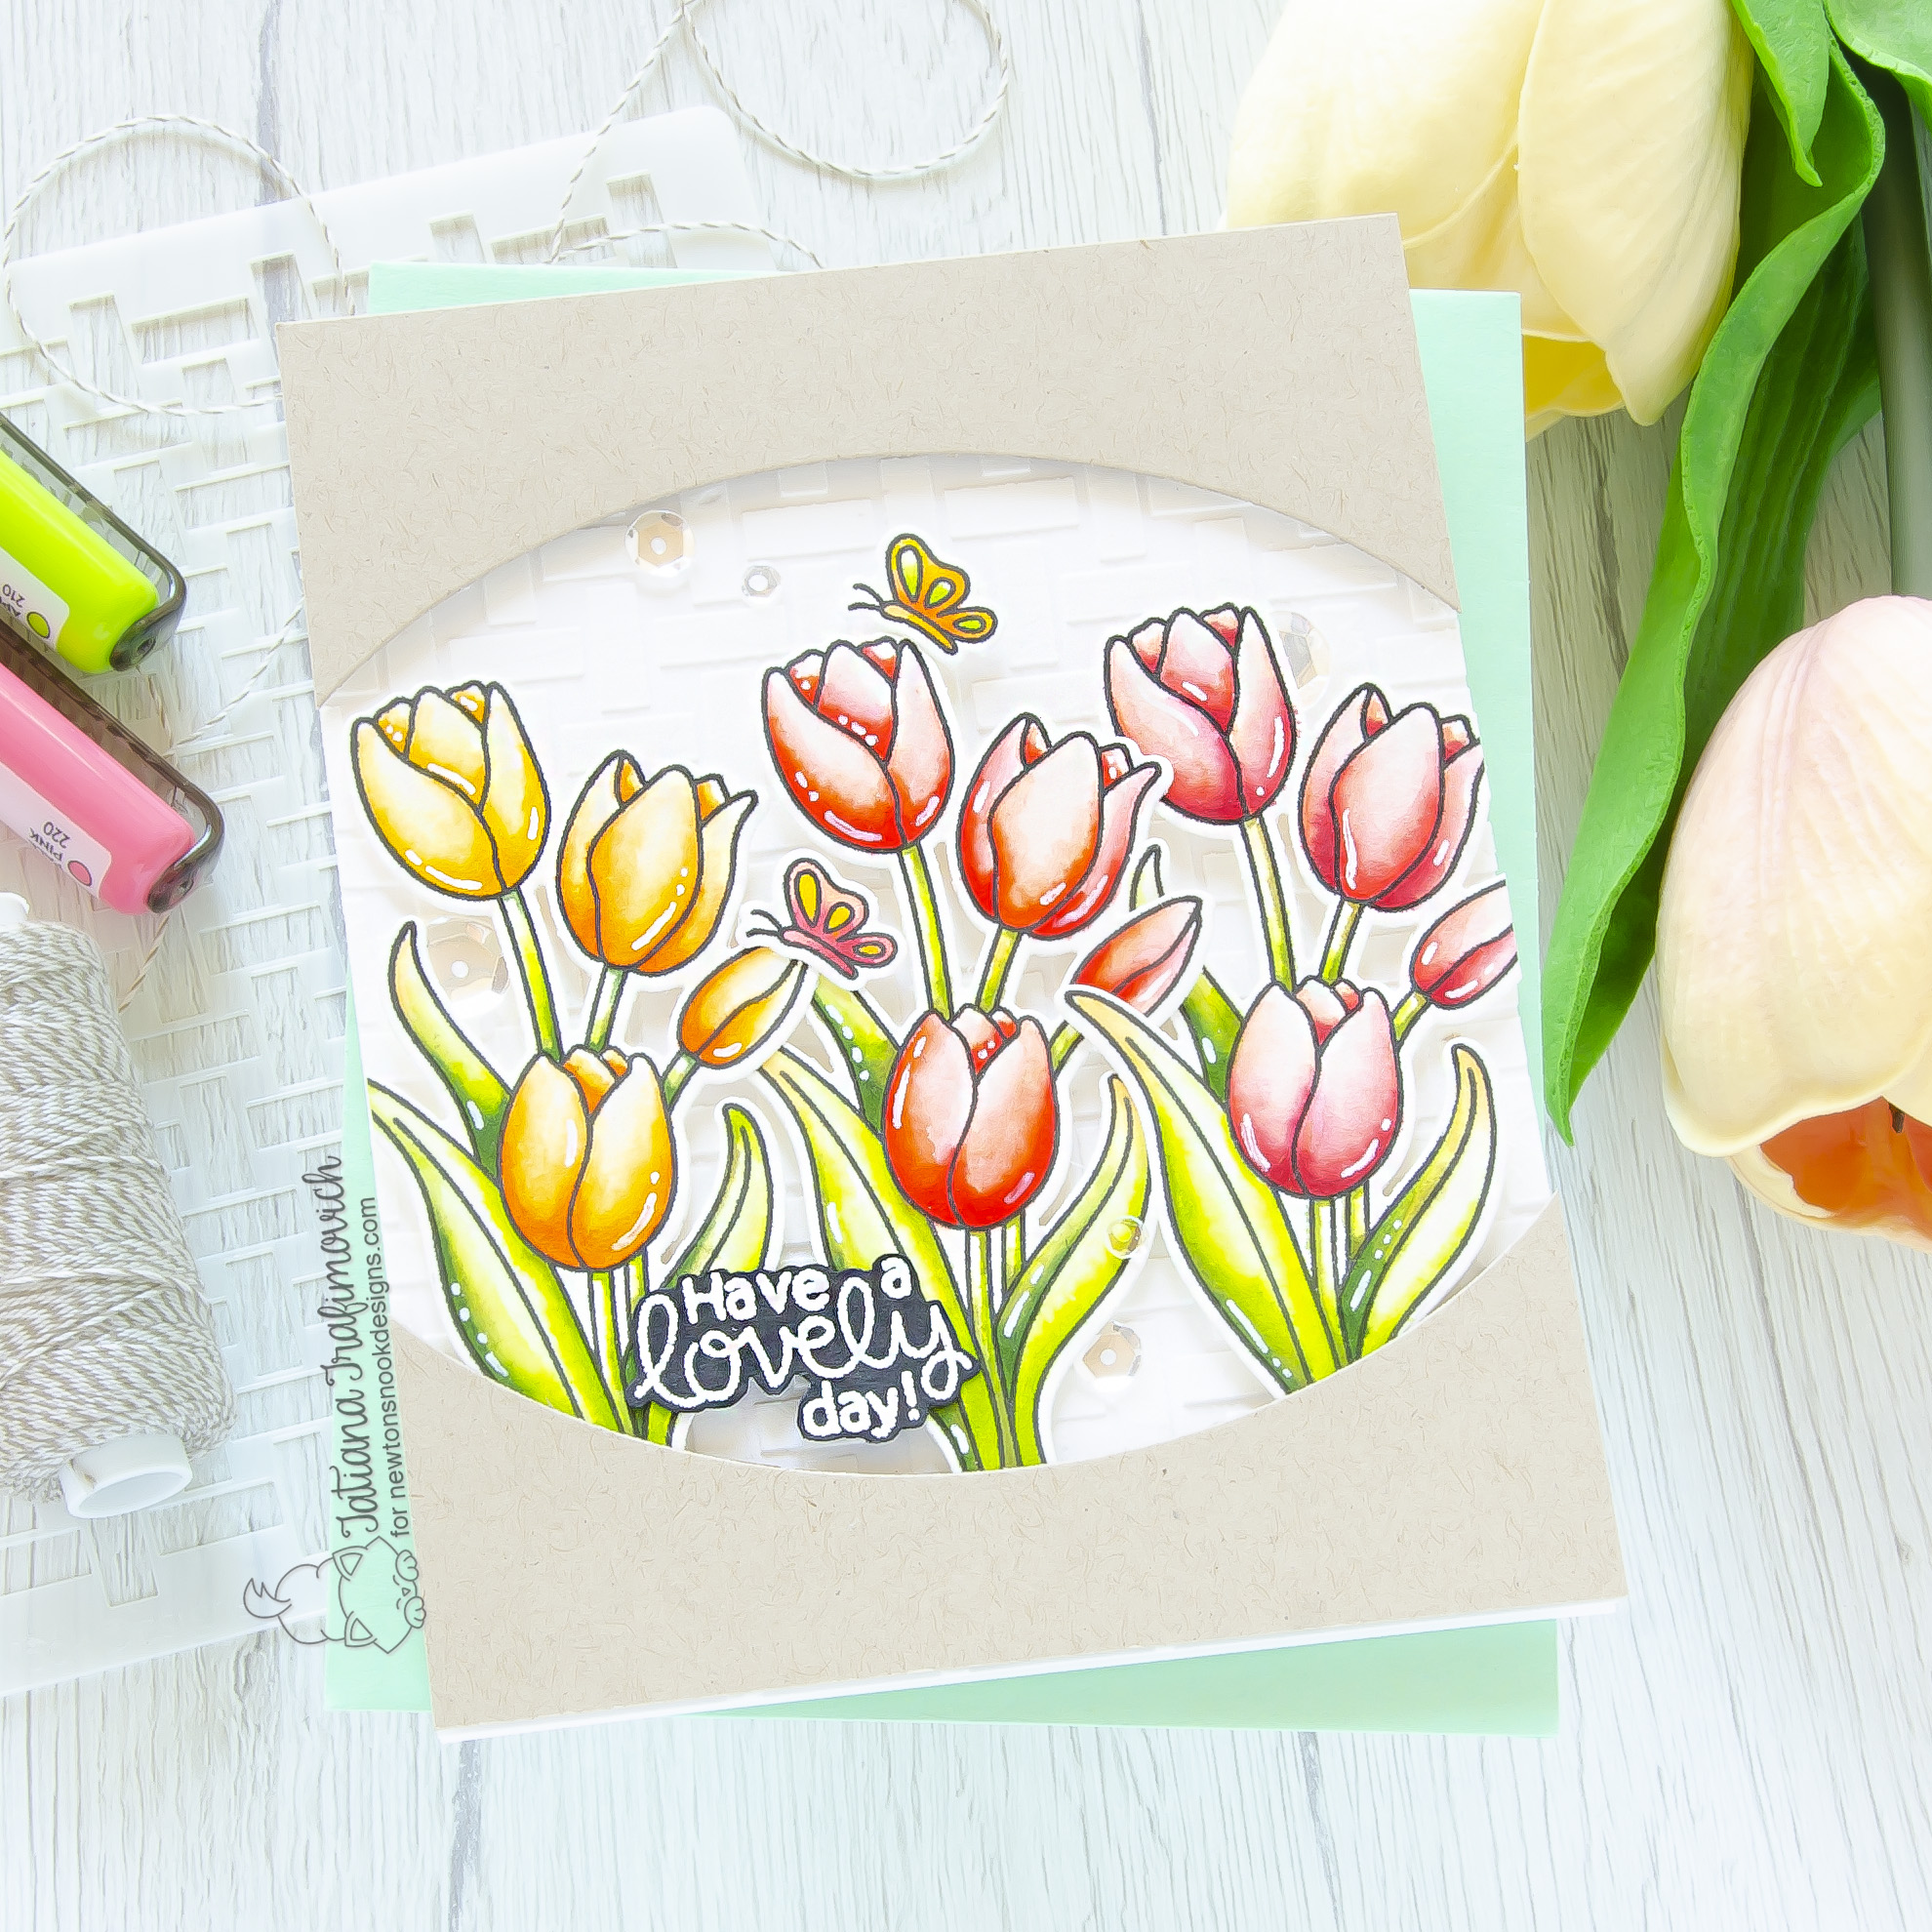
Key Ingredients:
Step By Step Instructions:
- Die cut from Fabriano Extra White Hot Pressed watercolor paper all the elements you need, using the coordinating Tulips Die Set and Sizzix Big Shot Die Cutting machine. Save the negative parts of the dies.
- Stamp the outline illustration from Tulips Stamp Set with VersaFine Onyx Black pigment ink. Use the negative parts of the dies as a guide for a perfect alignment inside the stamping positioning tool.
- Color the stamps with KARIN BRUSHMARKERS PRO. I used on this card:
- yellow/ orange 166, 172, 216, 283, 357, 195
- red 200, 092, 181, 051
- pink 200, 168, 209, 220
- green 071, 297, 281
- Heat emboss in white onto black the sentiment with VersaMark Clear Embossing Ink. Don’t forget to prep the cardstock with a Powder Tool Applicator to prevent the embossing powder to stick where you don’t want it!
- Fussy cut the sentiment with the sharp small scissors, leaving a little edge around.
- Trim and score an extended A2 size card base (5 1/2″ x 4 1/4″) from Neenah Solar White paper.
- Tape well Basketweave Stencil with a low tack tape to the card front and apply a white embossing paste all across. Lift up the stencil and let the embossing paste air dry.
- Trim a 5 1/2″ x 4 1/4″ rectangle from Neenah Desert Storm paper.
- Die cut an oval frame in the center of the kraft panel. Save both negative pieces to form a frame for the card front.
- Arrange all the elements on the card front and glue in place by popping some on a foam tape to add a bit of dimension.
- Finish with some highlights added with a white gel pen and a couple of clear sparkling sequins.
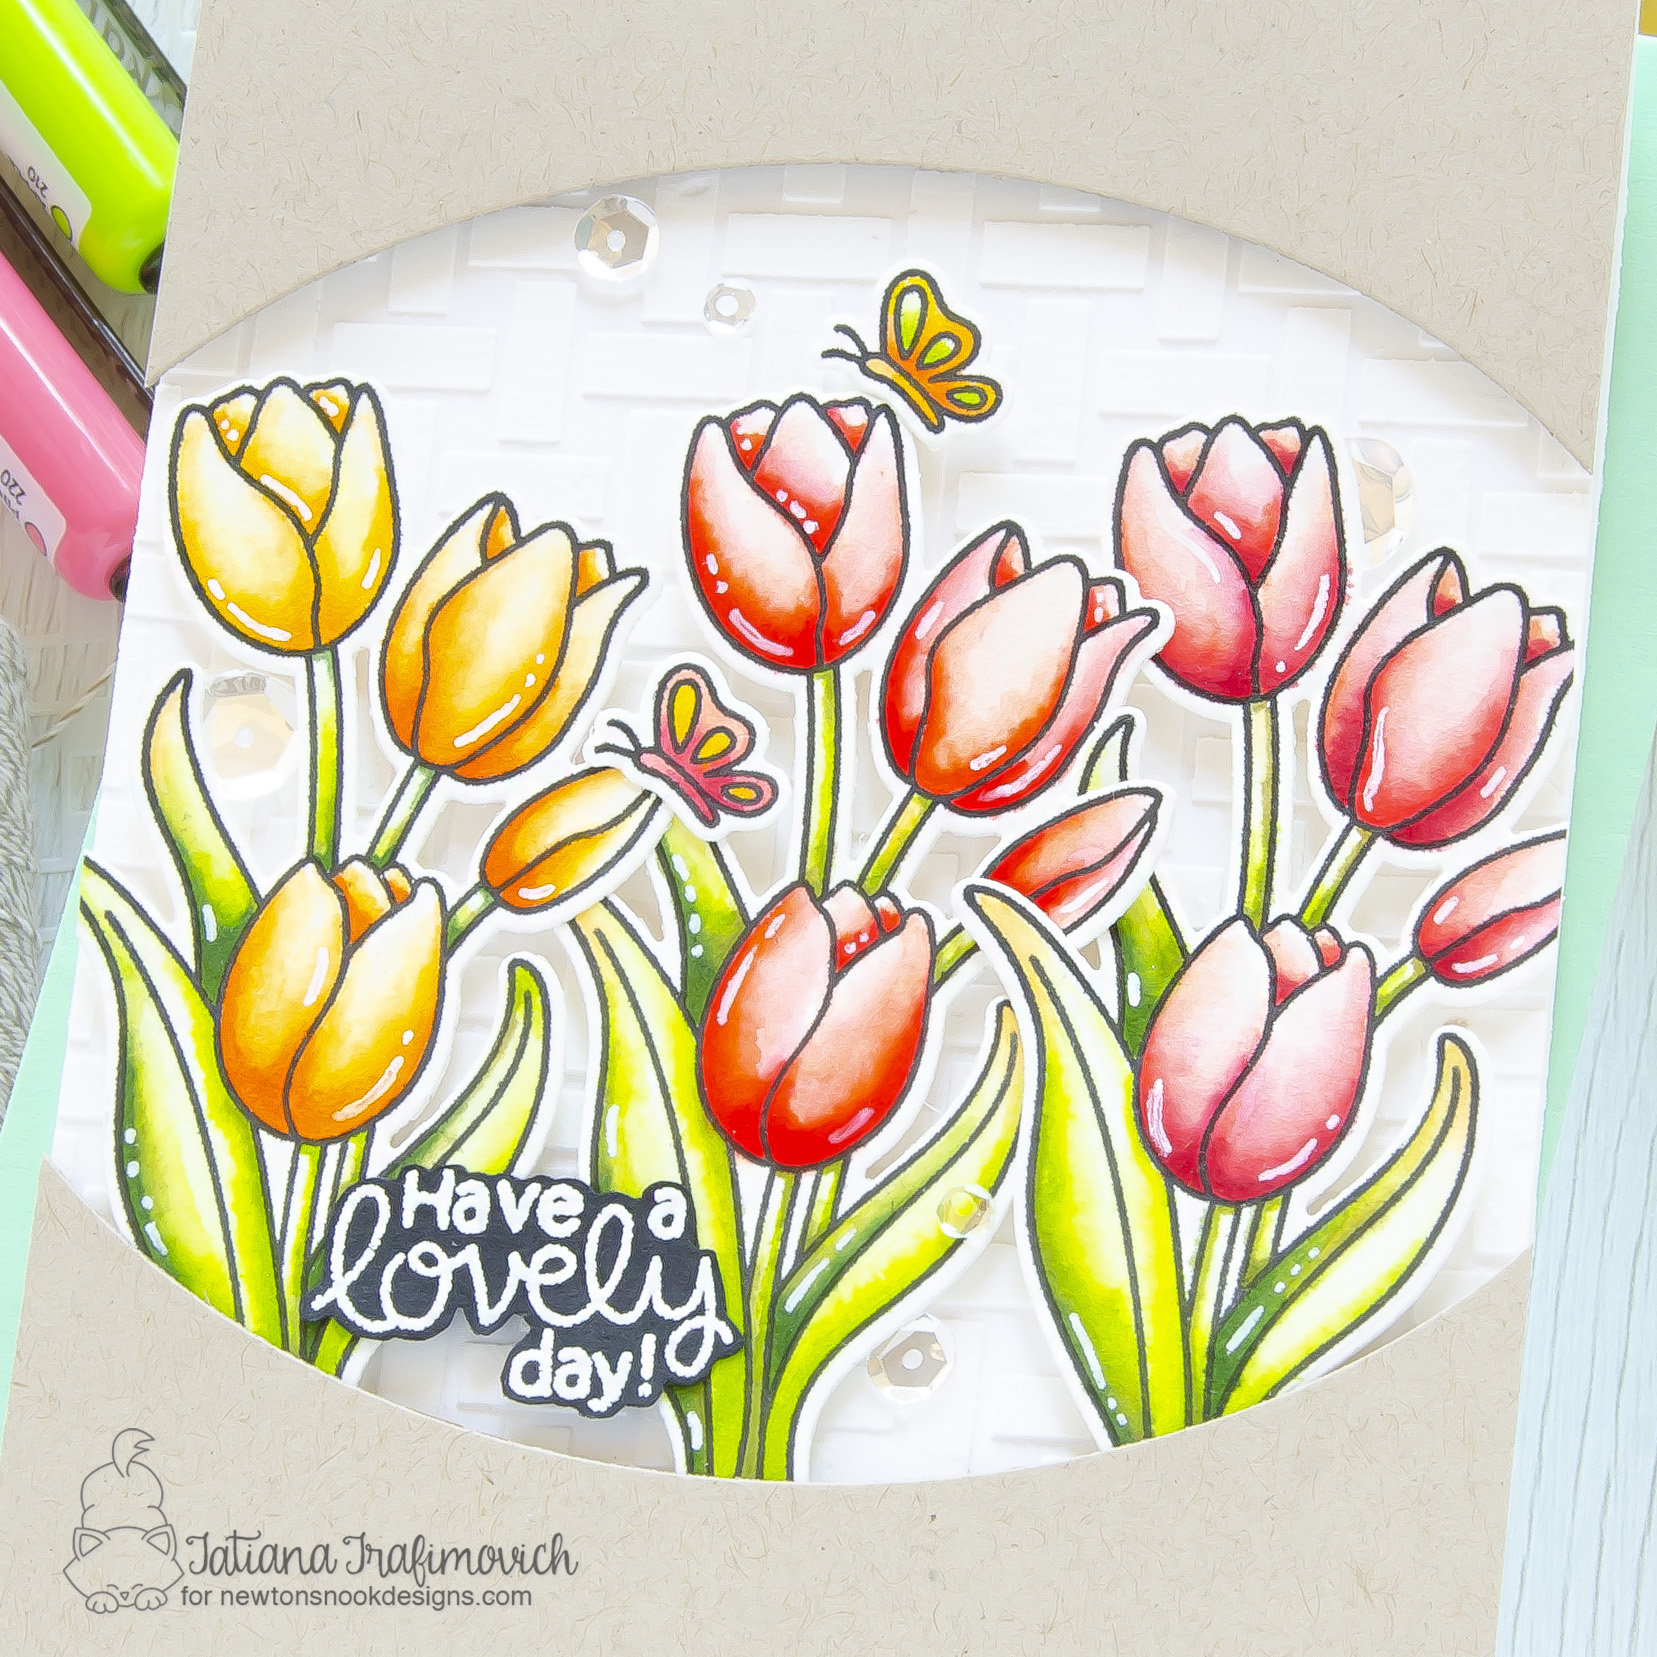
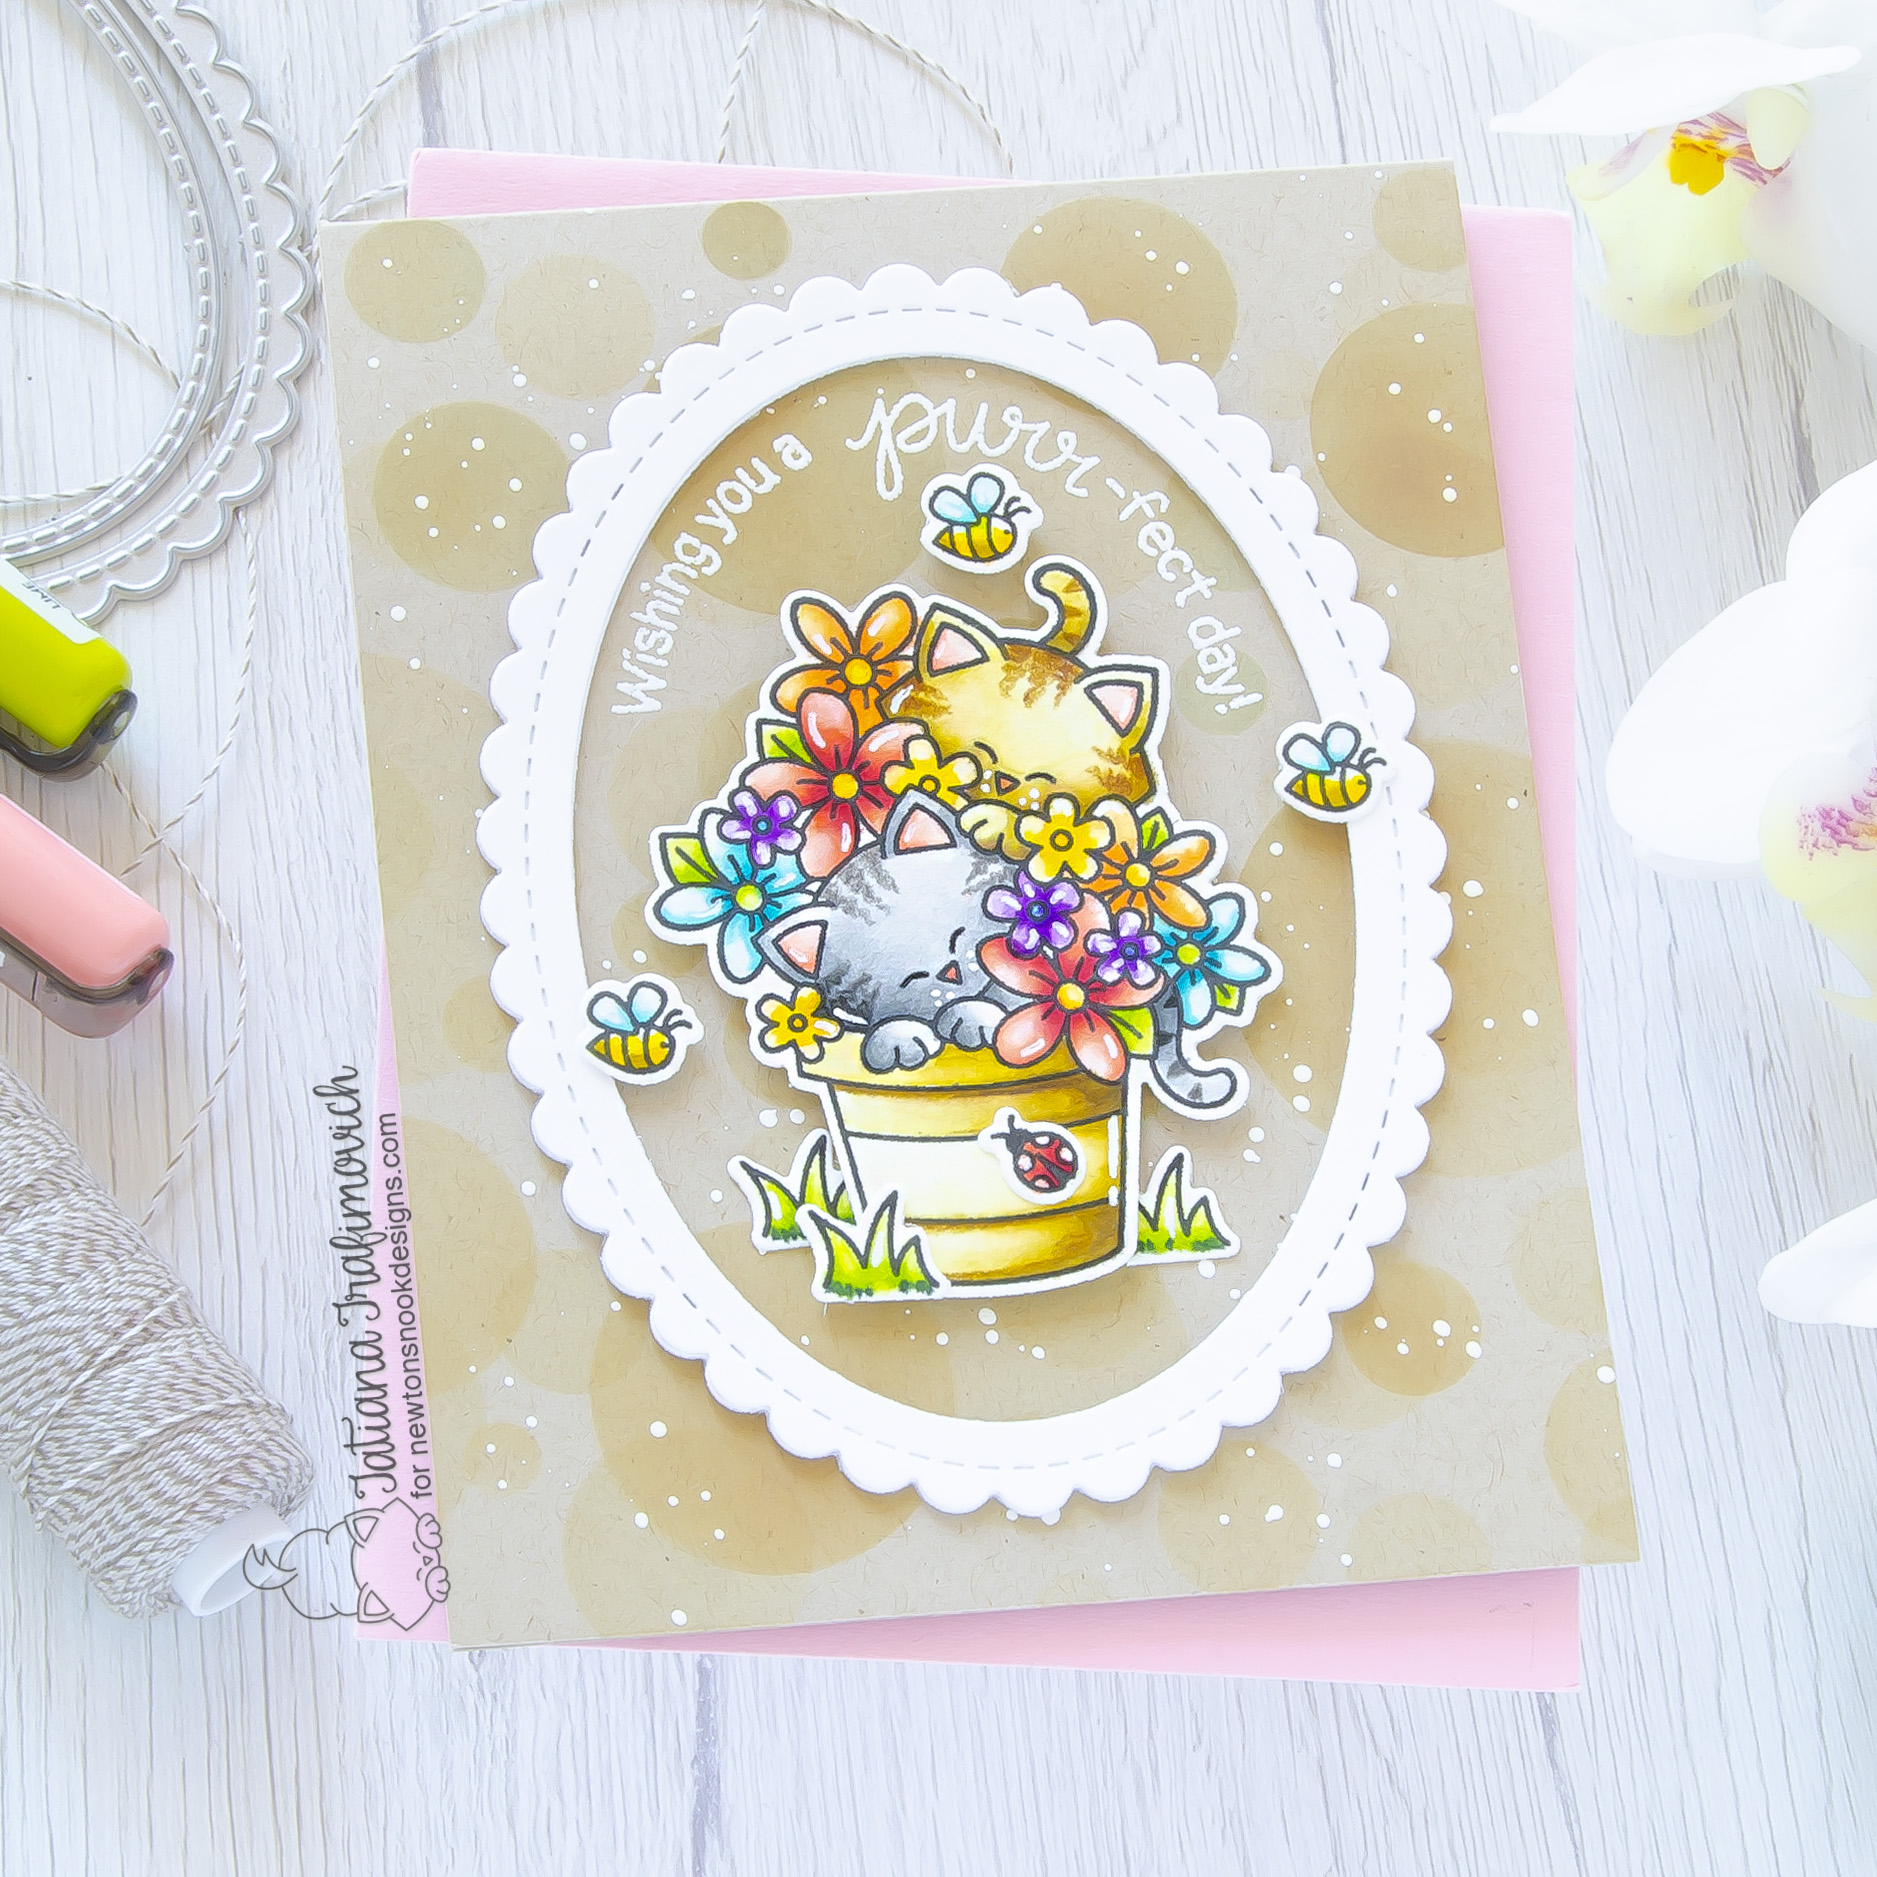
Key Ingredients:
Step By Step Instructions:
- Die cut from Fabriano Extra White Hot Pressed watercolor paper all the elements you need, using the coordinating Newton’s Blooms Die Set and Sizzix Big Shot Die Cutting machine. Save the negative parts of the dies.
- Stamp the outline illustration from Newton’s Blooms Stamp Set with VersaFine Onyx Black pigment ink. Use the negative parts of the dies as a guide for a perfect alignment inside the stamping positioning tool.
- Color the stamps with KARIN BRUSHMARKERS PRO. I used on this card:
- yellow 166, 283, 216
- orange 216, 357
- red 200, 201, 181
- green 071, 447
- teal 204, 657
- violet 197
- brown 552, 199, 174
- grey 278, 277
- Add a few details to the stamp with colored pencils.
- Trim and score an extended A2 size card base (5 1/2″ x 4 1/4″) from Neenah Desert Storm paper.
- Tape well layer #1 from Bokeh Stencil Set with a low tack tape to the card front and ink the circles with Antique Linen Distress ink.
- Shift the stencil, tape it again to the card front and ink more circles with Vintage Photo Distress Oxide ink, using a blending brush and keeping your hand very light.
- Splatter the background with some tiny droplets of a white gouache diluted with a small amount of water.
- Die cut from Neenah Solar White paper three scalloped frames, using Oval Frames Die Set.
- Stack them all together with Distress Collage Medium Matte to create a faux chipboard element.
- Cut apart the sentiment from Newton’s Blooms Stamp Set with the sharp small scissors and shape it on the lid of the stamping positioning tool. Help yourself with the die cut oval frame.
- Heat emboss in white the sentiment with VersaMark Clear Embossing Ink on the card front. Don’t forget to prep the cardstock with a Powder Tool Applicator to prevent the embossing powder to stick where you don’t want it!
- Arrange all the elements on the card front and glue in place by popping some on a foam tape to add a bit of dimension.
- Finish with a couple of highlights added with a white gel pen.
Would you like to win the “Tulips” or the “Newton’s Blooms” Stamp Set? NND will choose ONE lucky winner for each stamp set!
Here’s how to win: Comment on the NND blog and Design Team blogs (see list below)! The winner will be chosen at random from the collective reveal posts. Make sure to check out each of their blogs and comment for your chance to win. You will not know which blog has been chosen so the more you comment on the better your chances are of winning! You have until Wednesday March 16th at 9pm ET to comment — winners will be announced on the blog post on Thursday March 17th.
Check out all the awesome Design Team Blogs below to enter:
Newton’s Nook Designs
Donna Idlet
Ellen Haxelmans
Tina Herbeck
Larissa Heskett
Samantha Mann
Zsofia Molnar
Farhana Sarker
Tatiana Trafimovich <– you’re here
Amanda Wilcox
That’s all for today! Hope you these sweet and cute cards! Thanks so much for stopping by and have a fabulous day!
Hugs,
Tatiana

21 comments
WOW the way you colored your Tulips is so pretty. The blending and highlights are just wonderful. Tulips are my favorite flower…
Thank you for your step-by-step instructions! I want to try watercoloring, so your guidance will be VERY helpful! Beautiful cards <3
Wonderful designs and coloring!
Oh my gosh girl! You are MAGIC with a white gel pen! Your highlights add so much detail to the images!
Stunning art work – love the backgrounds – coloring and the layout – fabulous TFS
Wow, your tulips were beautifully colored and the precious kittens were so cute. Thanks for sharing your talents.
Lovely tulips card and cute kitties.
Beautiful Cards! Great coloring!
Love how you colored the tulips with the white highlights!
oh this card with cats in the flower is super cute!
Love it!
Tulip card is amazing!
Hi Tatiana. I mentioned it on the Newton Blog already; I love that tulip card. The 3/4ths oval frame is such a cool layout.
These new releases are gorgeous! I have been looking for a tulip set for quite some time, and this one caught my eye right away.
While I am not a cat lover, those kittens are just too cute! Thanks for sharing your talents with us.
Hello Terry! Have you seen that you are a lucky winner of Newton’s Blooms Stamp Set from my blog! Please, visit http://www.newtonsnookblog.com/ to see how to claim your prize!!!
Love your Kraft colored cards & the gorgeous bright colors that you used that really stand out against the neutral backgrounds! Your coloring is so pretty!
Wonderful coloring, framing, ink splattering and more with detailed steps.
Melissa
“Sunshine HoneyBee”
Fab cards and coloring! Love these images! The tulips are so pretty and the kitties are darling!
Love your gorgeous coloring – and your beautifully designed cards.
Loving these adorable new sets.
Beautiful designs and coloring! I love the tulips and the kitties!
oops… didn’t think my first comment posted!
Fantastic card card designs and colouring. I adore the framing of the tulips on your first card.
WOW! Fantastic cards! Spring has sprung!