Hello and welcome!
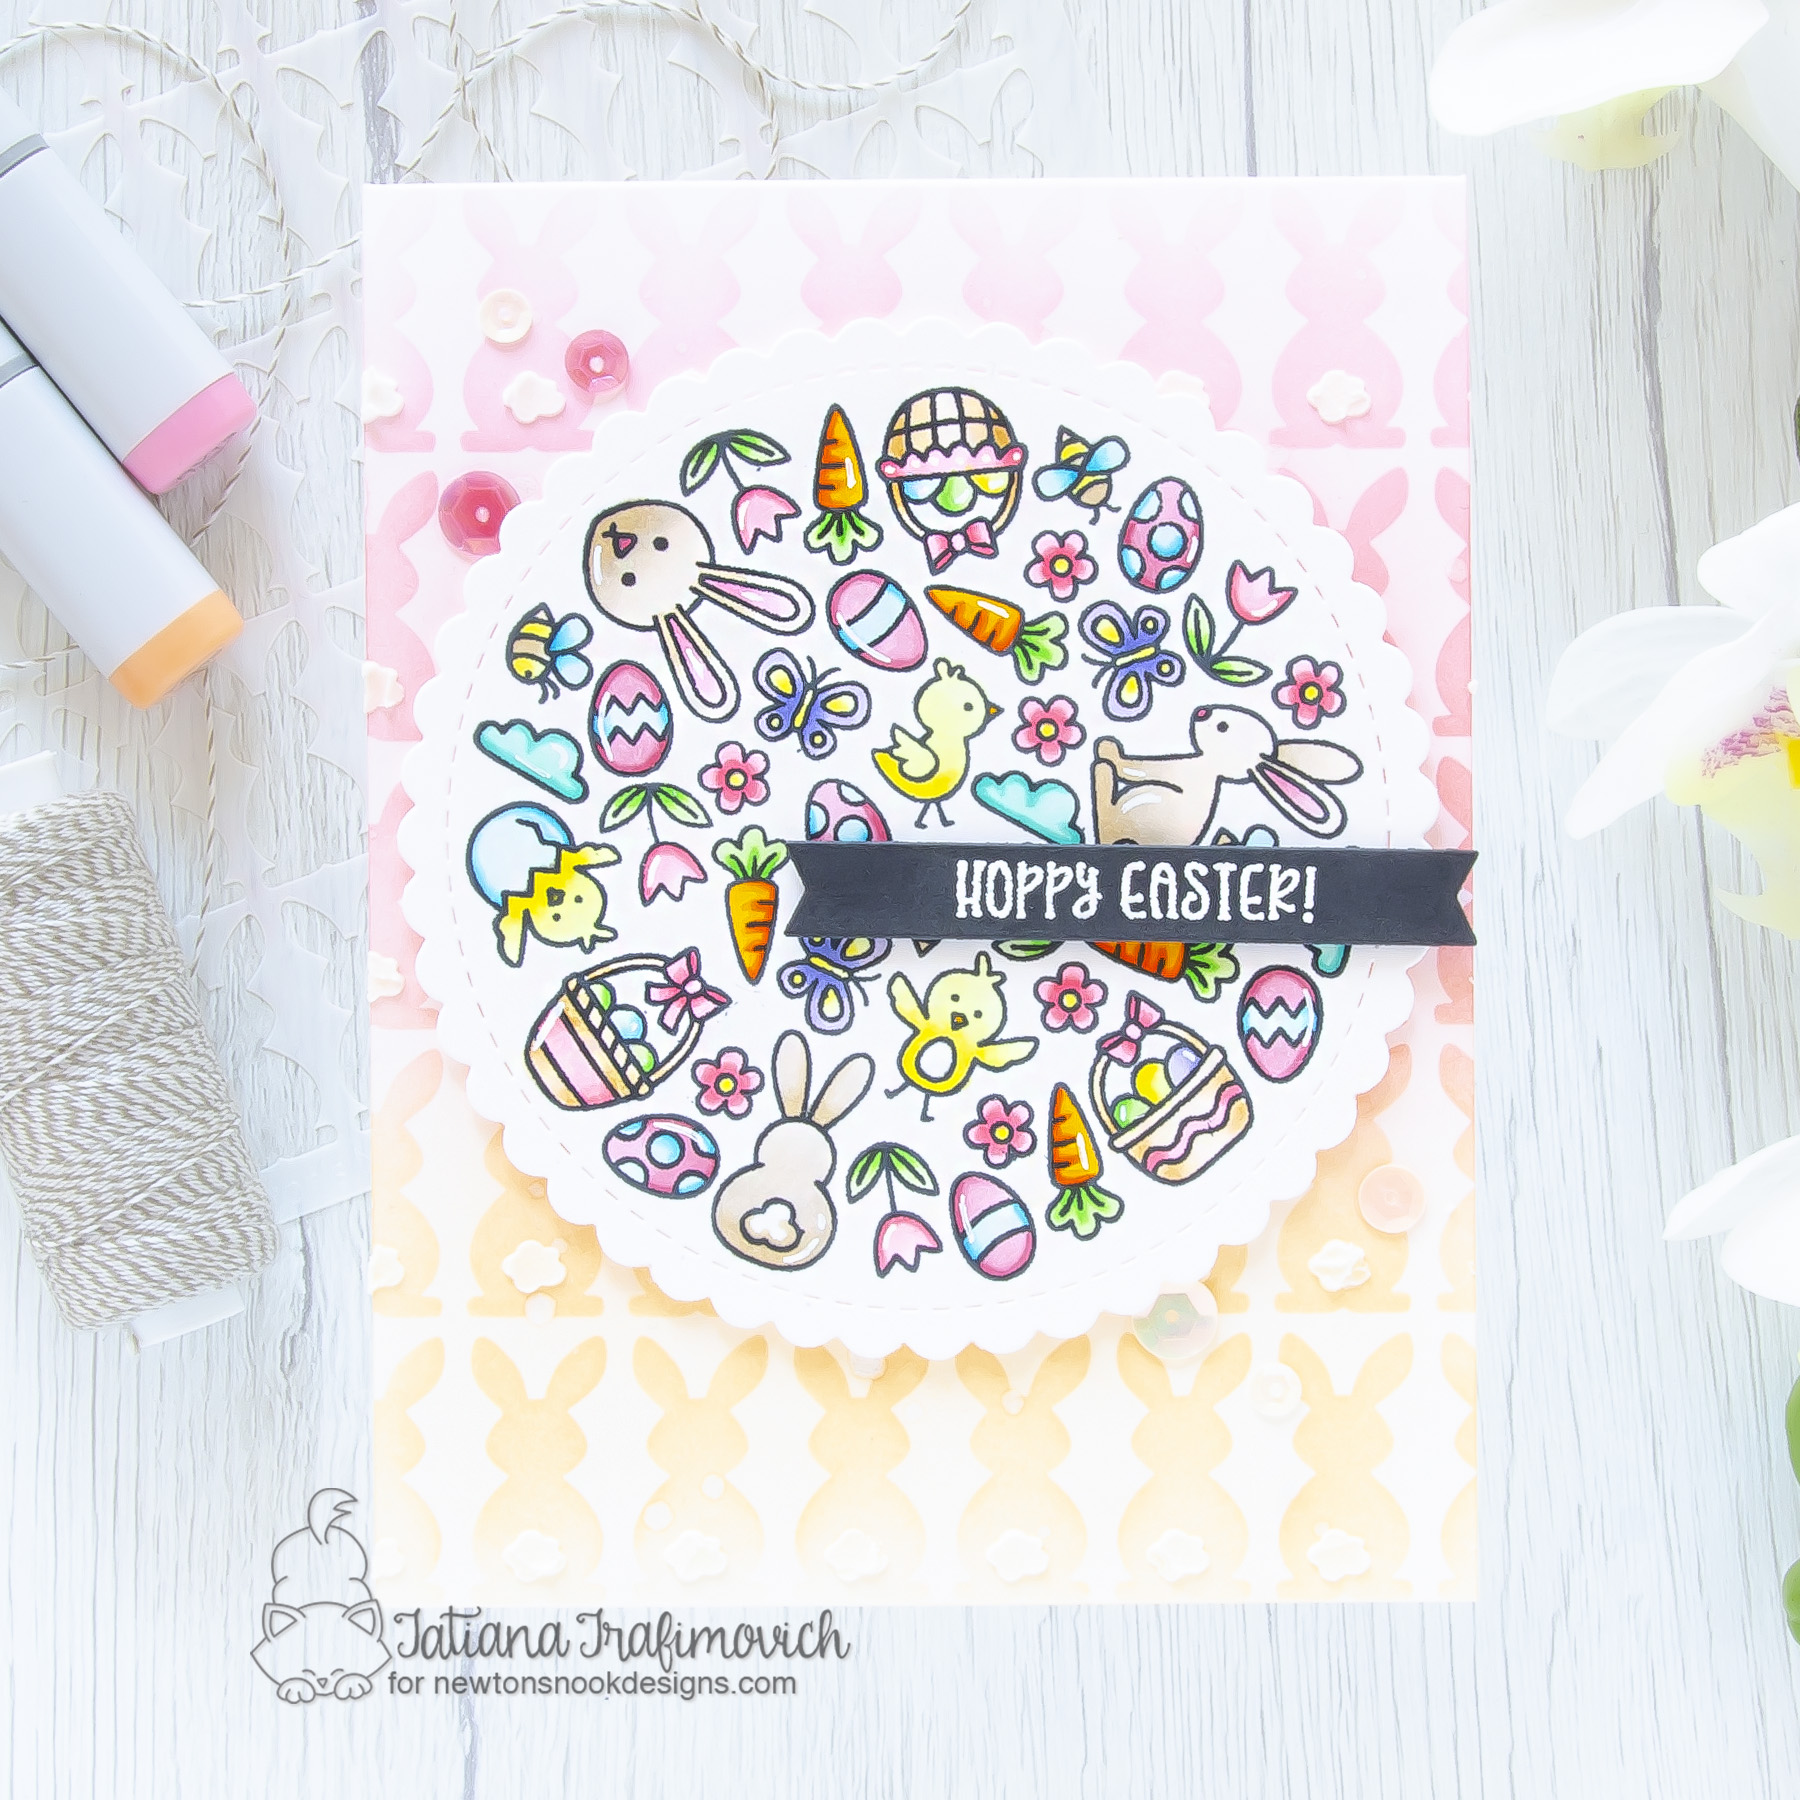
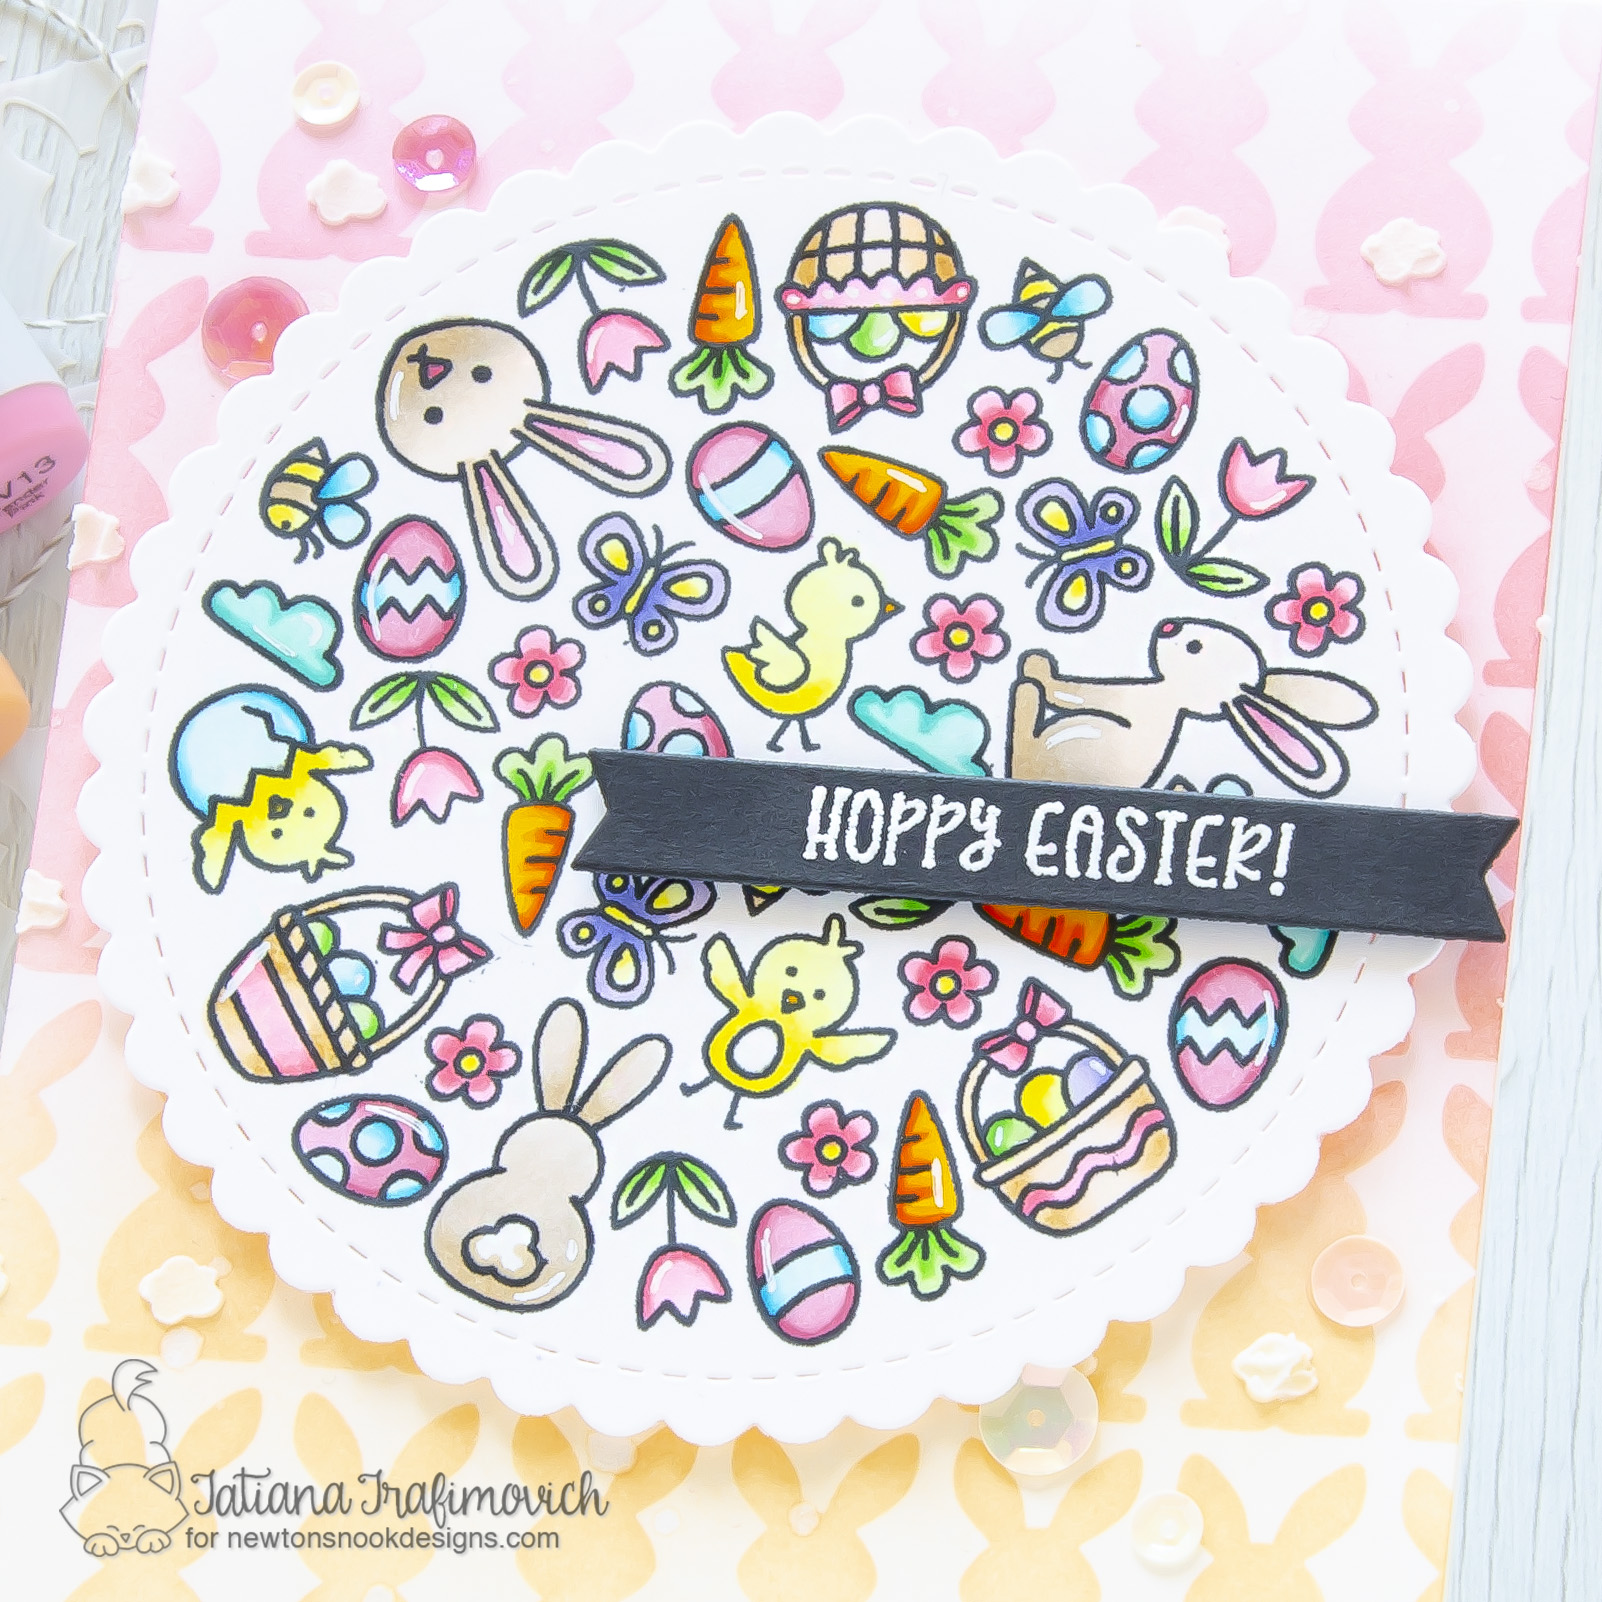
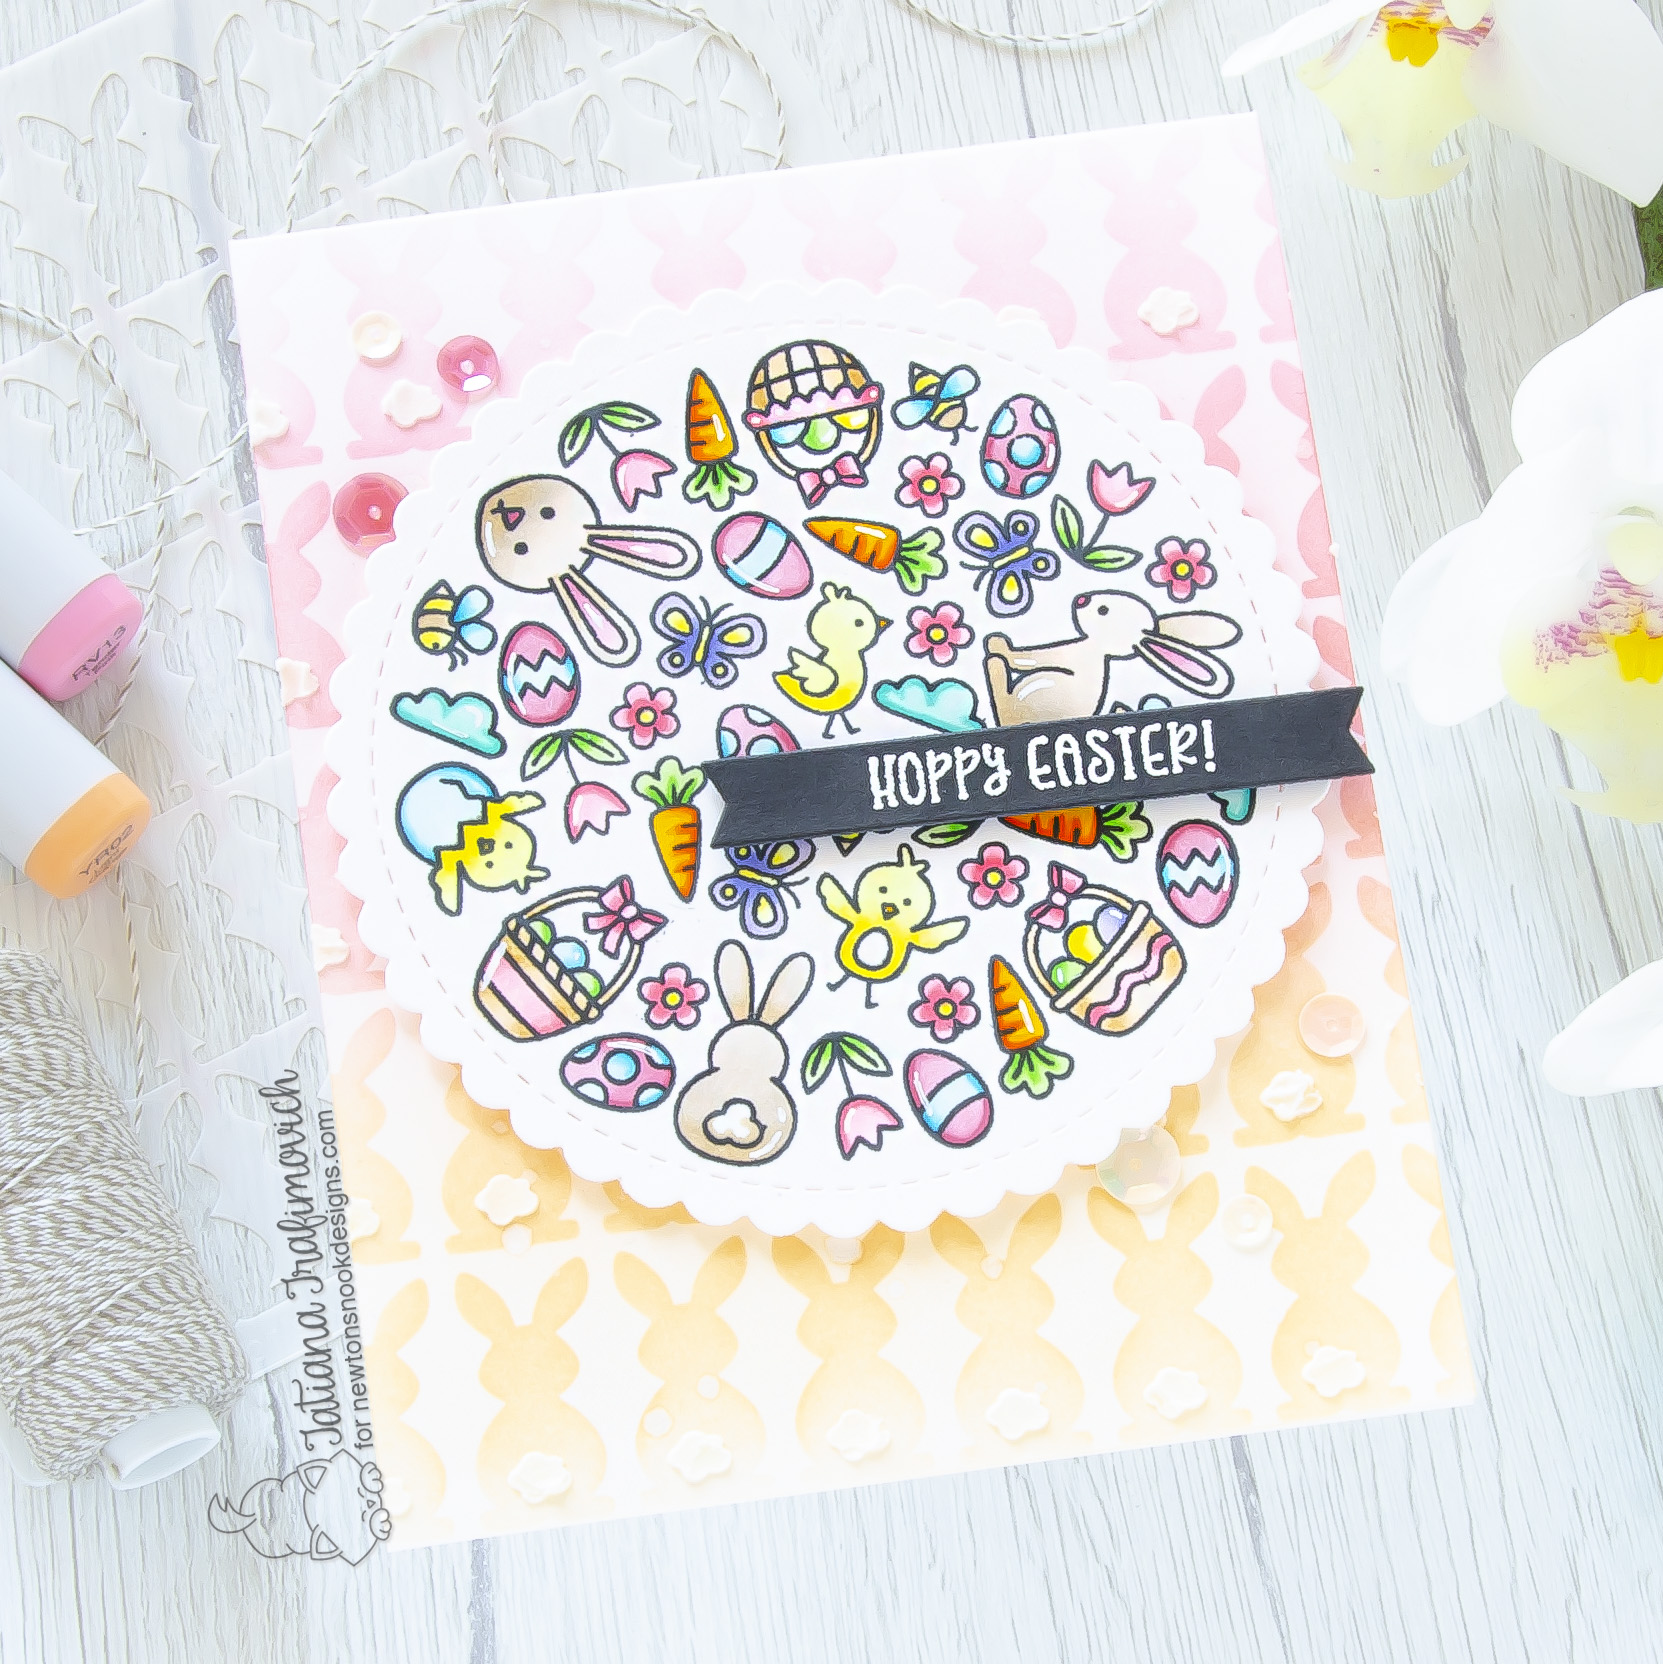
I’m so glad you’ve joined me today and even more excited to be on the Newton’s Nook Designs blog, sharing a sweet and cute Easter card that features wonderful Spring Roundabout Stamp Set! Do you remember me using this amazing spring illustration plus the same stencil before? If not, please, click HERE to see how the same products can be used in very different ways!

Key Ingredients:
- Spring Roundabout Stamp Set
- Hoppy Greetings Stamp Set
- Bunny Tails Stencil Set
- Circle Frames Die Set
- A7 Frames & Banners Die Set

Step By Step Instructions:
- Stamp the big circle illustration from Spring Roundabout Stamp Set with Memento Tuxedo Black ink. If you use a stamping positioning tool, ink and impress the stamp a couple of times to achieve perfect black bold outlines.
- Die cut the stamp with the coordinating scalloped circle die, using Circle Frames Die Set and Sizzix Big Shot Die Cutting machine.
- Color the stamps with COPIC MARKERS. I used on this card:
- yellow Y00-Y13
- pink RV10-RV13 & R81-R83-R85
- orange Y17-YR07
- green G40-YG07
- blue BG0000-BG000-BG02-BG05
- teal BG10-BG13
- purple BV00-BV13
- brown (bunnies) E000-E40-E42
- brown (baskets) E000-E30-E31
- Trim and score an extended A2 size card base (5 1/2″ x 4 1/4″) from Neenah Desert Storm paper.
- Arrange and fix from the back side with a low tack tape the layer #1 from Bunny Tails Stencil Set directly on the card front.
- Ink the stencil with Spun Sugar Distress, Kitsch Flamingo Distress, Abandoned Coral Distress and Dried Marigold Distress inks. Use the blending brushes and a very light hand to achieve a soft, spring pattern.
- Lift up the stencil and add more color to the whole background with the same shades of Distress inks. Keep your hand even lighter this time to achieve a smooth result.
- Splatter the inked background with some tiny droplets of a clear shimmer spray to add more interest.
- Align the layer #2 from Bunny Tails Stencil Set using the guide lines on the stencil, fix it with a low tack tape and add the tails, using a white embossing paste and a palette knife. Don’t forget to clean immediately the stencil with warm water and a liquid soap.
- Die cut from a black cardstock a fish-tailed banner from A7 Frames & Banners Die Set.
- Heat emboss in white the sentiment from Hoppy Greetings Stamp Set with VersaMark Clear Embossing Ink. Don’t forget to prep the cardstock with a Powder Tool Applicator to prevent the embossing powder to stick where you don’t want it!
- Arrange and glue in place all the elements on the card front, by popping them on a foam tape for a bit of dimension.
- Finish with a couple of matching sequins adhered with Distress Collage Medium Matte and some highlights added with a white gel pen.

That’s all for today! Hope you like sweet and bright no-line watercolor scene! Thanks so much for stopping by and have a fabulous day!
Hugs,
Tatiana
