Hello and welcome!
I’m so happy you’ve joined me! This week Newton’s Nook Designs and Therm O Web are partnering for a fabulous inspiration week! All week long both design teams are sharing ways to use Therm O Web products with Newton’s Nook Designs stamps! There are prizes too! Read all the way to the end of this post to find out how you can win! There are prizes too! Read all the way to the end of this post to find out how you can win!


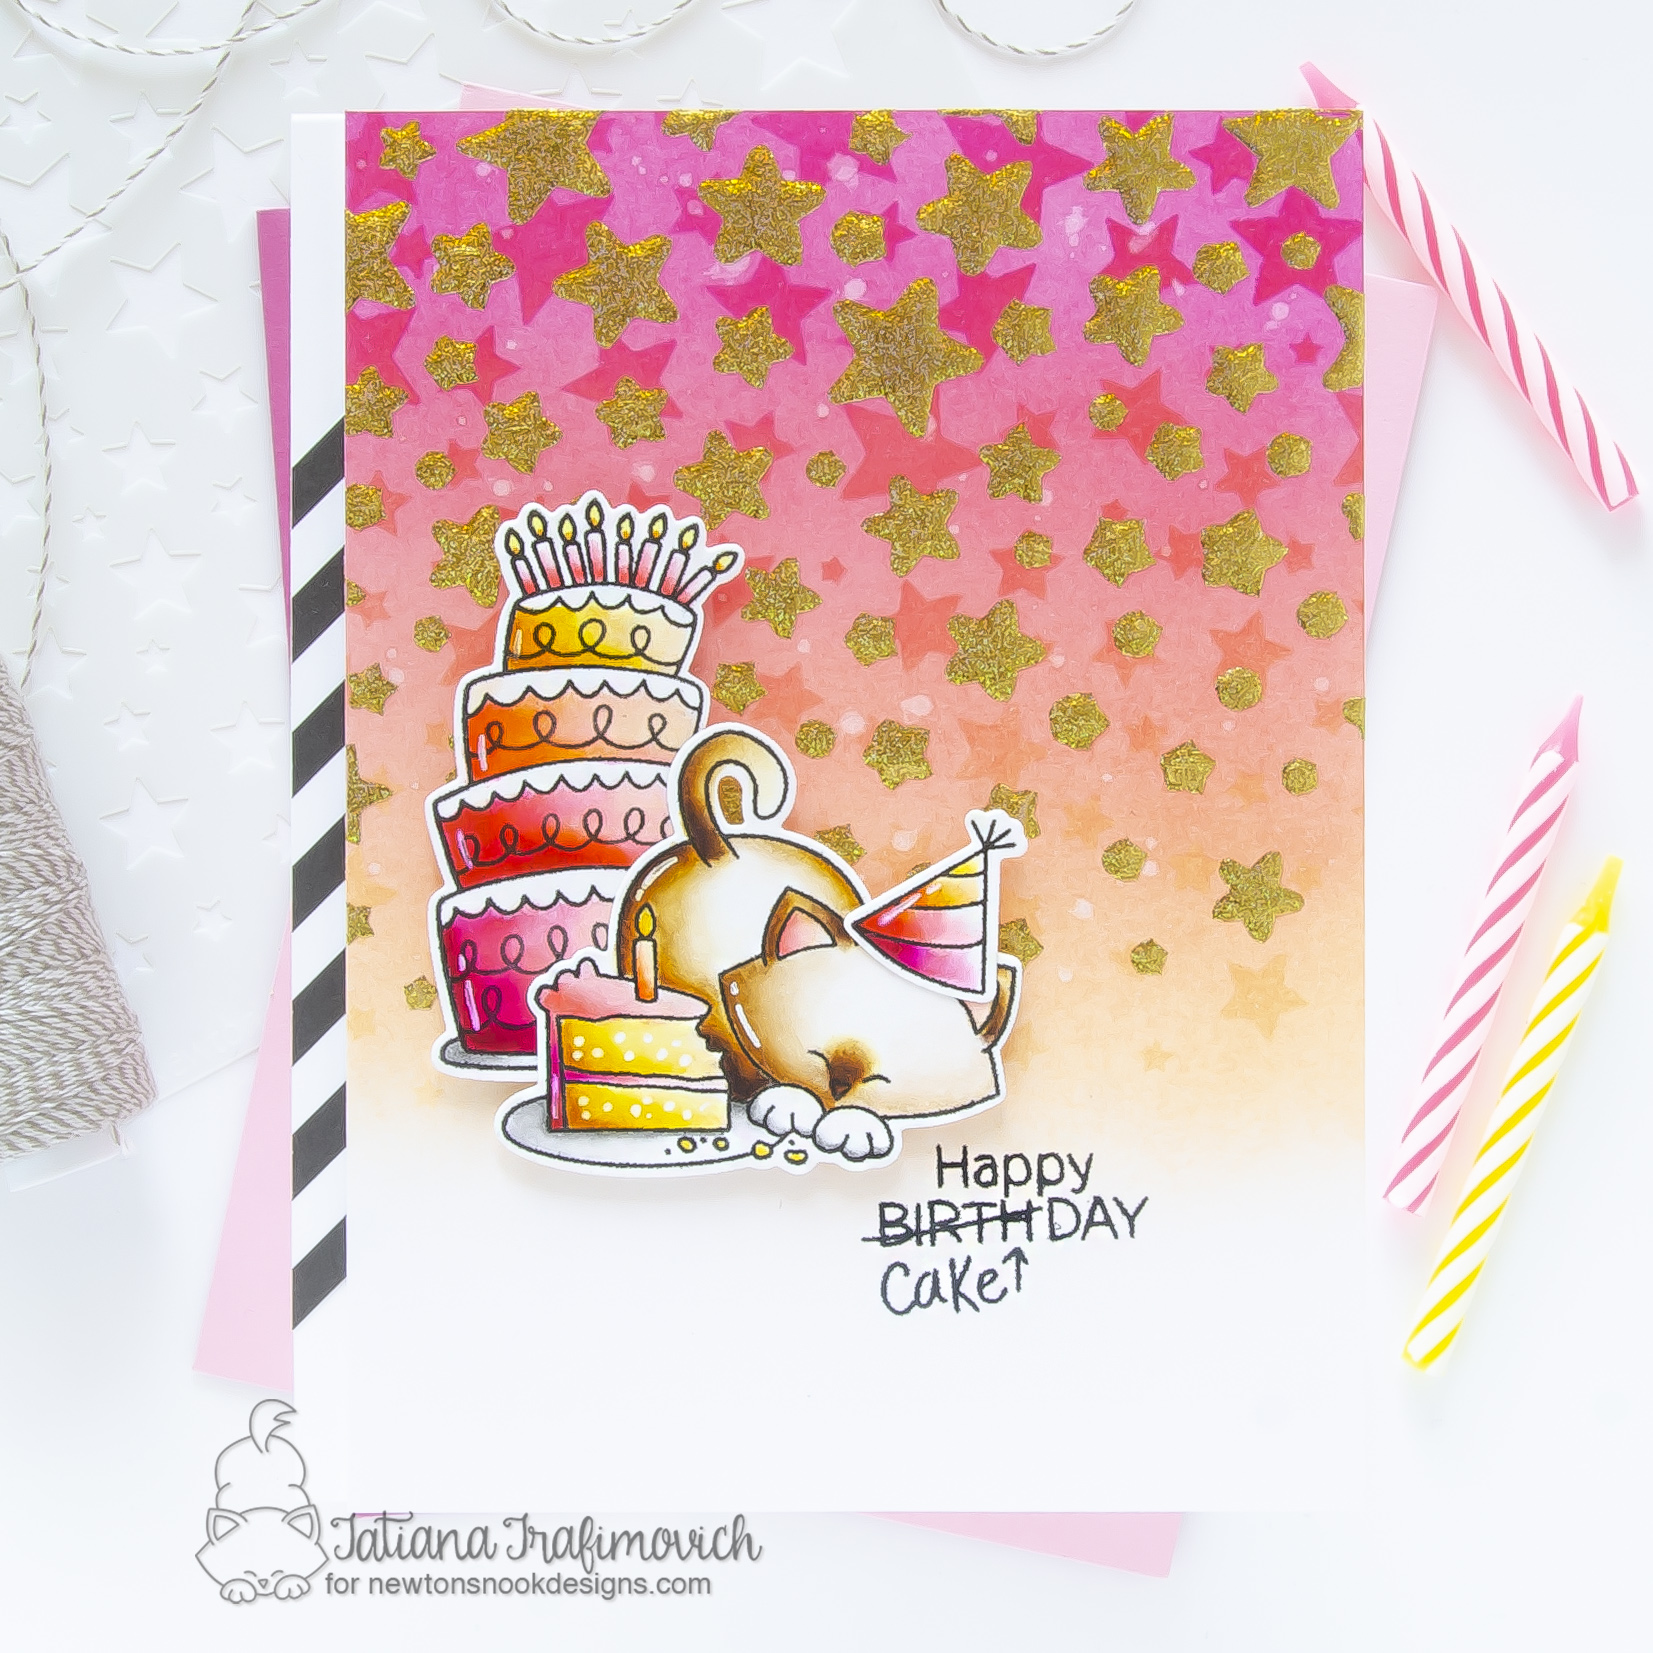
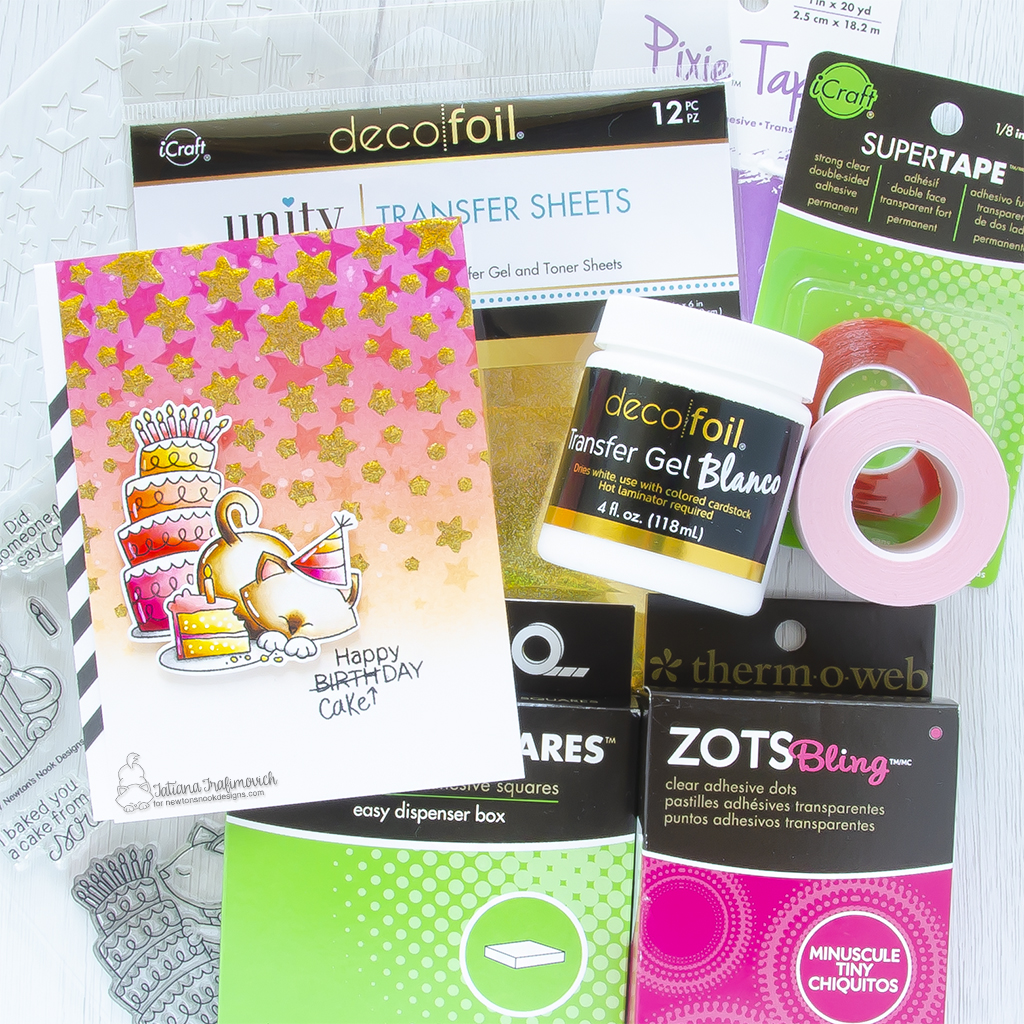
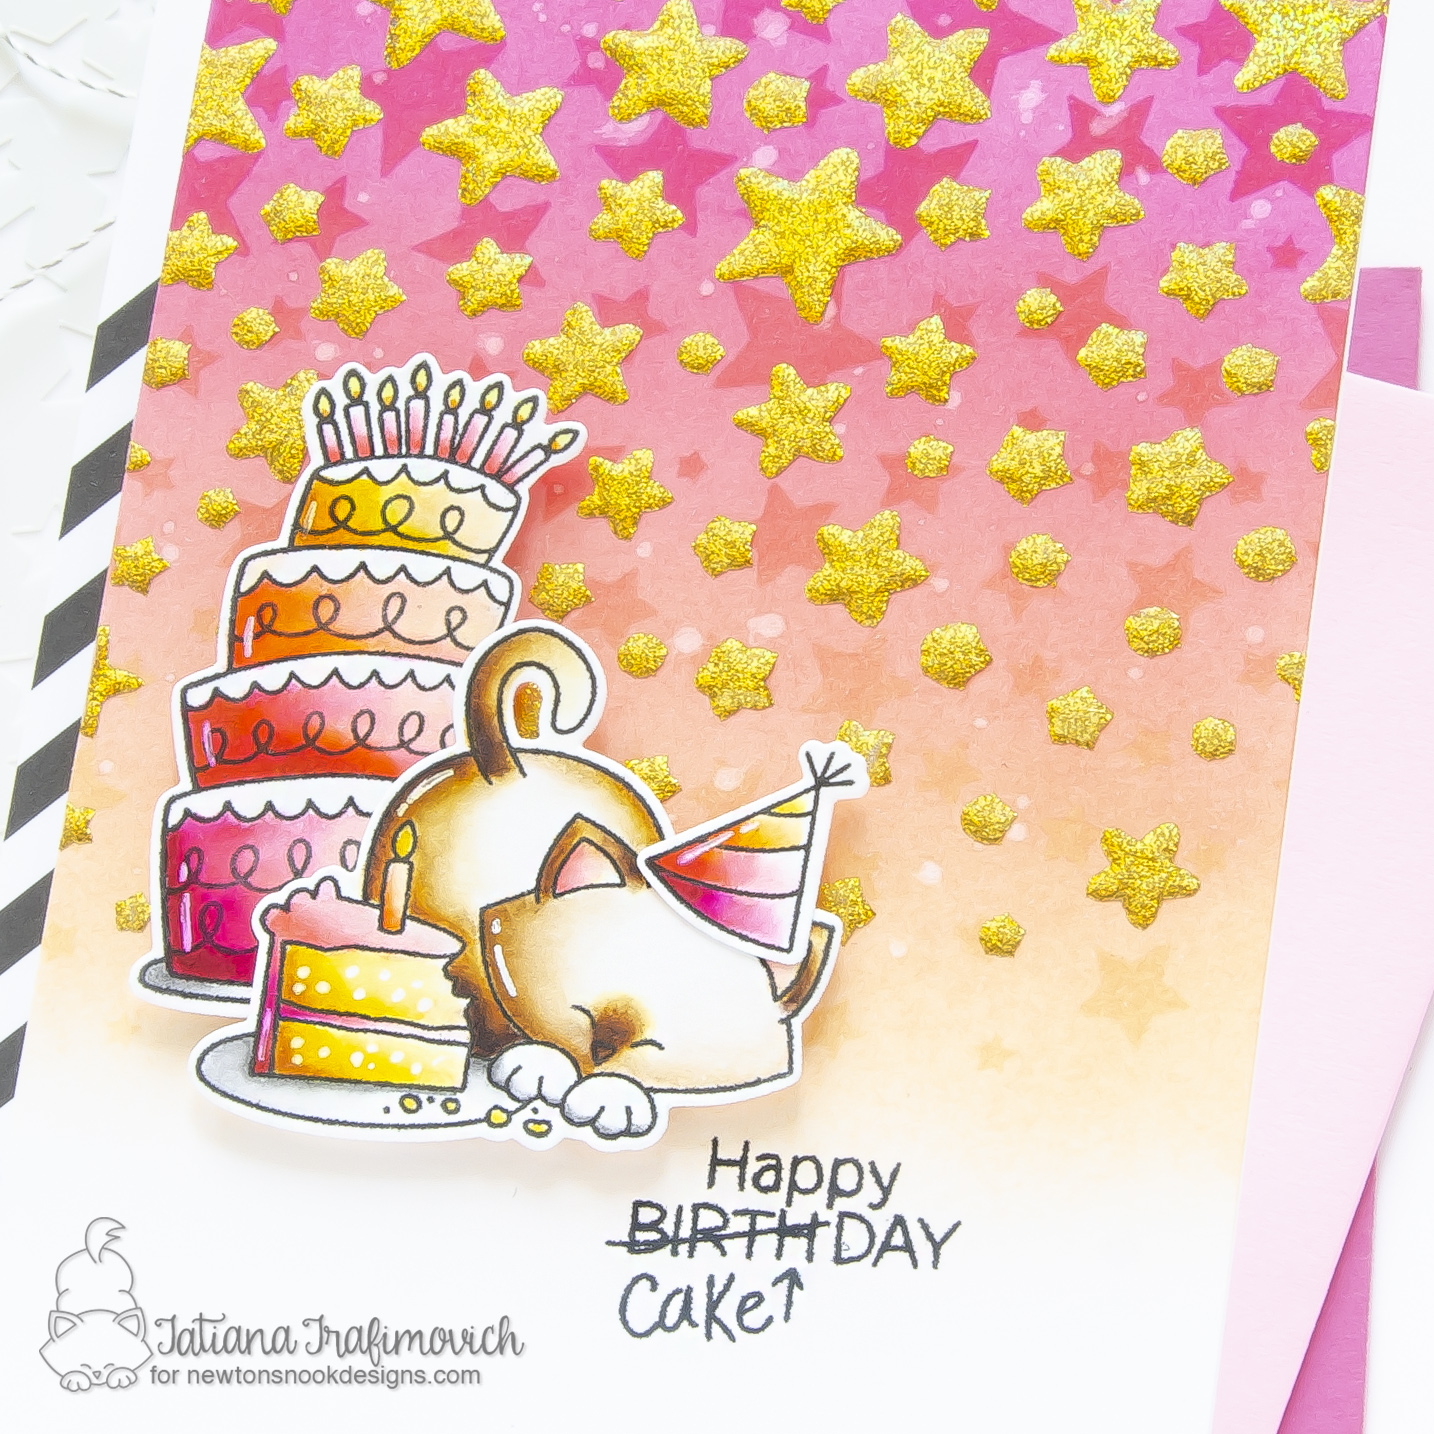
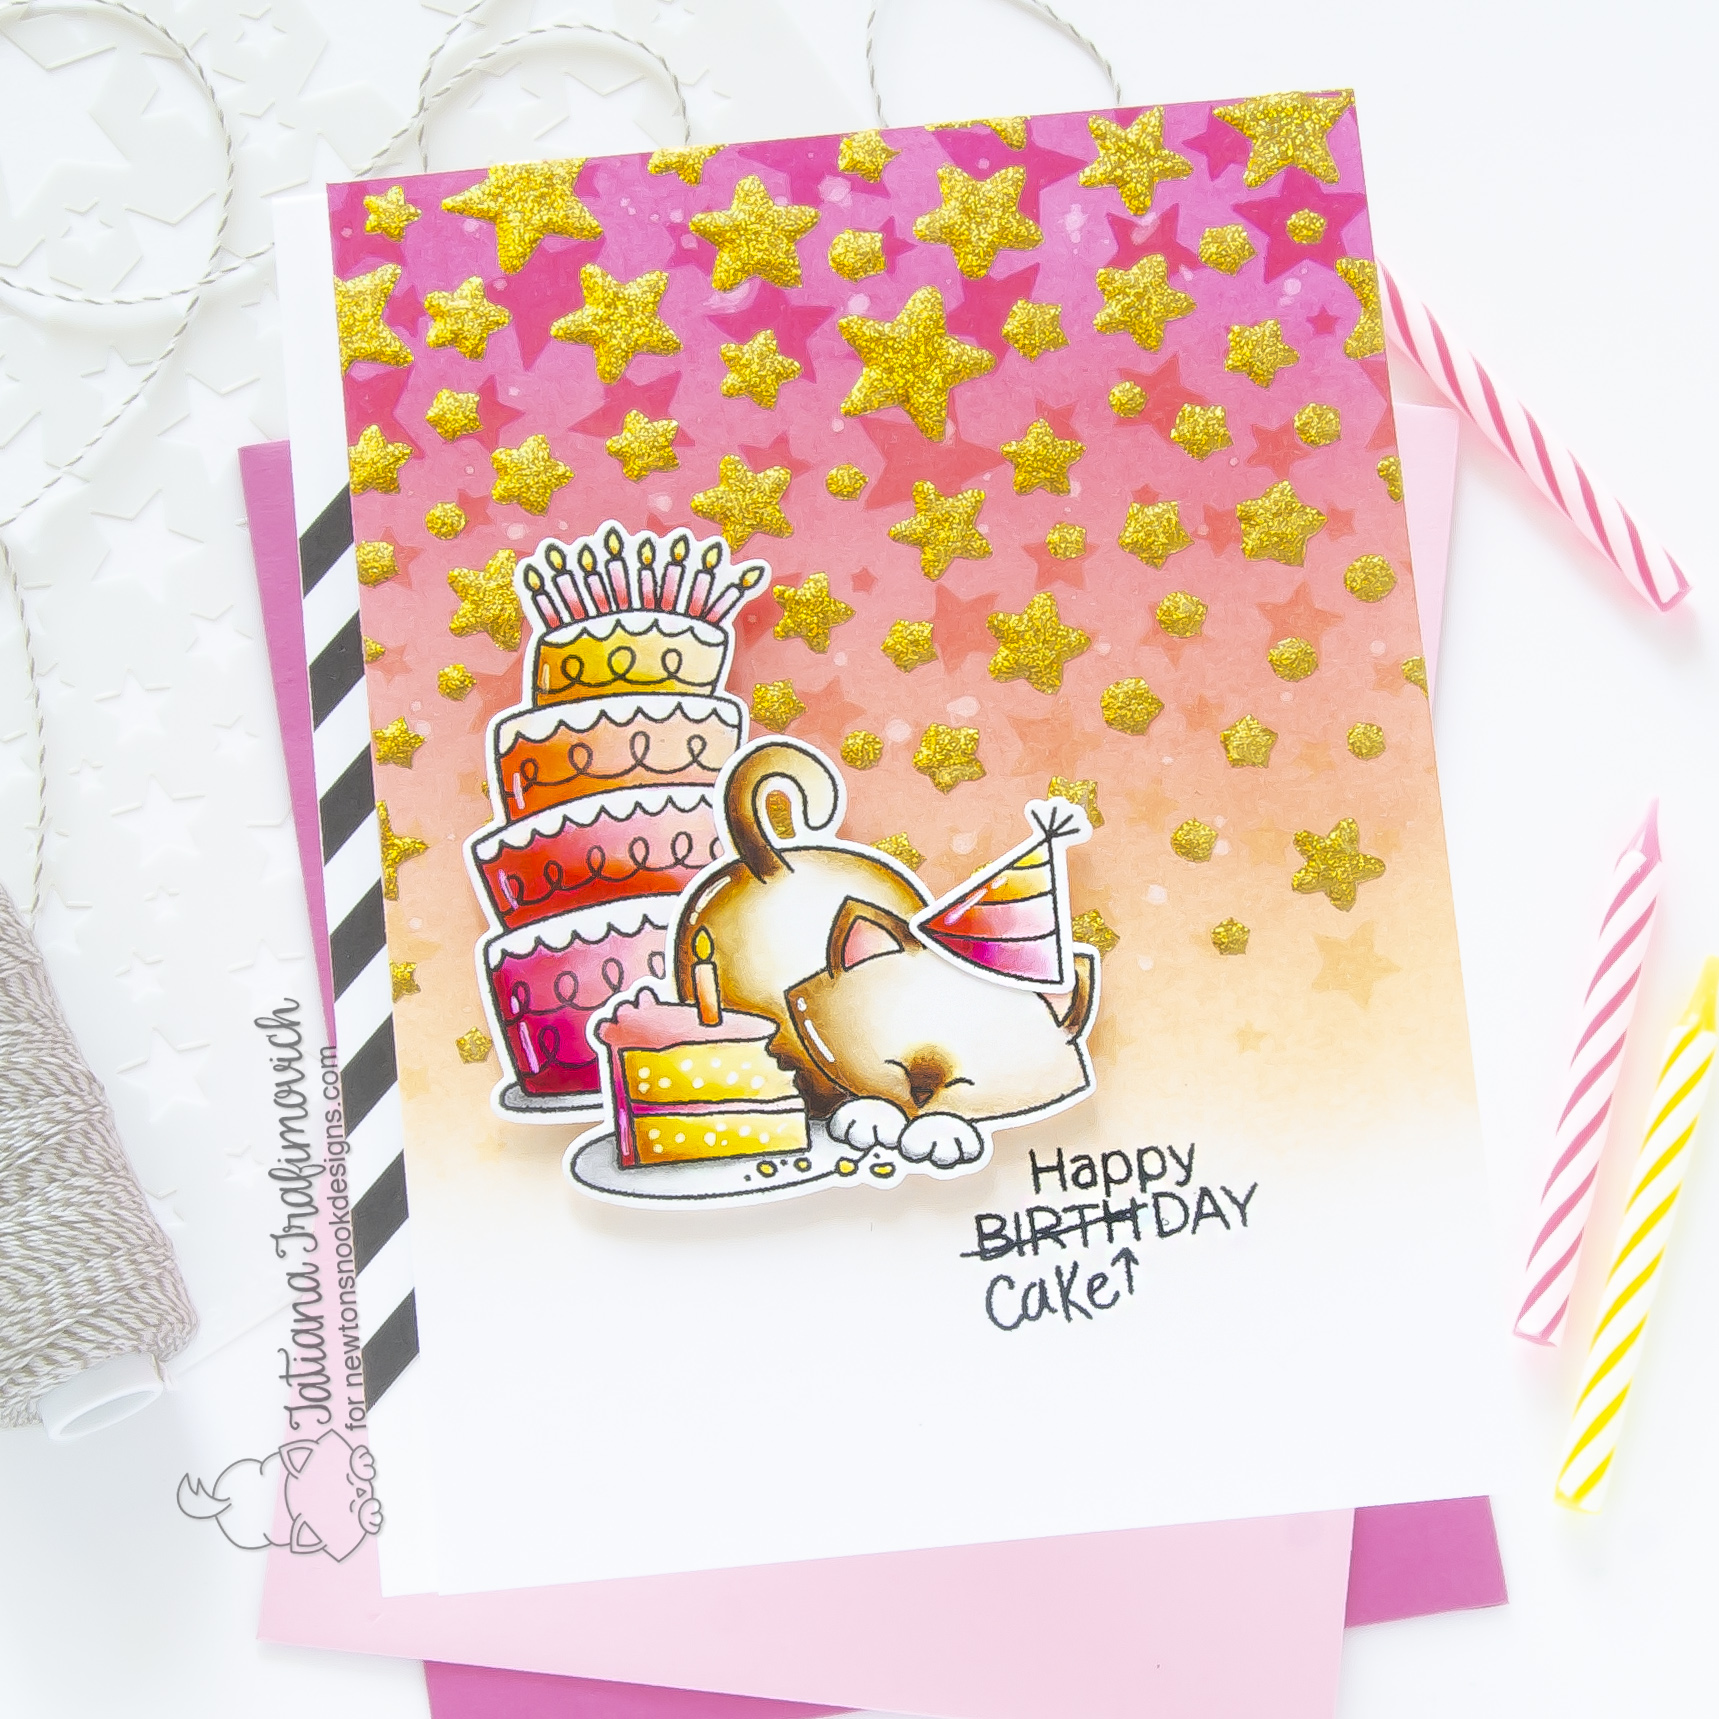
Today I came up with a fun birthday card featuring my favorite products from both companies! To start, I combined two different illustrations from super cute Newton Loves Cake Stamp Set by partially cutting apart the cake stamp since I wanted to place it behind the kitty. Then I added a bit of sparkling and shine to my inked background, hot foiling the stars with absolutely gorgeous Gold Glitter Transfer Sheet. And finally I just cannot skip a bit of dimension by popping all the elements on 3D Adhesive Foam Squares.
DISCLOSURE. I’m currently on various Design Teams. I only join a team because I love their products and genuinely use them. All opinions are my own. I do not accept offers of direct payment for dedicated blog posts to promote products. I am part of various affiliate programs and link some supplies with compensated affiliate links when used where possible at no cost to you. When you click on an affiliate link and then go on to make a purchase, I receive a small commission. I use the money raised towards the cost of running this blog. I hope if you like the content of my blog you will support me by clicking through these links to make your purchases. Thank you!

Key Ingredients:
- FROM NEWTON’S NOOK DESIGNS
- FROM THERM O WEB
- 3D Adhesive Foam Squares – Dispenser Box – White (available at thermoweb.com and Scrapbook.com)
- Transfer Gel – Blanco (available at thermoweb.com and Scrapbook.com)
- 6 x 6 Transfer Sheet – Gold Glitter (available at thermoweb.com and Scrapbook.com)
- Pixie Tape (available at thermoweb.com and Scrapbook.com)

Step By Step Instructions:
- Die cut from Strathmore Bristol paper all the elements you need, using the coordinating Newton Loves Cake Die Set and Sizzix Big Shot Die Cutting machine. Save the negative parts of the dies.
- Stamp the outline illustrations from Newton Loves Cake Stamp Set with VersaFine Onyx Black pigment ink, using the negative parts of the dies as a guide for a perfect alignment inside the stamping positioning tool.
- Cut off the kitty from the kitty with cake illustration the sharp small scissors and keep only the cake part.
- Color the stamps with water based markers. I used on this card ZIG CLEAN COLOUR REAL BRUSH MARKERS:
- n.21 Light Carmine
- n.22 Carmine Red
- n.23 Scarlet Red
- n.26 Light Pink
- n.27 Dark Pink
- n.28 Pale Pink
- n.29 Geranium Red
- n.50 Yellow
- n.51 Lemon Yellow
- n.52 Bright Yellow
- n.61 Light Brown
- n.62 Dark Brown
- n.64 Oatmeal
- n.71 Flesh Colour
- n.72 Beige
- n. 94 Gray Brown
- Trim and score an extended A2 size card base (5 1/2″ x 4 1/4″) from Neenah Solar White paper.
- Trim a slightly narrower rectangle from the same Neenah Solar White paper and ink with Picked Raspberry Distress, Abandoned Coral Distress and Dried Marigold Distress. Use the blending brushes for a smooth and soft result.
- Splatter the inked background with some tiny droplets of a clear shimmer spray to add more interest.
- Secure the Cascading Stars Stencil with Pixie Tape on the inked background and spread Transfer Gel – Blanco on the inked part, helping yourself with a palette knife. Let the transfer gel air dry. Don’t forget to clean immediately the stencil with warm water and some liquid soap.
- Hot foil the stars with Gold Glitter Transfer Sheet:
- Cut a piece of Gold Glitter Transfer Sheet slightly larger than your background.
- Place the foil, color side up, on top of the star pattern.
- Place both layers (background and foil transfer sheet) inside the folded parchment paper.
- Send the “sandwich” through a hot laminator, using the crease of the folded parchment as the lead edge.
- Let the paper cool for a few seconds and then peel off the foil transfer sheet.
- DON’T FORGET TO PREHEAT YOUR LAMINATOR FOR ABOUT 20 MIN!!!
- Stamp the sentiment from Newton Loves Cake Stamp Set with Memento Tuxedo Black ink.
- Trim a piece of black & white striped pattern paper.
- Arrange on the card front and pop on 3D Adhesive Foam Squares all the elements to add a bit of dimension.
- Finish with some highlights added with a white gel pen.

There are more amazing projects today over on the Therm O Web blog so pop over there for more inspiration!
And now it’s time for prizes! Would you like to win a $40 store credit to Therm O Web or to Newton’s Nook Designs? Visit the Newton’s Nook Designs blog and the Therm O Web Blog for a chance to win! Both companies will be giving away a prize this week!
That’s all for today! Hope you like this cute birthday card with a shiny glittery background card! Thanks so much for stopping by and have a fabulous day!
Hugs,
Tatiana
