Hello and welcome!
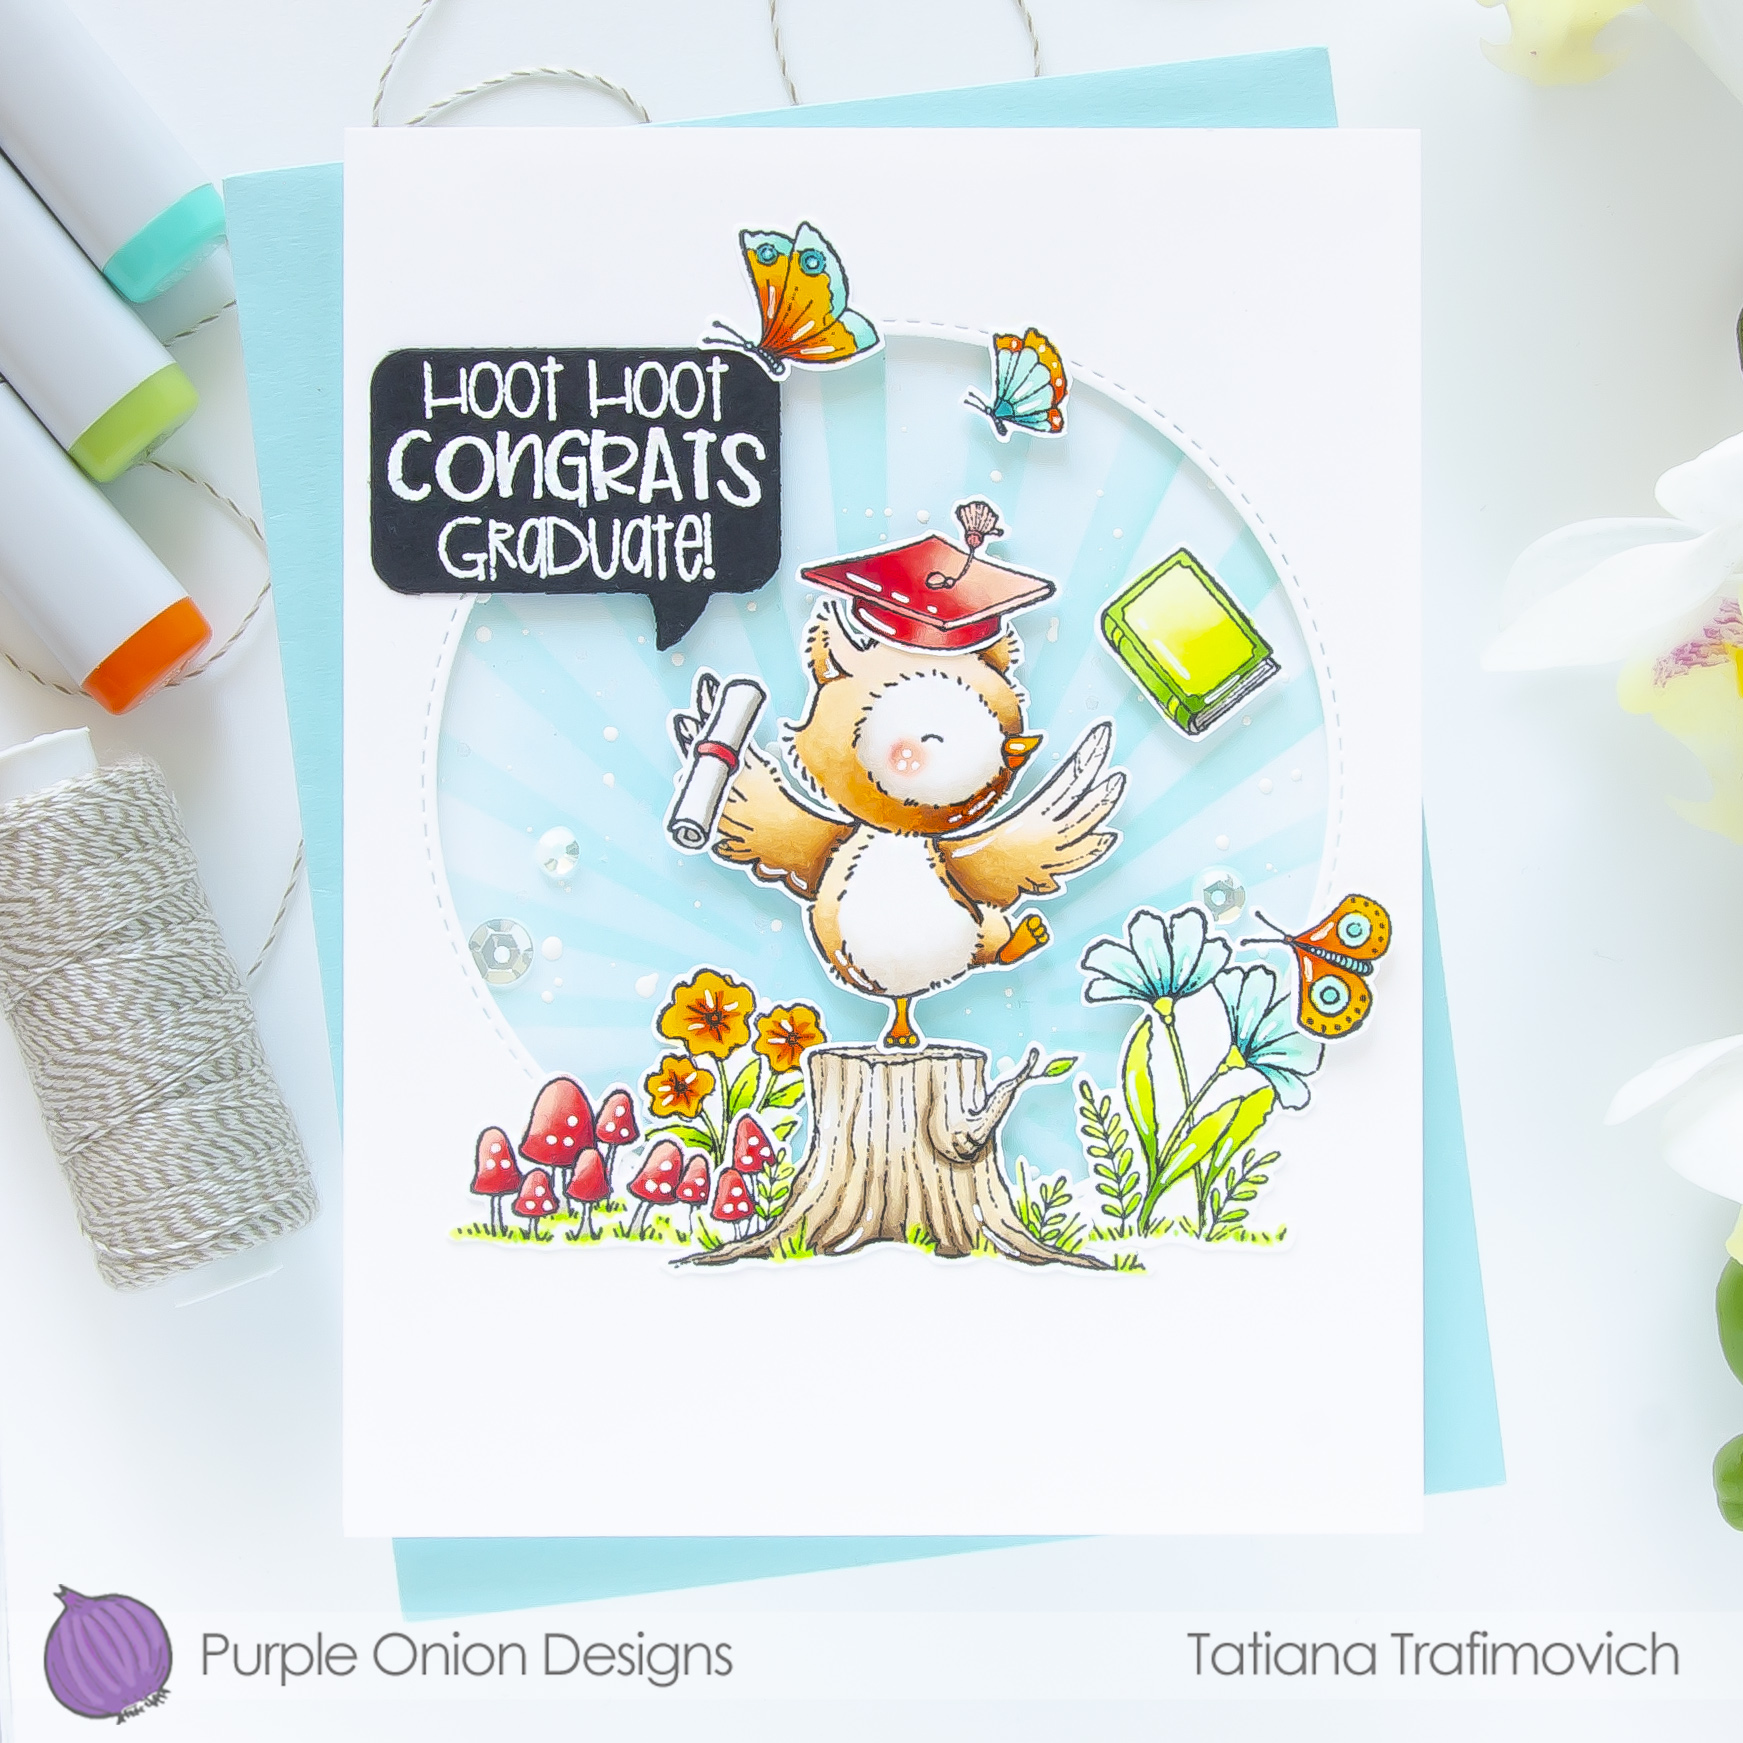
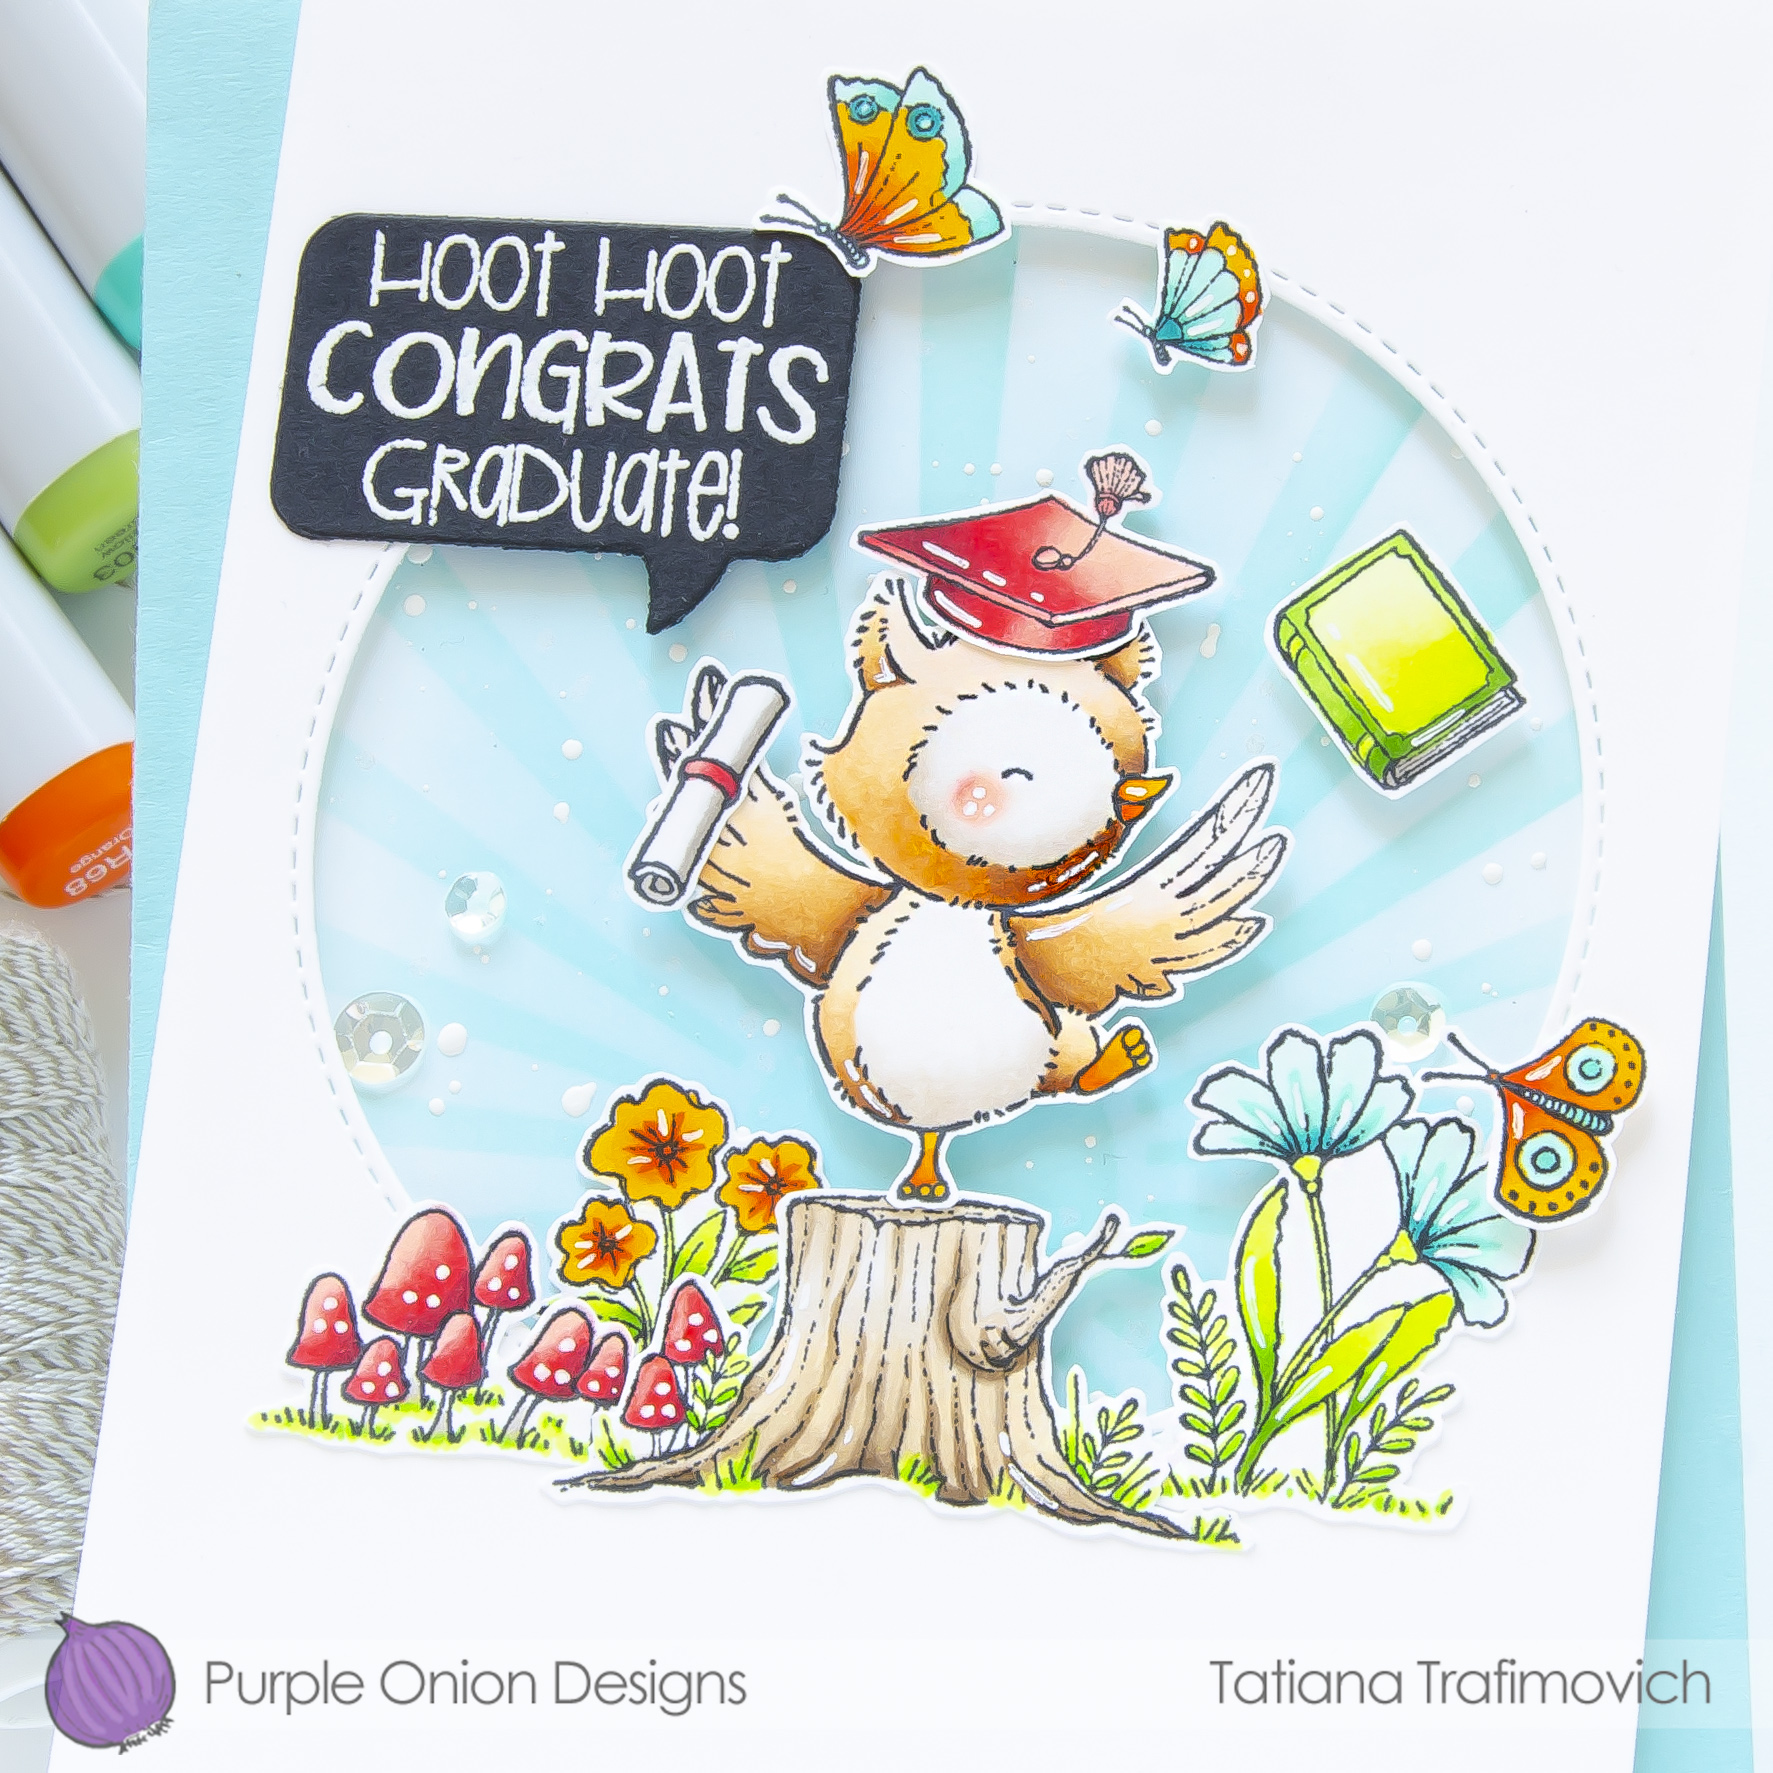
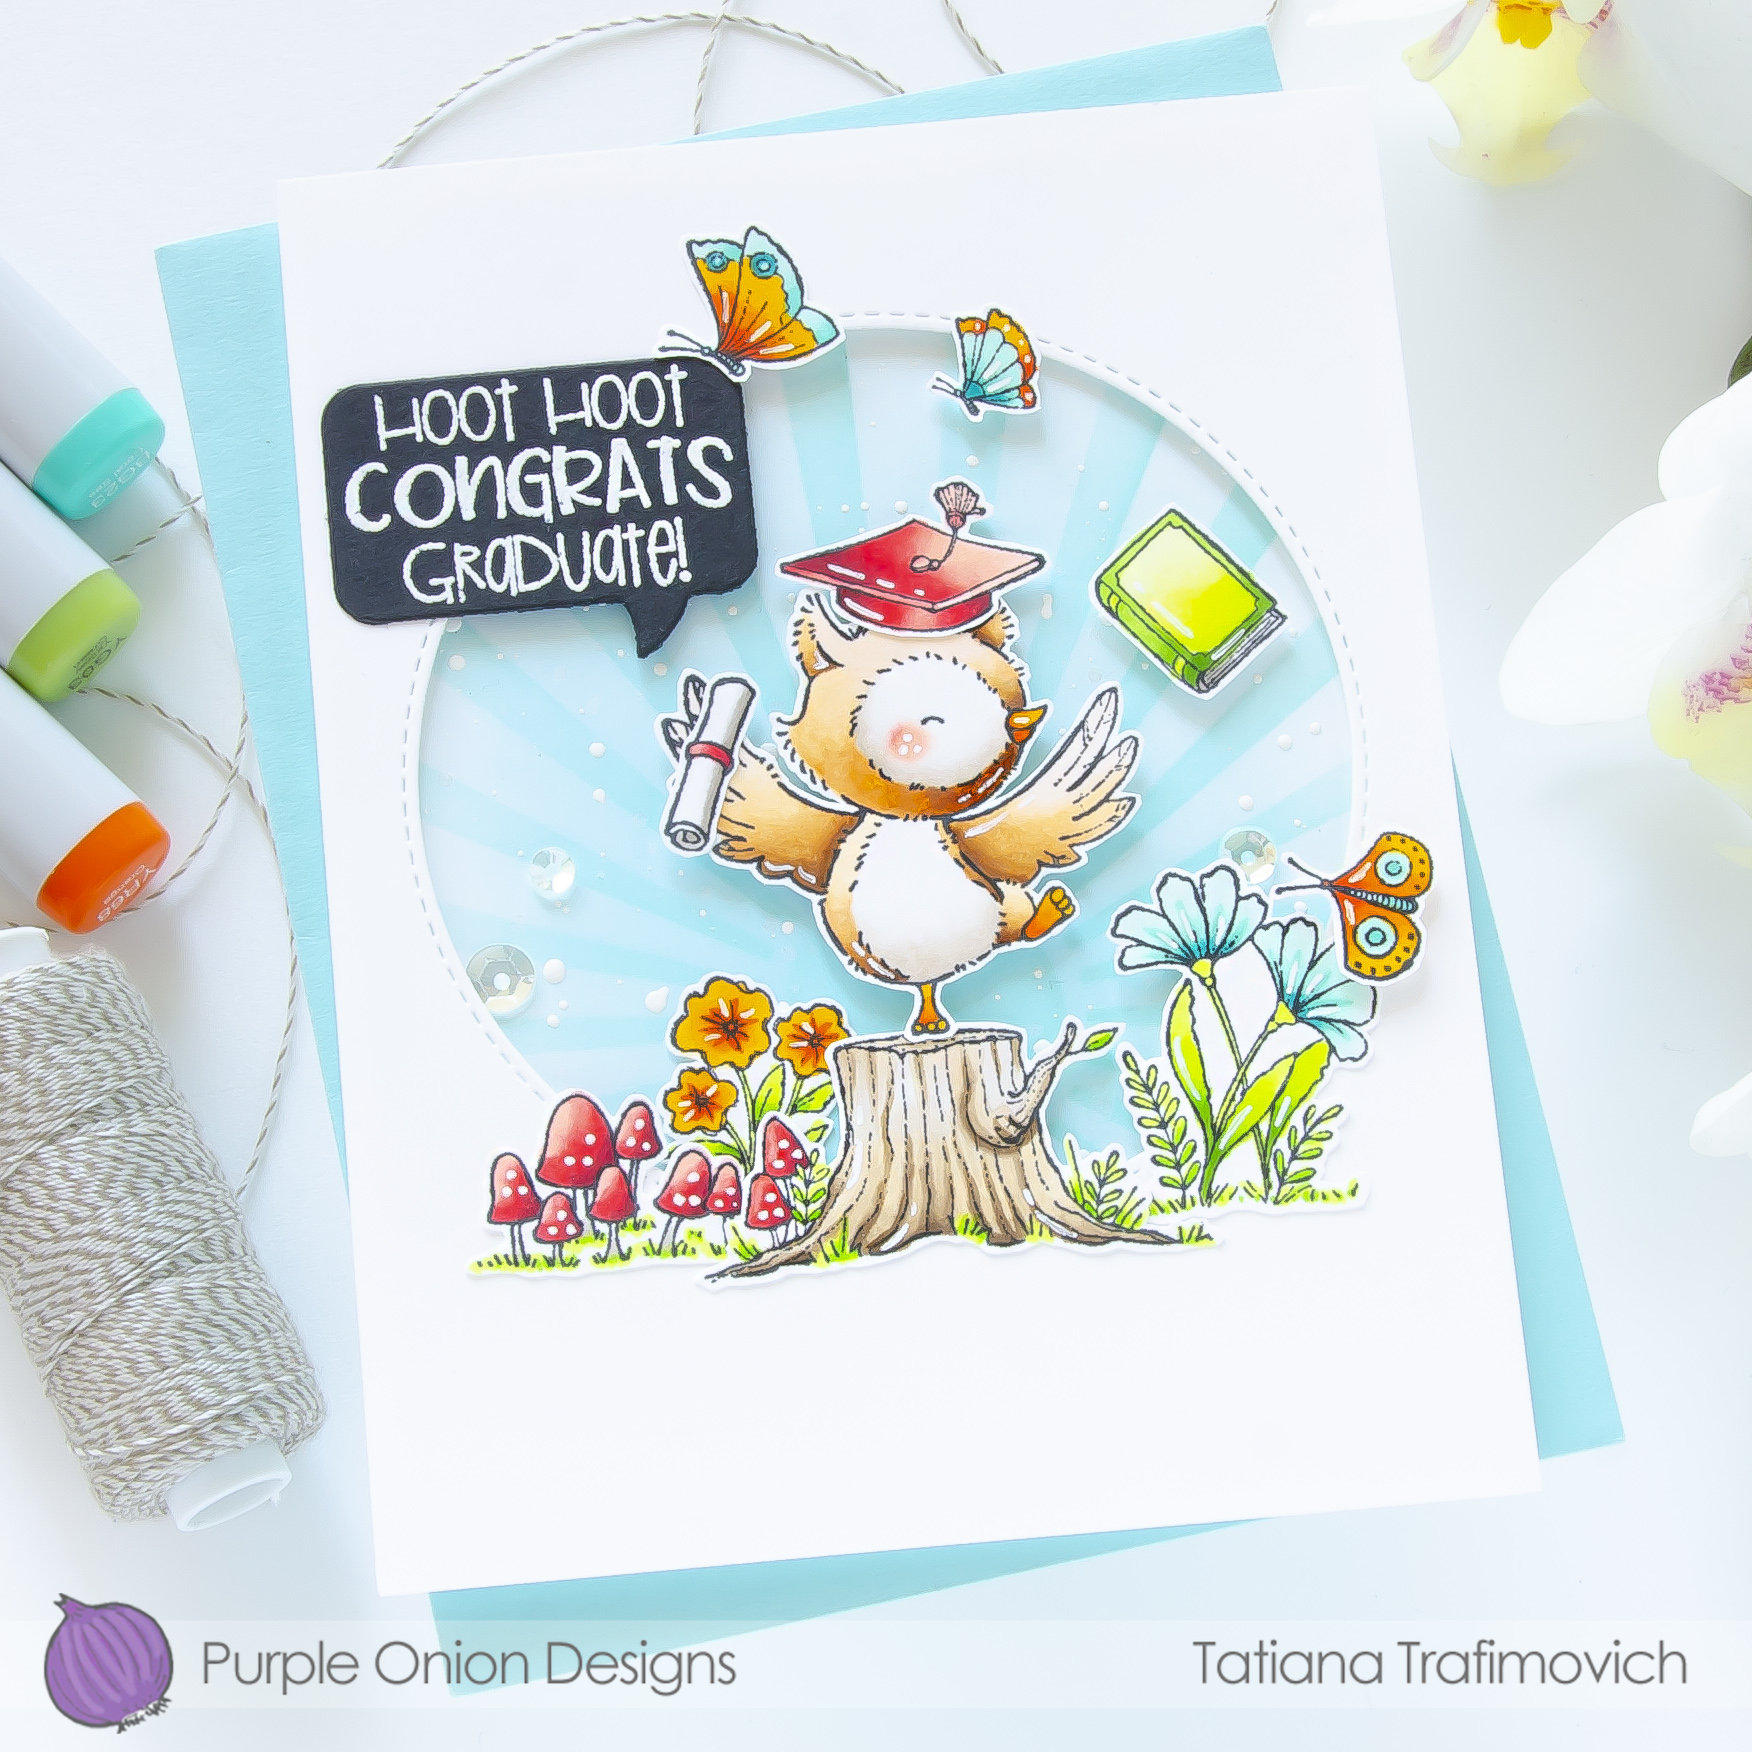
Thank so much for joining me today! I keep sharing more inspiration featuring the new absolutely gorgeous “A Special Day” Collection of rubber stamps from Purple Onion Designs released in celebration of Stacey Yacula’s 10th year illustrating stamps for the company!

SALE ALLERT! For a limited time, the complete collection will be offered as a bundle with a 30% discount and will sell for $130.00. The “A Special Day” bundle consists of all 28 stamps/stamp sets & the coordinating “Let’s Celebrate” sentiment set.
In celebration of Stacey’s 10th year illustrating stamps for Purple Onion Designs, the entire “A Special Day” collection will be 10% off when purchased individually. The bundle will not receive the additional 10% off since it is already discounted 30%.
The special bundle price and the 10% birthday discount end on Wednesday, June 8, 2022.

Key Ingredients:
- PURPLE ONION DESIGNS STAMPS:
- OTHER CRAFT SUPPLIES:
- Newton’s Nook Designs Speech Bubbles Die Set
- Heffy Doodle Stitched Circles Dies (available at Heffy Doodle and Scapbook.com)
- Heffy Doodle Simple Sunburst Stencil (available at Heffy Doodle and Scrapbook.com)
Step By Step Instructions:
- Stamp on Neenah Solar White paper all the elements you need from Owen (Owl Graduate), Woodland Floor and Flora & Fauna sets with Memento Tuxedo Black ink.
Designer’s Tip:
Since rubber stamps from Purple Onion Designs come unmounted, you will need a temporary mounting solution to work with. A Clear Mounting Stamp is one of the options. You can apply this clear stamp on an acrylic block or acrylic stamping platform to hold your unmounted stamps in place while stamping. Remove and store it when finished until next time. The clear stamp can be cleaned with water and a little liquid soap.
- Fussy cut all the stamps with the sharp small scissors, leaving a little white edge around.
- Color all the elements with COPIC MARKERS. I used:
- owl E0000-E50-E51-E53-E55-E57 & W00-W3
- tree stump E40-E41-E42-E43-E44
- orange Y17-YR04-YR09
- red R30-R32-R35-R39
- green YG0000-YG00-YG01-YG03-YG05-YG17
- teal BG10-BG11-BG23-BG49
- Trim and score an extended A2 size card base (5 1/2″ x 4 1/4″) from Neenah Solar White paper.
- Secure Heffy Doodle Simple Sunburst Stencil with a low tack tape in the center of the card front and ink it with Salvaged Patina Distress Oxide ink, using the blending brush.
- Lift up the stencil and keep blending the whole card front with Tumbled Glass Distress Oxide ink, using again the blending brush to achieve a smooth result.
- Splatter the inked background, using a regular water brush and a white gouache diluted with a small amount of water.
- Trim a 5 1/2″ x 4 1/4″ panel from Neenah Solar White paper and die cut a stitched circle in the center, using Stitched Circles Dies and Sizzix Big Shot Die Cutting machine.
- Die cut a speech bubble from a black cardstock, using Speech Bubbles Die Set and and Sizzix Big Shot Die Cutting machine.
- Heat emboss in white onto black the sentiment from Let’s Celebrate Sentiment Set onto the banner with VersaMark Clear Embossing Ink. Don’t forget to prep the paper with a Powder Tool Applicator to prevent the embossing powder to stick where you don’t want it!
- Assemble all the elements together, using a foam tape for a fun dimensional look.
- Finish with a few highlights added with a white gel pen and a couple of clear sparkling sequins adhered with Distress Collage Medium Matte.

That’s all for today! Hope you like this cute card! Thanks so much for stopping by and have a fabulous day!
Hugs,
Tatiana
