Hello and welcome!
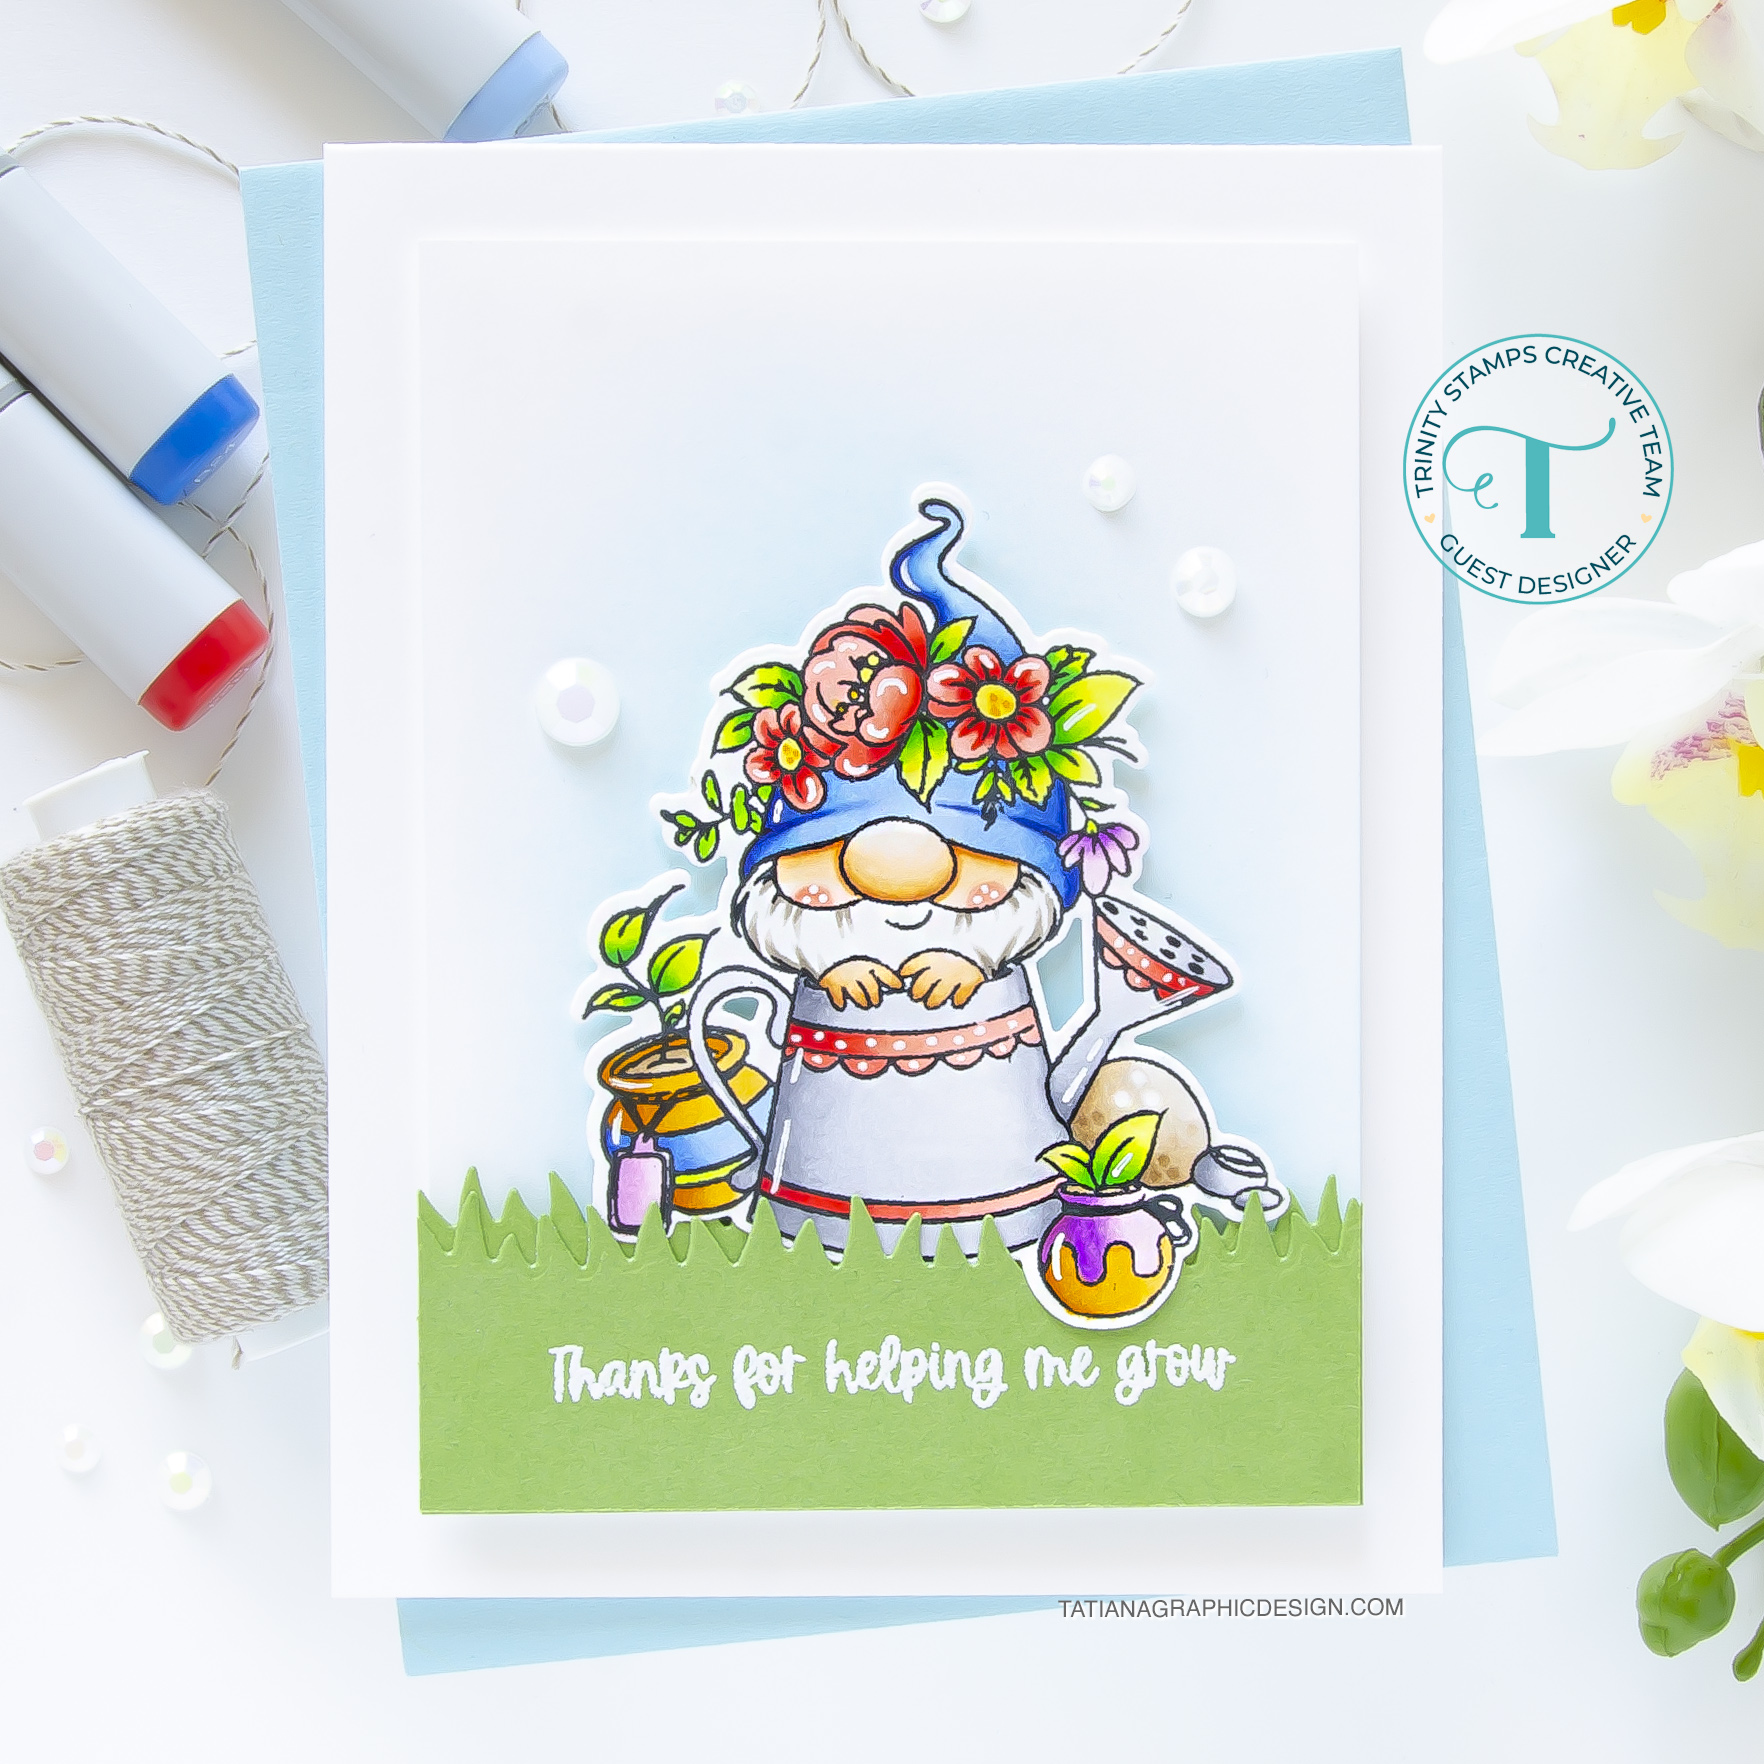
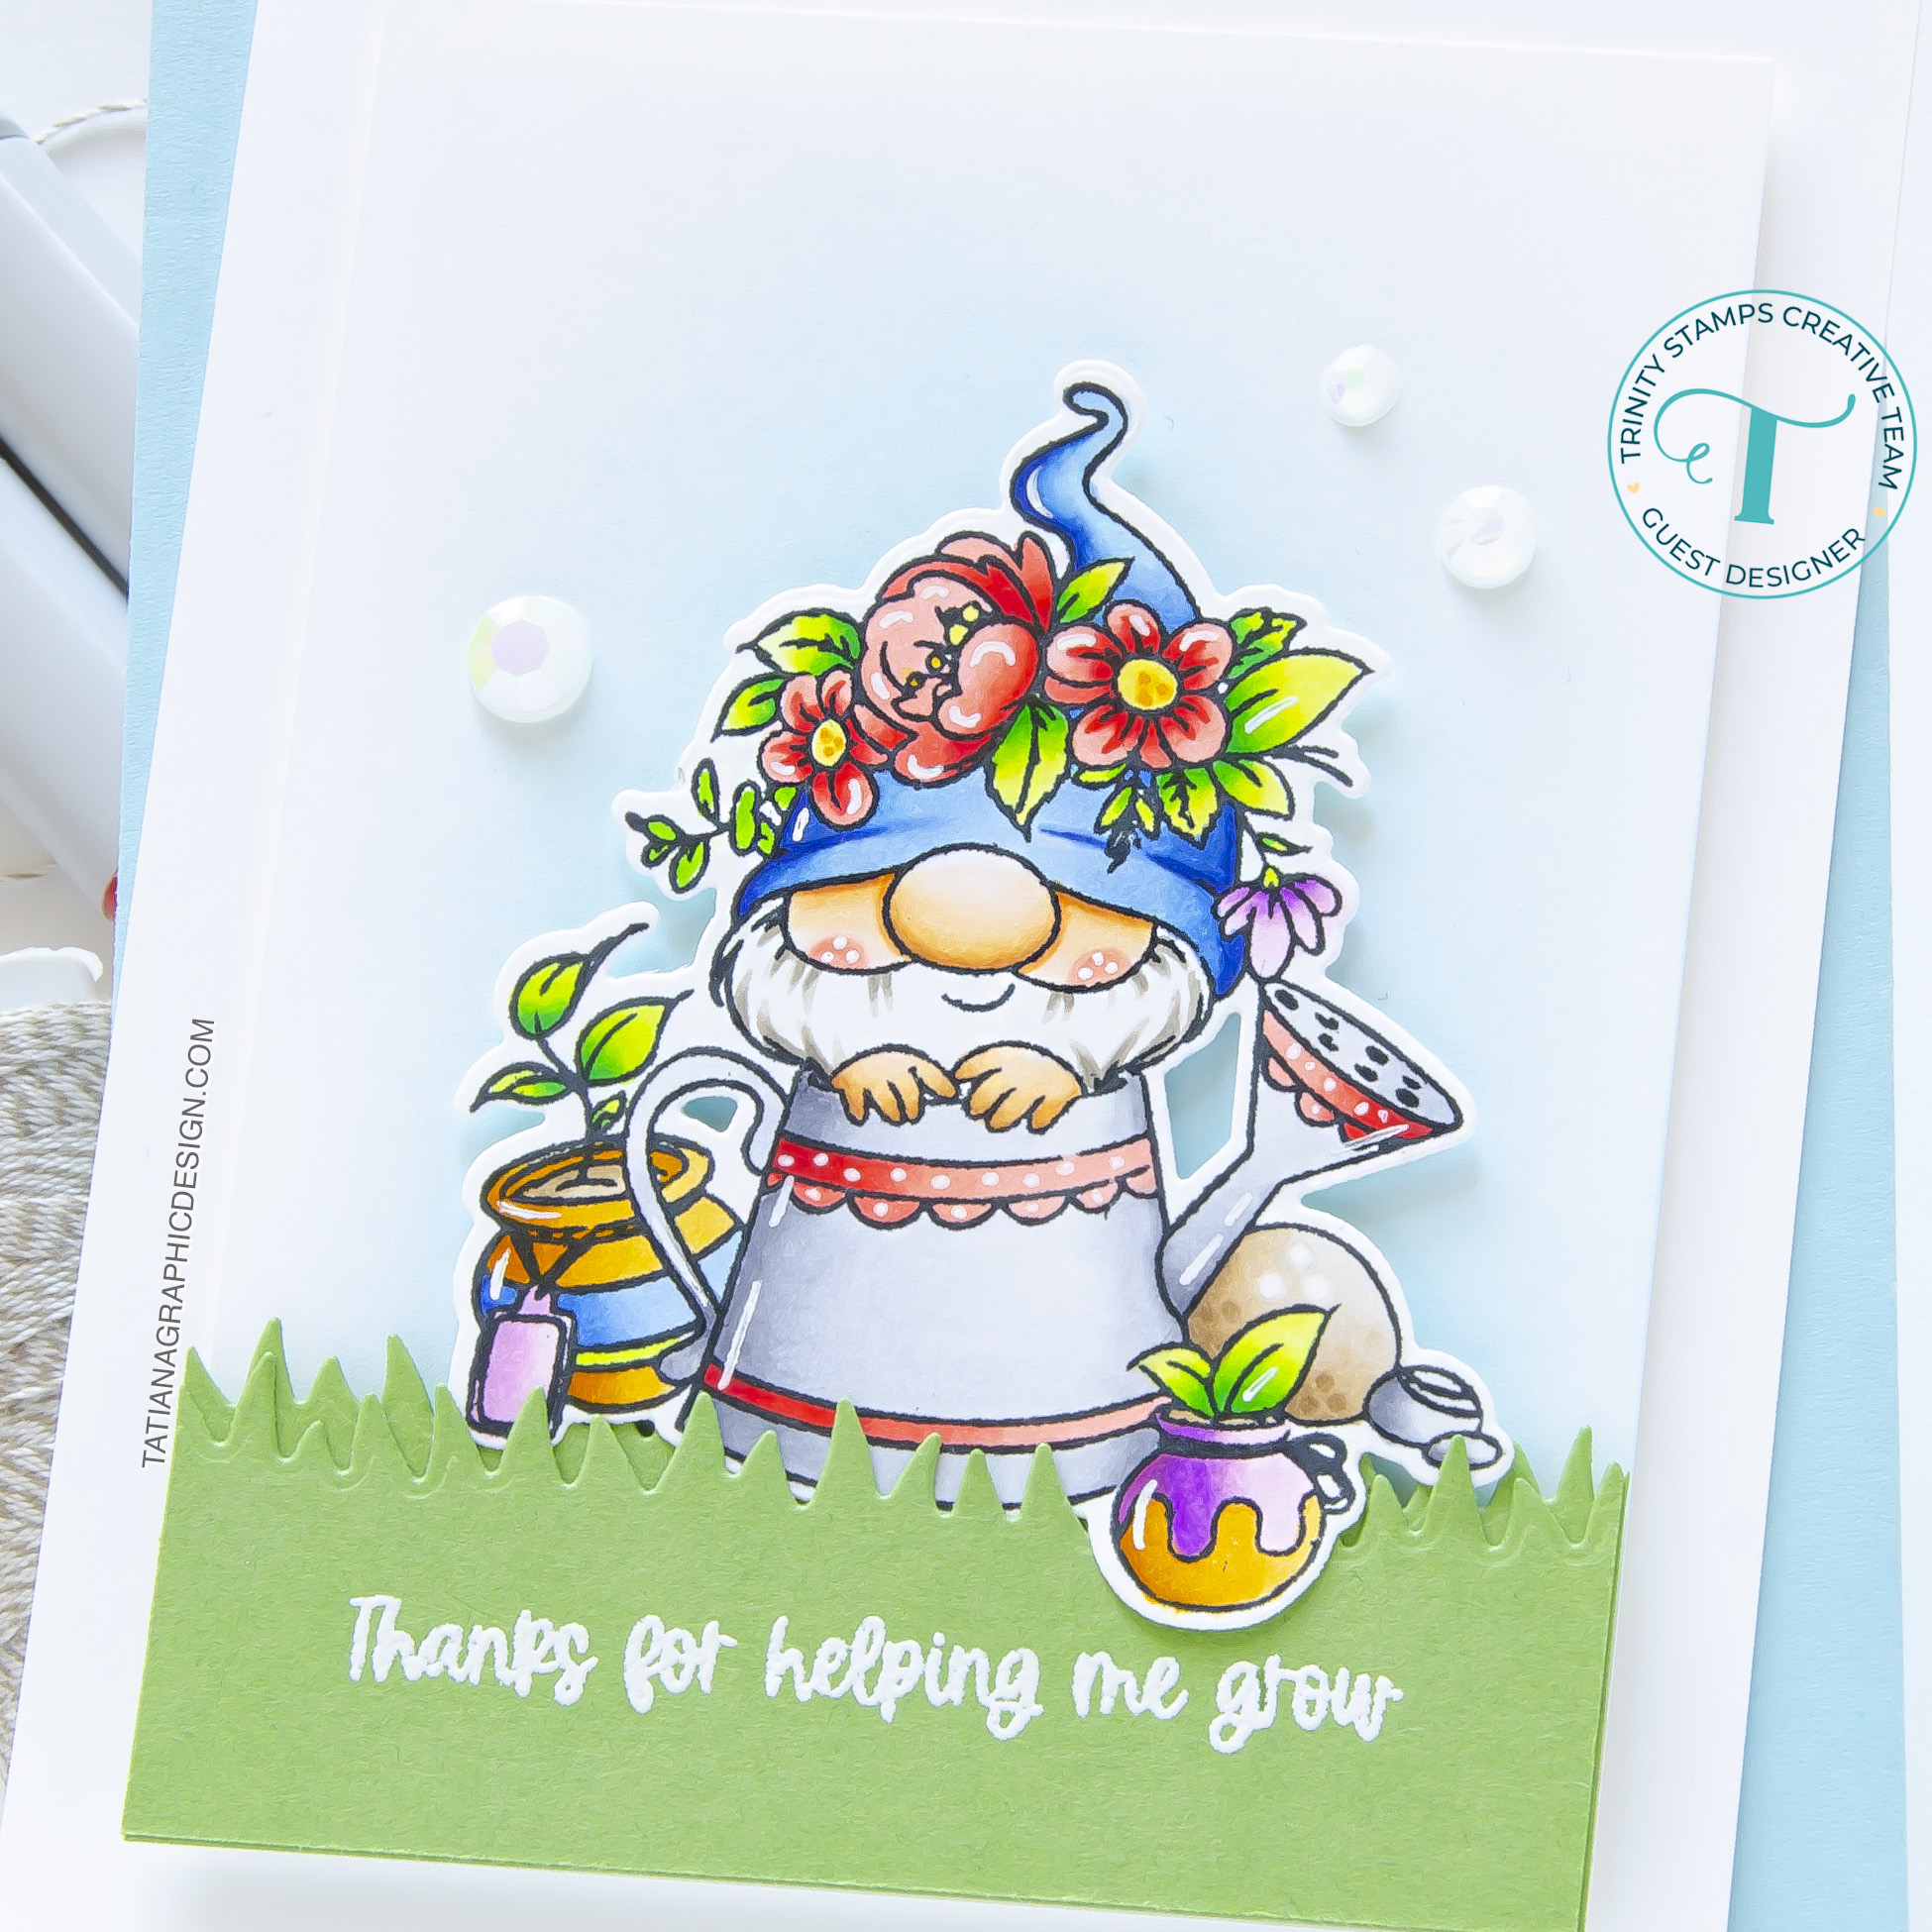
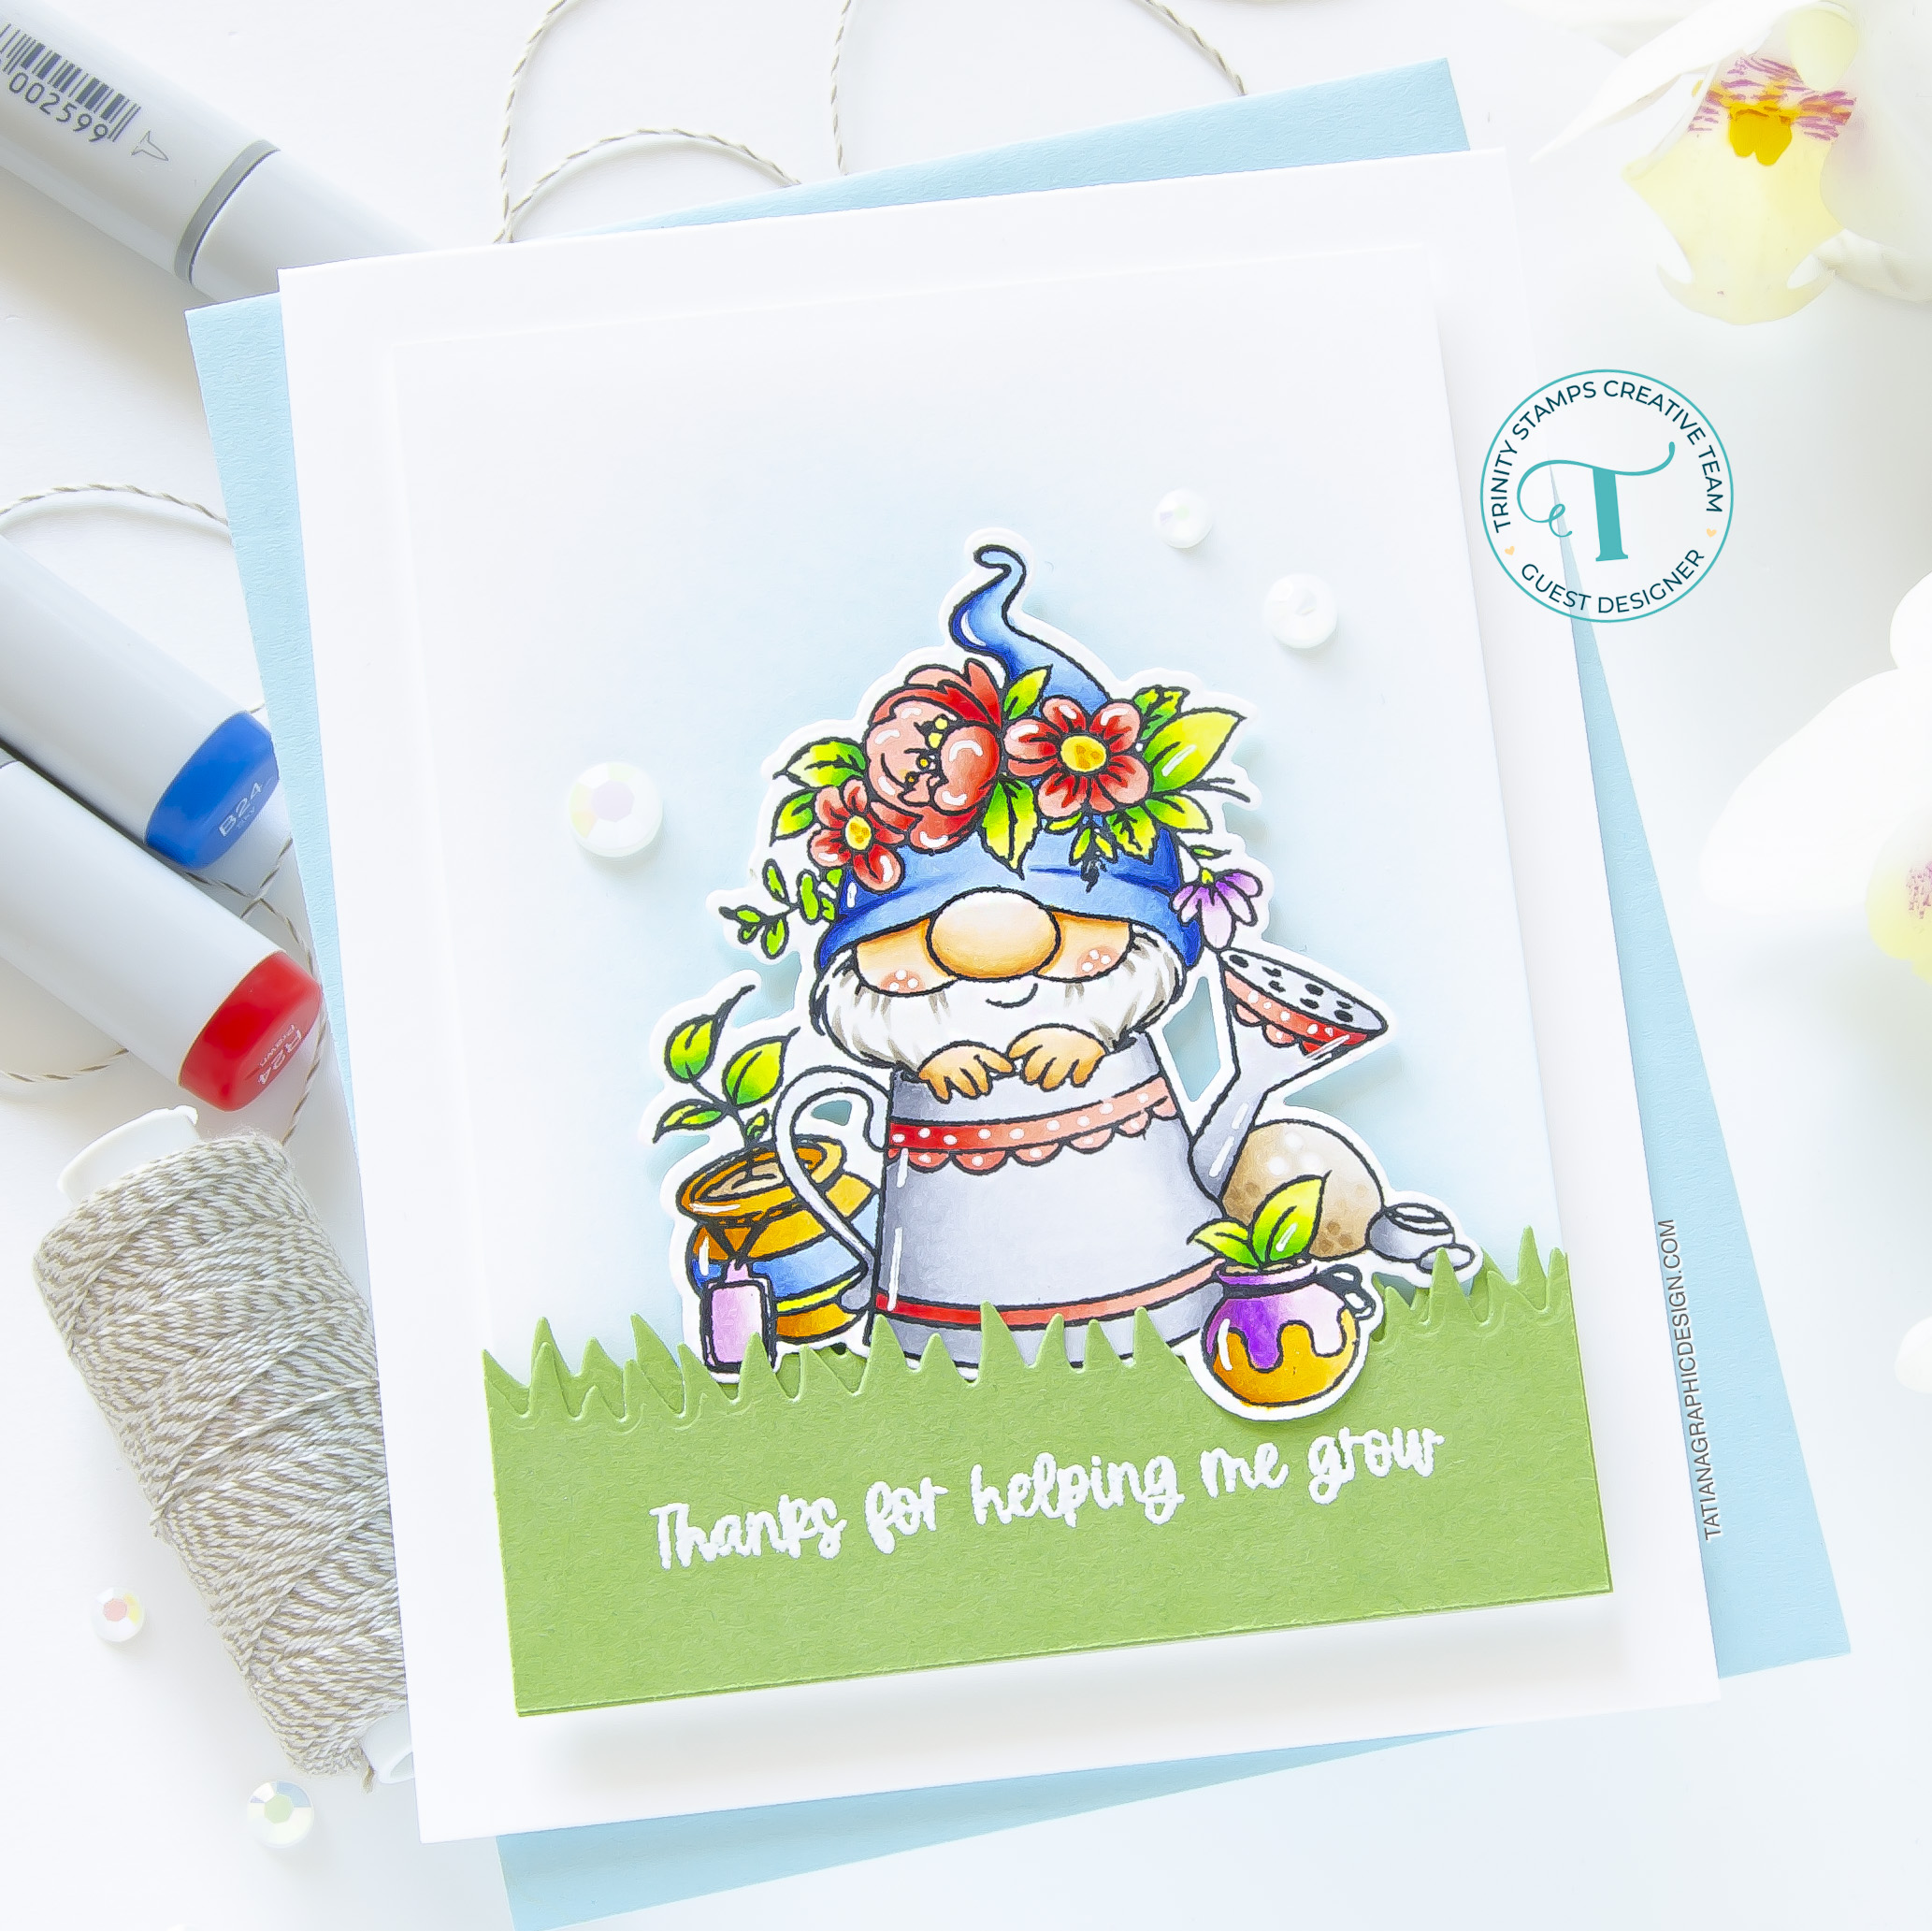
I’m super EXCITED to keep guess designing for Trinity Stamps and would like to thank them again for this amazing opportunity! Today I’ve popped in with a clean and simple thanks card that features small, but not less beautiful Bloom & Grow Stamp Set!

My today’s card turned out very simple since I just wanted to highlight the amazing gnome illustration from Bloom & Grow Stamp Set and to enjoy the coloring process! Then I created an additional smaller panel to put on an extended A2 size card front that gives some dimension and interest to the layout and grounded the stamp on a simply die cut grass portion adhered against a super light blue inked sky. Just for something little extra I finished the project with GORGEOUS Milk Glass Rhinestones that are hard to capture in the pictures! But I assure you that in real like they look absolutely fabulous!
DISCLOSURE. I’m currently on various Design Teams. I only join a team because I love their products and genuinely use them. All opinions are my own. I do not accept offers of direct payment for dedicated blog posts to promote products. I am part of various affiliate programs and link some supplies with compensated affiliate links when used where possible at no cost to you. When you click on an affiliate link and then go on to make a purchase, I receive a small commission. I use the money raised towards the cost of running this blog. I hope if you like the content of my blog you will support me by clicking through these links to make your purchases. Thank you!

Key Ingredients:
- STAMPS AND DIES:
- Bloom & Grow Stamp Set (available at Trinity Stamps and Scrapbook.com)
- Bloom & Grow Die Set (available at Trinity Stamps and Scrapbook.com)
- Milk Glass Rhinestones Embellishment Mix (available at Trinity Stamps)
Step By Step Instructions:
- Die cut from Neenah Solar White paper the gnome shape, using the coordinating Bloom & Grow Die Set and Sizzix Big Shot Die Cutting machine. Save the negative part of the die.
- Stamp the outline illustration from Bloom & Grow Stamp Set with Memento Tuxedo Black ink, using the negative part of the die as a guide for a perfect alignment inside the stamping positioning tool.
- Color the stamps with COPIC MARKERS. I used on this card:
- skin E0000-E50-E51-E53-E55
- beard W1-W3
- blue B21-B24-B28
- yellow Y11-Y17
- orange YR31-YR21-YR23-YR24
- red R0000-R20-R22-R24-R27
- green YG0000-YG00-YG01-YG05-YG09
- violet V000-V01-V04-V06
- grey C00-C0-C1-C3
- brown E41-E42-E43
- Trim and score an extended A2 size card base (5 1/2″ x 4 1/4″) from Neenah Solar White paper.
- Trim a smaller rectangle from the same Neenah Solar White paper and ink it with Tumbled Glass Distress Oxide, using the blending brush and keeping your hand very light.
- Die cut from a green cardstock two layers of grass. I used Simon Says Stamp Leaf Green cardstock and Heffy Doodle Slimline Scenery Dies.
- Heat emboss in white onto green the sentiment with VersaMark Clear Embossing Ink. Don’t forget to prep the paper with a Powder Tool Applicator to prevent the embossing powder to stick where you don’t want it!
- Arrange and glue in place all the elements on the card base, using a foam tape for a fun dimensional look.
- Finish with some highlights added with a white gel pen and three jewels from Milk Glass Rhinestones Embellishment Mix adhered with Distress Collage Medium Matte.

That’s all for today! Hope you this lovely and cute thanks card! Thanks so much for stopping by and have a fabulous day!
Hugs,
Tatiana
