Hello and welcome!
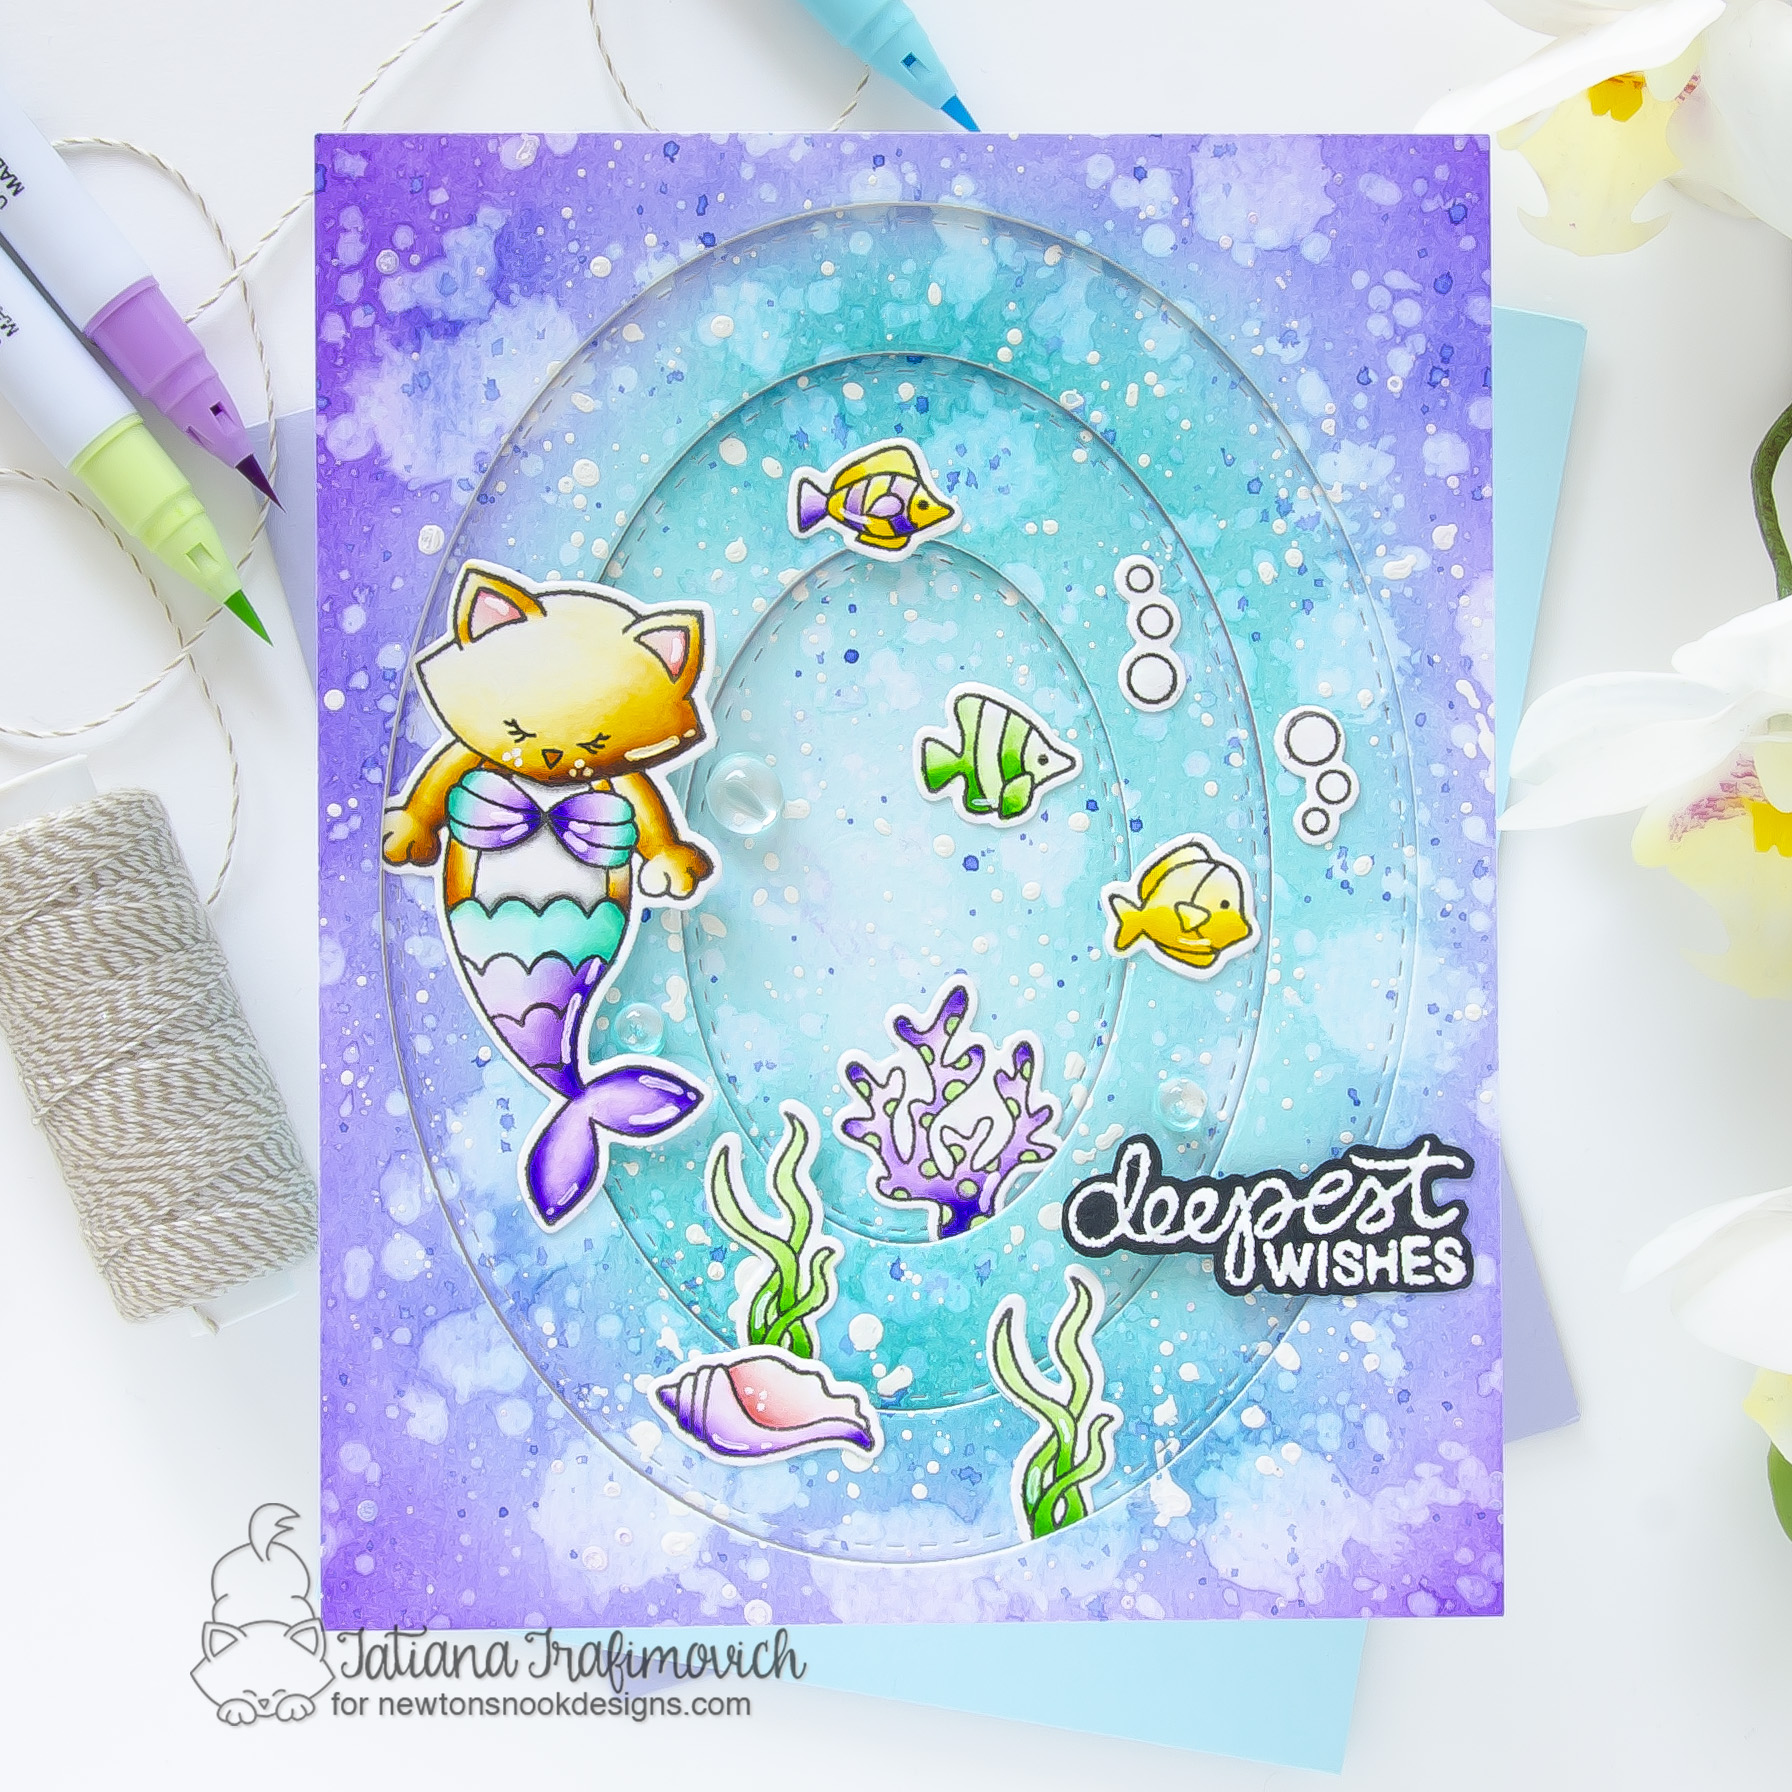
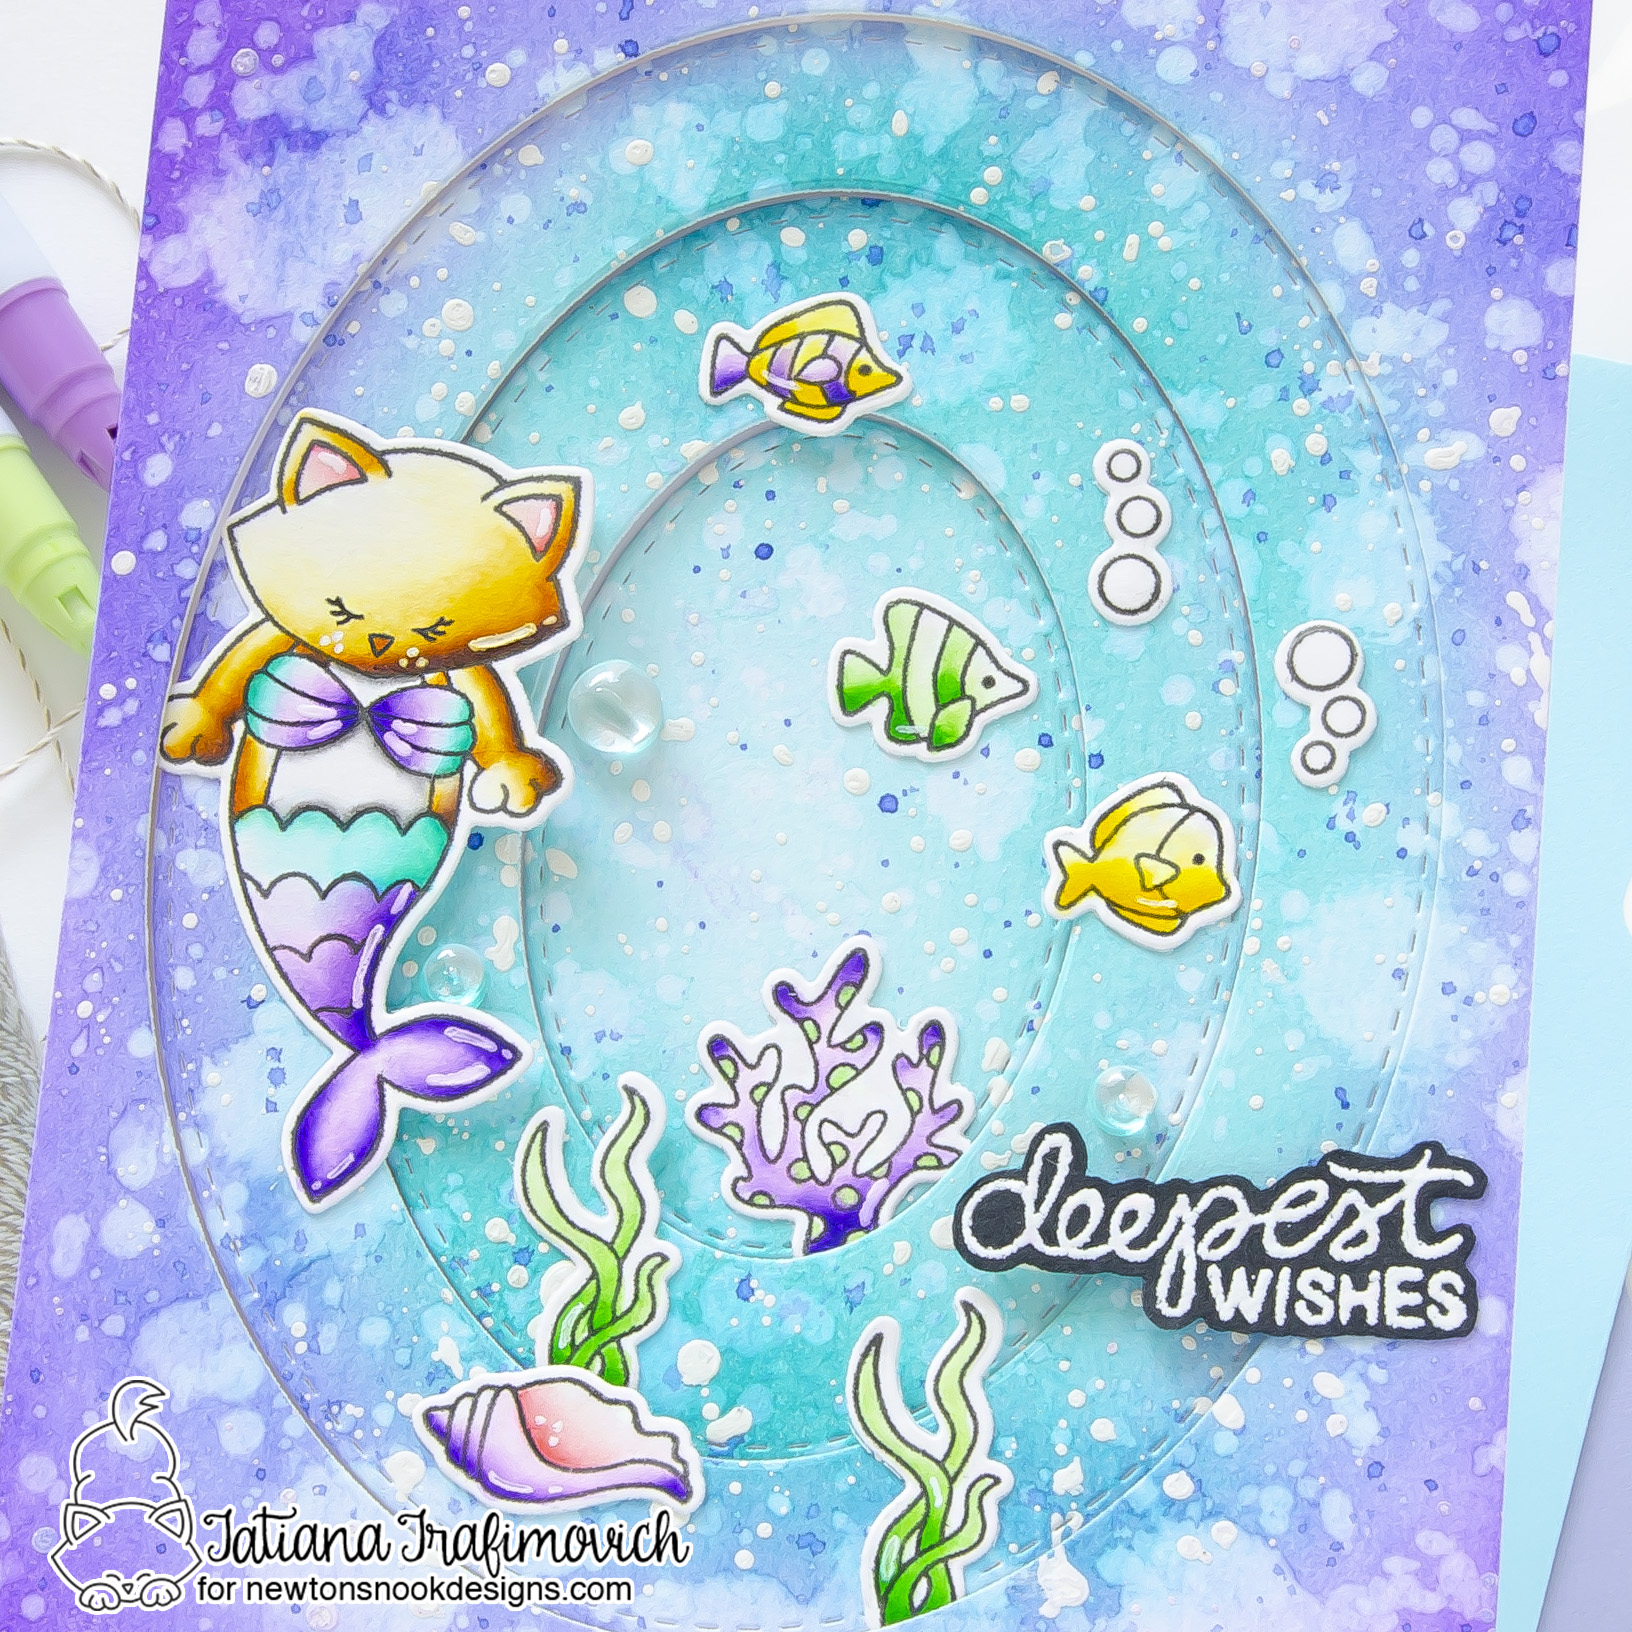
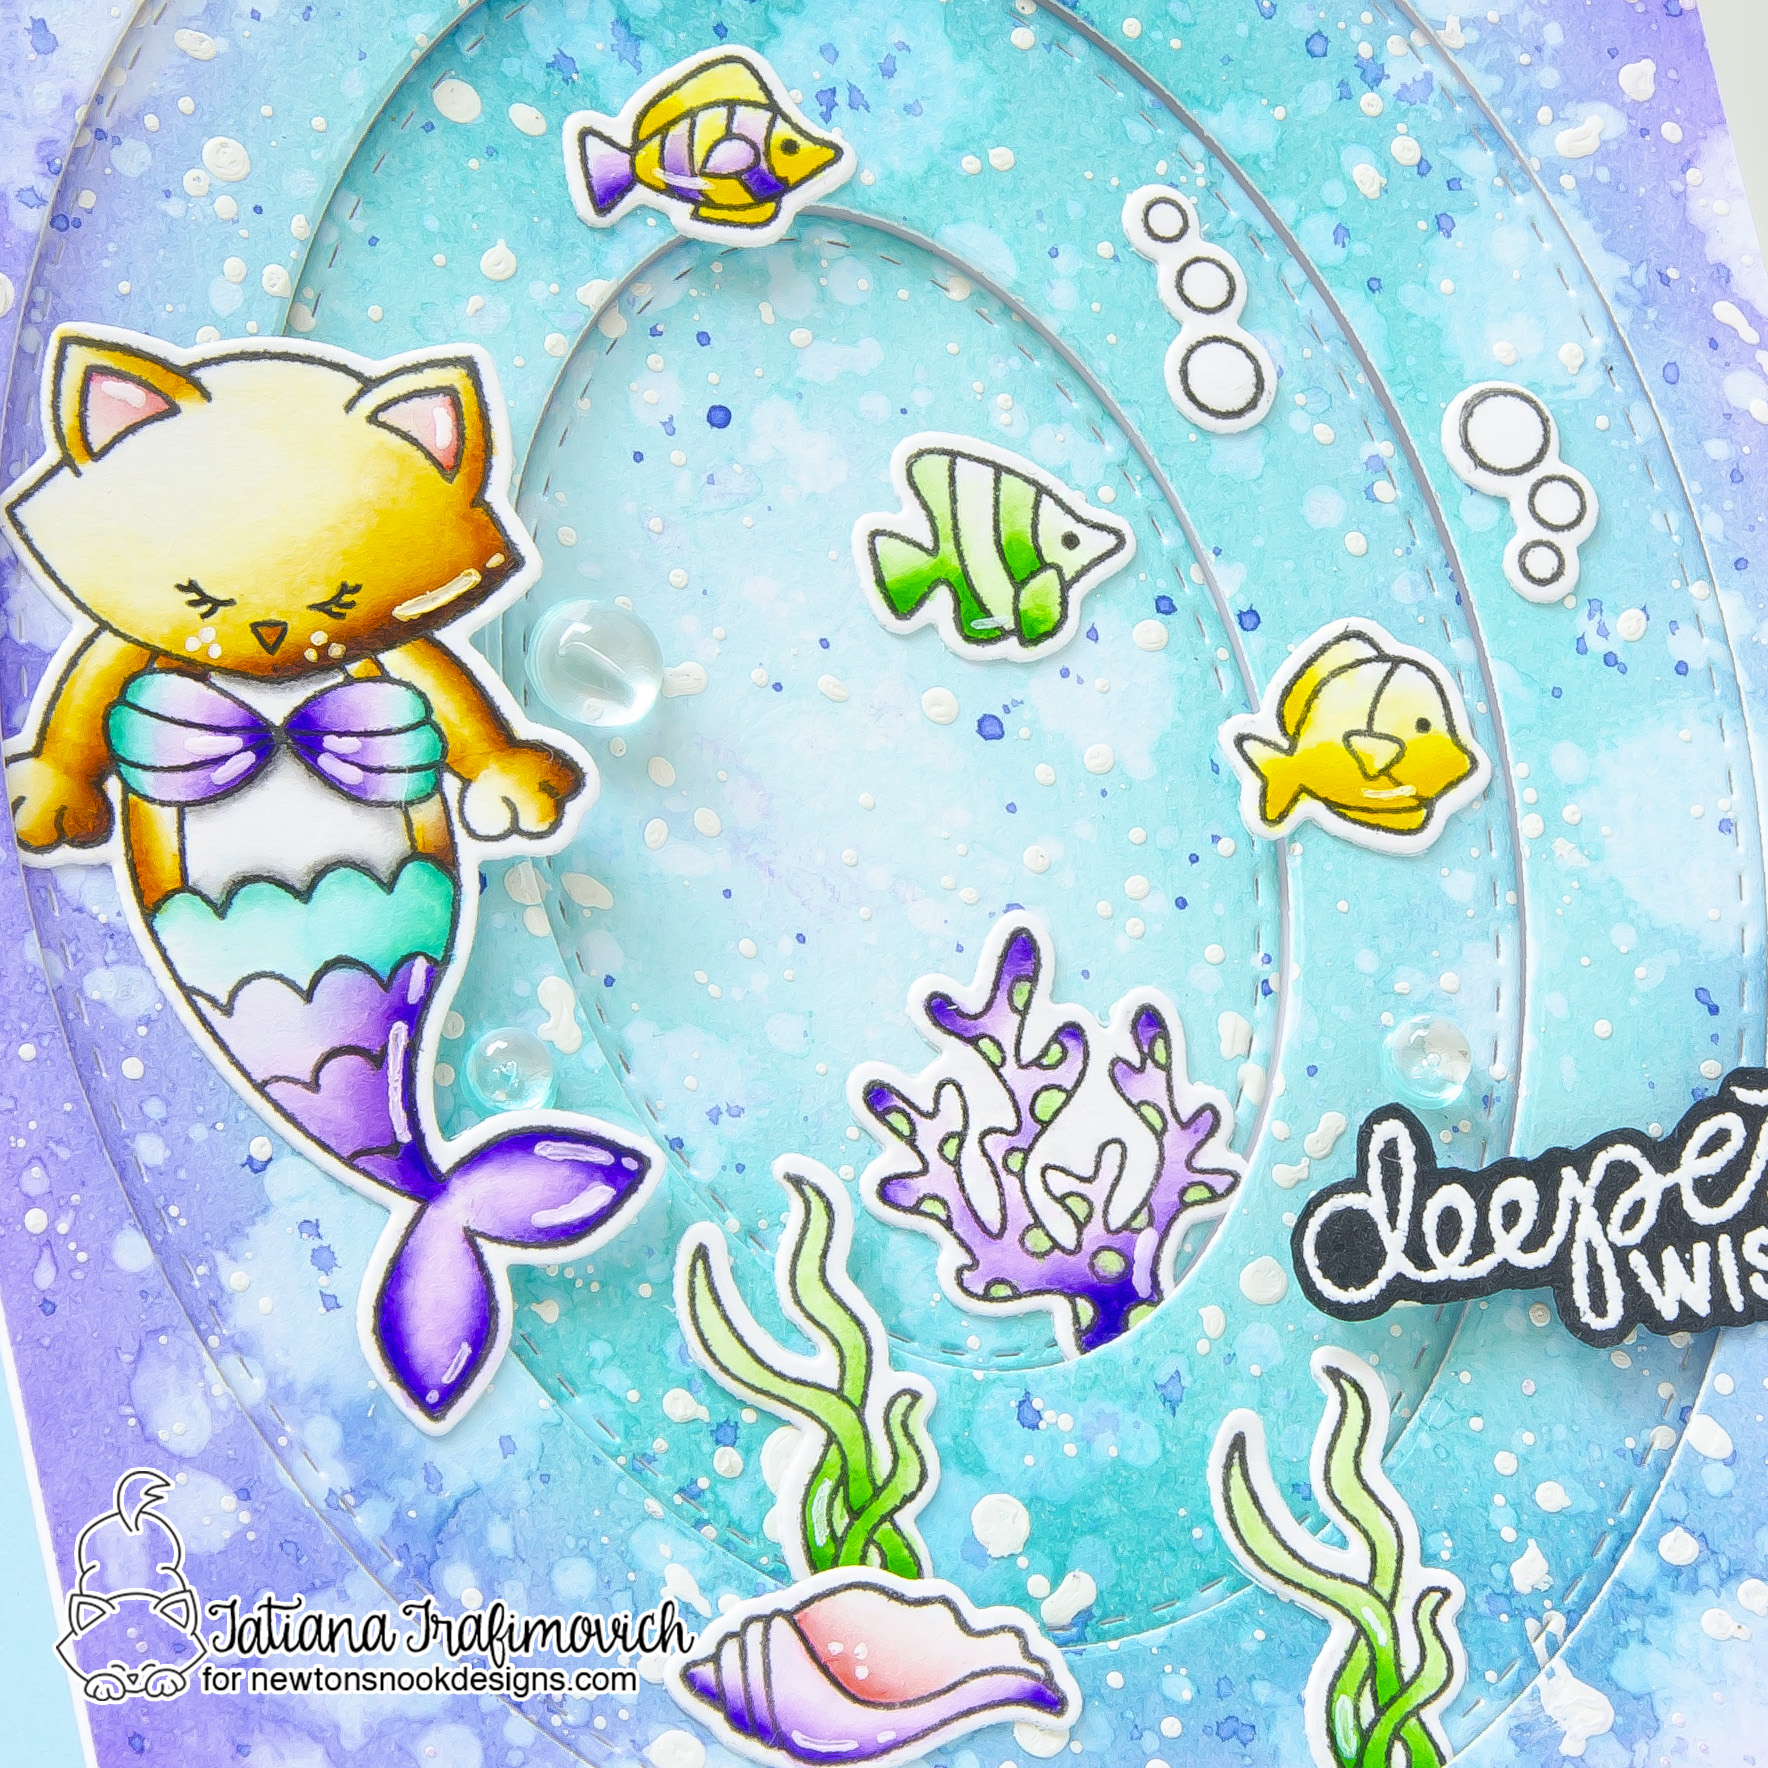
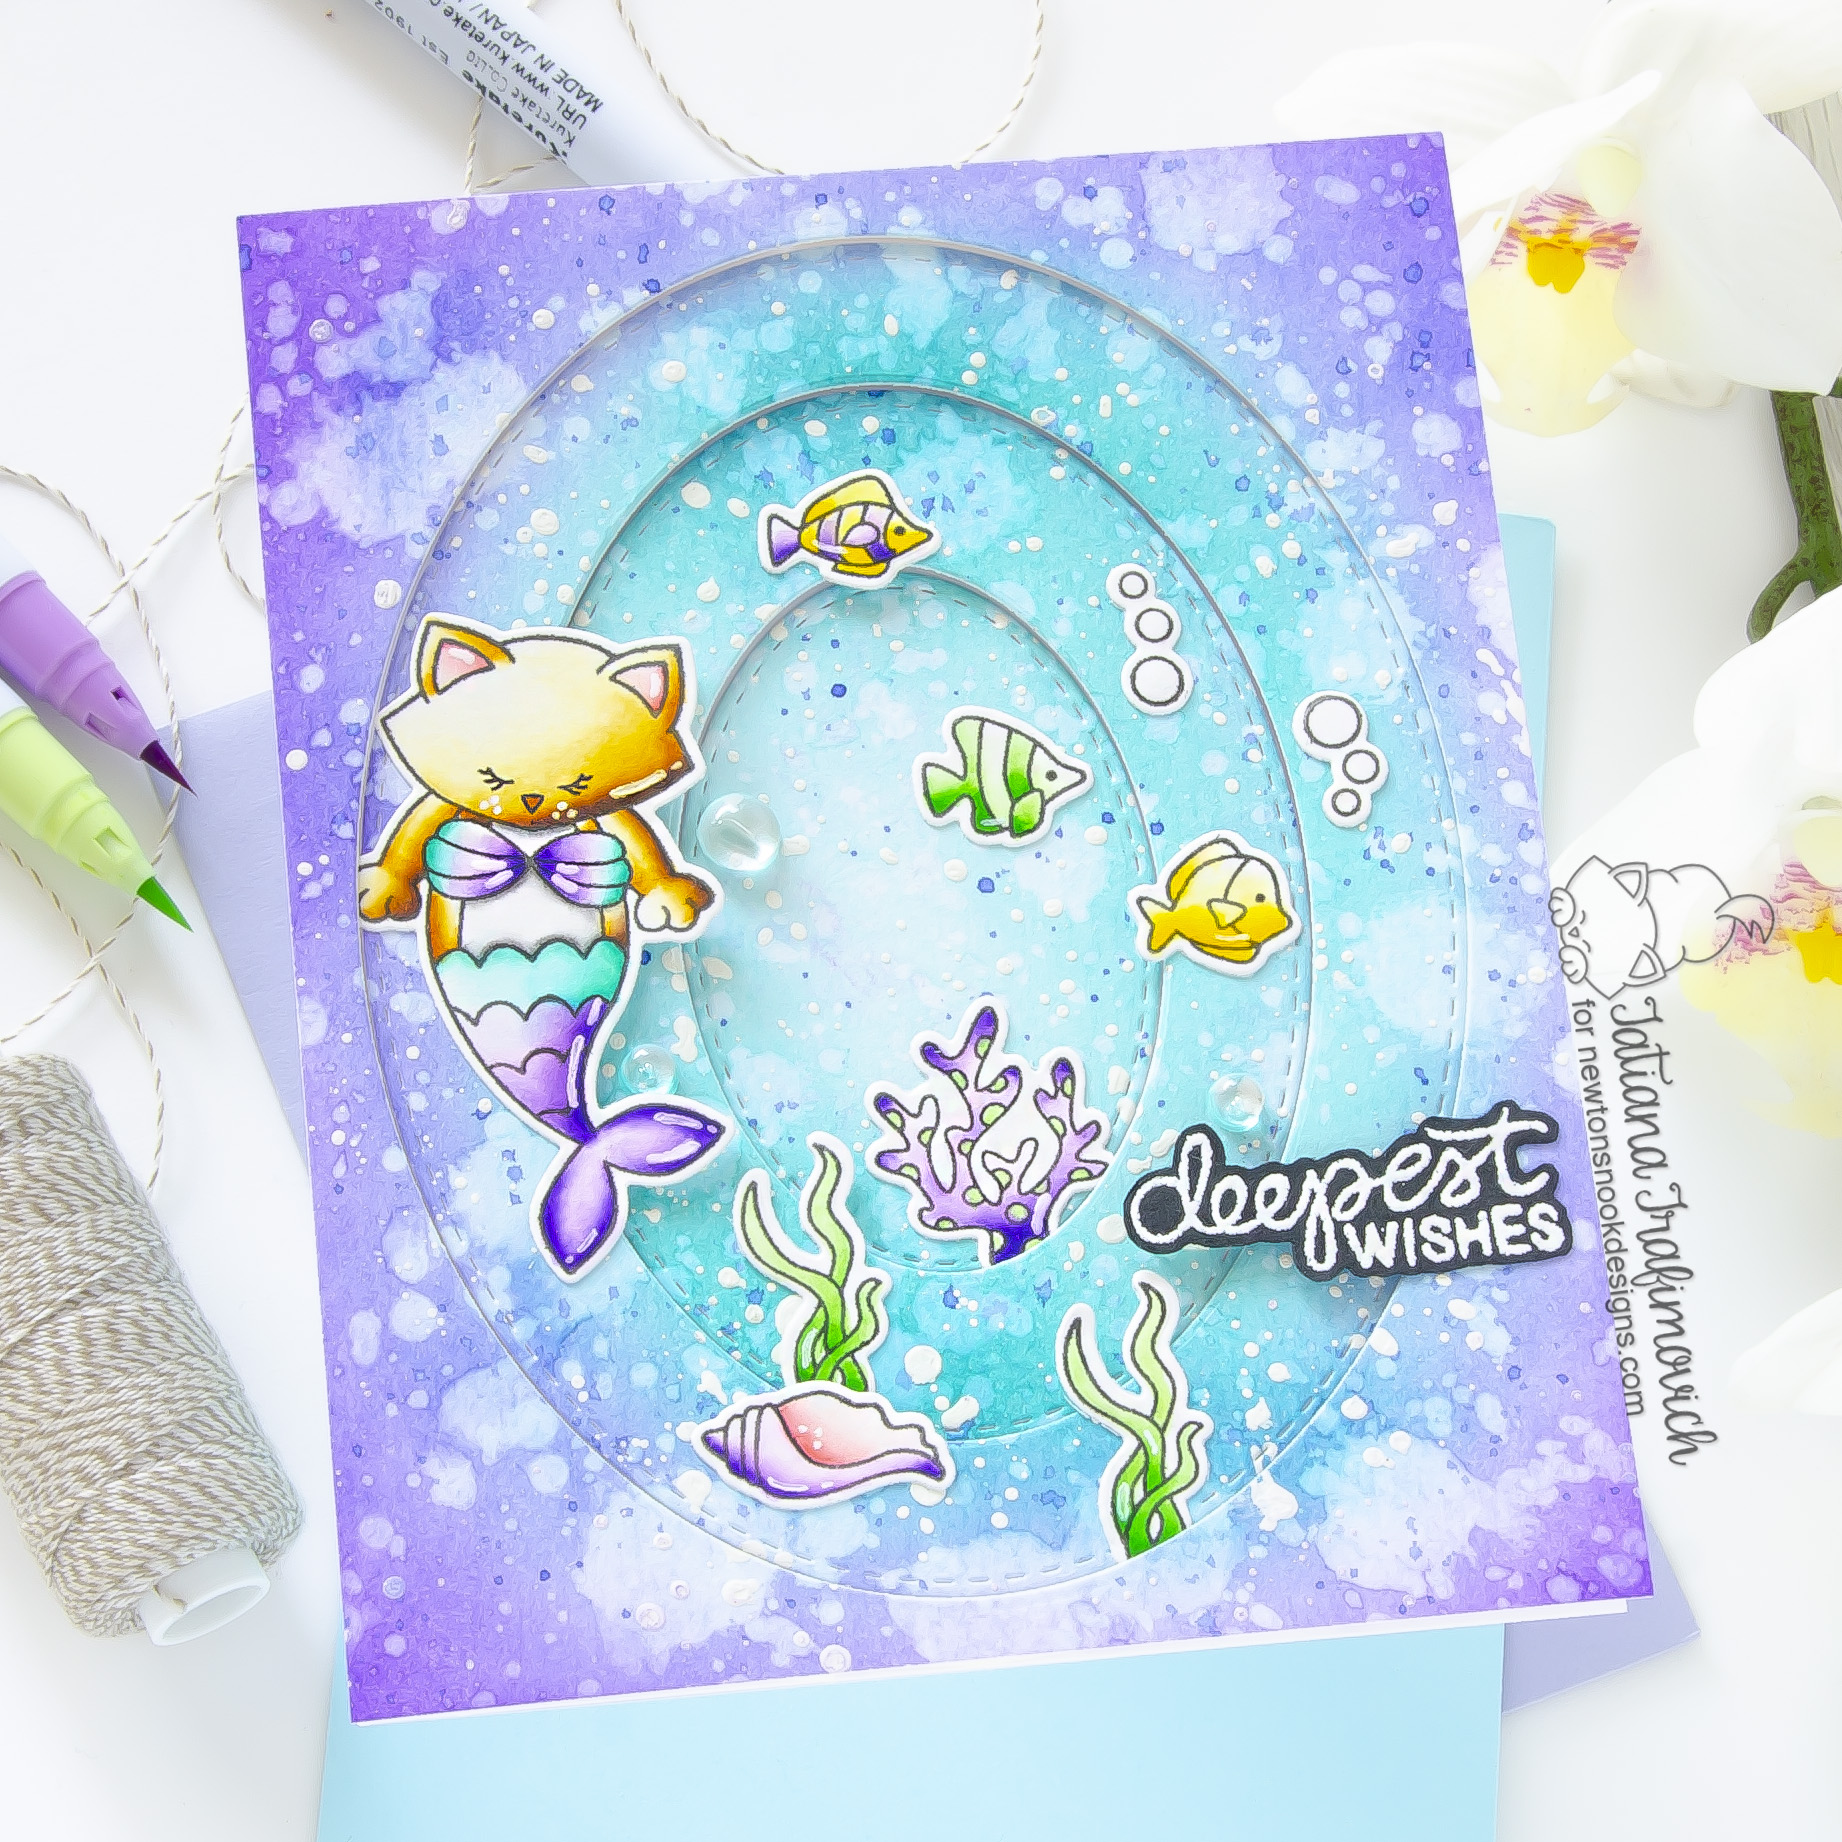
I’m so glad you’ve joined me today and even more excited to be on the Newton’s Nook Designs blog, sharing a fun summer watercolor card with a tunnel layout that features Purr-maid Newton Stamp Set. I don’t often make tunnel cards since they end up super bulky and difficult to mail. However this time, instead of doubling up every layer of the foam tape, I used the dimensional adhesives from different brands that have slightly different thicknesses just to give a bit of dimension to each layer without transforming the project into a super thick one.

Key Ingredients:
- Purr-maid Newton Stamp Set
- Purr-maid Newton Die Set
- Scuba Newton Stamp Set
- Scuba Newton Die Set
- Oval Frames Die Set

Step By Step Instructions:
- Die cut from Strathmore Bristol paper all the elements you need, using the coordinating Purr-maid Newton Die Set, Scuba Newton Die Set and Sizzix Big Shot Die Cutting machine. Save the negative parts of the dies.
- Stamp the outline illustrations from Purr-maid Newton Stamp Set and Scuba Newton Stamp Set with VersaFine Onyx Black pigment ink, using the negative parts of the dies as a guide for a perfect alignment inside the stamping positioning tool.
- Color the stamps with water based markers. I used on this card ZIG CLEAN COLOUR REAL BRUSH MARKERS:
- n.21 Light Carmine
- n.26 Pale Pink
- n.42 Turquoise Green
- n.45 Pale Green
- n.47 May Green
- n. 50 Yellow
- n.51 Lemon Yellow
- n.61 Light Brown
- n.62 Dark Brown
- n.80 Violet
- n.83 Lilac
- n.91 Light Grey
- n.94 Grey Brown
- Trim and score a card base slightly larger than an extended A2 size card base that measures 5 3/4″ x 4 1/2″ from Neenah Solar White paper.
- Trim another 5 3/4″ x 4 1/2″ panel from Tim Holtz Watercolor cardstock since it holds more water than Neenah.
- Ink it with Wilted Violet Distress, Blueprint Sketch Distress and Peacock Feathers Distress ink.
- Splatter the inked background with lots of water droplets from Distress Sprayer, then add some tiny colorful splatters, using Blueprint Sketch Distress and a white gouache both diluted with a small amount of water. Let the background air dry or heat set.
- Die cut three nesting ovals on the inked background, using Oval Frames Die Set.
- Heat emboss in white onto black the sentiment from Scuba Newton Stamp Set with VersaMark Clear Embossing Ink. Don’t forget to prep the paper with a Powder Tool Applicator to prevent the embossing powder to stick where you don’t want it!
- Fussy cut by hand the sentiment, using a pair of the sharp small scissors and leaving a little edge around.
- Arrange and glue in place all the elements on the card front, by popping every layer on a dimensional adhesive with different thickness.
- Finish with some highlights added with a white gel pen and a couple of clear droplets adhered with Glossy Accents.


That’s all for today! Hope you like this cute summer under the water scene! Thanks so much for stopping by and have a fabulous day!
Hugs,
Tatiana
