Hello and welcome!
This week Newton’s Nook Designs is getting ready for Halloween with a fun Inspiration week! All week the NND Design Team will be sharing inspiration using some of their favorite Halloween products to get you in the mood for tricks and treats! Check out what I created today and don’t forget to check the NND Blog each day this week for more fun inspiration!


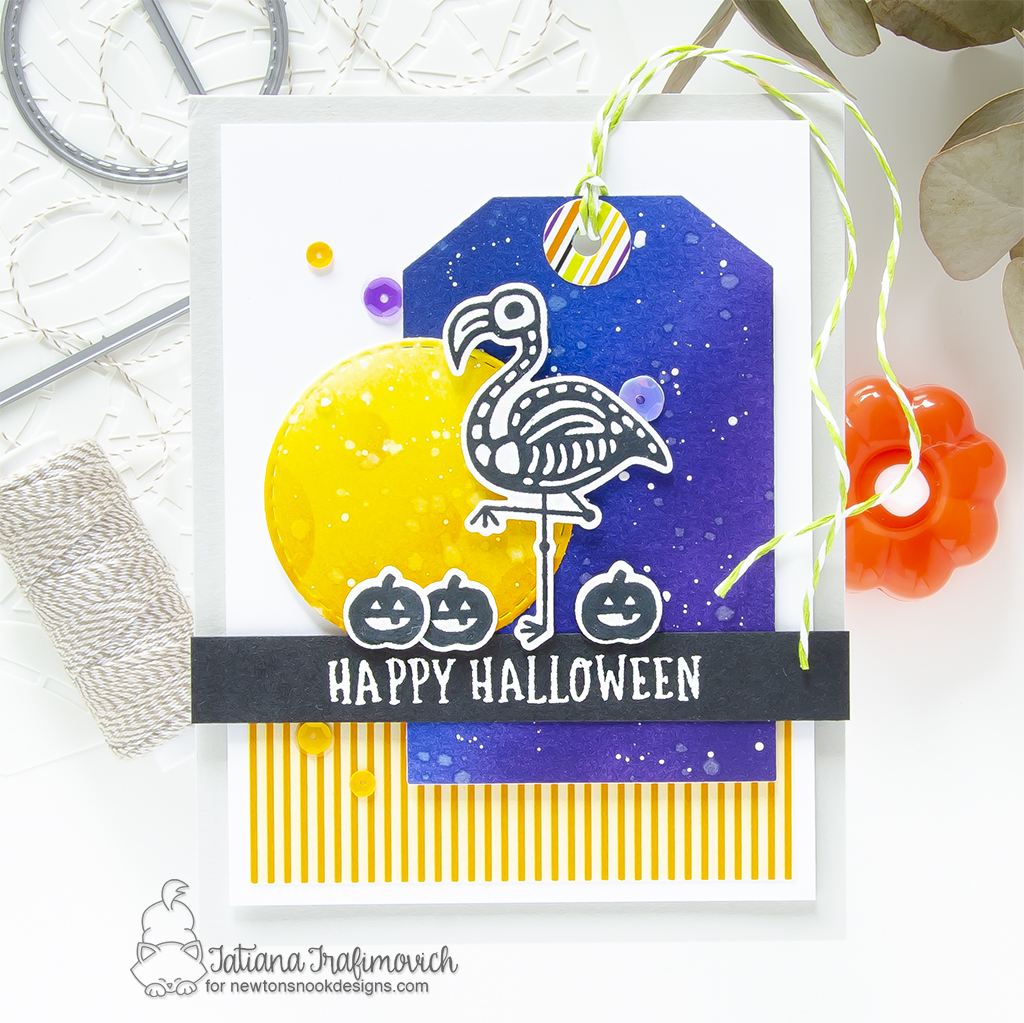
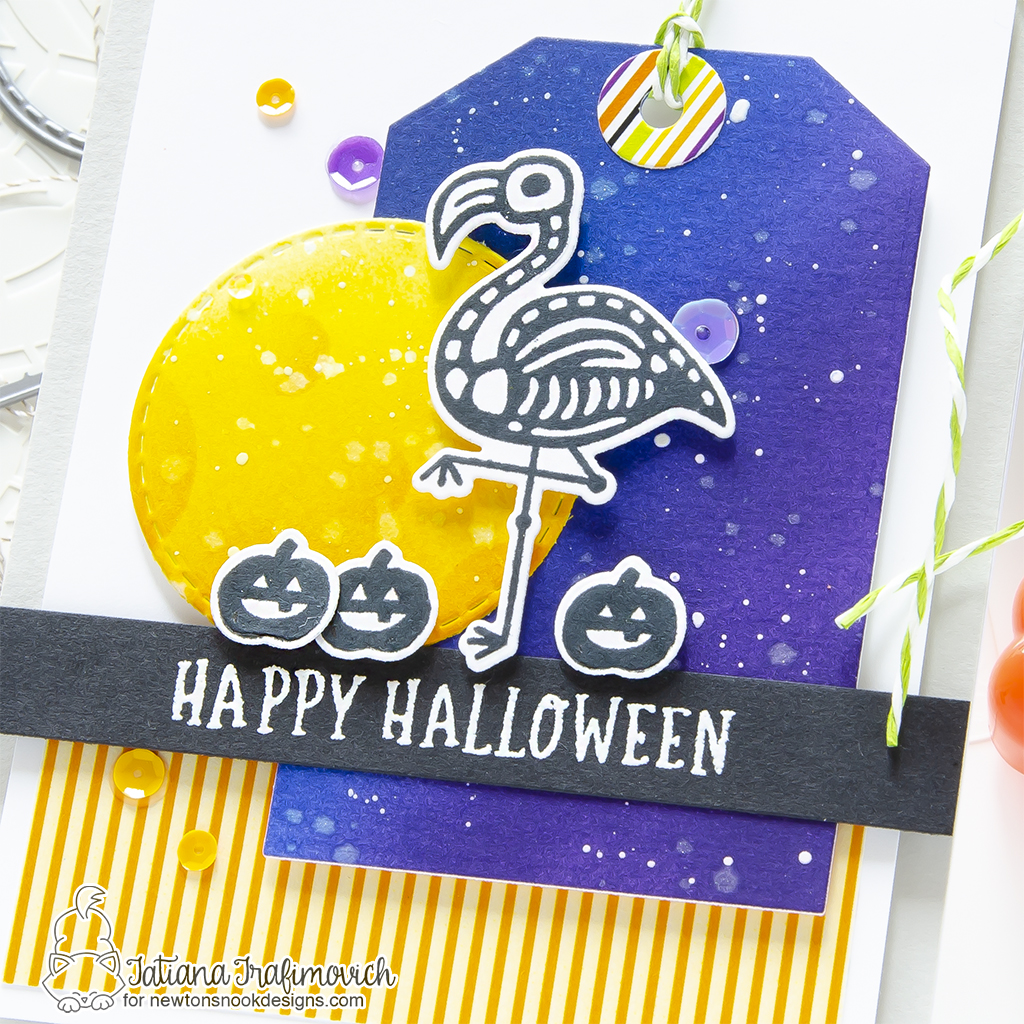
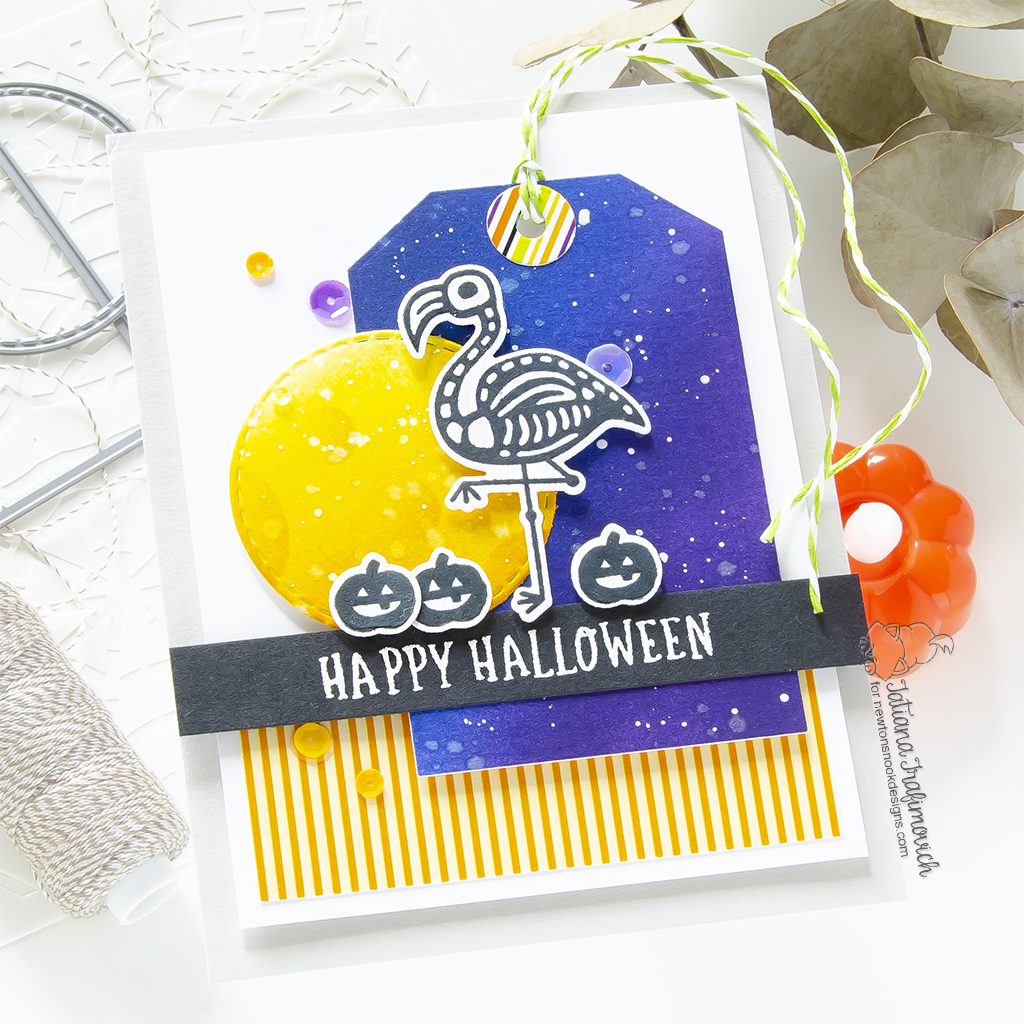
On my blog you will find a fun Halloween layout with a starry night sky created from the tag die and the bright yellow Moon with some amazing faux stitched details. On top of this scene I added a couple of Spooky Skeletons and then finished everything with a heat embossed sentiment.

Key Ingredients:
- Spooky Skeletons Stamp Set
- Spooky Skeletons Die Set
- Spooky Roundabout Stamp Set
- Fancy Edges Tag Die Set
- Circle Frames Die Set
- Bokeh Stencil Set
- Springtime Paper Pad
- Halloween Meows Paper Pad
Step By Step Instructions:
- Trim and score an extended A2 size card base (5 1/2″ x 4 1/4″) from a white cardstock.
- Trim a 5 1/2″ x 4 1/4″ rectangle from a light grey cardstock. I used Simon Says Stamp Fog cardstock.
- Trim a slightly smaller white rectangle from Neenah Solar White paper.
- Trim a piece of a yellow striped patterned paper from Springtime Paper Pad.
- Die cut a tag hole reinforcement circle from Halloween Meows Paper Pad. I used on this project Sizzix Big Shot Die Cutting machine.
- Die cut a tag for the night sky and a circle for the Moon from Tim Holtz Watercolor cardstock, using Fancy Edges Tag Die Set and Circle Frames Die Set.
- Ink both pieces with Distress inks. I used:
- Villainous Potion Distress, Prize Ribbon Distress and Chipped Sapphire Distress inks on the tag;
- Mustard Seeds Distress and Wild Honey Distress inks on the circle.
- Add some dark circles on the Moon through Bokeh Stencil Set. Mask the nearby areas on the stencil with a low tack tape.
- Splatter the inked elements with a clear shimmer spray and then with a white gouache, using a small regular brush, to add more interest.
- Die cut from Neenah Solar White paper all the elements you need for your card, using the coordinating Spooky Skeletons Die Set. Save the negative parts of the dies.
- Stamp the bold illustrations from Spooky Skeletons Stamp Set with Memento Tuxedo Black ink. Use the negative parts of the dies as a guide for a perfect alignment inside the stamping positioning tool.
- Heat emboss in white onto black the sentiment from Spooky Roundabout Stamp Set with VersaMark Clear Embossing Ink. Don’t forget to prep the paper with a Powder Tool Applicator to prevent the embossing powder to stick where you don’t want it!
- Arrange and glue in place all the elements on the card front, by popping some of them on a foam tape for a fun dimensional look.
- Finish with a few sequins from Hocus Pocus Embellishment Mix adhered with Distress Collage Medium Matte.

That’s all for today! Hope you like this cute Halloween card!
Don’t forget to visit the Halloween Products Category at Newton’s Nook Designs and get your favorites for creating cute and spooky Halloween crafts!
Thanks so much for stopping by and have a fabulous day!
Hugs,
Tatiana
