Hello and welcome to Day 3 of the Newton’s Nook Holiday release! Thanks so much for joining me! Today I’m so excited to showcase another two new super cute stamps sets and my take on them!
Please note that all the new Holiday products will be available for purchase on Friday, October 14th at Newton’s Nook Designs online store and other craft retailers!
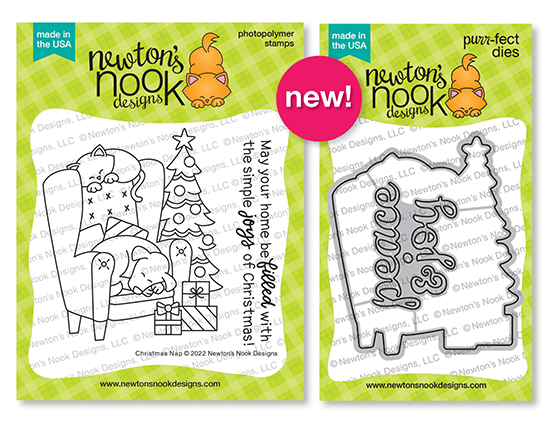
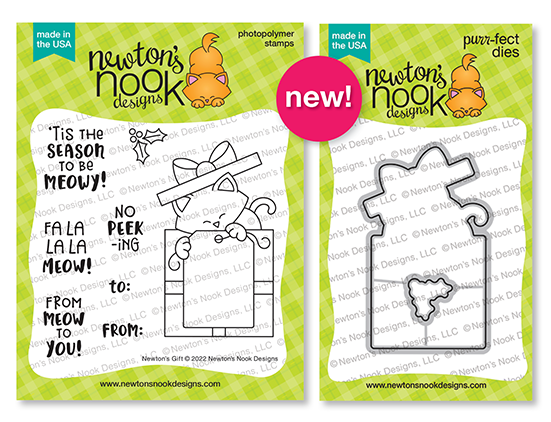
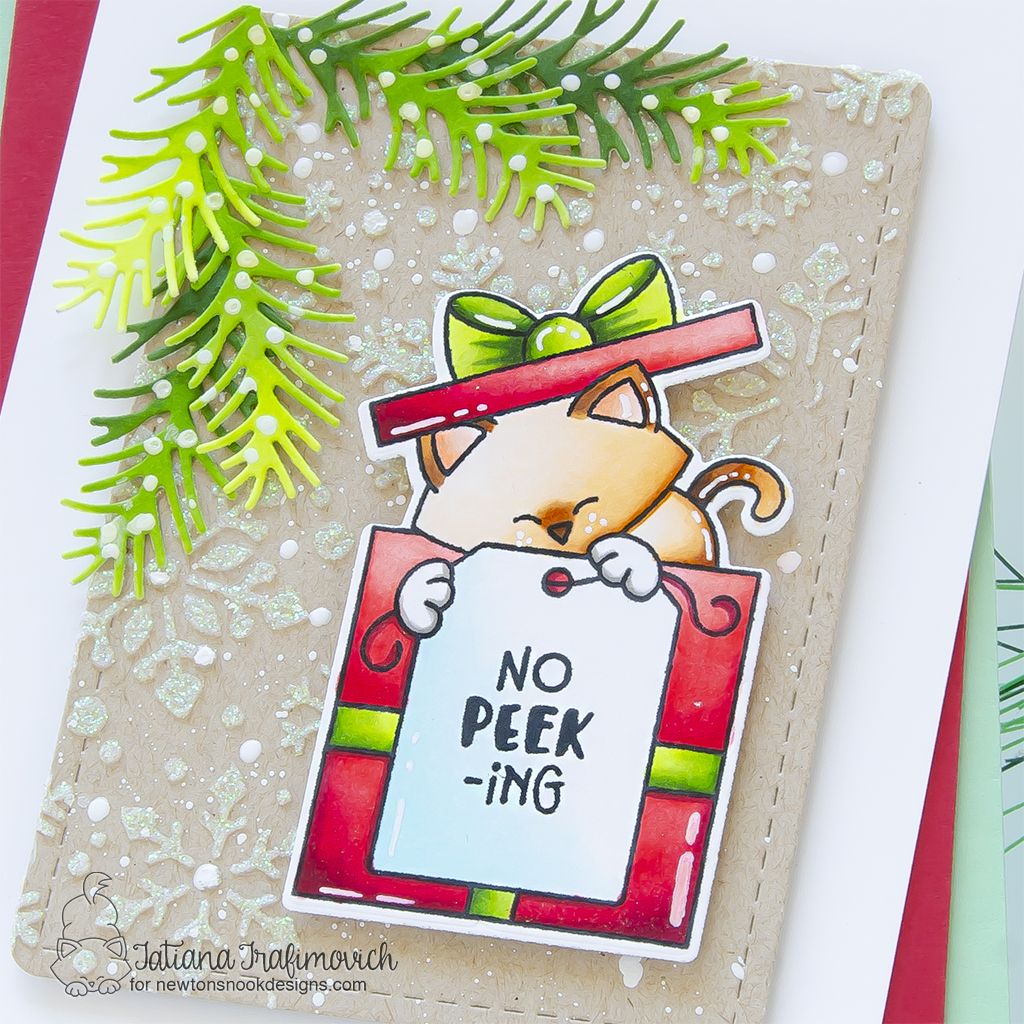
The third day of the Holiday reveals has reserved us a super cute winter scene with cuddling critters from Christmas Nap Stamp Set and the most adorable mischievous kitty from Newton’s Gift Stamp Set that can be used not only for holiday cards, but all year around to send birthday and anniversary wishes! As always, both new stamp sets come with the coordinating Christmas Nap Die Set and Newton’s Gift Die Set.
Giveaway alert!! NND is giving away both new Christmas Nap and Newton’s Gift stamp sets to lucky winners so make sure you read all the way to the bottom of this post to see how to win!
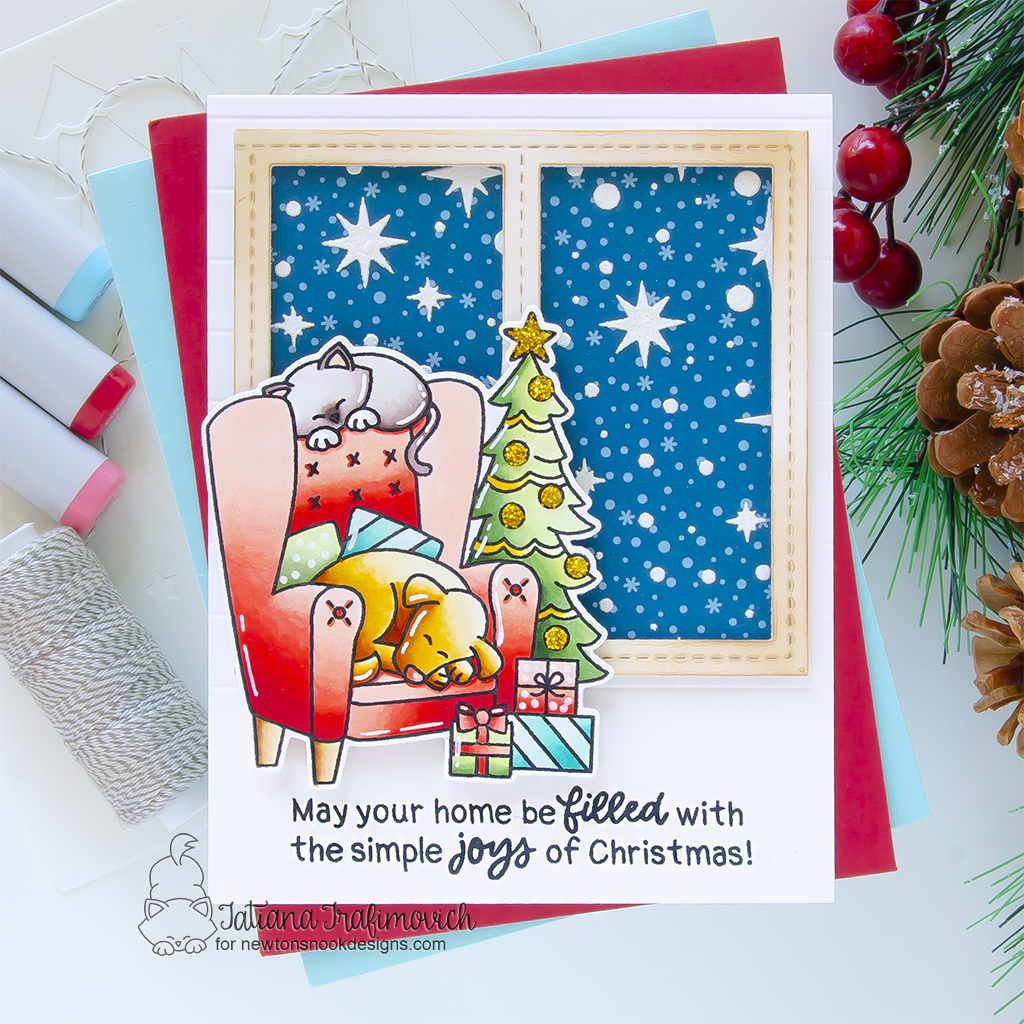
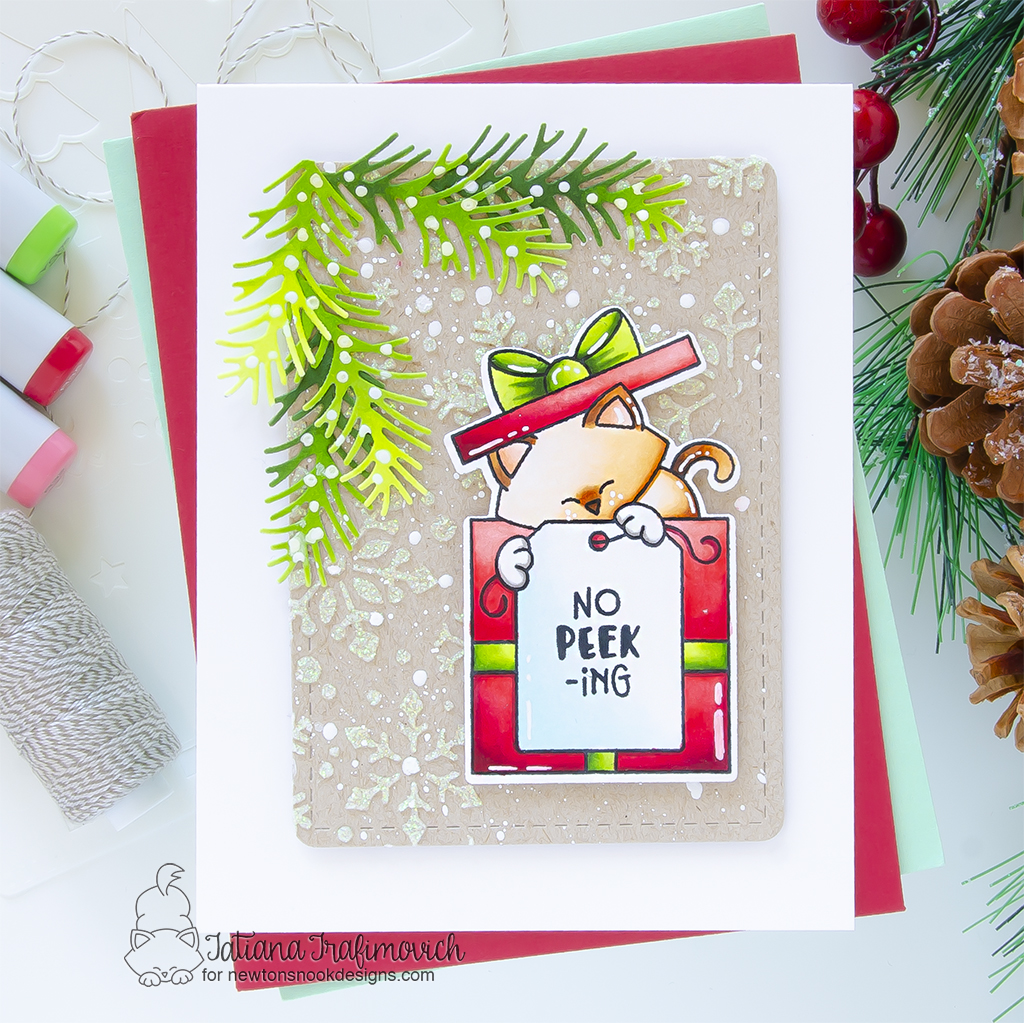
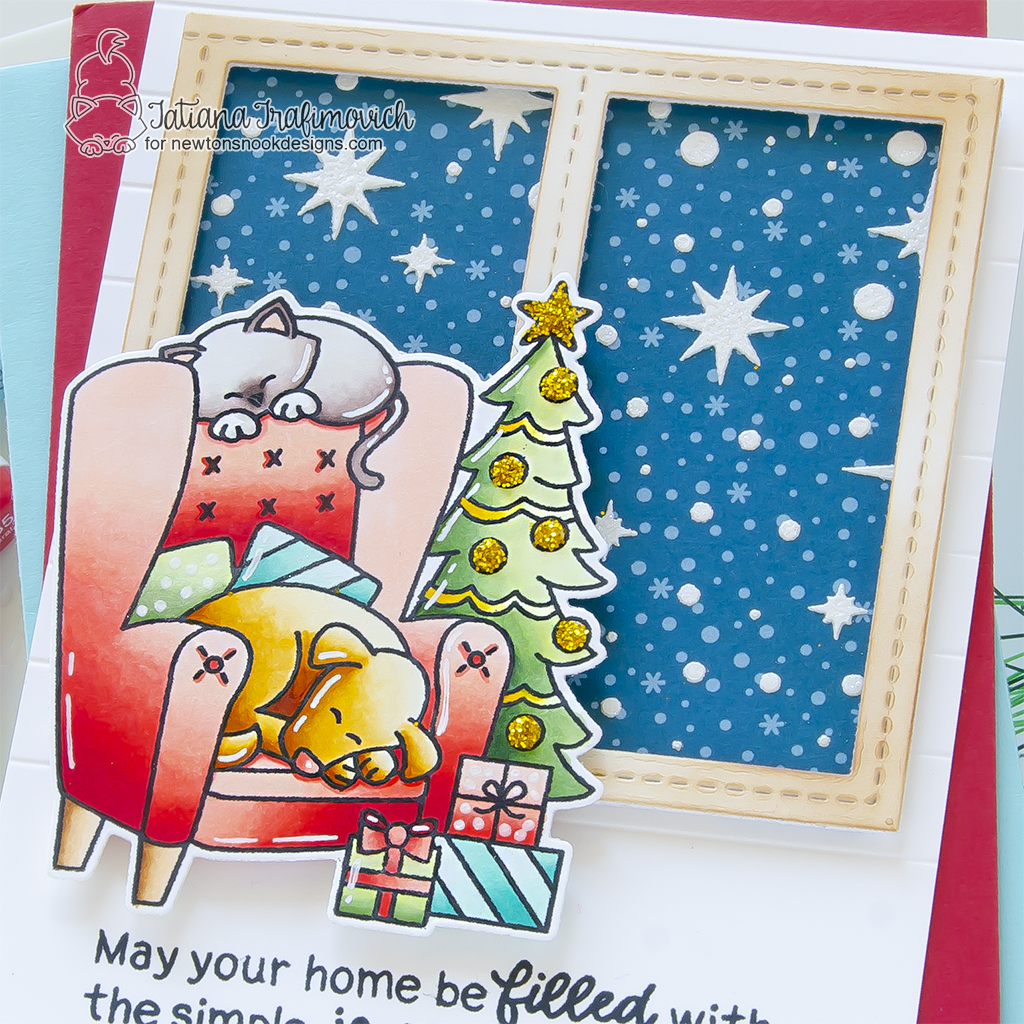
On my stop of this hop you will find two cute copic colored cards! I created a cozy window scene featuring Christmas Nap Stamp Set and some die cut pine branches for the peeking kitty to give an impression that it is under the Christmas tree.
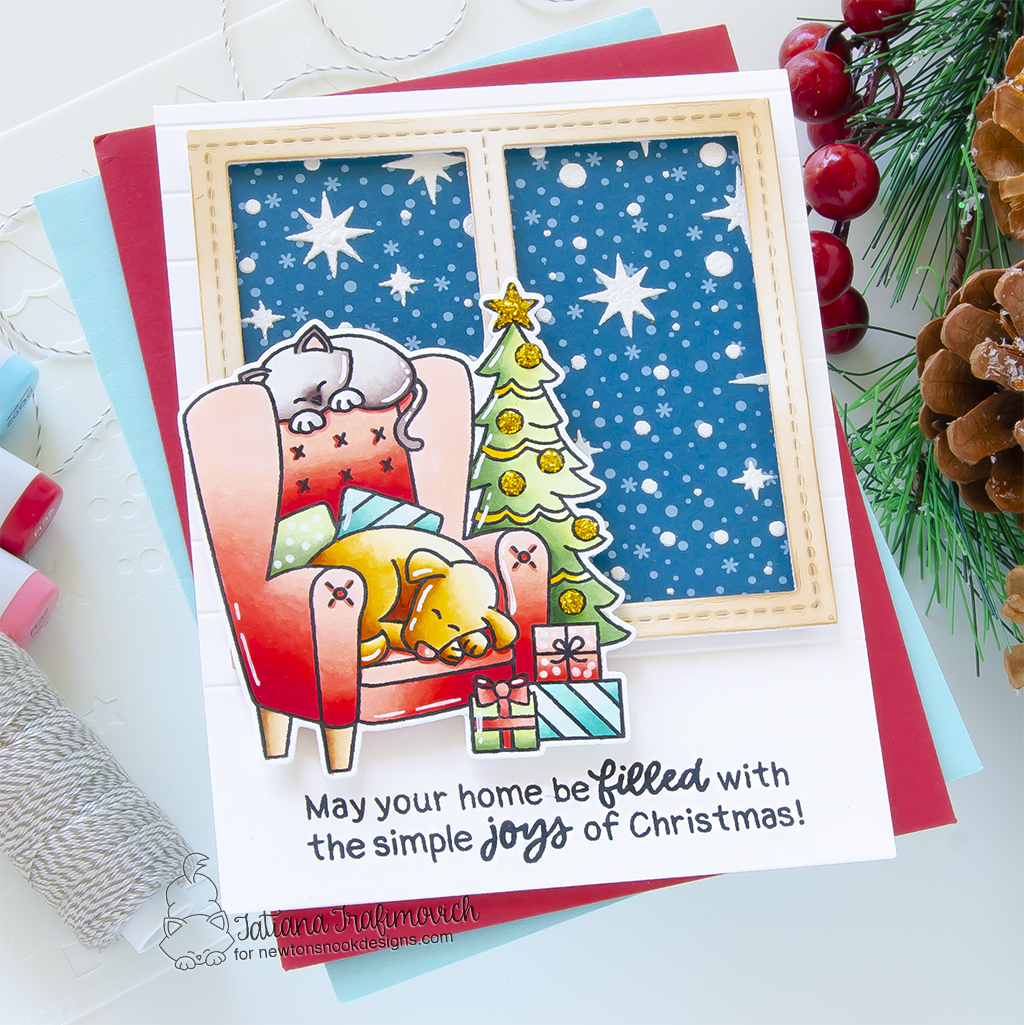
Key Ingredients:
- Christmas Nap Stamp Set
- Christmas Nap Die Set
- Christmas Time Paper Pad
- A7 Frames & Banners Die Set
- Starfield Stencil
Step By Step Instructions:
- Die cut from Neenah Solar White paper all the elements you need, using the coordinating Christmas Nap Die Set and Sizzix Big Shot Die Cutting machine. Save the negative parts of the dies.
- Stamp the outline illustration from Christmas Nap Stamp Set with Memento Tuxedo Black ink, using the negative parts of the dies as a guide for a perfect alignment inside the stamping positioning tool.
- Color the stamps with COPIC MARKERS. I used on this card:
- dog YR30-YR31-Y32-YR23-YR24-YR27
- cat W00-E70-E71-E74-E77 & W2
- red R000-R00-R20-R21-R22-R24-R27-R89
- teal BG0000-Bg10-BG11-BG13
- green G20-G21-G24-G28
- brown E30-E31-E35
- yellow Y13-Y15
- Trim and score an extended A2 size card base (5 1/2″ x 4 1/4″) from Neenah Solar White paper.
- Stamp the sentiment towards the bottom part of the card front with Memento Tuxedo Black ink.
- Score some horizontal lines towards the top part of the card front, using a paper trimmer with a scoring blade to add a bit of texture.
- Partially die cut two times from Neenah Solar White paper a window frames, using A7 Frames & Banners Die Set.
- Glue together both layers with Distress Collage Medium Matte and ink the window frame with Vintage Photo Distress Oxide ink, using the blending brush and a very light hand.
- Trim a piece of a blue snowy pattern paper from Christmas Time Paper Pad large enough to cover the window frame.
- Secure Starfield Stencil to the pattern paper with a low tack tape to prevent any movement and spread a white dimensional paste all across with a palette knife.
- While the embossing paper is still wet, sprinkle some WOW Neutral Ultra Shimmer Embossing Glitter on top and let the embossing paste air dry.
- Shake off the excess of the glitter and heat set the stars to add some extra shimmer and shine.
- Arrange and glue in place all the elements on the card base, by popping some on a foam tape for a fun dimensional look.
- Finish with a few highlights added with a white gel pen and some golden glittery dimensional details by applying Glossy Accents first and then sprinkling some fine gold glitter on top. Let the Glossy Accents air dry before shaking off the excess of the glitter.
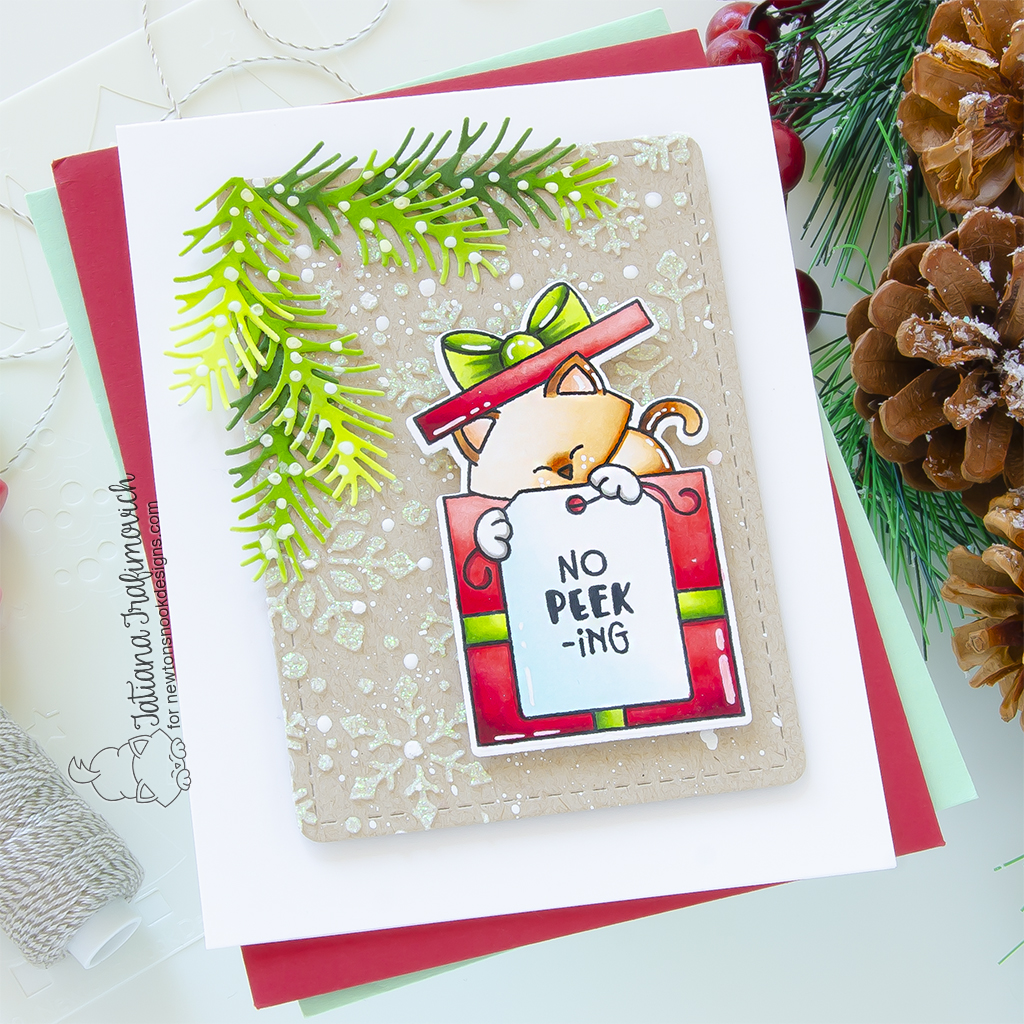
Key Ingredients:
- Newton’s Gift Stamp Set
- Newton’s Gift Die Set
- Frames & Flags Die Set
- Pines & Holly Die Set
- Snowfall Stencil
Step By Step Instructions:
- Die cut from Neenah Solar White paper all the elements you need, using the coordinating Newton’s Gift Die Set and Sizzix Big Shot Die Cutting machine. Save the negative parts of the dies.
- Stamp the outline illustration from Newtons’ Gift Stamp Set with Memento Tuxedo Black ink, using the negative parts of the dies as a guide for a perfect alignment inside the stamping positioning tool.
- Die cut from Neenah Solar White paper some pine branches, using Pines & Holly Die Set.
- Color the stamps and the dies with COPIC MARKERS for a perfect match. I used on this card:
- cat E0000-E50-E51-E53-E55-E57-E59 & W3 & R00-R12
- red R32-R35-RV29-R39
- green YG01-YG03-YG25-YG67
- teal BG0000-BG000
- Trim and score an extended A2 size card base (5 1/2″ x 4 1/4″) from Neenah Solar White paper.
- Die cut a stitched frame from Neenah Desert Storm paper, using Frames & Flags Die Set.
- Secure Snowfall Stencil to the kraft paper with a low tack tape to prevent any movement and spread Moonstone Glimmer Paste from Nuvo from the top left corner with a palette knife. Let the embossing paste air dry.
- Splatter the kraft background with some tiny dots of a white gouache diluted with a small amount of water.
- Arrange and glue in place all the elements on the card base, by popping some on a foam tape for a fun dimensional look.
- Finish with a generous coat of a clear glitter pen and a few highlights added with a white gel pen.
Would you like to win the “Christmas Nap” or the “Newton’s Gift” Stamp Set? We will choose ONE lucky winner for each stamp set!
Here’s how to win: Comment on the NND blog and Design Team blogs (see list below)! The winner will be chosen at random from the collective reveal posts. Make sure to check out each of their blogs and comment for your chance to win. You will not know which blog has been chosen so the more you comment on the better your chances are of winning! You have until Thursday October 13th at 9pm ET to comment — winners will be announced on the blog post on Friday October 14th.
Check out all the awesome Design Team Blogs below to enter:
Newton’s Nook Designs
Donna Idlet
Ellen Haxelmans
Tina Herbeck
Larissa Heskett
Samantha Mann
Zsofia Molnar
Maria Russell
Farhana Sarker
Tatiana Trafimovich <– you’re here
Amanda Wilcox
That’s all for today! Hope you like these cute holiday card! Thanks so much for stopping by and have a fabulous day!
Hugs,
Tatiana

15 comments
Wonderful creations with step by srrep directions. Especially like the window made wuurh die and detail of scoring added. Wonderful background & coloring of tag.
Melissa
“Sunshine HoneyBee”
Your backgrounds are magical!
Oh, I love your addition of the window! This scene is extra special—I love the little doggy and kitty snuggled up in the warmth.
Love ❤️ both cards. I appreciate your step by step detailed instructions. The embossed backgrounds are wonderful.
Your cards are wonderful!
Fantastic cards!
I LOVE your cards!!! Gorgeous!!!
You created such an adorable scene on your first card and I love that background on the second card!
I LOVE the dog and cat on the chair! So cozy!!! I LOVE the window you did!
Super cute cards – great coloring!! And so very festive.
Your cards are awesome!
Love new stamps!
Love your cards! Adorable window scene with the Christmas Nap design, and an darling card with the Newton’s Gift image! Pretty details and coloring on both cards!
Love your cozy winter scene with the window showing a snowy outdoor view on your Christmas nap card! The addition of the stenciled snowflakes with embossing paste creates some great dimension on your Newton’s Gift card!
Adorable cards and bonus for detailed instructions! Love these!
Love the window behind the sleeping pair.
Wonderful card. thanks for sharing