Hello and welcome!
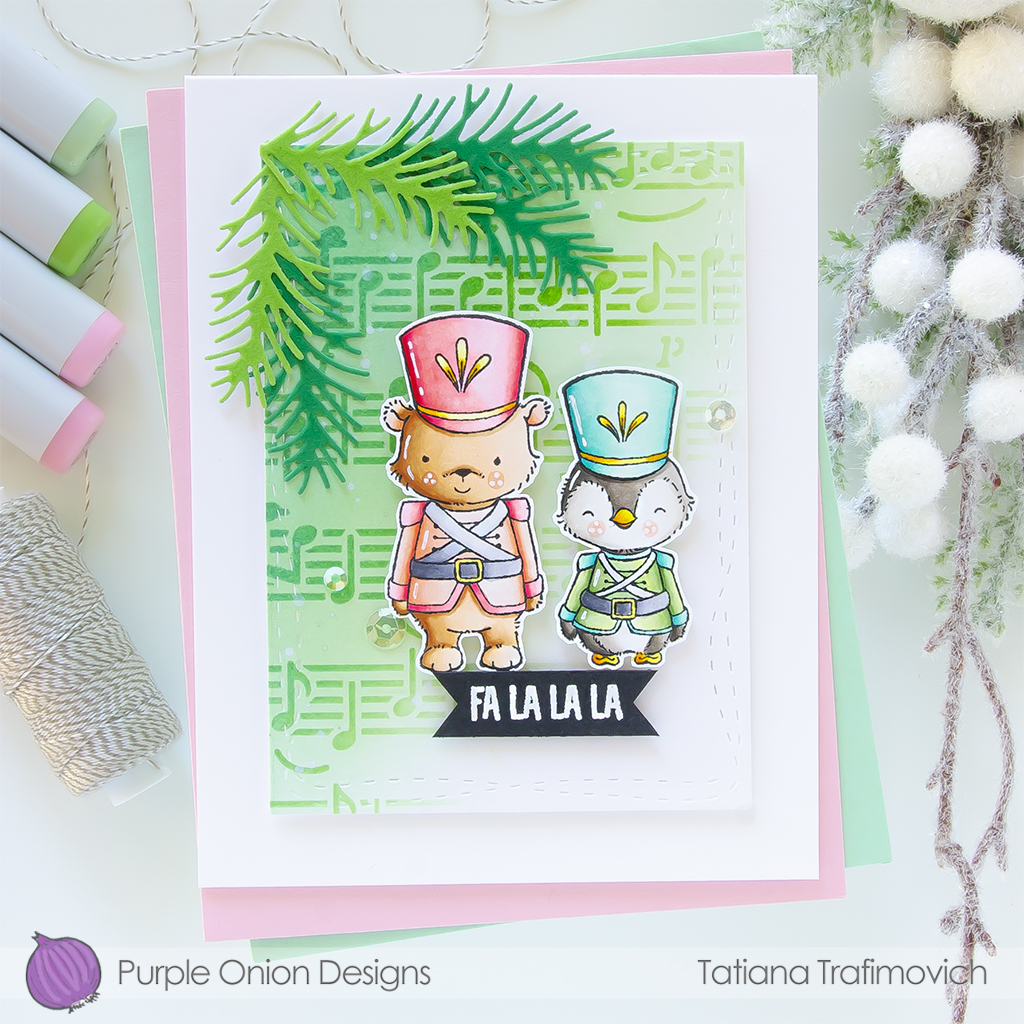
Thanks so much for joining me today! I keep sharing more samples that feature the new holiday release from Purple Onion Designs! The stunning new “A Little Christmas Magic!” collection of rubber stamps is designed by Stacey Yacula and includes a lot of adorable winter and holiday dressed critters paired with amazing big backgrounds and the coordinating holiday sentiment set!

SALE ALLERT! For a limited time, the complete collection will be offered as a bundle with a 30% discount and will sell for $152.00. The “A Little Christmas Magic!” bundle consists of all 31 stamps/stamp sets and the coordinating “Santa Sentiments” Set (8 sentiments).
The special bundle price discount ends on Saturday, November 5, 2022.

Key Ingredients:
Step By Step Instructions:
- Stamp on Neenah Solar White paper Graham (Bear Solider) and Tristan (Penguin Soldier) with Memento Tuxedo Black ink.
Designer’s Tip:
Since rubber stamps from Purple Onion Designs come unmounted, you will need a temporary mounting solution to work with. A Clear Mounting Stamp is one of the options. You can apply this clear stamp on an acrylic block or acrylic stamping platform to hold your unmounted stamps in place while stamping. Remove and store it when finished until next time. The clear stamp can be cleaned with water and a little liquid soap.
- Fussy cut all the stamps with the sharp small scissors, leaving a little white edge around.
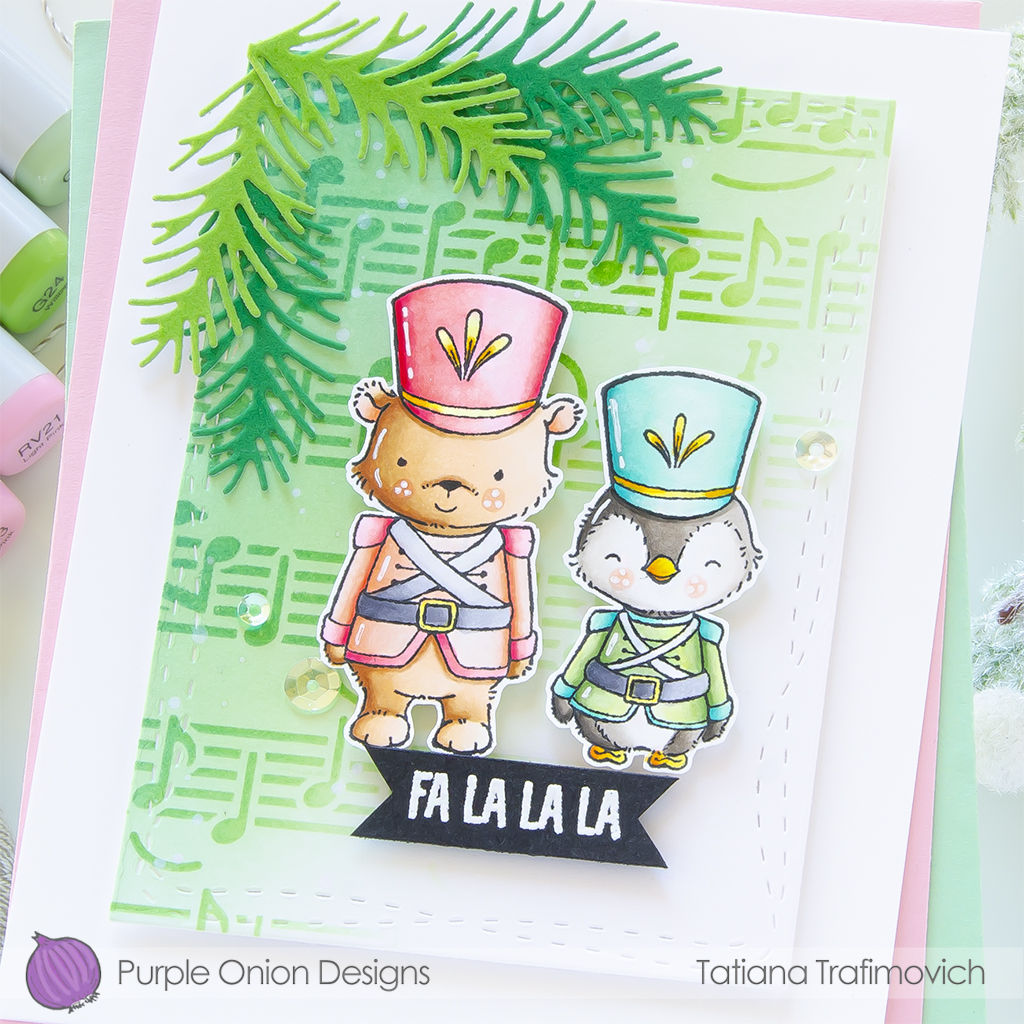
- Color all the elements with COPIC MARKERS. I used:
- bear E000-E30-E31-E33-E35
- penguin W00-W1-W3-W5-W7
- green G20-G21-G24
- teal BG10-BG11-BG13-BG15
- peach pink R0000-R000-R00-R01-R12-R14
- pink RV0000-RV00-RV21-RV23-RV25
- yellow Y000-Y13-Y35-YR04
- grey C00-C1-C3-C6
- Trim and score an extended A2 size card base (5 1/2″ x 4 1/4″) from Neenah Solar White paper.
- Die cut from the same Neenah Solar White paper a stitched rectangle, using Whimsically Wonky Imperial Rectangles Dies and Sizzix Big Shot Die Cutting machine.
- Secure Music Stencil with a low tack tape on the white rectangle and ink the pattern at an angle with Evergreen Bough Distress and Mowed Lawn Distress inks, using the blending brushes.
- Lift up the stencil and keep blending the background with a lighter hand until you’re happy with the result.
- Splatter the inked background with some tiny drops of a pearlized solution or water to add more interest.
- Die cut from Emerald Green and Green Envy Flock Transfer Sheets some pine branches, using Pine & Holly Die Set and Sizzix Big Shot Die Cutting machine.
- Heat emboss in white onto black the sentiment from Furry Friends Sentiment Set with VersaMark Clear Embossing Ink. Don’t forget to prep the paper with a Powder Tool Applicator to prevent the embossing powder to stick where you don’t want it!
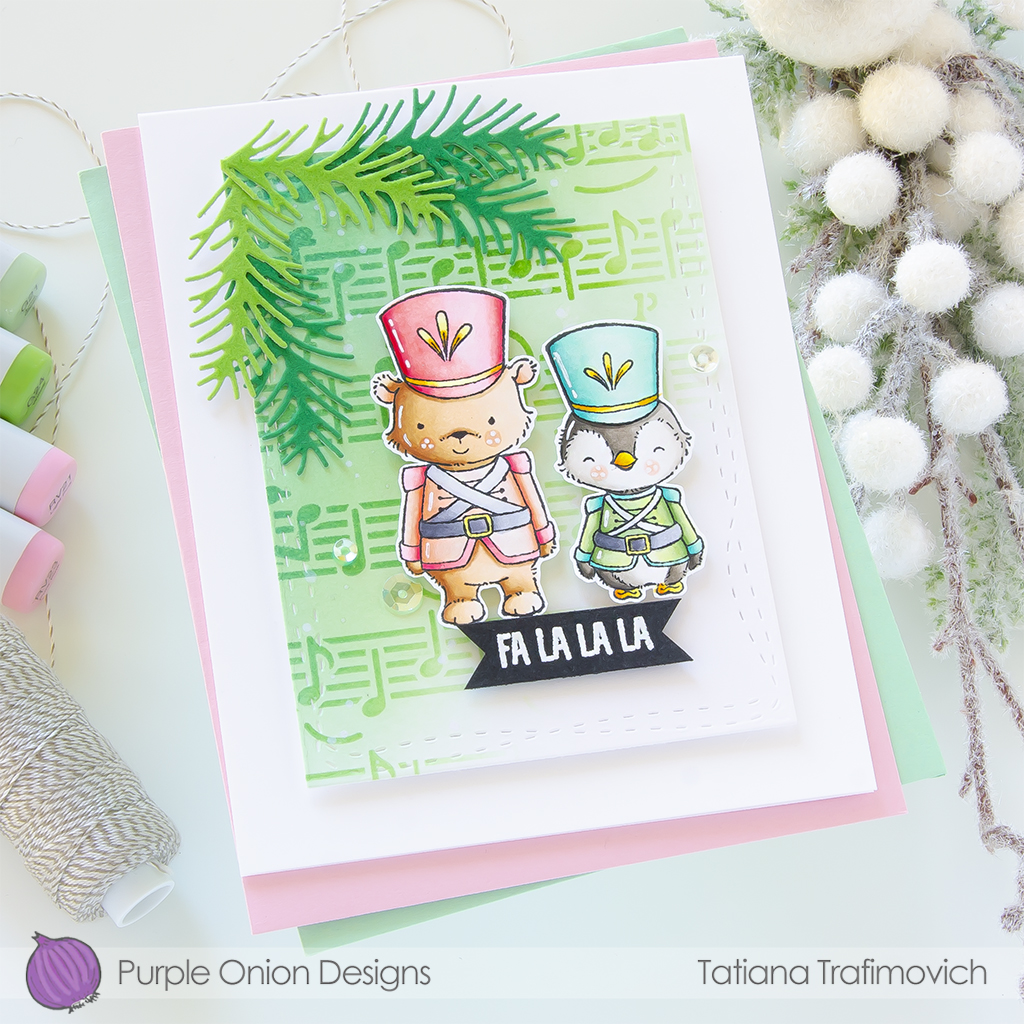
- Arrange and glue in place all the elements on the card front, by popping some of them on a foam tape for a fun dimensional look.
- Finish with a coat of a clear glitter pen, a few highlights added with a white gel pen and some clear sparkling sequins.

That’s all for today! Hope you like this cute holiday card! Thanks so much for stopping by and have a fabulous day!
Hugs,
Tatiana
