Hello and welcome!
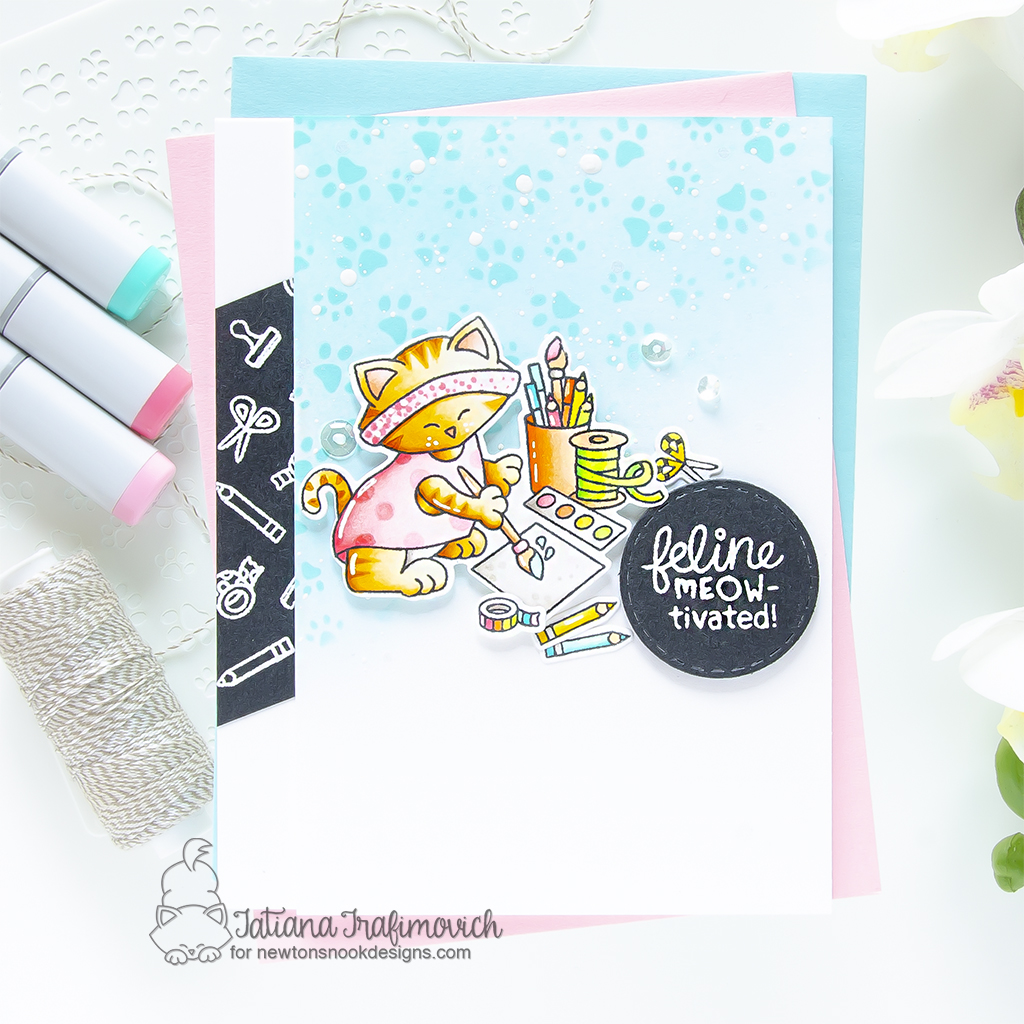
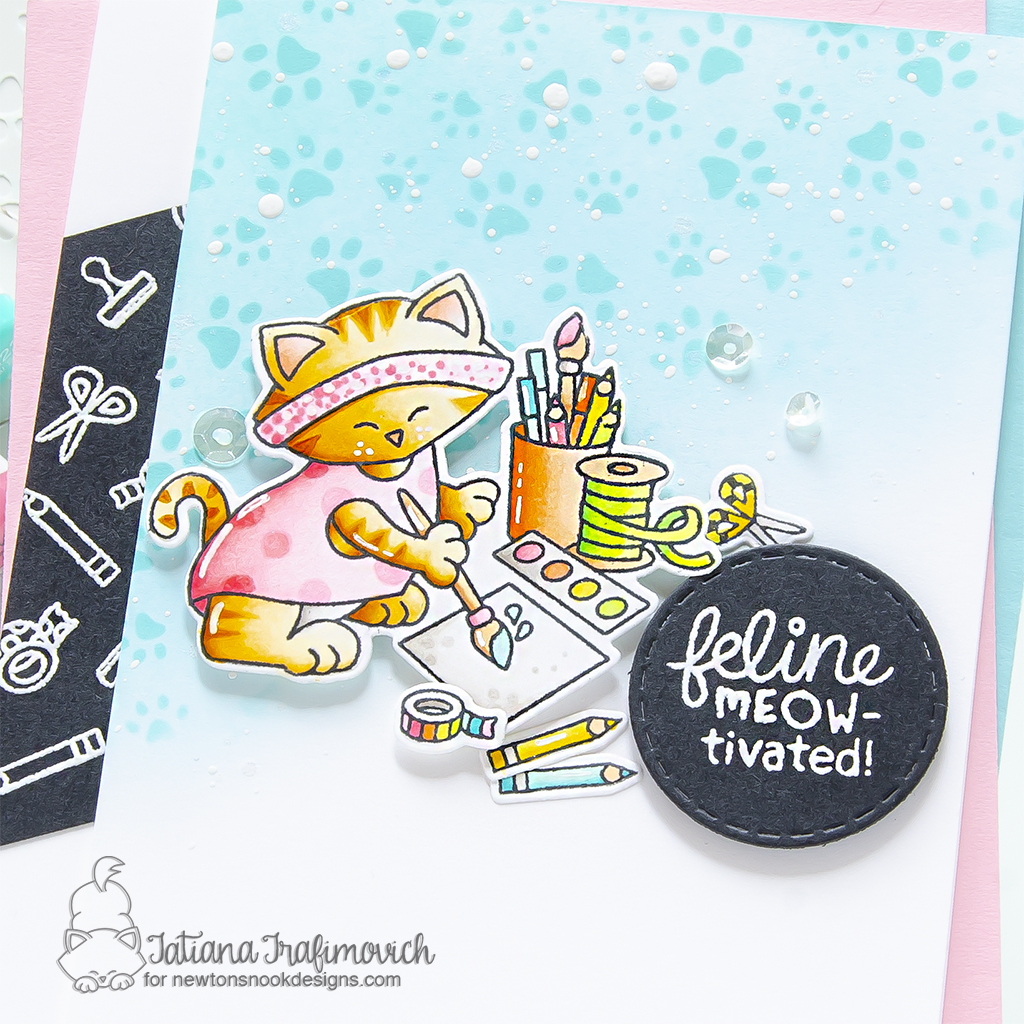
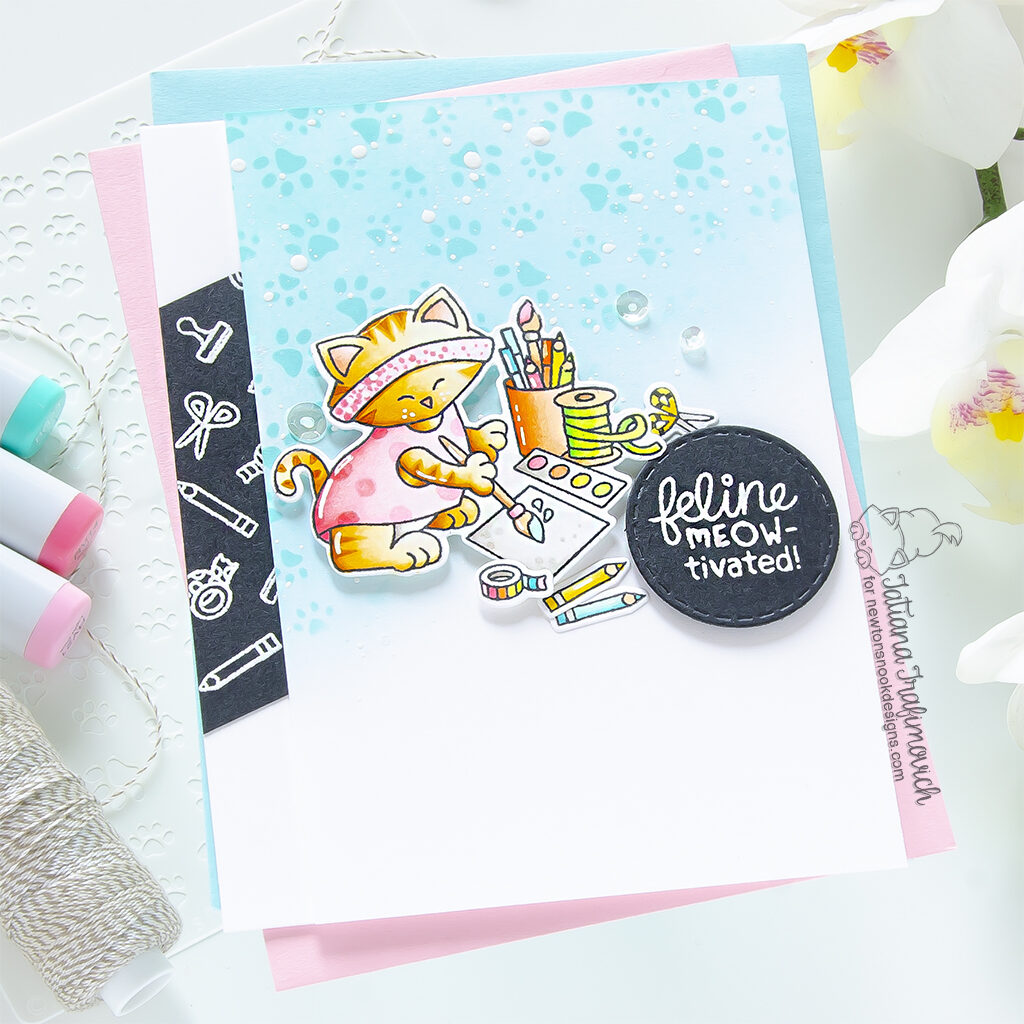
I’m so glad you’ve joined me today and even more excited to be on the Newton’s Nook Designs blog, sharing a cute crafty card that features the most adorable kitty from Newton’s Crafty Cardio Stamp Set.

I thought that it would be nice to start the new year with a purr-fect crafty motivation and make the cardmaking themed project! I kept everything quite simple, highlighting the cute illustrations with a copic coloring and arranging them on a light inked background. Then I added a little twist by heat embossing a piece of my own pattern paper.

Key Ingredients:
- Newton’s Crafty Cardio Stamp Set
- Newton’s Crafty Cardio Die Set
- Circle Frames Die Set
- Petite Paw Prints Stencil
Step By Step Instructions:
- Die cut from Neenah Solar White paper all the elements you need, using the coordinating Newton’s Crafty Cardio Die Set and Sizzix Big Shot Die Cutting machine. Save the negative parts of the dies.
- Stamp the outline illustrations from Newton’s Crafty Cardio Stamp Set with Memento Tuxedo Black ink, using the negative parts of the dies as a guide for a perfect alignment inside the stamping positioning tool.
- Color the stamp with COPIC MARKERS. I used on this card:
- cat YR30-Y32-YR21-YR24-YR27 & ears R00-R12
- yellow Y13-Y18
- orange YR000-YR00-YR02-YR04
- pink RV000-RV00-RV10-RV13
- green YG00-YG01-YG06
- teal BG10-BG11-BG15
- brown E30-E33
- gray W00-W1-W3
- Die cut a stitched circle from a black cardstock, using Circle Frames Die Set.
- Heat emboss in white onto black the sentiment from Newton’s Crafty Cardio Stamp Set with VersaMark Clear Embossing Ink. Don’t forget to prep the paper with a Powder Tool Applicator to prevent the embossing powder to stick where you don’t want it!
- Heat emboss in white onto black the small stamps from the same Newton’s Crafty Cardio Stamp Set to create a piece of patterned paper.
- Trim and score an extended A2 size card base (5 1/2″ x 4 1/4″) from Neenah Solar White paper.
- Trim a slightly smaller rectangle from the same Neenah Solar White paper to use as a background.
- Secure Petite Paw Prints Stencil with a low tack tape on the background and ink it at an angle with Tumbled Glass Distress Oxide and Salvaged Patina Distress Oxide inks.
- Lift up the stencil and keep inking the background with a lighter hand to fill in the whole area. Use the blending brushes to achieve a smooth and nice blending.
- Splatter the inked background with some tiny dots of a white gouache.
- Arrange and glue in place all the elements on the card front by popping some of them on a foam tape for a bit of dimension.
- Finish with a few highlights added with a white gel pen and some clear sparkling sequins adhered with Distress Collage Medium Matte.

That’s all for today! Hope you like this cute card will inspire you! Thanks so much for stopping by and have a fabulous day!
Hugs,
Tatiana
