Hello and welcome!
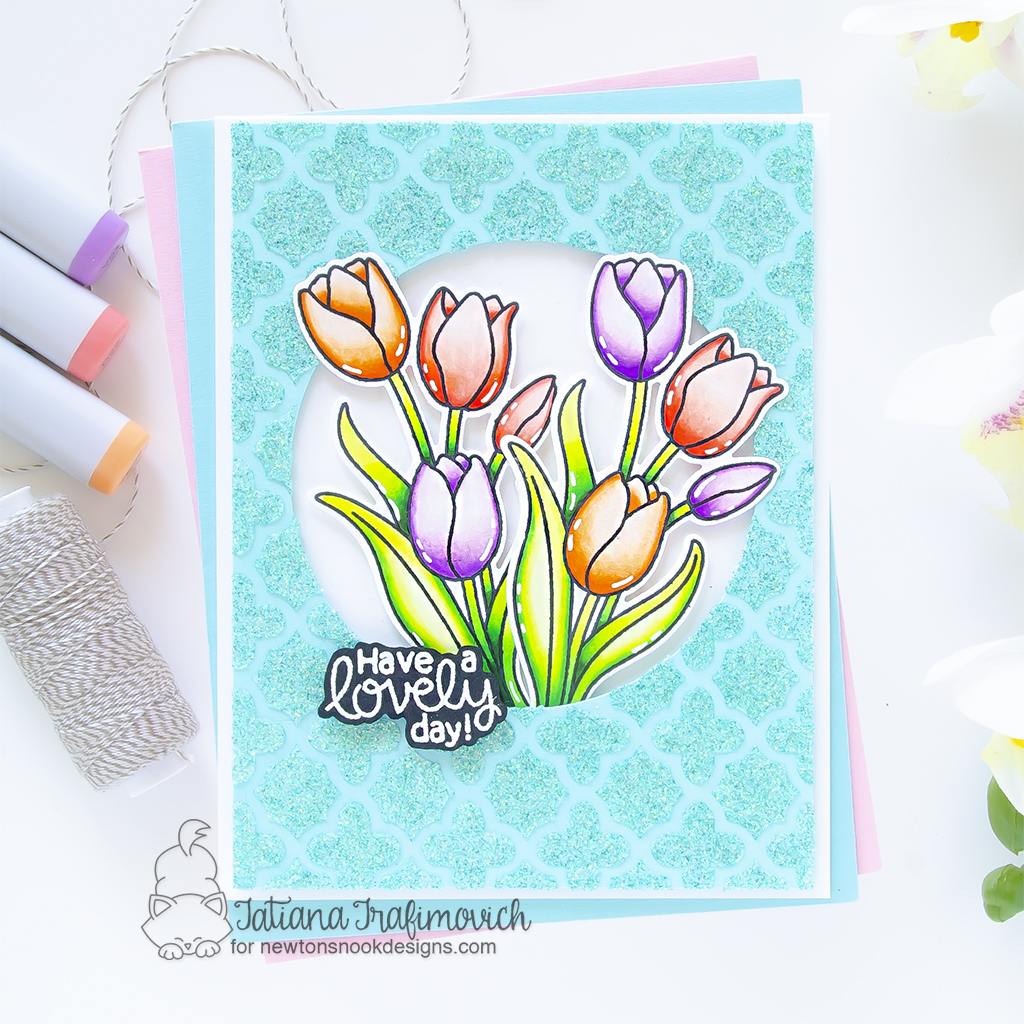
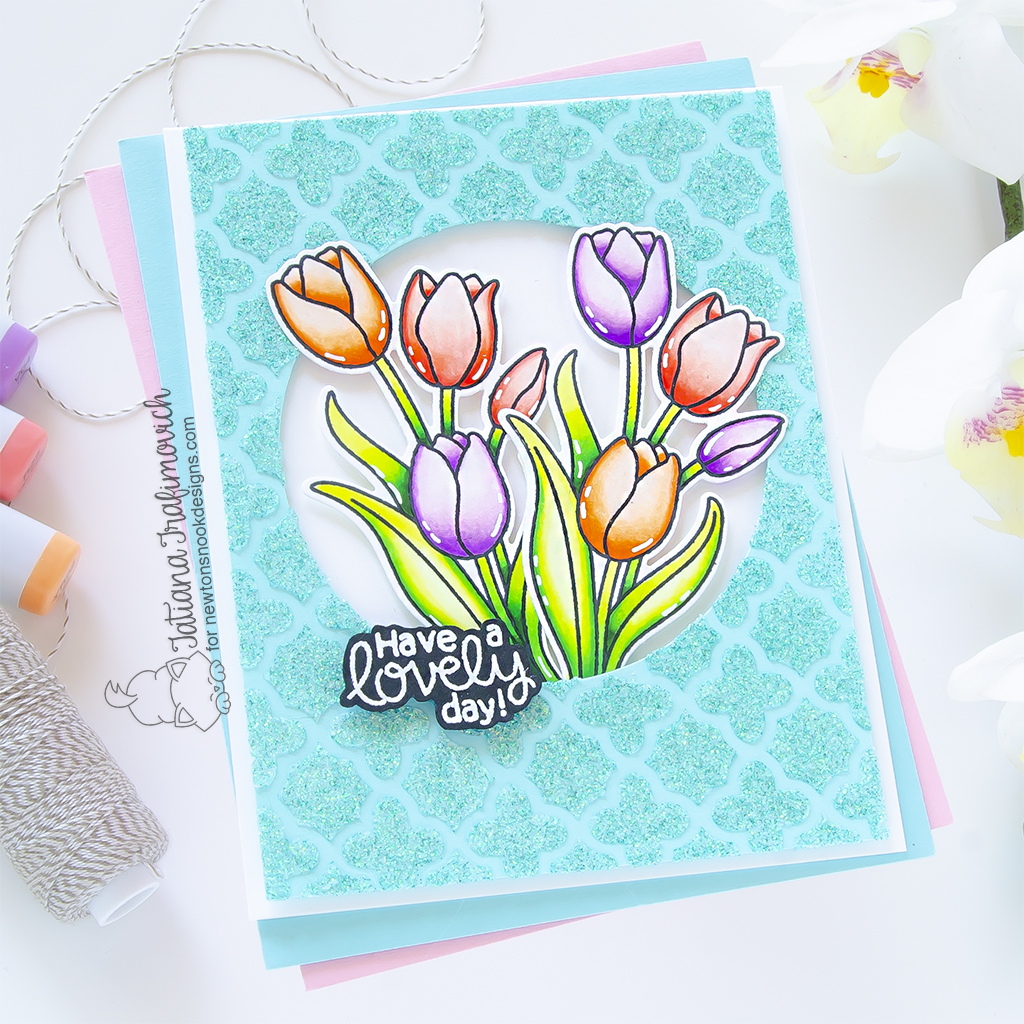
I’m so glad you’ve joined me today and even more excited to be on the Newton’s Nook Designs blog, sharing a lovely and sweet floral card that features the most beautiful Tulips Stamp Set.

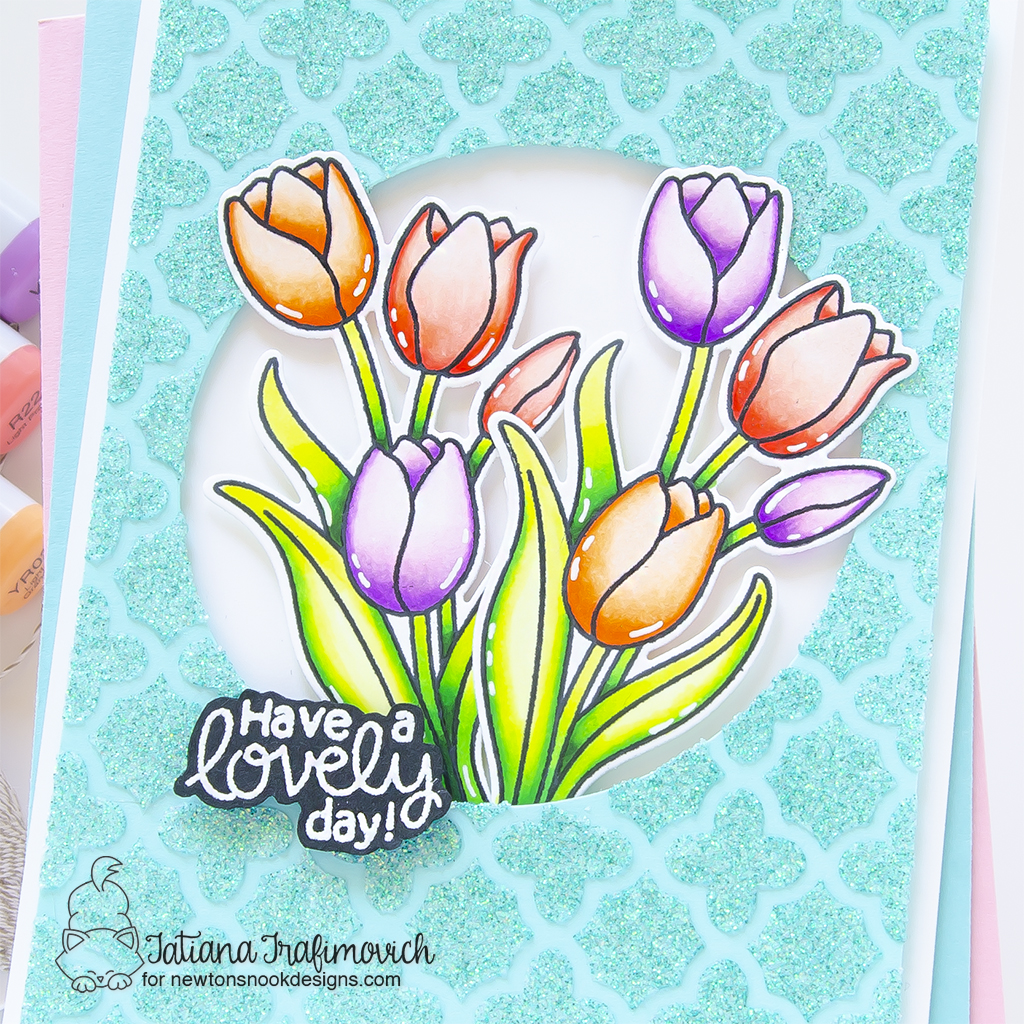
It’s been a while since I worked with floral illustrations! And so I reached for my favorite tulips and just enjoyed coloring them with my copic markers. Then I created a simple light turquoise background with lots of shimmer and shine. Finally I completed this simple card with a heat embossed sentiment.

Key Ingredients:
Step By Step Instructions:
- Die cut from Neenah Solar White paper two clusters of tulips, using the coordinating Tulips Die Set and Sizzix Big Shot Die Cutting Machine or Spellbinders Platinum 6 Die Cutting Machine. Save the negative parts of the dies.
- Stamp the outline illustrations from Tulips Stamp Set with Memento Tuxedo Black ink, using the negative parts of the dies as a guide for a perfect alignment inside the stamping positioning tool.
- Color the stamps with COPIC MARKERS. I used on this card:
- red R000-R20-R21-R22
- orange YR0000-YR000-YR00-YR02
- violet V0000-V000-V01-V04
- green YG0000-YG00-YG01-YG06-YG09-G28
- Trim and score an extended A2 size card base (5 1/2″ x 4 1/4″) from Neenah Solar White paper. I used Tim Holtz Maxi Guillotine Trimmer and Mini Score Board.
- Trim a slightly smaller rectangle from aqua cardstock. I used Concord and 9th Cardstock in Aqua Sky color.
- Die cut a circle in the center of the light blue panel, using Circle Frames Die Set.
- Secure Quatrefoil Stencil on the teal background piece with a low tack tape.
- Mix Moonstone Glimmer Paste from Nuvo with a tiny amount of Turquoise Sea Glitz Glitter Gel from Gina K on a sleek surface like Ranger Craft Sheet, helping yourselves with Palette Knives. Spread the glittery mix through the stencil. Carefully lift up the stencil and immediately wash it with a warm water and soap. Meanwhile let the embossing paste air dry well.
- Heat emboss in white onto black the sentiment from Tulips Stamp Set, using VersaMark clear sticky ink. Don’t forget to prep the paper with a Powder Tool Applicator to prevent the embossing powder to stick where you don’t want it!
- Fussy cut the sentiment with the sharp small scissors, leaving a little edge around.
- Arrange and glue in place all the elements on the card front by popping some of them on a foam tape for a bit of dimension.
- Finish with a generous coat of a clear glitter pen and a few highlights added with a white gel pen.

That’s all for today! Hope you like this lovely card ! Thanks so much for stopping by and have a fabulous day!
Hugs,
Tatiana

2 comments
“I value companies that often run sales or Top10s Coupons . It demonstrates how much they appreciate their clients and wish to express their appreciation.
Blue Ocean Engineering, in collaboration with specialists from many disciplines, integrates geotechnical investigation findings with input from geologists, hydrologists, and structural engineers. This interdisciplinary approach yields comprehensive project planning.