Hello and welcome!
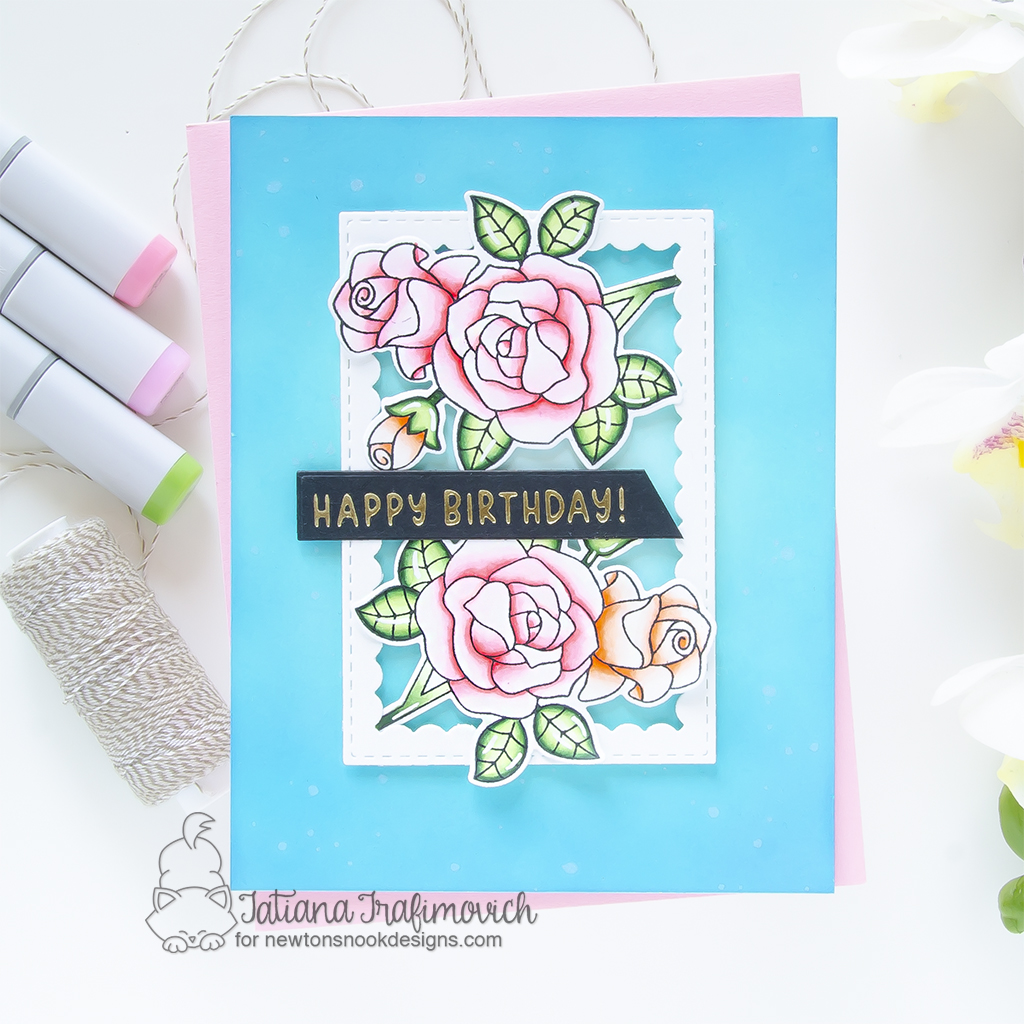
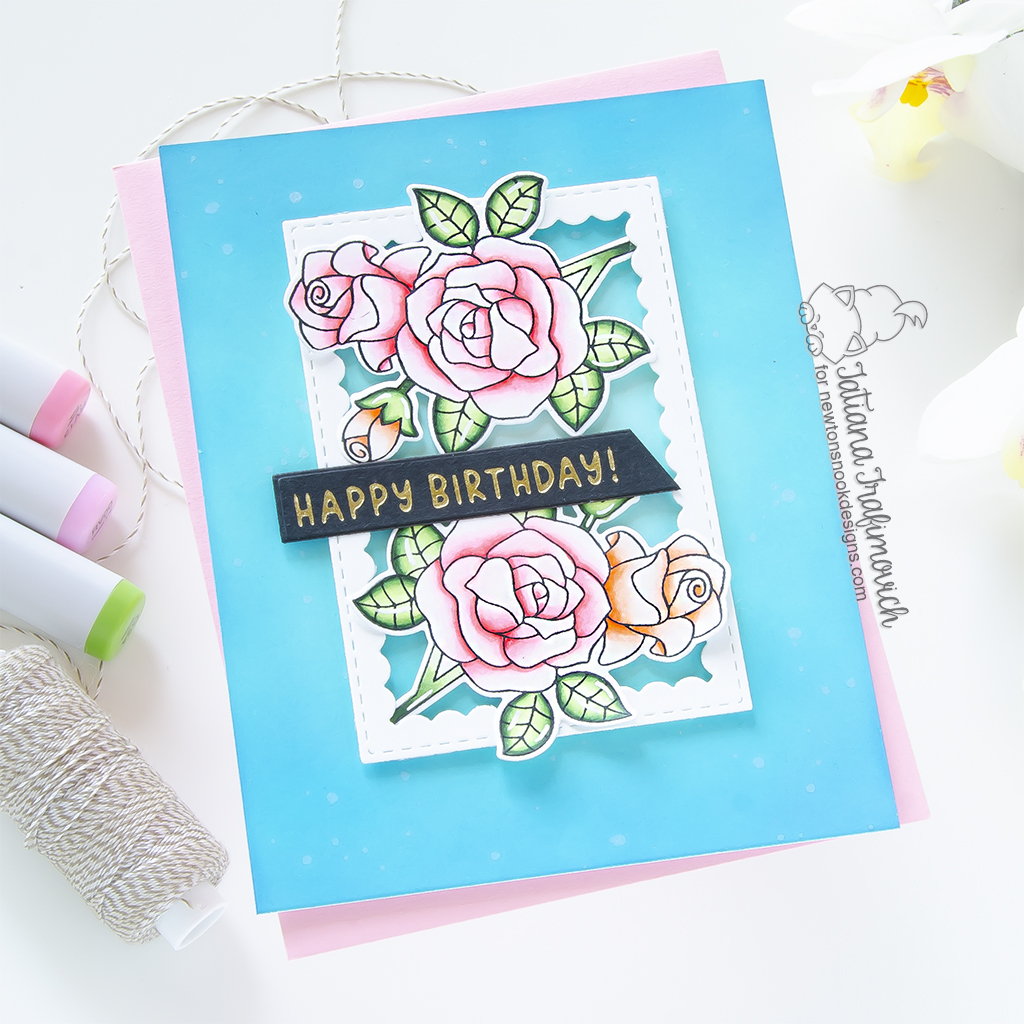
I’m so glad you’ve joined me today and even more excited to be on the Newton’s Nook Designs blog, sharing a sweet floral card that features the most beautiful Roses Stamp Set.

Today I decided to create an intense inked background and then arrange the light floral clusters in the center to creata a fun contrast. I also decided to mix and match some new and old products from my stash and add a hot foil sentiment with a beautiful metallic shine.

Key Ingredients:
- Roses Stamp Set
- Roses Die Set
- Birthday Greetings Hot Foil Plates
- Banner Duo Die Set
- Framework Die Set
Step By Step Instructions:
- Die cut from Neenah Solar White paper two floral clusters, using the coordinating Roses Die Set and Spellbinders Platinum 6 Die Cutting Machine or Sizzix Big Shot Die Cutting Machine. Save the negative parts of the dies.
- Stamp the outline illustrations from Roses Stamp Set with Memento Tuxedo Black ink, using the negative parts of the dies as a guide for a perfect alignment inside the stamping positioning tool.
- Color the stamps with COPIC MARKERS. I used on this card:
- pink rose RV0000-RV000-RV00-RV10-RV13
- coral rose R0000-R000-R00-R01-R02
- green G20-G21-G24-G28
- Trim and score an extended A2 size card base (5 1/2″ x 4 1/4″) from Neenah Solar White paper. I used Tim Holtz Maxi Guillotine Trimmer and Mini Score Board.
- Ink the card front with Salvaged Patina Distress Oxide and Mermaid Lagoon Distress Oxide inks, creating an ombré effect with a lighter area towards the center of the card front. Use the blending brushes to achieve a soft and smooth transition between the colors.
- Splatter the inked background with some tiny droplets of a pearlescent solution.
- Die cut the scalloped frame from the same Neenah Solar White paper, using Framework Die Set.
- Hot foil the sentiment on black, following the instructions of your hot foil system and using Birthday Greetings Hot Foil Plates. You will need both a hot foil system and a die cutting machine for this step. I used:
- Die cut the sentiment with the coordinating banner from Banner Duo Die Set and cut off at an angle one side with the scissors.
- Arrange and glue in place all the elements on the card front by popping them on a foam tape for a bit of dimension.
- Finish with a few highlights added with a white gel pen.

That’s all for today! Hope you like this lovely floral birthday card ! Thanks so much for stopping by and have a fabulous day!
Hugs,
Tatiana
