Hello and welcome to the final day of the the Newton’s Nook Halloween release! I can’t believe how quick this week has passed!!! Thanks so much for joining me these days, for all your kind and sweet comments, love and support!

Please note that all the new Halloween products will be available for purchase on Thursday, September 14th at Newton’s Nook Designs online store and other craft retailers!

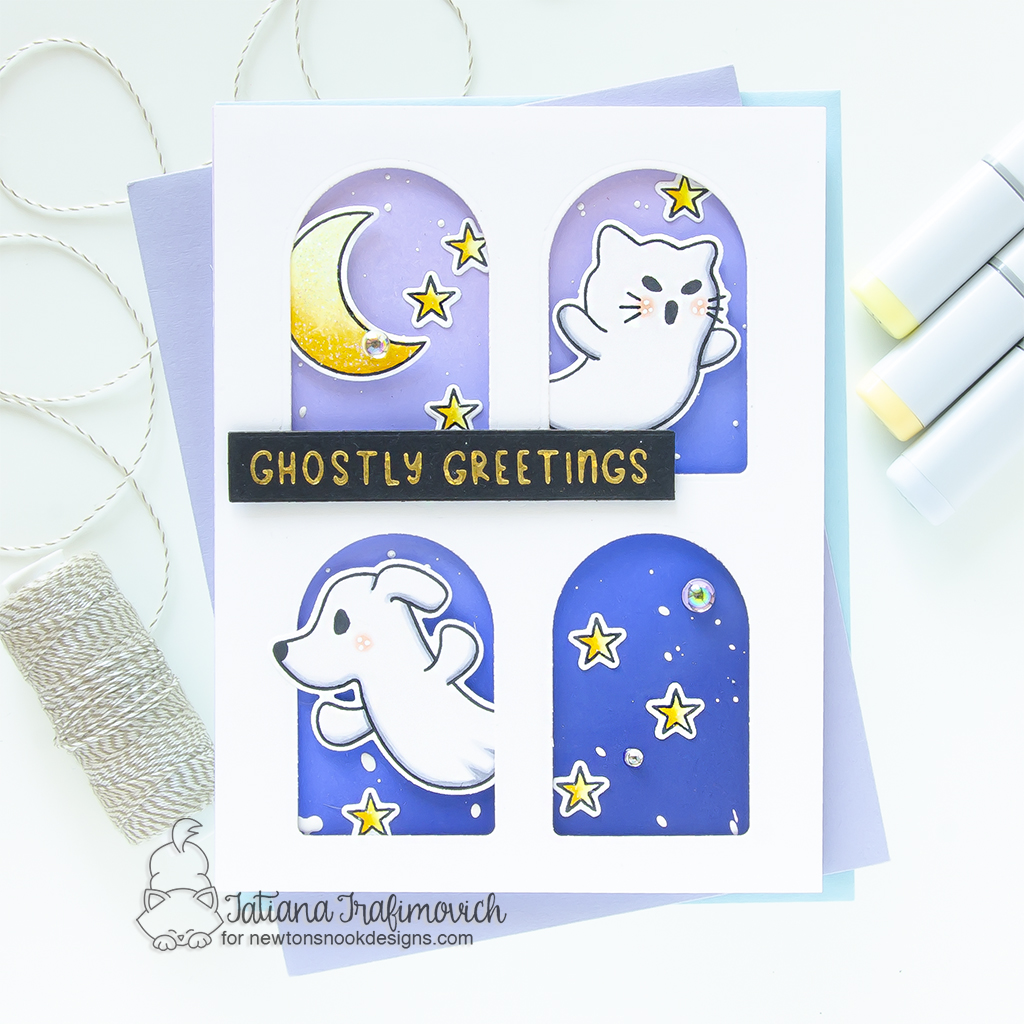
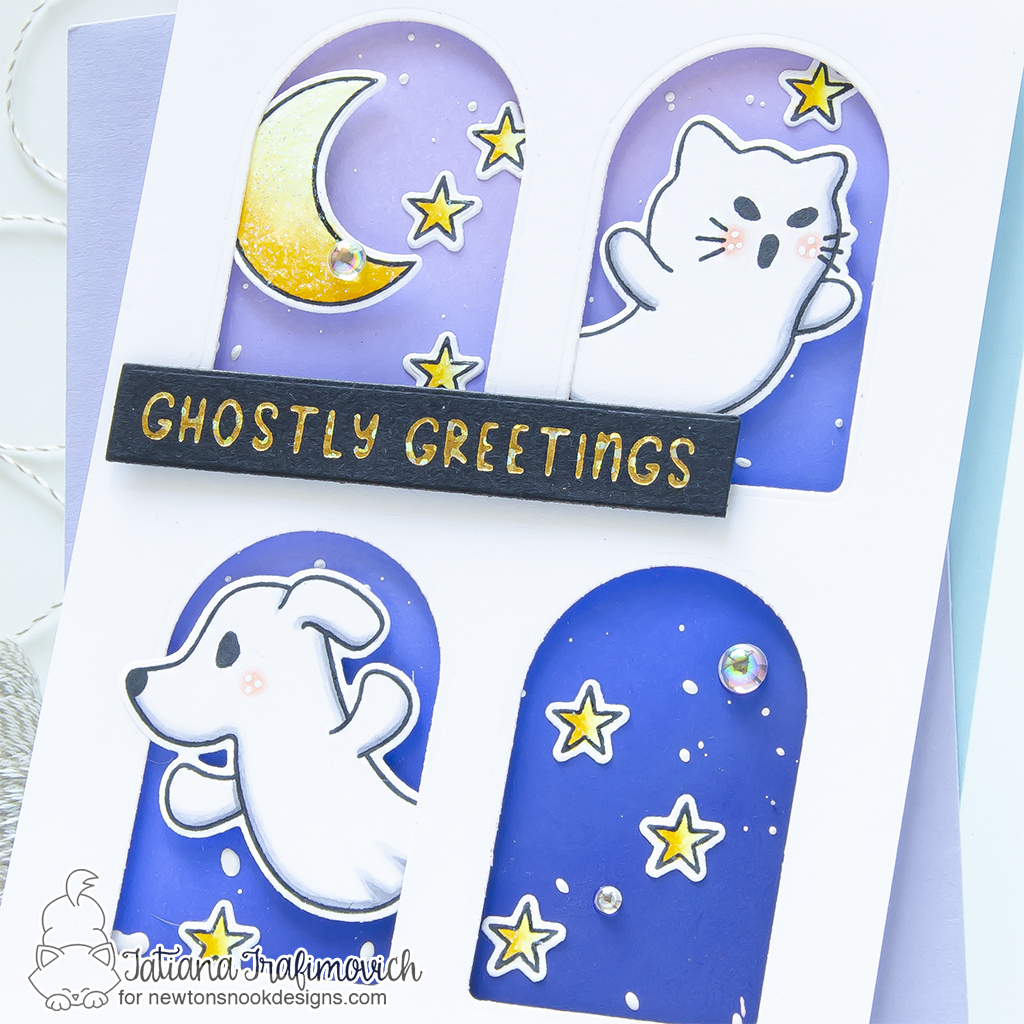
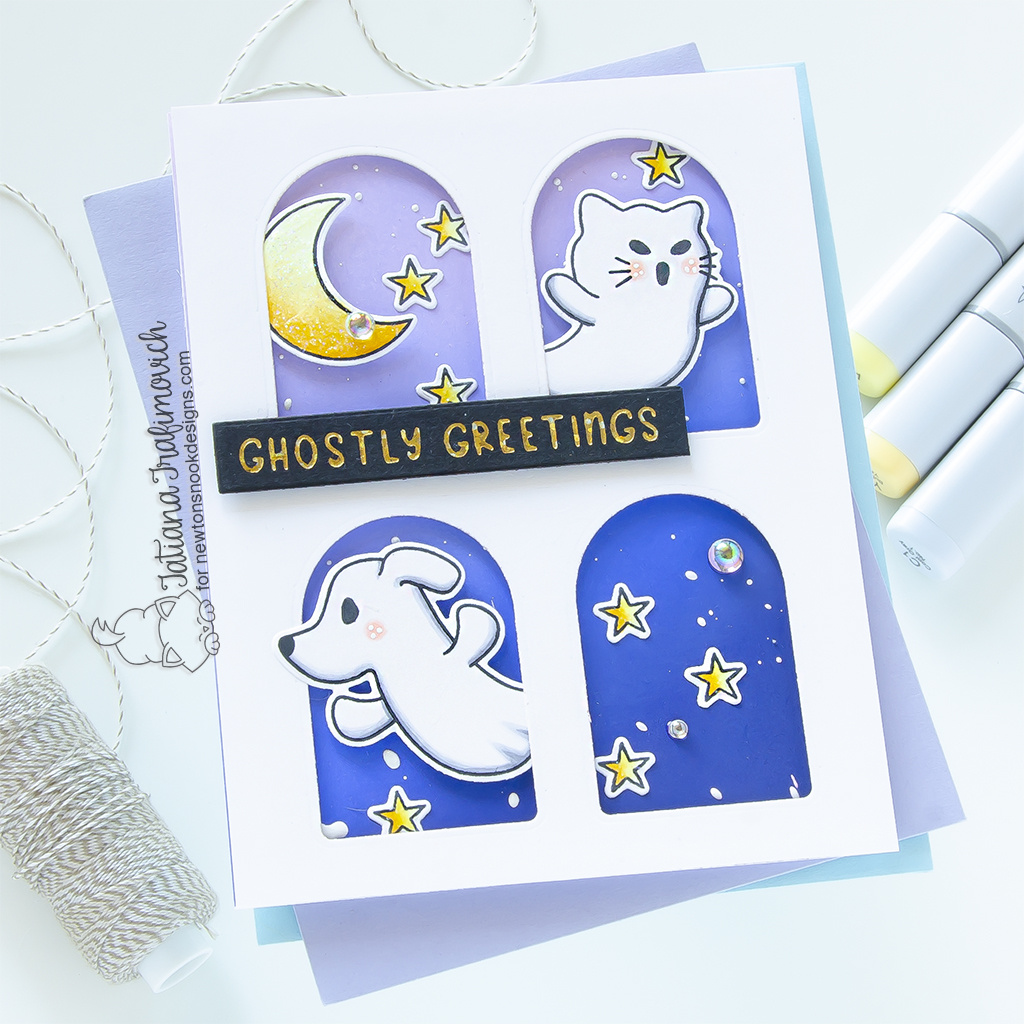
Today, I decided to give you another look on the wonderful Halloween products from the NND new Halloween release, mixing and matching them with a creative twist! I LOVE SO MUCH the curved arch from Labels Hot Foil Plates & Dies and all the ways you can use it on cards and tags! Even the die cut negative space can be used to transform a plane white panel into a fun window! How fun is that!?

Key Ingredients:
- Ghostly Good Times Stamp Set
- Ghostly Good Times Die Set
- Labels Hot Foil Plates & Dies
- Spooky Sentiments Hot Foil Plates
- Banner Duo Die Set
Step By Step Instructions:
- Die cut from Neenah Solar White paper all the elements you need, using the coordinating Ghostly Good Times Die Set and Spellbinders Platinum 6 Die Cutting Machine or Sizzix Big Shot Die Cutting Machine. Save the negative parts of the dies.
- Stamp the outline illustrations from Ghostly Good Times Stamp Set with Memento Tuxedo Black ink, using the negative parts of the dies as a guide for a perfect alignment inside the stamping positioning tool.
- Color the stamps with COPIC MARKERS. I used on this card:
- ghosts C0-C1-C3 & blush R30;
- the Moon & stars Y000-Y11-Y21-Y23.
- Trim and score an extended A2 size card base (5 1/2″ x 4 1/4″) from Neenah Solar White paper. I used Tim Holtz Maxi Guillotine Trimmer and Mini Score Board.
- Ink the card front with Distress inks, helping yourself with the blending brushes. I picked:
- Splatter the inked background with some tiny droplets of a white gouache.
- Trim another 5 1/2″ x 4 1/4″ panel from Neenah Solar White paper.
- Die cut four arched labels, using Labels Dies to create a window panel.
- Hot foil on black the Spooky Sentiments Hot Foil Plate, following the instructions of your hot foil system. You will need both a hot foil system and a die cutting machine for this step. I used:
- Partially die cut the sentiment, using a banner from Banner Duo Die Set.
- Arrange and glue in place all the elements on the card front by popping them on a foam tape for a bit of dimension.
- Add a coat of Fairy Dust Stencil Paste on the Moon and the stars to make them sparkle.
- Finish with a couple of iridescent clear drops adhered with a clear matte adhesive like Bearly Art Precision Craft Glue.

Please, keep hopping along for more inspiration through all the awesome Design Team Blogs below:
Newton’s Nook Designs
Ellen Haxelmans
Larissa Heskett
Samantha Mann
Diane Morales
Farhana Sarker
Tatiana Trafimovich <– you’re here
Amanda Wilcox
That’s all for today! Hope you like this fun ghostly card! Thanks so much for stopping by and have a fabulous day!
Hugs,
Tatiana

2 comments
This is just TOO cute!!
this card is super cute!
love kitty ghost!