Hello and welcome!
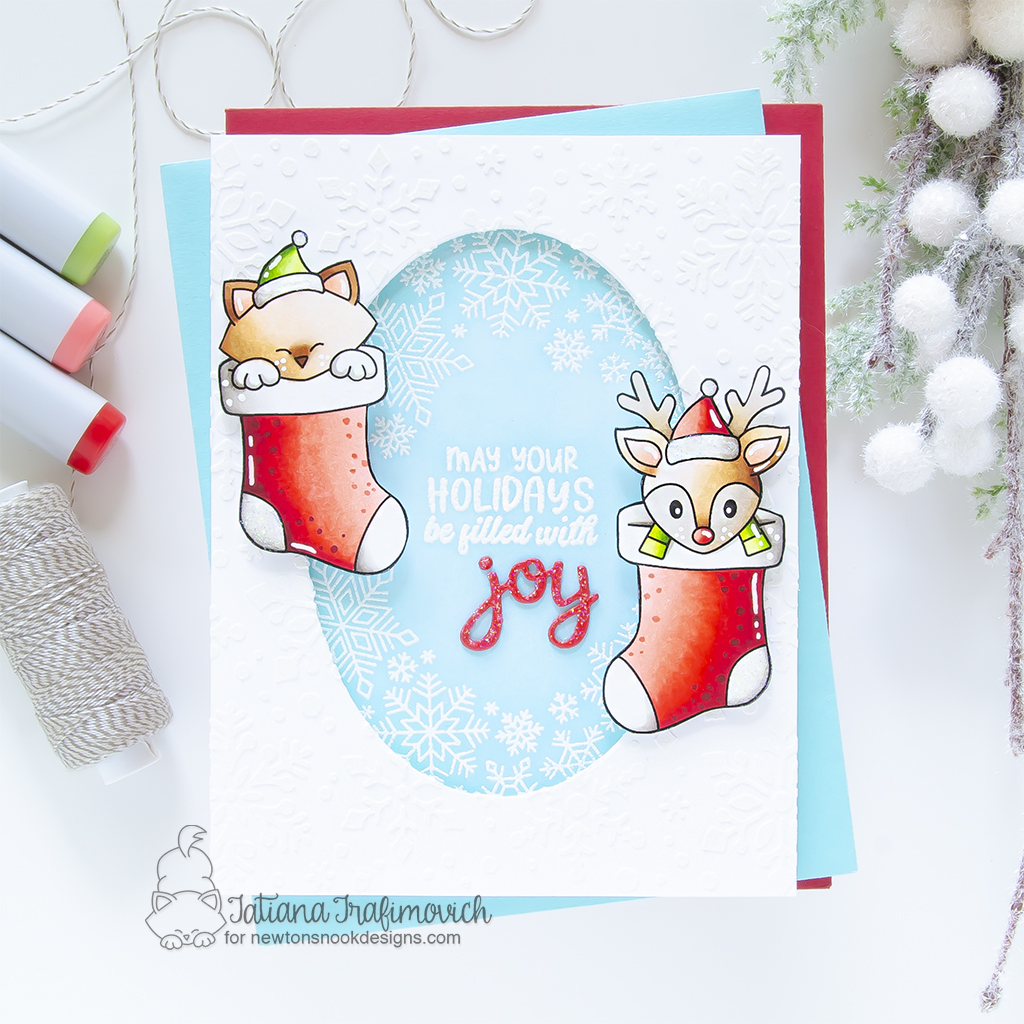
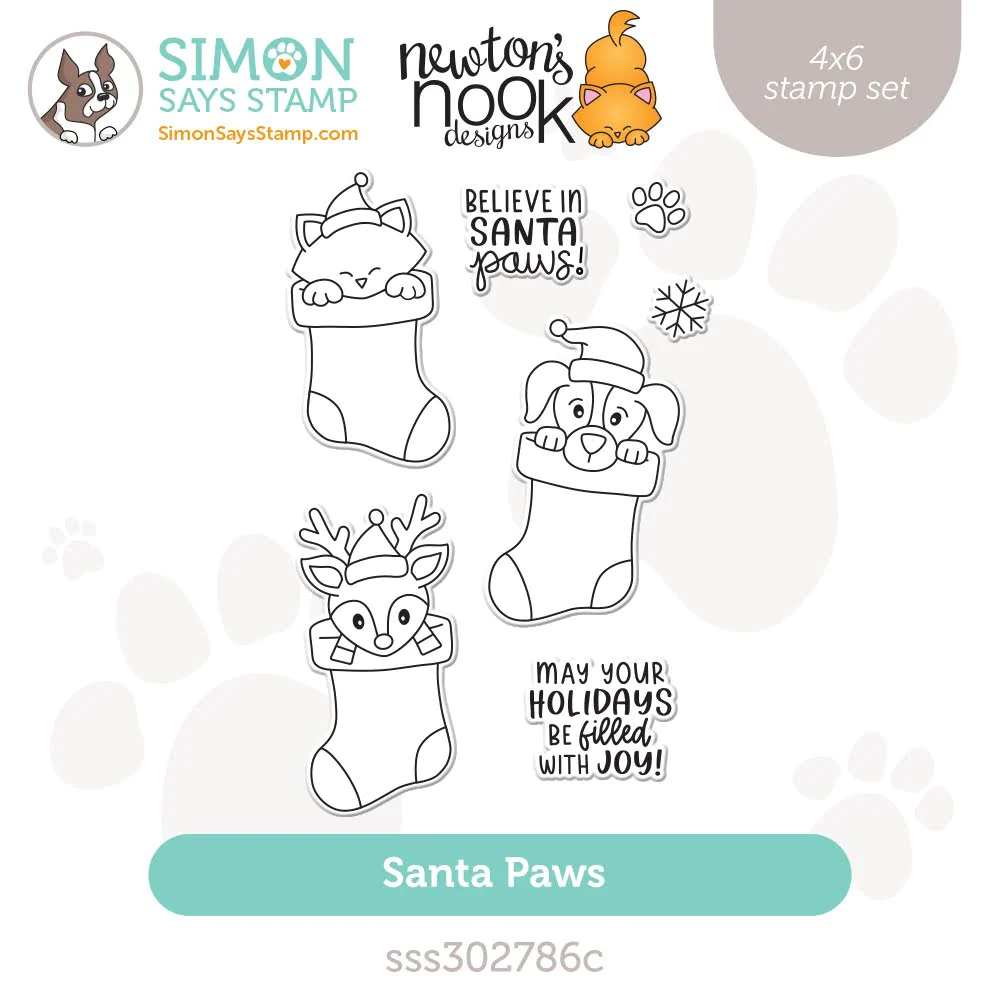
Today Newton’s Nook Designs is featured on the Simon Says Stamp site with an EXCLUSIVE stamp set that was designed just for the 2023 STAMPtember celebration! How cool is that?

If you LOVE Santa Paws stamp set, make sure you head over Simon Says Stamp today and check out this exclusive edition. This design is only available through Simon Says Stamp, while supplies last!


Key Ingredients:
- Santa Paws Stamp Set
- Snowflake Oval Stamp Set
- Oval Frames Die Set
- Snow Globe Shaker Die Set
- Snowfall Stencil
Step By Step Instructions:
- Stamp the outline illustrations from Santa Paws Stamp Set with Memento Tuxedo Black ink. If you use a stamping positioning tool, ink and impress the stamps a couple of times to get a nice, black and crisp outlines.
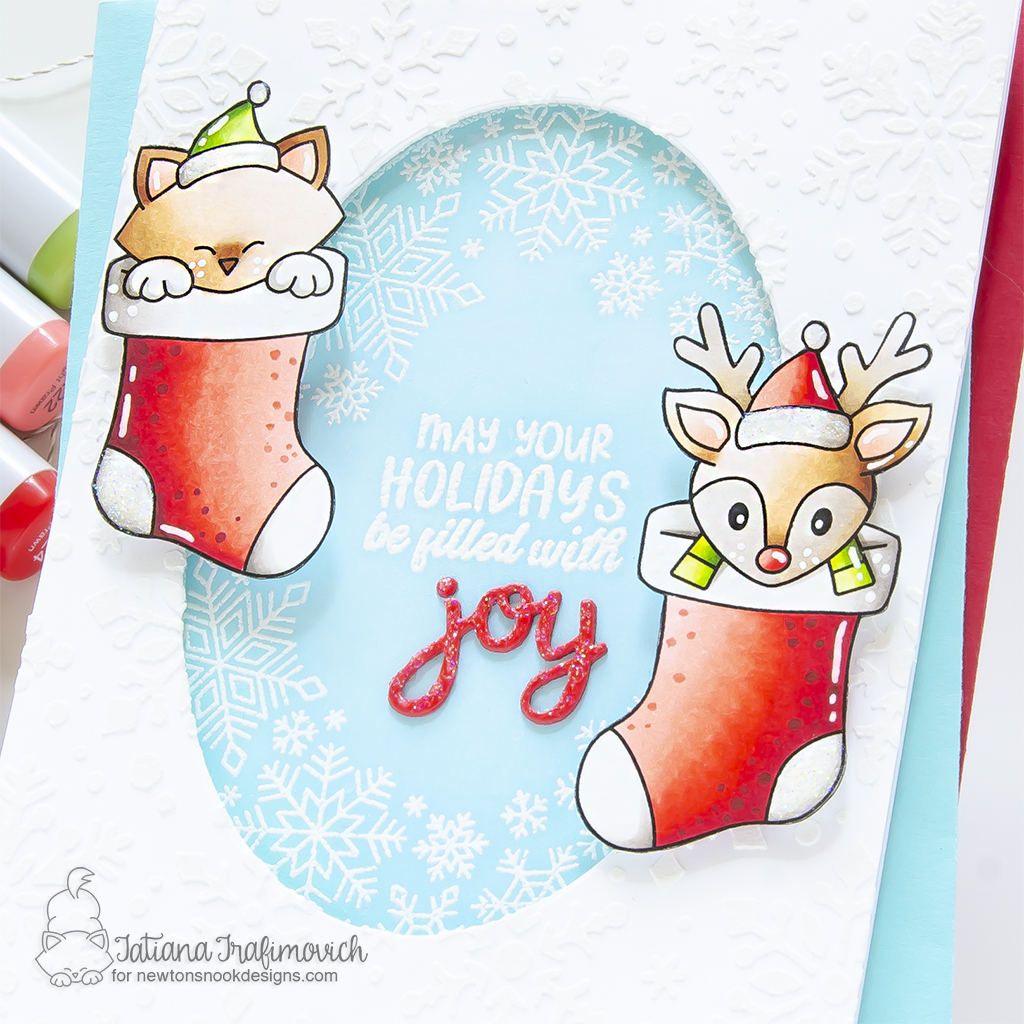
- Color the stamps with COPIC MARKERS. I used on this card:
- cat E0000-E30-E31-E34-E37 & ears R000-R01
- deer EE0000-E30-E31-E34-E37 & E40-E41-E42-E43 & ears R000-R01
- red R20-R21-R22-R24-R27-R46-R89
- green YG0000-YG01-YG03-YG25-YG67
- gray W00-W1-W3
- Trim and score an extended A2 size card base (5 1/2″ x 4 1/4″) from Neenah Solar White paper. I used Tim Holtz Maxi Guillotine Trimmer and Mini Score Board.
- Trim a rectangle slightly smaller than the card front from the same Neenah Solar White paper.
- Heat emboss in white the Snowflake Oval Stamp, using VersaMark clear sticky ink. Don’t forget to prep the paper with a Powder Tool Applicator to prevent the embossing powder to stick where you don’t want it!
- Heat emboss in white the sentiment from Snowflake Oval Stamp, once again put a generous coat of a Powder Tool Applicator to prevent the embossing powder to stick where you don’t want it!
- Ink the heat embossed oval with blue toned of Distress inks, using the blending brushes to achieve a soft and smooth result. I used:
- Trim a 5 1/2″ x 4 1/4″ panel from Neenah Solar White paper and die cut on oval in the center, using Oval Frames Die Set and Spellbinders Platinum 6 Die Cutting Machine.
- Secure Snowfall Stencil on the die cut oval window panel with a low tack tape. Mix Lawn Fawn Fairy Dust Stencil Paste and Sizzix white dimensional paste on a sleek surface. Then spread the mixed paste all across the card front, helping yourself with a palette knife. Carefully lift up the stencil and let the embossing paste air dry.
- Die cut three times the word “JOY” from a red cardstock, using Snow Globe Shaker Die Set and Spellbinders Platinum 6 Die Cutting Machine.
- Stack all three layers together with Bearly Art – Precision Craft Glue.
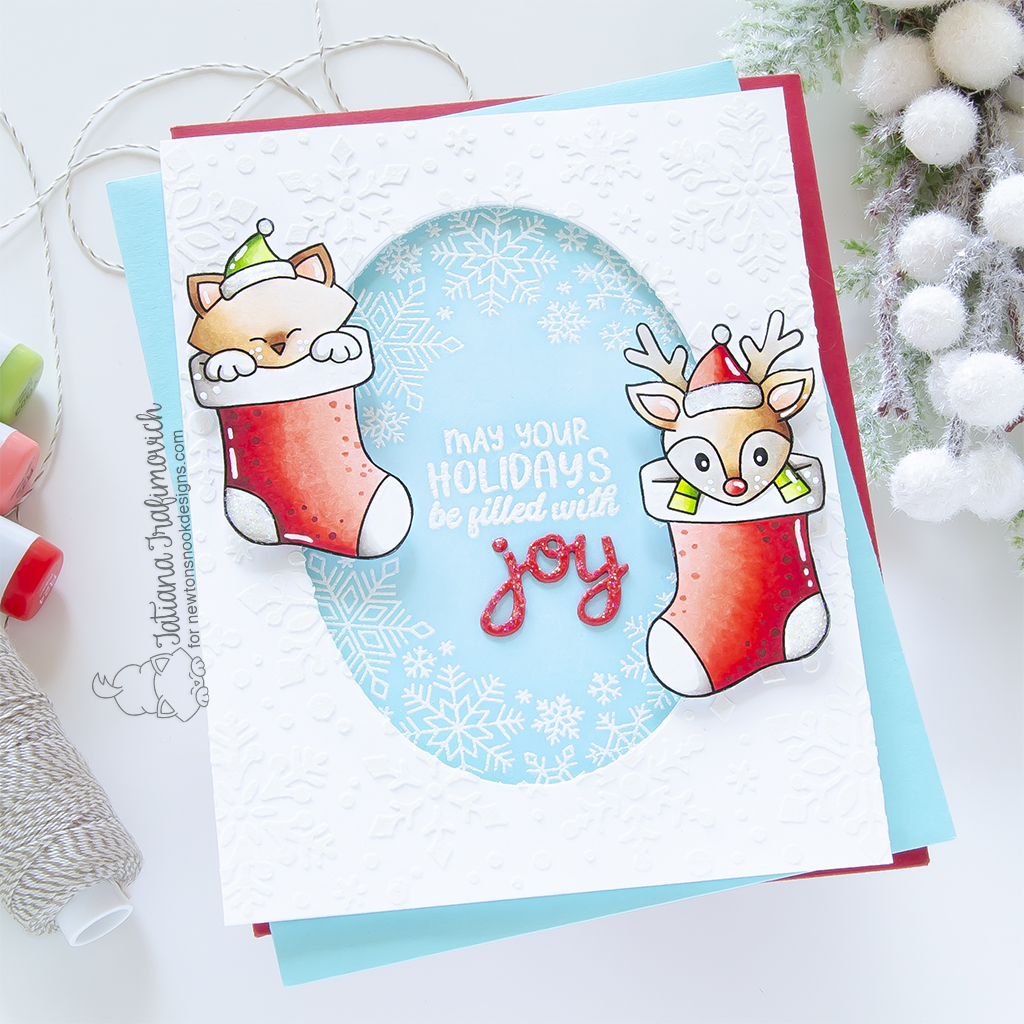
- Arrange and glue in place all the elements on the card front by popping them on a foam tape for a bit of dimension.
- Finish with a few highlights added with a white gel pen and some sparkling accents added with Lawn Fawn Fairy Dust Stencil Paste.

That’s all for today! Hope you like this cute holiday card! Thanks so much for stopping by and have a fabulous day!
Hugs,
Tatiana
