Hello and welcome!
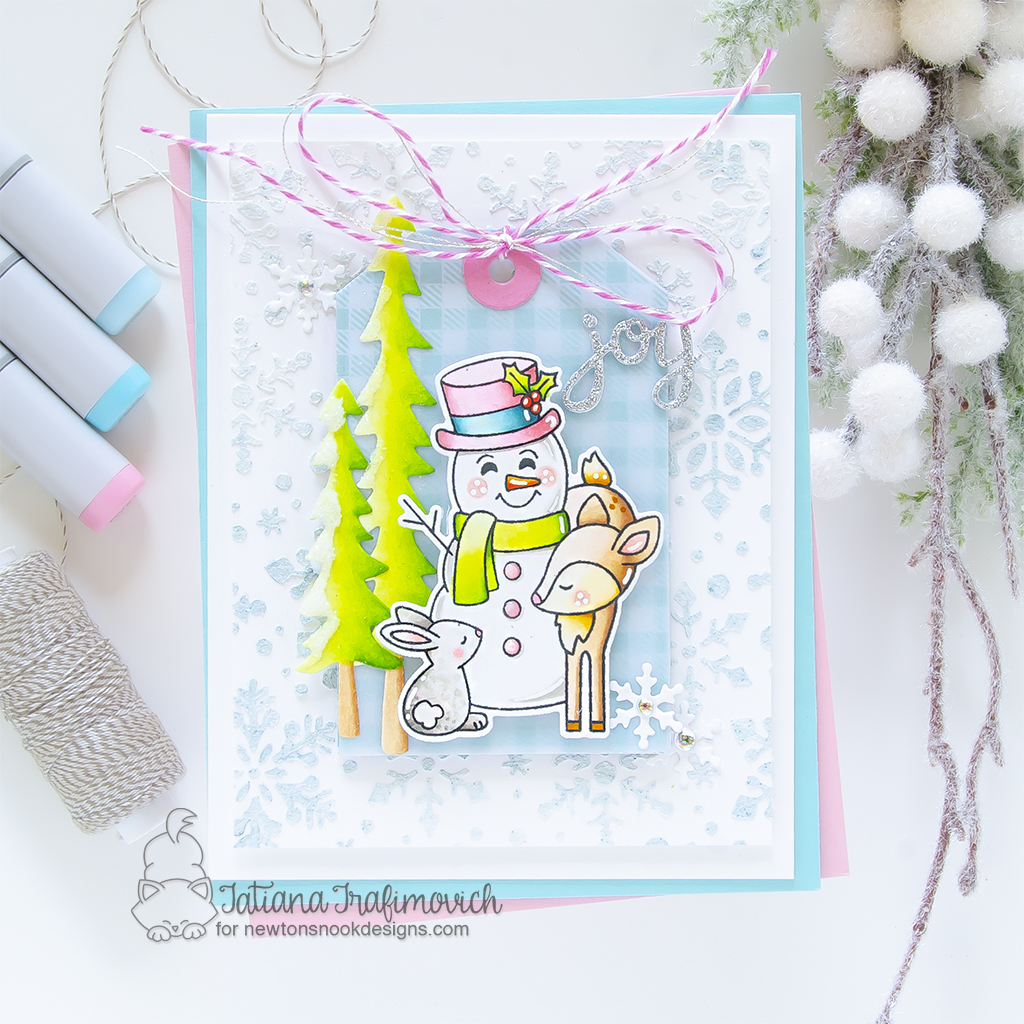
I’m so glad you’ve joined me today and even more excited to be on the Newton’s Nook Designs blog, sharing a sweet holiday card that features the cutest Festive Fawns Stamp Set!

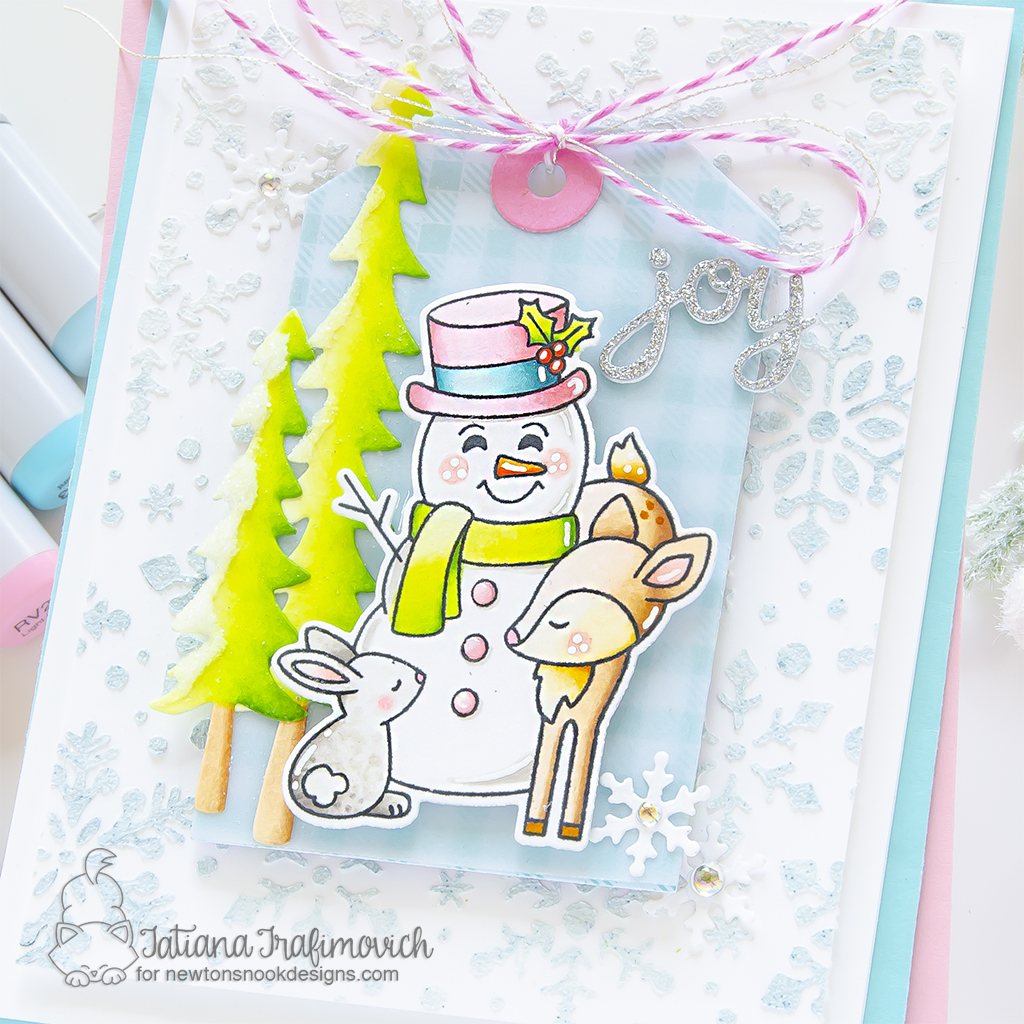
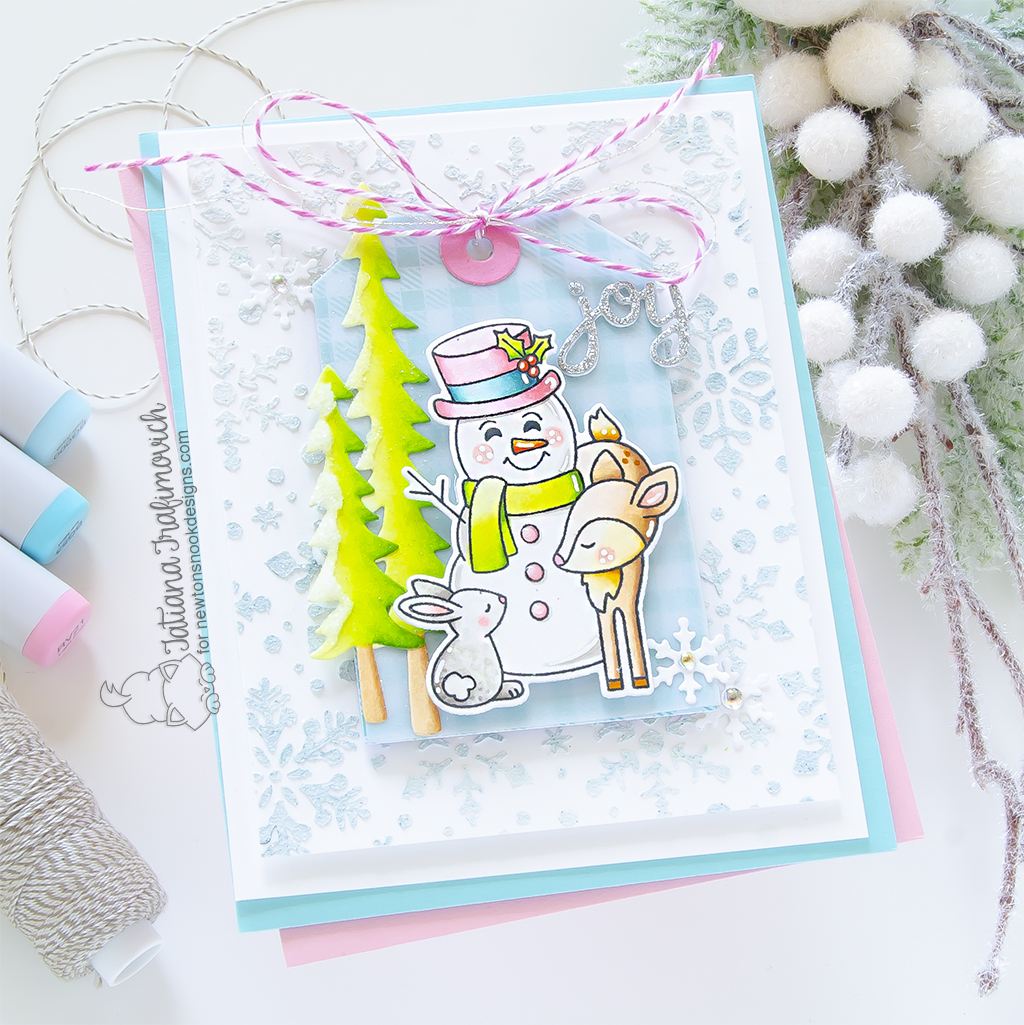
Well, I believe it was time to start my 2023 holiday card series! So I flipped through my stash and picked this fabulous snowman illustration! Once I started putting up together all the elements, I found myself adding lots of extra details to the card front! You definitely can keep it more simple, but I just love the textured snowflake background behind the snowman, additional small die cut snowflakes, a raised layer of snow on the trees and the sparkling accents here and there!

Key Ingredients:
- Festive Fawns Stamp Set
- Festive Fawns Die Set
- Snow Globe Shaker Die Set
- Fancy Edges Tag Die Set
- Forest Scene Builder Die Set
- Snowfall Stencil
- Spring Blooms Paper Pad
Step By Step Instructions:
- Die cut from Neenah Solar White paper all the elements you need, using Festive Fawns Die Set, Forest Scene Builder Die Set and Spellbinders Platinum 6 Die Cutting Machine or Sizzix Big Shot Die Cutting Machine. Save the negative part of the snowman die.
- Stamp the outline illustration from Festive Fawns Stamp Set with Memento Tuxedo Black ink, using the negative part of the dies as a guide for a perfect alignment inside the stamping positioning tool.
- Color the stamps with COPIC MARKERS. I used on this card:
- fawn E0000-E30-E31-E34 & YR30-YR31-YR24 & blush R0000-R20
- green YG0000-YG00-YG01-YG03-YG17
- teal BG0000-BG53-BG57-BG05-BG09
- pink RV000-RV11-RV21
- orange YR21-YR04-YR09
- gray W00-W0-W1-W3
- Trim and score an extended A2 size card base (5 1/2″ x 4 1/4″) from Neenah Solar White paper. I used Tim Holtz Maxi Guillotine Trimmer and Mini Score Board.
- Trim a slightly smaller rectangle for a snow background from the same Neenah Solar White paper.
- Secure Snowfall Stencil on the white panel with a low tack tape. Mix Lawn Fawn Fairy Dust Stencil Paste, Sizzix white dimensional paste and a tiny bit of teal glittery paste from Picket Fence Studios Nutcracker Ballet Paper Glaze Set on a sleek surface. Then spread the mixed paste all across the card front, helping yourself with a palette knife. Carefully lift up the stencil and let the embossing paste air dry.
- Die cut twice the Fancy Edges Tag Die, using a vellum and a blue pattern paper from Spring Blooms Paper Pad, plus a pink tag topper from The Stamp Market Rosy cardstock.
- Tie a bow on the tag.
- Die cut the “JOY” sentiment from a DCWV Silver Glitter Cardstock, using Snow Globe Shaker Die Set. As an extra step, die cut a couple more extra layers from any white scratch cardstock you have on hand and stack all the layers together with a liquid glue that dies clear and matte to create a faux chipboard element. I like to use Bearly Art Precision Craft Glue or Distress Collage Medium Matte.
- Die cut three snowflakes from Neenah Solar White paper.
- Arrange and glue in place all the elements on the card front by popping some of them on a foam tape for a bit of dimension.
- Finish with a generous coat of Wink of Stella clear glitter pen, a few highlights added with a white gel pen and some Iridescent Clear Drops.
- As an extra step apply a snow coat on the trees by adding Glossy Accents and sprinkling Distress Clear Rock Candy Glitter while the glue is still wet. Let Glossy Accents air dry well and then shake off the excess of the glitter.

That’s all for today! Hope you like this sweet holiday card ! Thanks so much for stopping by and have a fabulous day!
Hugs,
Tatiana
