Hello and welcome! Thank so much for joining me today! Throughout this week the Newton’s Nook Designs Design Team and I are featuring some brand new holiday products! Please, join the Blog Hop & Giveaway by clicking HERE for a chance to win a $25 store credit for Newton’s Nook Designs online shop and keep reading this post for more holiday inspiration!

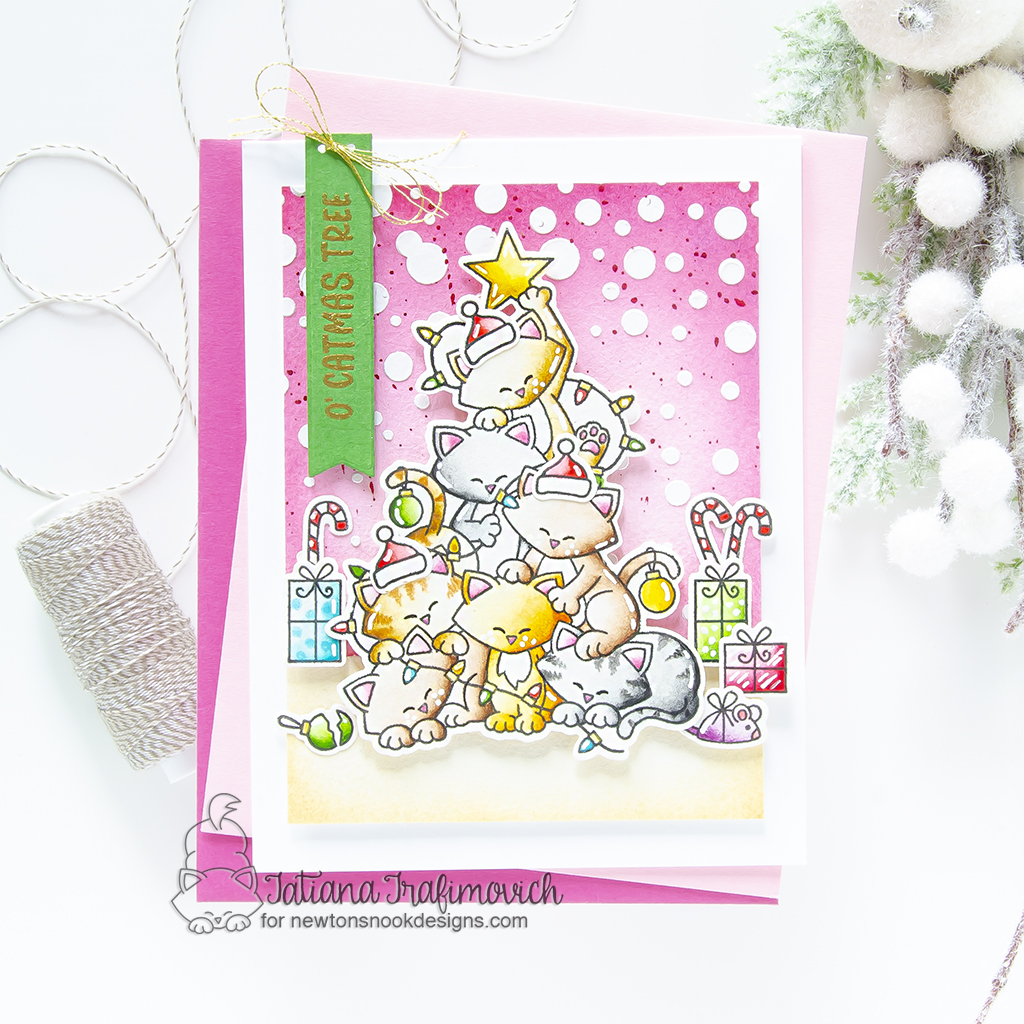
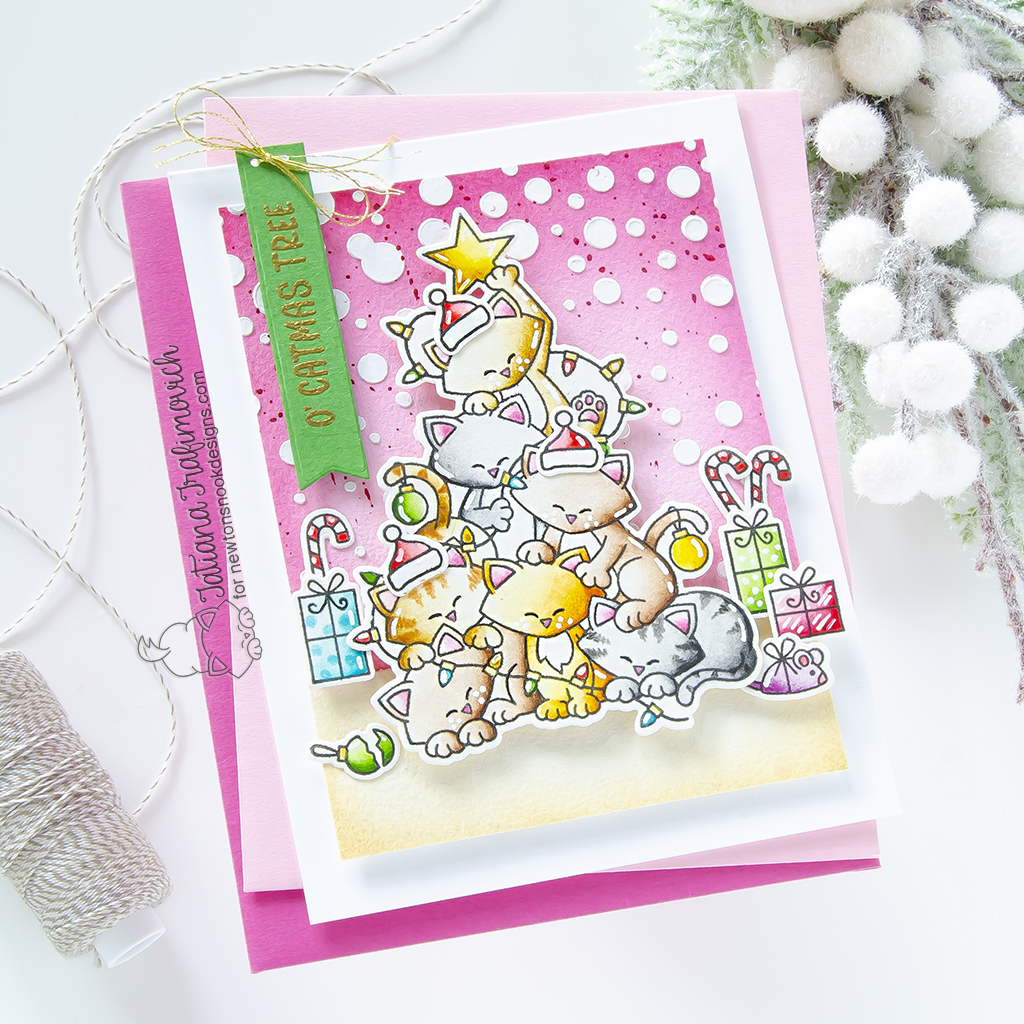
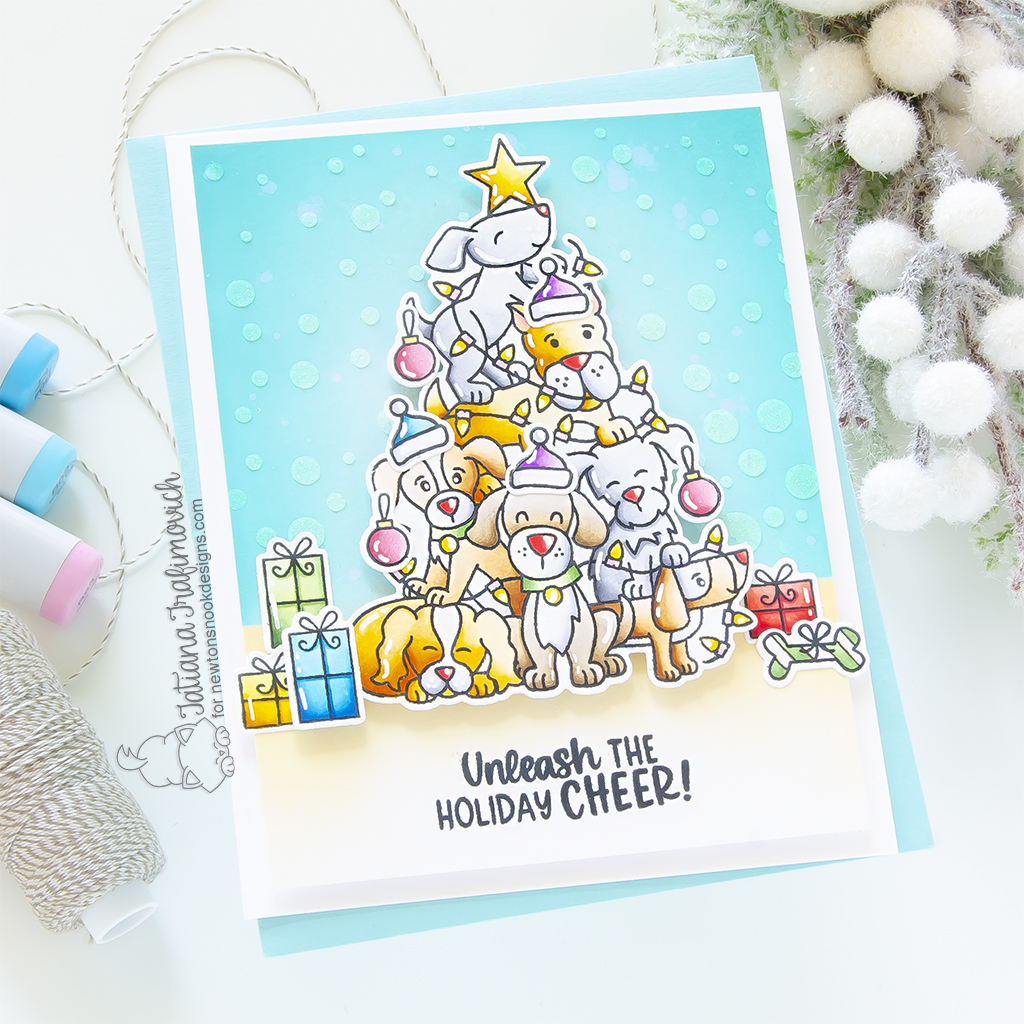
Cuteness overloads today on my blog with absolutely adorable Cat Christmas Tree Stamp Set and Dog Christmas Tree Stamp Set! as always, in case you’re interested, you can get the coordinating Cat Christmas Tree Die Set and Dog Christmas Tree Die Set!
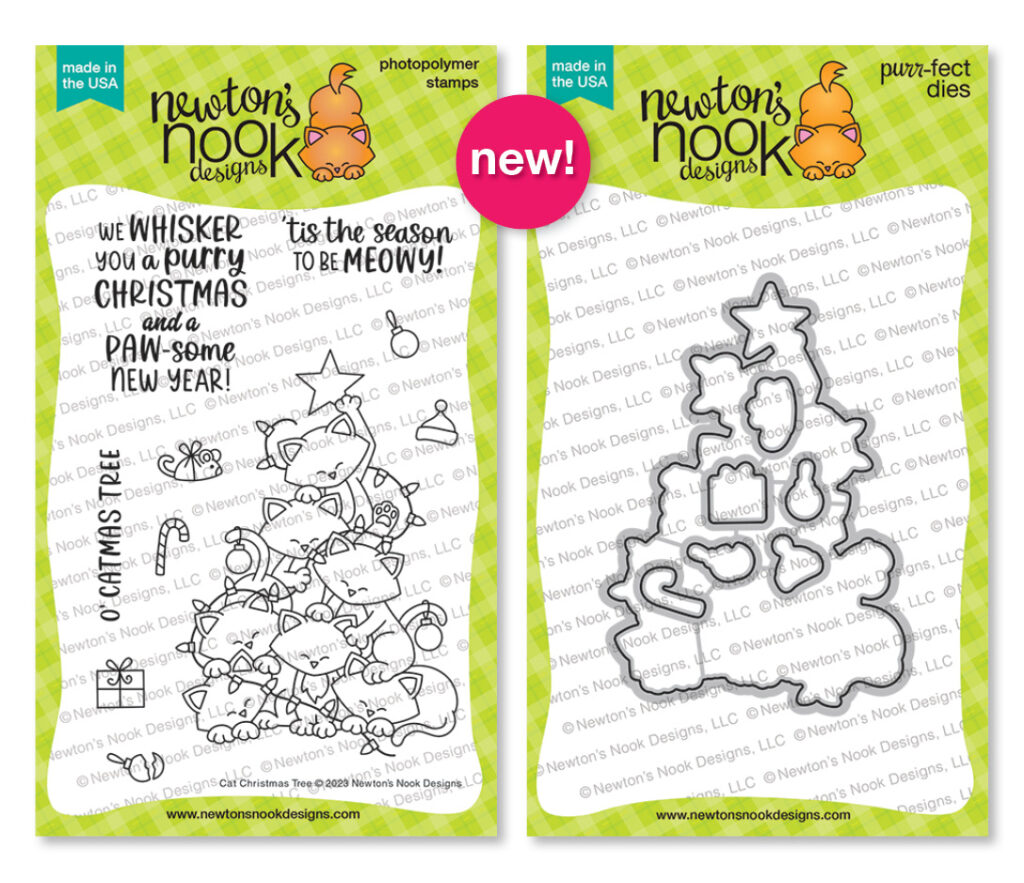
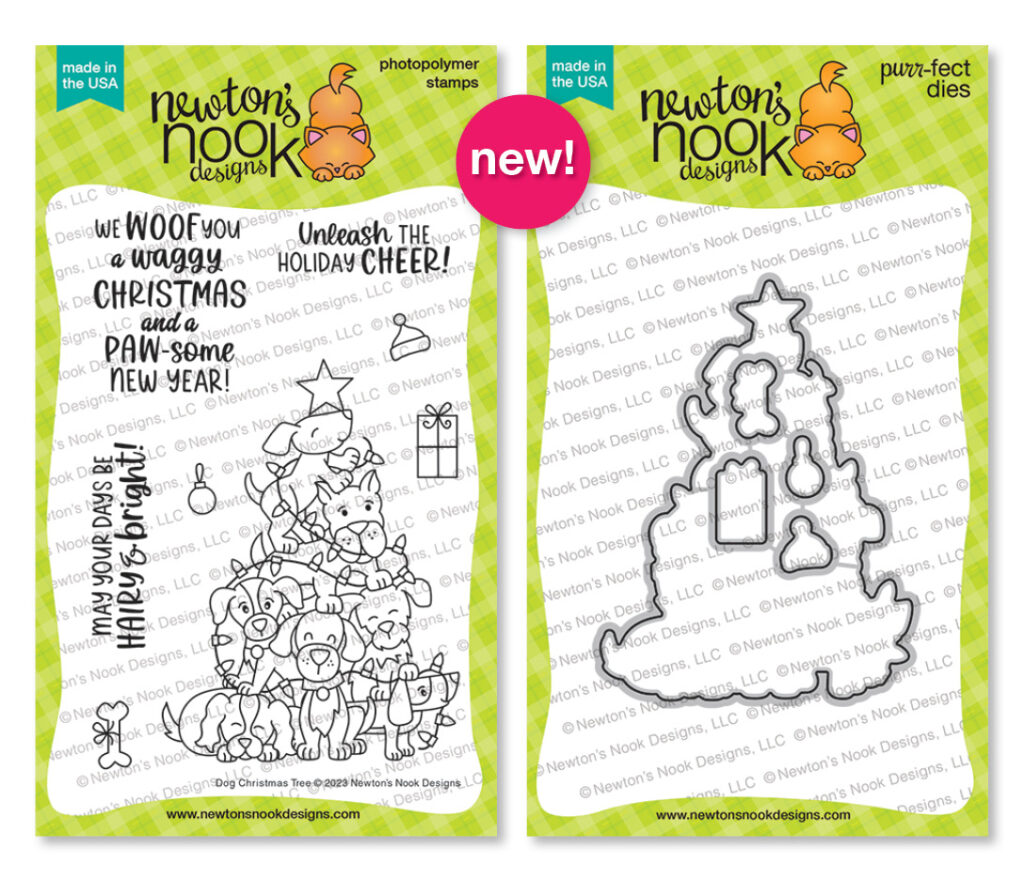
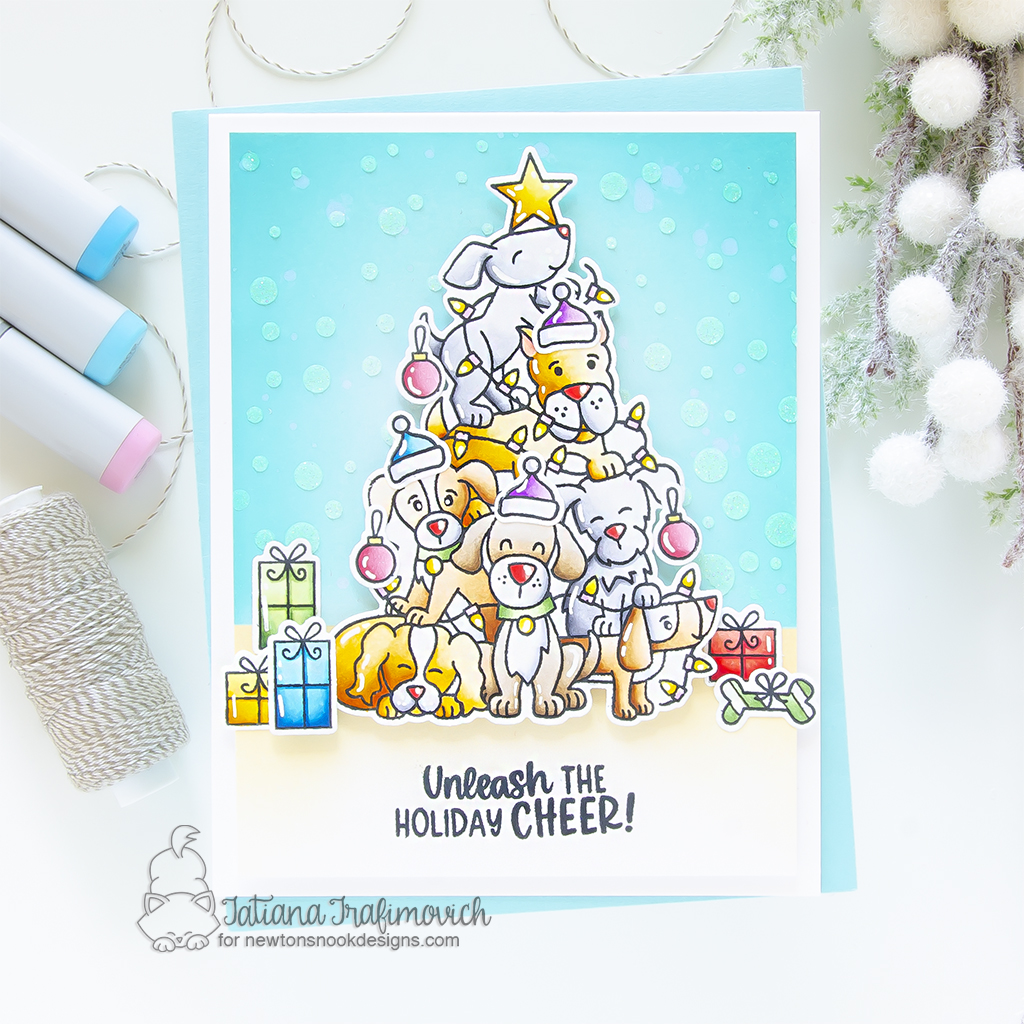
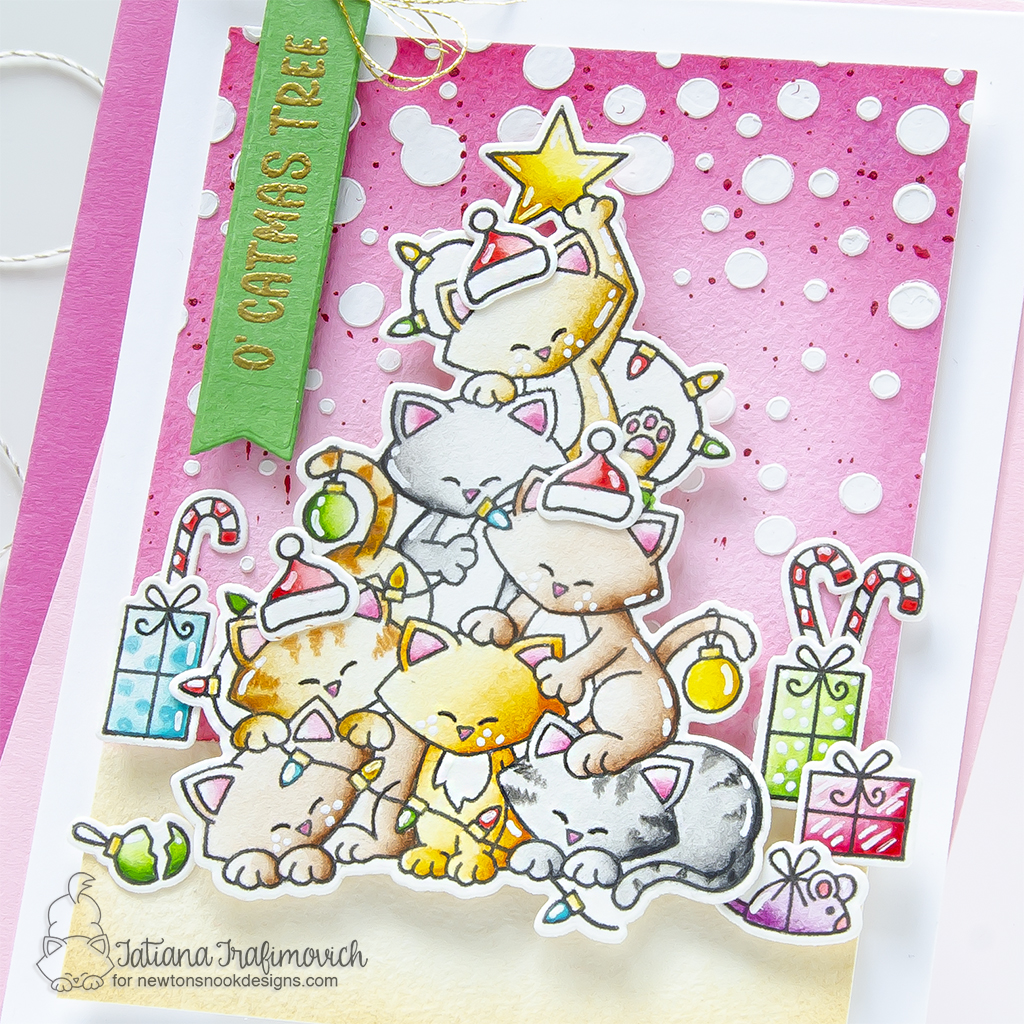
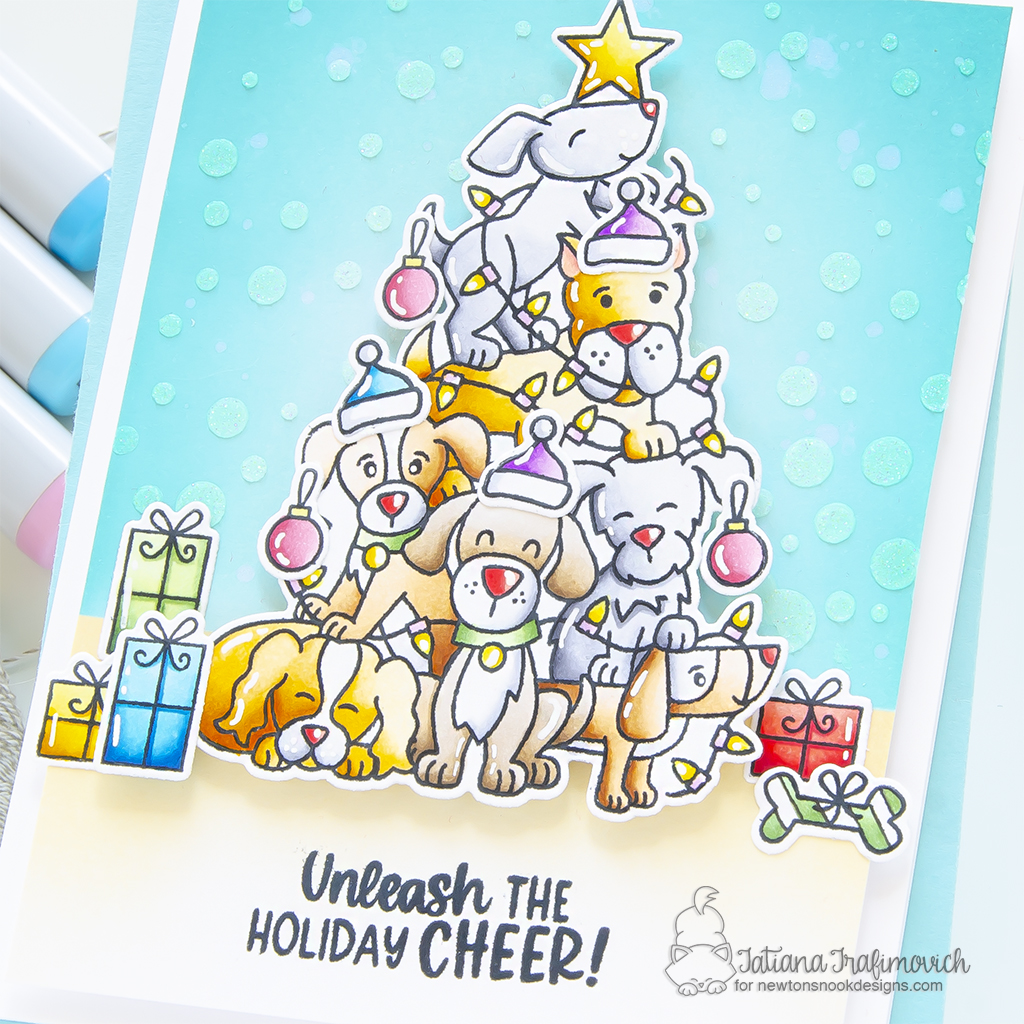
I believe there’s no need to tell you that as a fan of fun critters and everything cute, I immediately fall in love with the new pet trees sets! Both illustrations are absolutely adorable and big enough to fill the whole card front! So my choice was to just focus on coloring! Working on this reveal day, I decided to came up with two similar designs, but create two slightly different looks by using different color media! What do you think?
Key Ingredients:
- Cat Christmas Tree Stamp Set
- Cat Christmas Tree Die Set
- Dog Christmas Tree Stamp Set
- Dog Christmas Tree Die Set
- Bubbly Stencil
- Banner Duo Die Set
Step By Step Instructions:
- Die cut from Arches Hot Pressed watercolor paper paper all the elements you need, using Cat Christmas Tree Die Set, Dog Christmas Tree Die Set and Spellbinders Platinum 6 Die Cutting Machine or Sizzix Big Shot Die Cutting Machine. Save the negative parts of the snowman dies.
- Stamp the outline illustrations from Cat Christmas Tree Stamp Set and Dog Christmas Tree Stamp Set with VersaFine Onyx Black pigment ink, using the negative parts of the dies as a guide for a perfect alignment inside the stamping positioning tool.
- Color the stamps with regular watercolors. I used my personalized palette filled with Schmincke Horadam, Daniel Smith Extra Fine and Winsor & Newton Professional watercolors.
- Trim and score an extended A2 size card base (5 1/2″ x 4 1/4″) from Neenah Solar White paper. I used Tim Holtz Maxi Guillotine Trimmer and Mini Score Board.
- Trim a slightly smaller rectangle from the same Arches Cold Pressed Watercolor paper.
- Watercolor the background with your regular watercolors.
- Secure Bubbly Stencil on the pink part of the background with a low tack tape and spread Sizzix white dimensional paste all across with a palette knife. Lift up the stencil and let the embossing paste air dry.
- Heat emboss in gold onto green the sentiment from Cat Christmas Tree Stamp Set, using VersaMark clear sticky ink and Ranger Super Fine Gold Embossing Powder. Don’t forget to prep the paper with a Powder Tool Applicator to prevent the embossing powder to stick where you don’t want it!
- Shape the sentiment into a fish-tail banner with Banner Duo Die Set.
- Poke two holes on the top part of the banner and tie a matching gold bow.
- Arrange and glue in place all the elements on the card front by popping some of them on a foam tape for a bit of dimension.
- Finish with a few highlights added with a white gel pen.
Key Ingredients:
- Dog Christmas Tree Stamp Set
- Dog Christmas Tree Die Set
- Cat Christmas Tree Stamp Set
- Cat Christmas Tree Die Set
- Bubbly Stencil
Step By Step Instructions:
- Die cut from Neenah Solar White paper all the elements you need, using Dog Christmas Tree Die Set, Cat Christmas Tree Die Set and Spellbinders Platinum 6 Die Cutting Machine or Sizzix Big Shot Die Cutting Machine. Save the negative parts of the dies.
- Stamp the outline illustrations from Dog Christmas Tree Stamp Set and Cat Christmas Tree Stamp Set with Memento Tuxedo Black ink, using the negative parts of the dies as a guide for a perfect alignment inside the stamping positioning tool.
- Color the stamps with COPIC MARKERS. I used on this card:
- brown #1 E0000-E30-E31-E34-E37
- brown #2 E40-E41-E42-E43-E44
- ginger YR30-YR31-YR23-YR24-YR27
- grey C00-C0-C1-C3-C5
- yellow Y11-Y13-Y15-YR23
- pinkish red R81-R83-R85
- red R32-R35-R37
- green G20-G21-G24-G28
- blue B00-B02-B04-B06
- violet V000-V01-V04
- Trim and score an extended A2 size card base (5 1/2″ x 4 1/4″) from Neenah Solar White paper. I used Tim Holtz Maxi Guillotine Trimmer and Mini Score Board.
- Trim a slightly smaller rectangle from the same Neenah Solar White paper.
- Mask the top part of the panel with a low tack tape and ink the bottom with Antique Linen Distress Oxide Ink. Use the blending brushes to achieve a soft and smooth result.
- Mask the bottom part of the rectangle and ink the top part with Salvaged Patina Distress Oxide ink and Peacock Feathers Distress Oxide ink, using again the blending brushes. Keep the mask in place.
- Splatter some tiny droplets of water or a pearlescent solution on the blue inked background. Let the paper air dry well.
- Secure Bubbly Stencil on the blue part of the inked background with a low tack tape and spread Lawn Fawn Fairy Dust Stencil Paste all across with a palette knife. Lift up the stencil and the mask and let the embossing paste air dry.
- Stamp the sentiment with Memento Tuxedo Black ink. If you use a stamping positioning tool, ink and impress the sentiment a couple of time to get black crisp image.
- Arrange and glue in place all the elements on the card front by popping some of them on a foam tape for a bit of dimension.
- Finish with a generous coat of Wink of Stella clear glitter pen and a few highlights added with a white gel pen.
That’s all for today! Hope you like today’s cute holiday cards! Thanks so much for stopping by and have a fabulous day!
Hugs,
Tatiana

1 comment
Cat Christmas Tree is so cute stamp!
Love your stunning cards!