Hello and welcome!
I’ve popped in with a quick blog post just to feature some new stamps from the Purple Onion Designs new Holiday Release that is jam packed with tons of cute and sweet stamps!

This year Purple Onion Designs reveals two new stunning collections of rubber stamps! The first one is “The Merriest Little City” designed by Stacey Yacula that consists of 30 stamps and is bundled with the coordinating “Merriest City” sentiment set. The second one is Pei’s “Tofu & Friends Holiday Collection” that consists of 11 stamps and is bundled with the coordinating “Holiday Time” sentiment set.
SALE ALLERT! For a limited time both stamp collections are offered as a bundle with a coordinating sentiment set. The bundled sets are discounted 30% and are available through Wednesday, November 15, 2023.

Key Ingredients:
Step By Step Instructions:
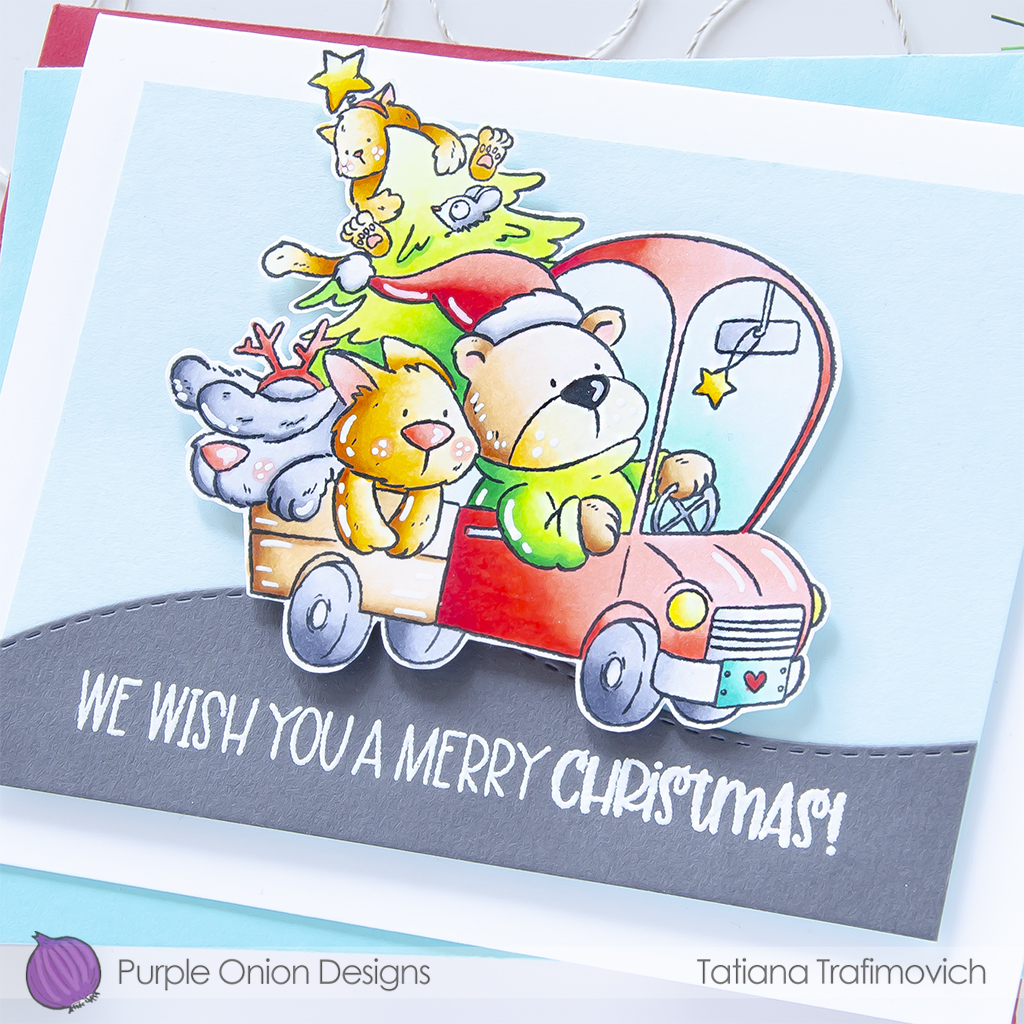
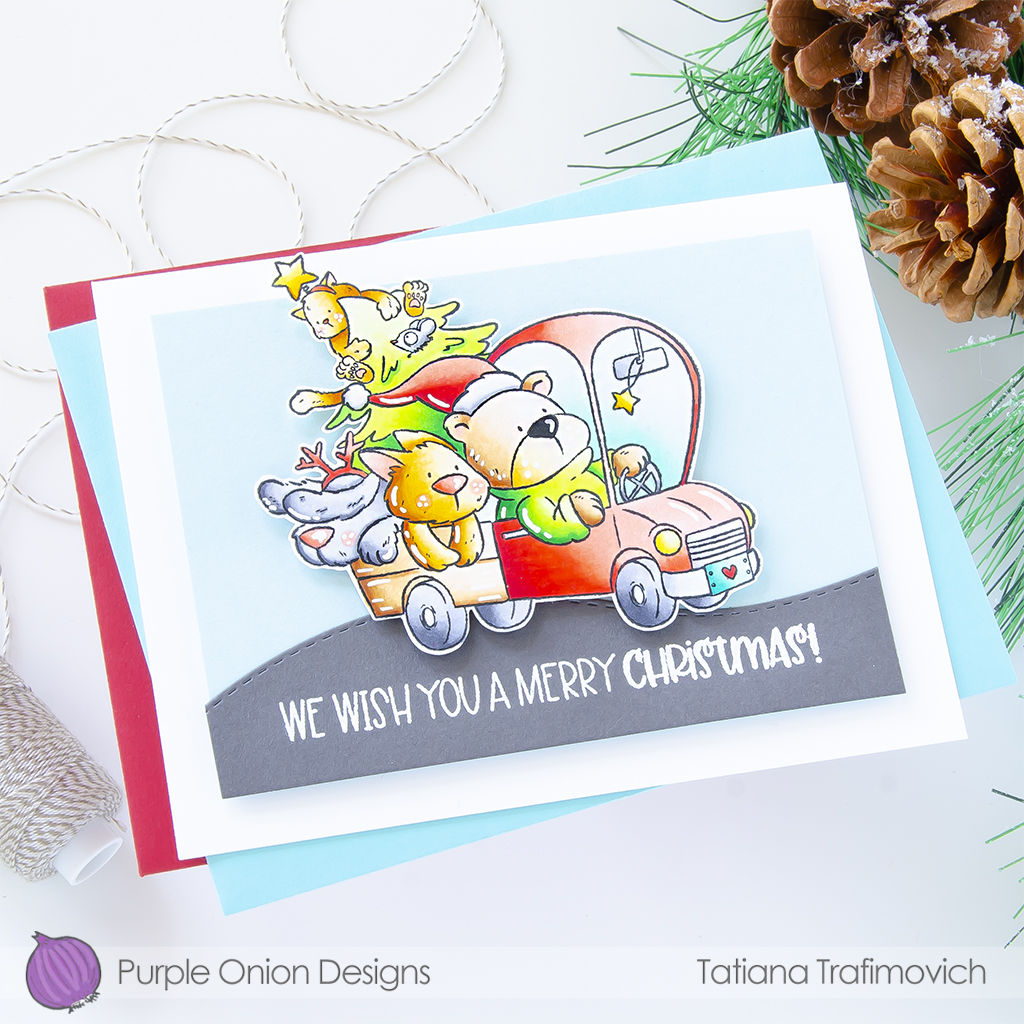
- Stamp on Neenah Solar White paper Tofu & Friends Christmas Truck Stamp with Memento Tuxedo Black ink.
Designer’s Tip:
Since rubber stamps from Purple Onion Designs come unmounted, you will need a temporary mounting solution to work with. A Clear Mounting Stamp is one of the options. You can apply this clear stamp on an acrylic block or acrylic stamping platform to hold your unmounted stamps in place while stamping. Remove and store it when finished until next time. The clear stamp can be cleaned with water and a little liquid soap.
- Fussy cut the stamp with the sharp small scissors, leaving a little white edge around.
- Color all the elements with COPIC MARKERS. I used:
- red R00-R20-R21-R22-R24-R27-R46
- green YG0000-YG01-YG05-YG06-YG09
- teal BG0000-BG10-BG11-BG13
- yellow Y0000-Y11-Y13-Y18
- brown E0000-E30-E31-E34
- gray C00-C0-C1-C3-C5
- ginger YR30-YR31-YR21-YR24-YR27
- black 100
- Trim and score an extended A2 size card base (5 1/2″ x 4 1/4″) from Neenah Solar White paper. I used Tim Holtz Maxi Guillotine Trimmer and Mini Score Board on my card.
- Trim a rectangle from a light blue cardstock slightly smaller than the card front.
- Die cut the road from a dark gray cardstock, using Newton’s Nook Designs Land Borders Die Set and Spellbinders Platinum 6 Die Cutting Machine or Sizzix Big Shot Die Cutting Machine.
- Heat emboss in white onto gray the sentiment from Holiday Time Sentiment Set, using VersaMark clear sticky ink and Hero Arts White Embossing Powder. Don’t forget to prep the paper with a Powder Tool Applicator to prevent the embossing powder to stick where you don’t want it!
- Arrange and glue in place all the elements on the card front, by popping some of them on a foam tape for a fun dimensional look.
- Finish with a generous coat of Wink of Stella clear glitter pen and a few highlights added with a white gel pen.

That’s all for today! Hope you like this cute holiday card! Thanks so much for stopping by and have a fabulous day!
Hugs,
Tatiana
