Hello and welcome!
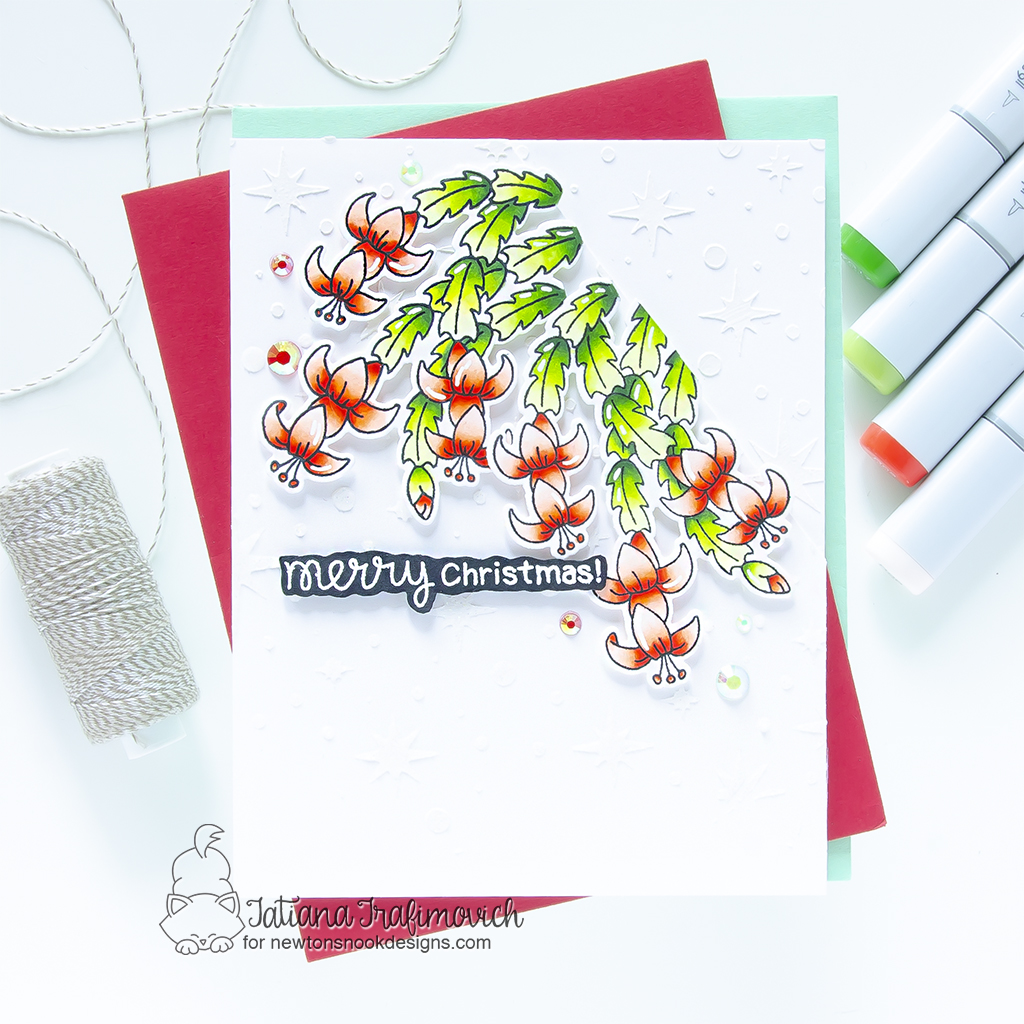
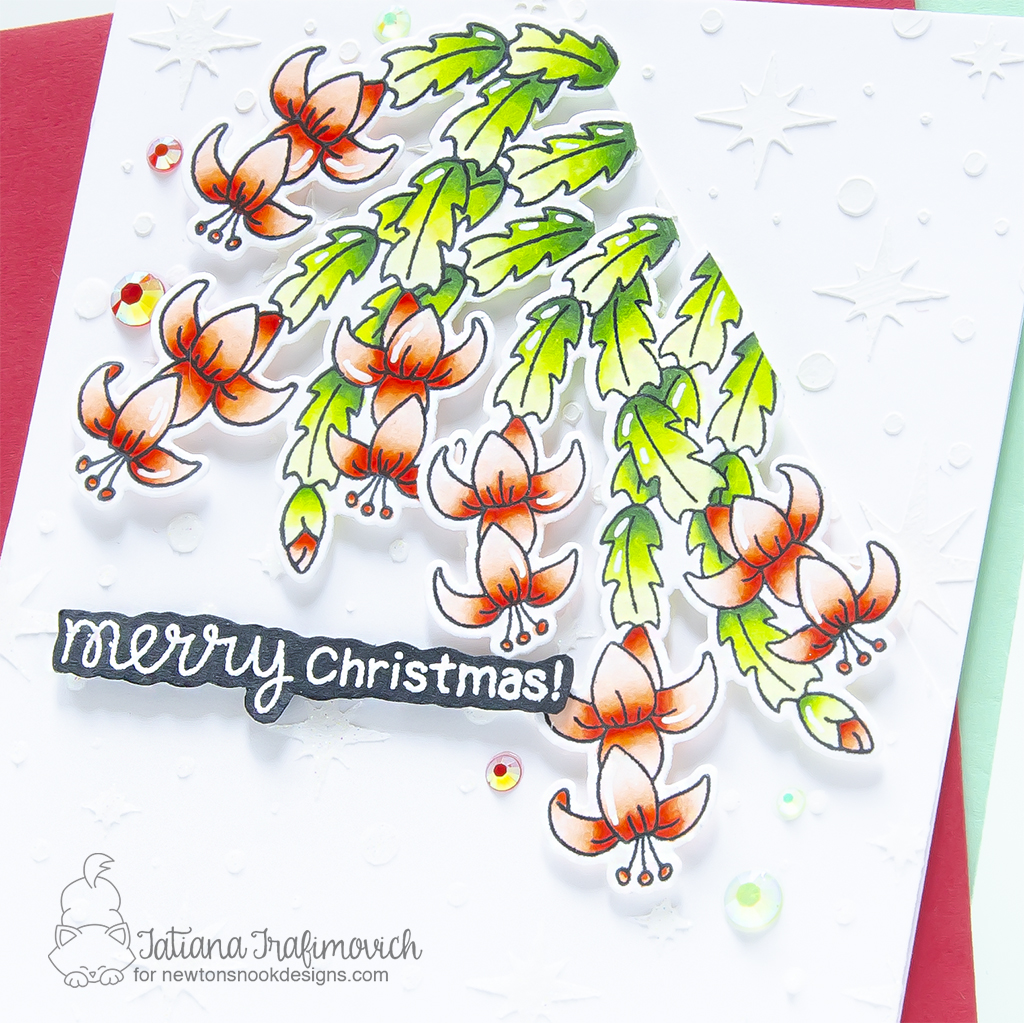
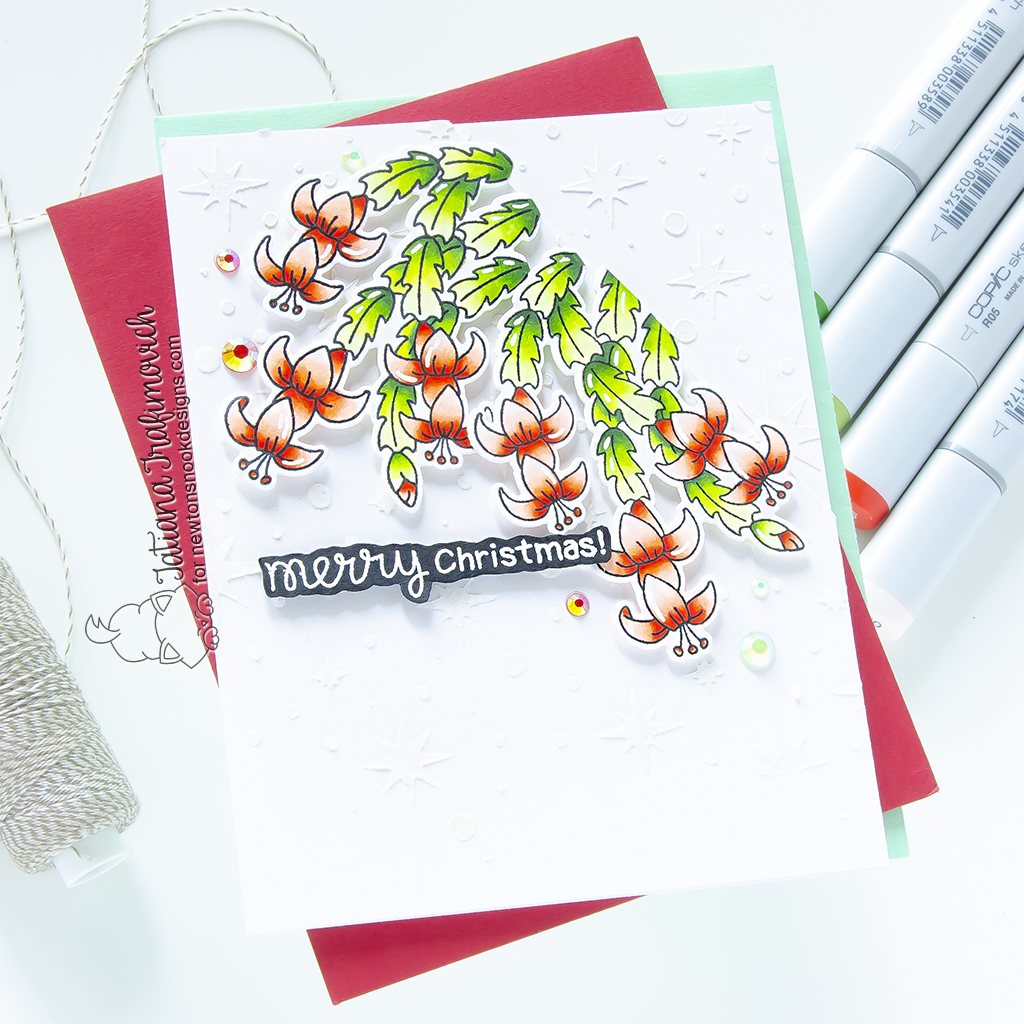
I’m so glad you’ve joined me today and even more excited to be on the Newton’s Nook Designs blog, sharing a lovely floral Christmas card that features the most beautiful Christmas Cactus Stamp Set!

Today I decided to pick up a stamp that was easy to color, but at the same time suitable to practice the color blending! Although I haven’t done any fancy shading, I tried to keep my dark colors as dark as possible, coming back and force a couple of times to the same spot to darken the shades. In order to create a contrast and don’t blend much the lightest areas and tried to touch them only once with my copic markers. As for the background, I chose to keep it white, but added a fun tone-on-tone texture with a white and glittery clear embossing pastes.

Key Ingredients:
Step By Step Instructions:
- Die cut twice from Neenah Solar White paper the cactus shape, using Christmas Cactus Die Set and Spellbinders Platinum 6 Die Cutting Machine or Sizzix Big Shot Die Cutting Machine. Save the negative parts of the dies.
- Stamp the outline illustrations from Christmas Cactus Stamp Set with Memento Tuxedo Black ink, using the negative parts of the dies as a guide for a perfect alignment inside the stamping positioning tool.
- Color the stamps with COPIC MARKERS. I used on this card:
- red R0000-R000-R00-R02-R05
- green YG0000-YG01-YG03-YG17-G46
- Trim and score an extended A2 size card base (5 1/2″ x 4 1/4″) from Neenah Solar White paper. I used Tim Holtz Maxi Guillotine Trimmer and Mini Score Board.
- Trim a slightly larger piece from the same Neenah Solar White paper for the background.
- Secure Starfield Stencil on the background with a lock tack tape and spread a white dimensional paste from the top right corner. To add a bit of interest, spread Lawn Fawn Fairy Dust Stencil Paste from the bottom left corner toward the center. Carefully lift up the stencil and let the embossing paste air dry well.
- Split the embossed background at an angle and glue the top part directly to the card base.
- Pop the other background piece on a foam tape to add a bit of dimension.
- Heat emboss in white on black the sentiment with VersaMark clear sticky ink and Hero Arts White Embossing Powder. Don’t forget to prep the paper with a Powder Tool Applicator to prevent the embossing powder to stick where you don’t want it!
- Fussy cut the sentiment with the sharp small scissors, leaving a little edge around.
- Arrange and glue in place all the elements on the card front by popping them on a foam tape for a bit of dimension.
- Finish with a generous coat of Wink of Stella clear glitter pen, a few highlights added with a white gel pen and some matching jewels adhered with Bearly Art – Precision Craft Glue. I picked Trinity Stamps Ruby Radiance and Andradite Sparkle Rhinestones.

That’s all for today! Hope you like this sweet holiday card ! Thanks so much for stopping by and have a fabulous day!
Hugs,
Tatiana
