Hi there!!!
It’s time for the final day of the Newton’s Nook Back to Basics release! This time the Design Team and I are hopping on Instagram! You can join the hop starting from my account @tatianacraftandart.
Giveaway alert!! There would be no perfect hop without prizes! Right?! Newton’s Nook Designs will choose one winner to receive a $25 store coupon for the Newton’s Nook Designs shop!! So don’t miss a chance to win too!


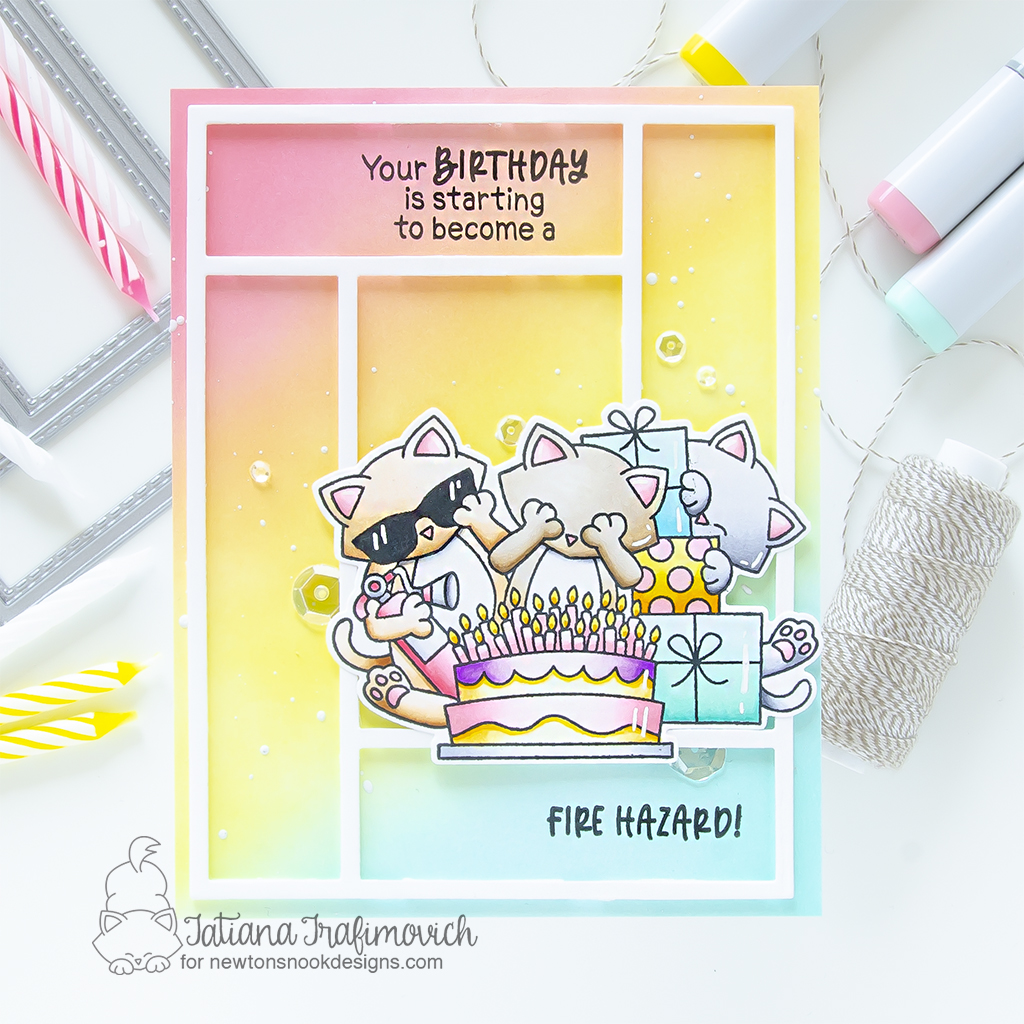
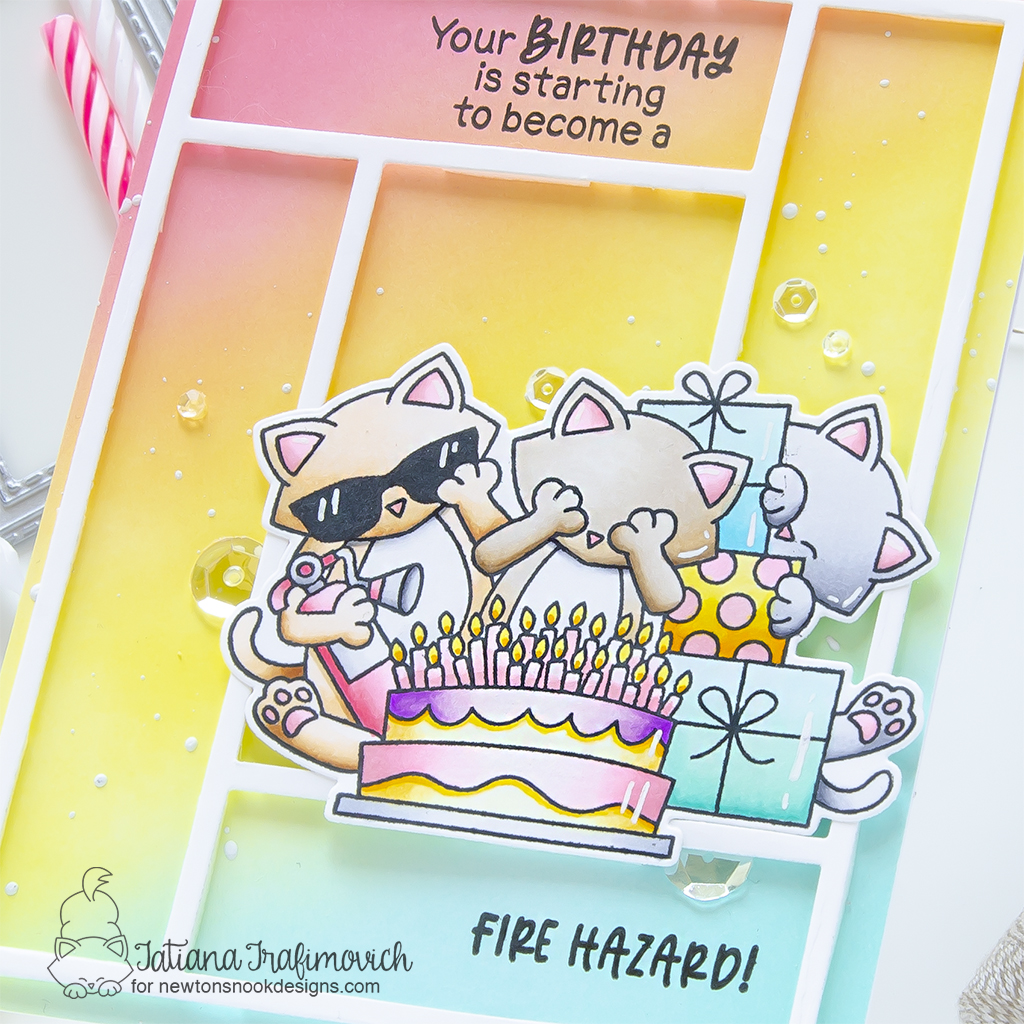
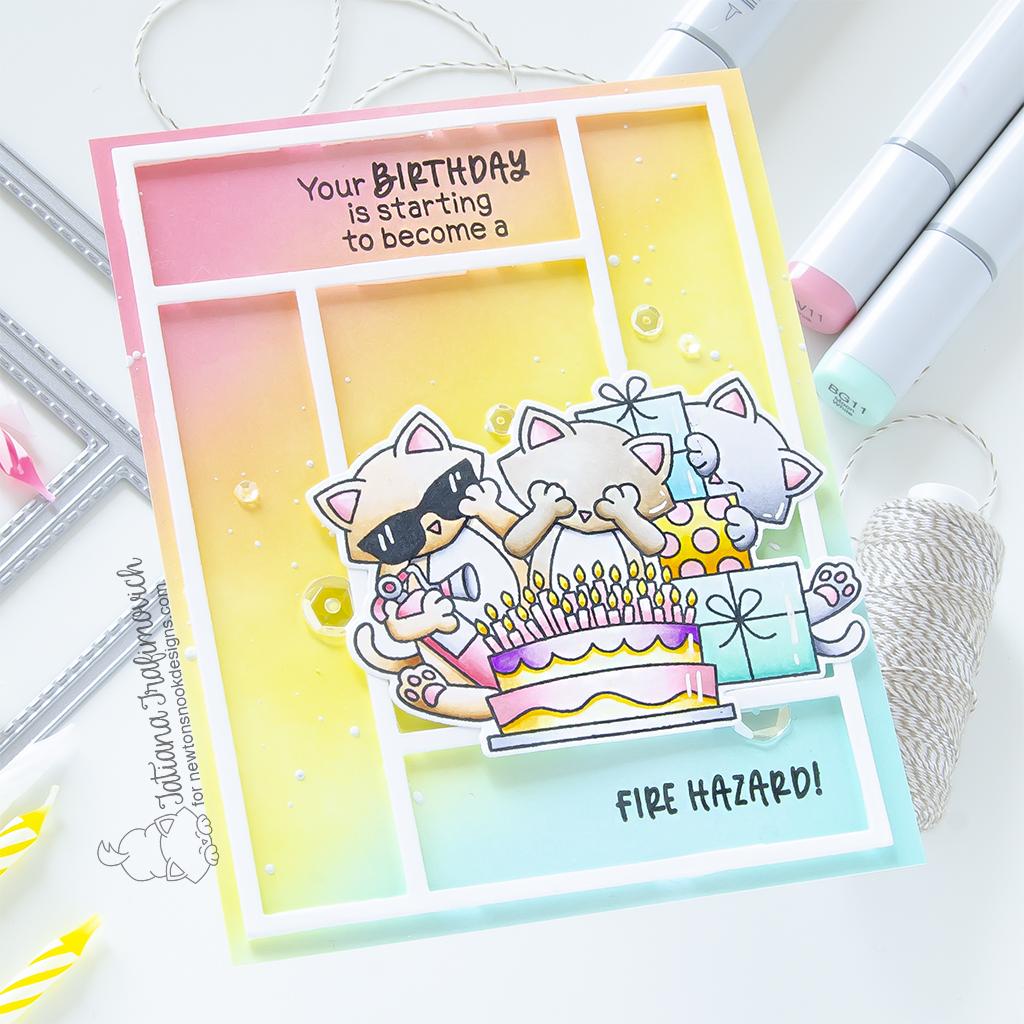
Today I decided to give you another look on the most adorable kitties from Newton’s Bright Birthday Stamp Set, but this time paired with a bright and cheerful inked background! To complete the card front, I created a simple and yet playful layout with the big frame die from A2 Card Layout Die Set.

Key Ingredients:
Step By Step Instructions:
- Die cut all the elements you need from Neenah Solar White paper, using the coordinating Newton’s Bright Birthday Die Set and Spellbinders Platinum 6 Die Cutting Machine or Sizzix Big Shot Die Cutting Machine. Save the negative parts of the dies.
- Stamp the outline illustrations from Newton’s Bright Birthday Stamp Set with Memento Tuxedo Black ink, using the negative parts of the dies as a guide for a perfect alignment inside the stamping positioning tool.
- Color the stamps with COPIC MARKERS. I used on this card:
- brown cat (on the left) E0000-E30-E31-E34-E35
- brown cat (in the center) E40-E41-E42-E43
- gray cat C00-C0-C1-C3-C5
- pink RV0000-RV000-RV10-RV11-RV13
- yellow Y0000-Y11-Y13-Y15-Y17-Y21
- teal BG0000-BG10-BG11-BG13
- blue B0000-B00-B01
- violet V0000-V000-V01-V04
- Trim and score an extended A2 size card base (5 1/2″ x 4 1/4″) from Neenah Solar White paper. I used Tim Holtz Maxi Guillotine Trimmer and Mini Score Board.
- Trim another A2 size panel for the background from Hammermill cardstock.
- Ink the background piece with Worn Lipstick Distress Oxide ink, Squeezed Lemonade Distress Oxide ink, Salvaged Patina Distress Oxide ink and the blending brushes to get a soft and smooth result.
- Splatter the inked background with some tiny droplets of a white gouache diluted with a small amount of water.
- Die cut A2 Card Layout Die Set from Neenah Solar White paper.
- Secure temporally the die cut frame on the inked background with a low tack tape and stamp the sentiment from Newton’s Bright Birthday Stamp Set.
- Arrange and glue in place all the elements on the card front by popping some of them on a foam tape for a bit of dimension.
- Finish with a generous coat of Wink of Stella clear glitter pen, a few highlights added with a white gel pen and some clear sparkling sequins adhered with Bearly Art – Precision Craft Glue.

That’s all for today! Hope you like the fun and cute birthday card! Thanks so much for stopping by and have a fabulous day!
Hugs,
Tatiana
