Hello and welcome!
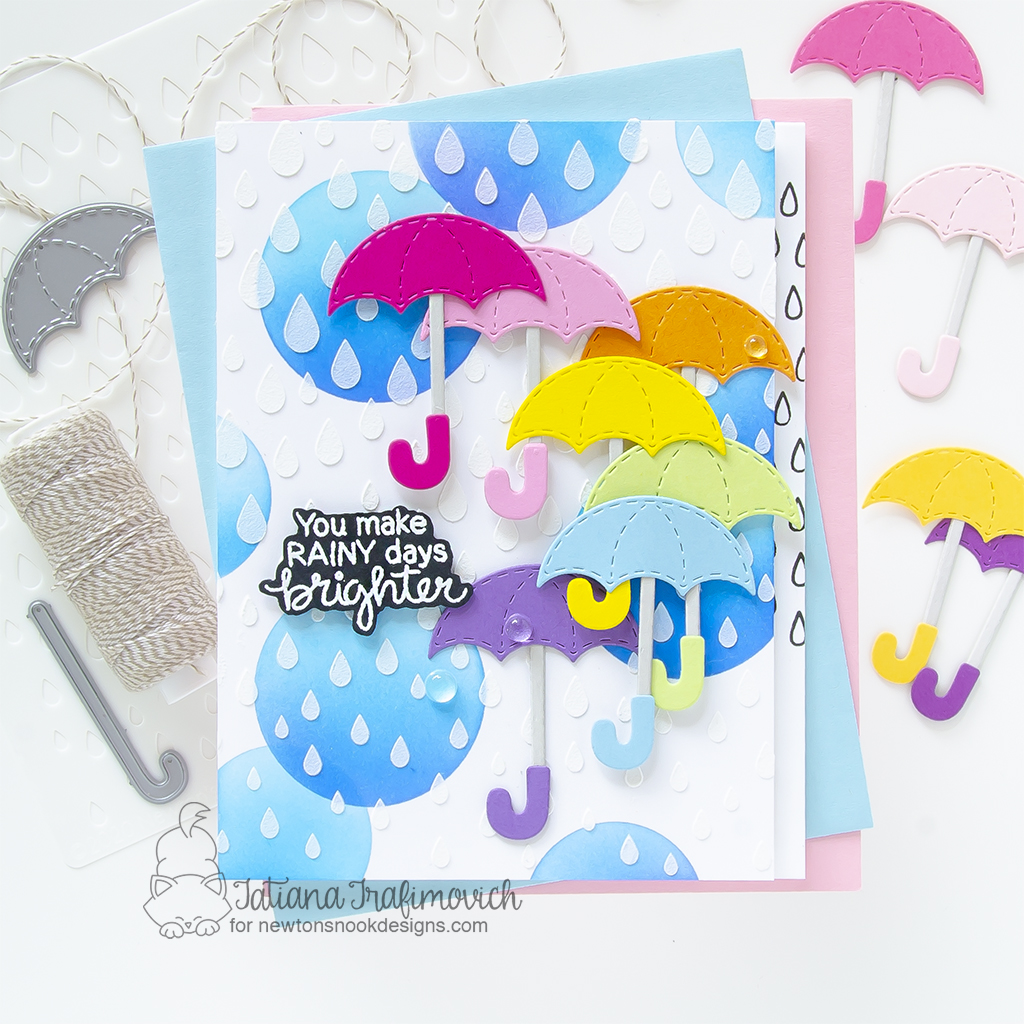
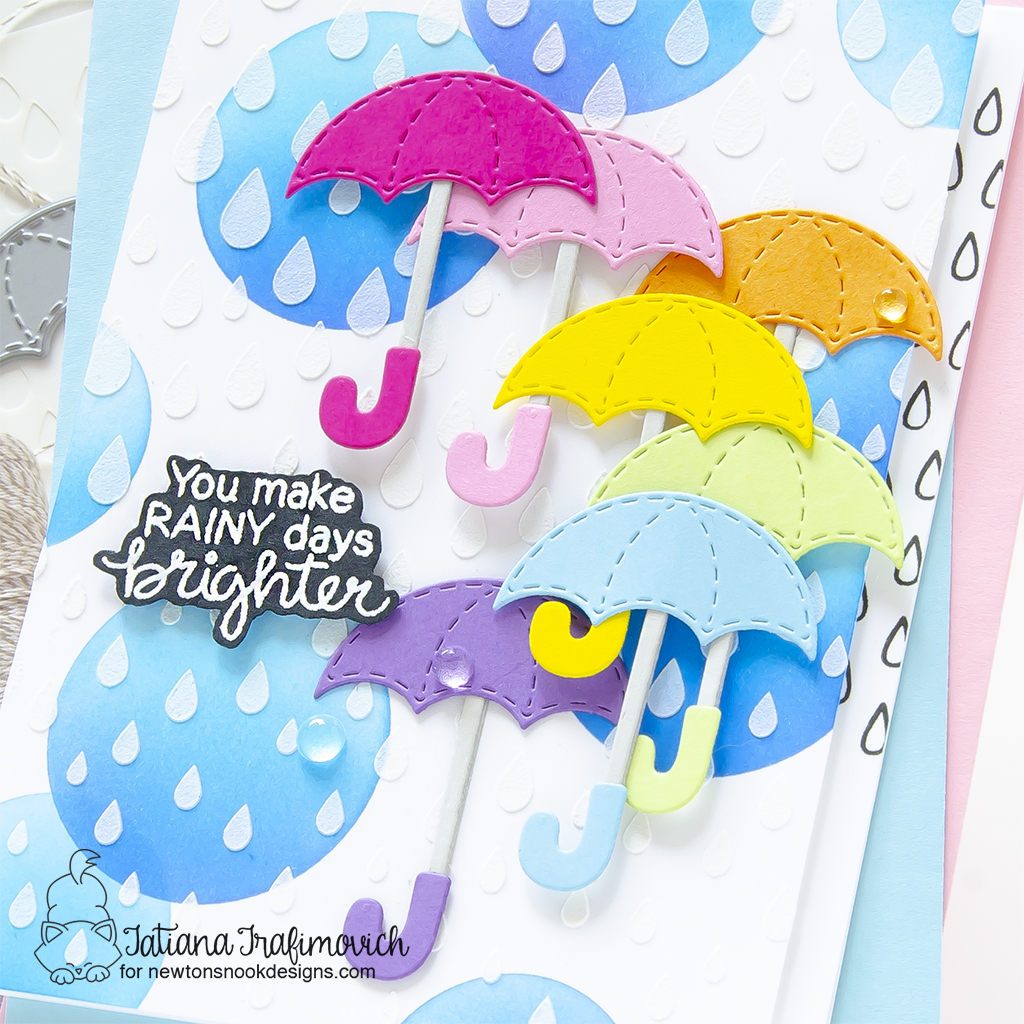
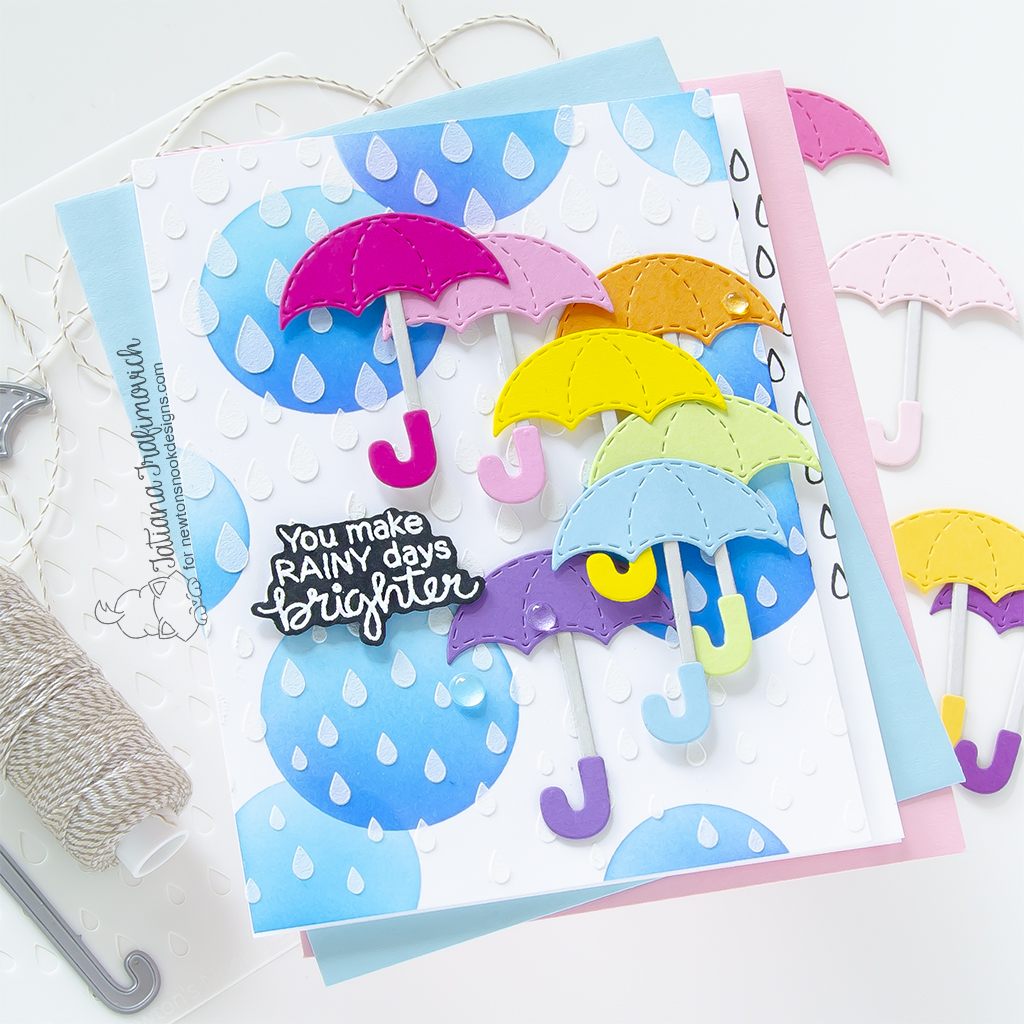
I’m so glad you’ve joined me today and even more excited to be on the Newton’s Nook Designs blog, sharing a fun spring rainbow card that features Umbrella Pals Die Set.

You know that I LOVE coloring with every color media, but sometimes it’s just fun to switch to another technique! So today I decided to dive onto die cutting and put up together a bunch of rainbow umbrellas!

Key Ingredients:
- Umbrella Pals Die Set
- Umbrella Pals Stamp Set
- Bokeh Stencil Set
- Raindrops Stencil
- Newton’s Umbrella Stamp Set
Step By Step Instructions:
- Die cut from colorful cardstock a bunch of stitched umbrella elements from Umbrella Pals Die Set, using Spellbinders Platinum 6 Die Cutting Machine or Sizzix Big Shot Die Cutting Machine.
- Here are the colors that I used on my card:
- Concord and 9th Dragonfruit cardstock;
- Concord and 9th Carnation cardstock;
- Concord and 9th Clementine cardstock;
- Simon Says Stamp Bright Yellow cardstock;
- Concord and 9th Sprout cardstock;
- Concord and 9th Harbor cardstock;
- Lawn Fawn Sugarplum cardstock.
- Assemble and glue together the umbrellas with a liquid glue that dries clear and matte like Bearly Art – Precision Craft Glue.
- Trim and score an extended A2 size card base (5 1/2″ x 4 1/4″) from Neenah Solar White paper. I used Tim Holtz Maxi Guillotine Trimmer and Mini Score Board.
- Trim another rectangle from the same Neenah Solar White paper slightly narrower than the card front.
- Ink some ombré blue circles on the rectangle, using two largest holes on the Bokeh Stencil Set. I picked Mermaid Lagoon Distress ink, Salty Ocean Distress ink, Blueprint Sketch Distress ink and the blending brushes.
- Secure Raindrops Stencil on the inked background with a lock tack tape to prevent any movement and spread a white embossing paste all across.
- Repeatedly stamp on the card base a raindrop illustration from Newton’s Umbrella Stamp Set with a black ink.
- Heat emboss in white on black the sentiment from Umbrella Pals Stamp Set with VersaMark clear sticky ink and Hero Arts White Embossing Powder. Don’t forget to prep the paper with a Powder Tool Applicator to prevent the embossing powder to stick where you don’t want it!
- Fussy cut the sentiment by hand with the sharp small scissors, leaving a little edge around.
- Arrange and glue in place all the elements on the card front by popping some of them on a foam tape for a bit of dimension.
- Finish with some clear drops adhere with Bearly Art – Precision Craft Glue.

That’s all for today! Hope you like todays’ spring card ! Thanks so much for stopping by and have a fabulous day!
Hugs,
Tatiana
