Hello and welcome!
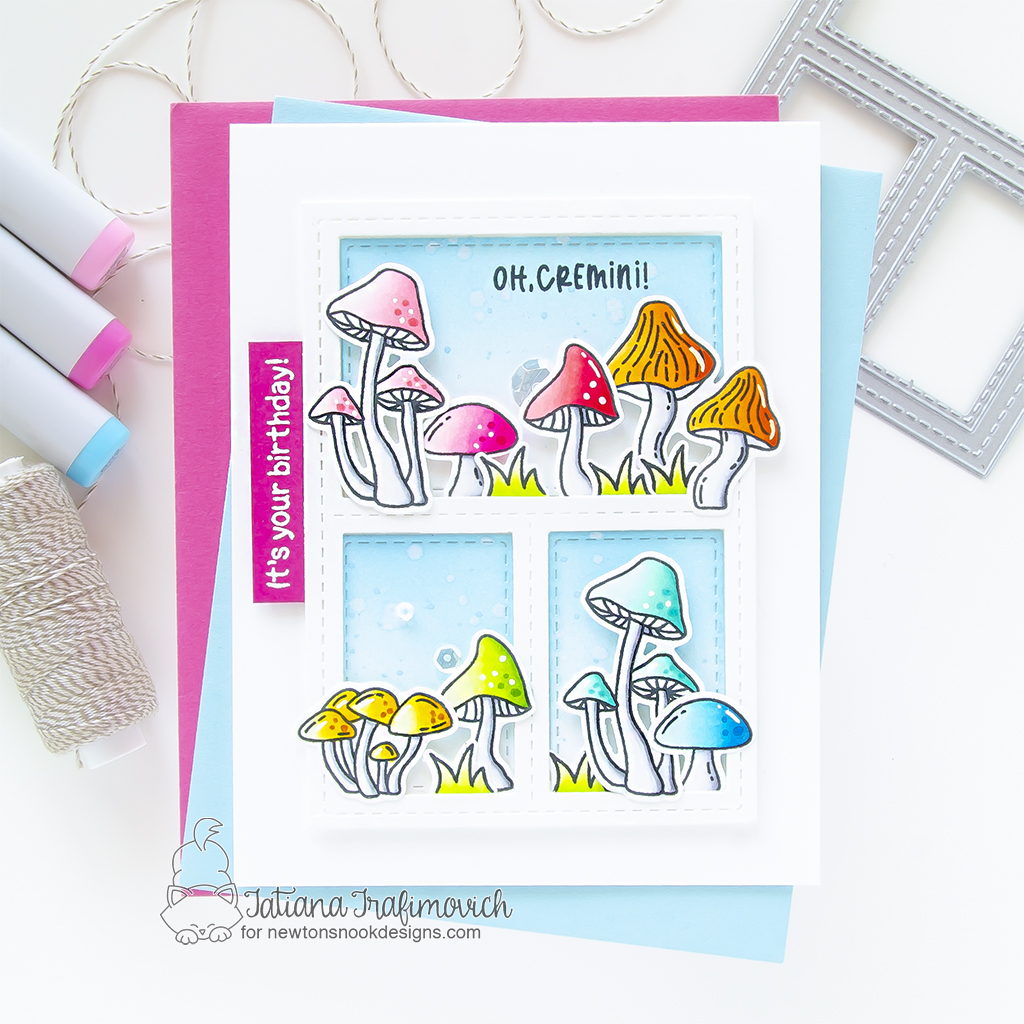
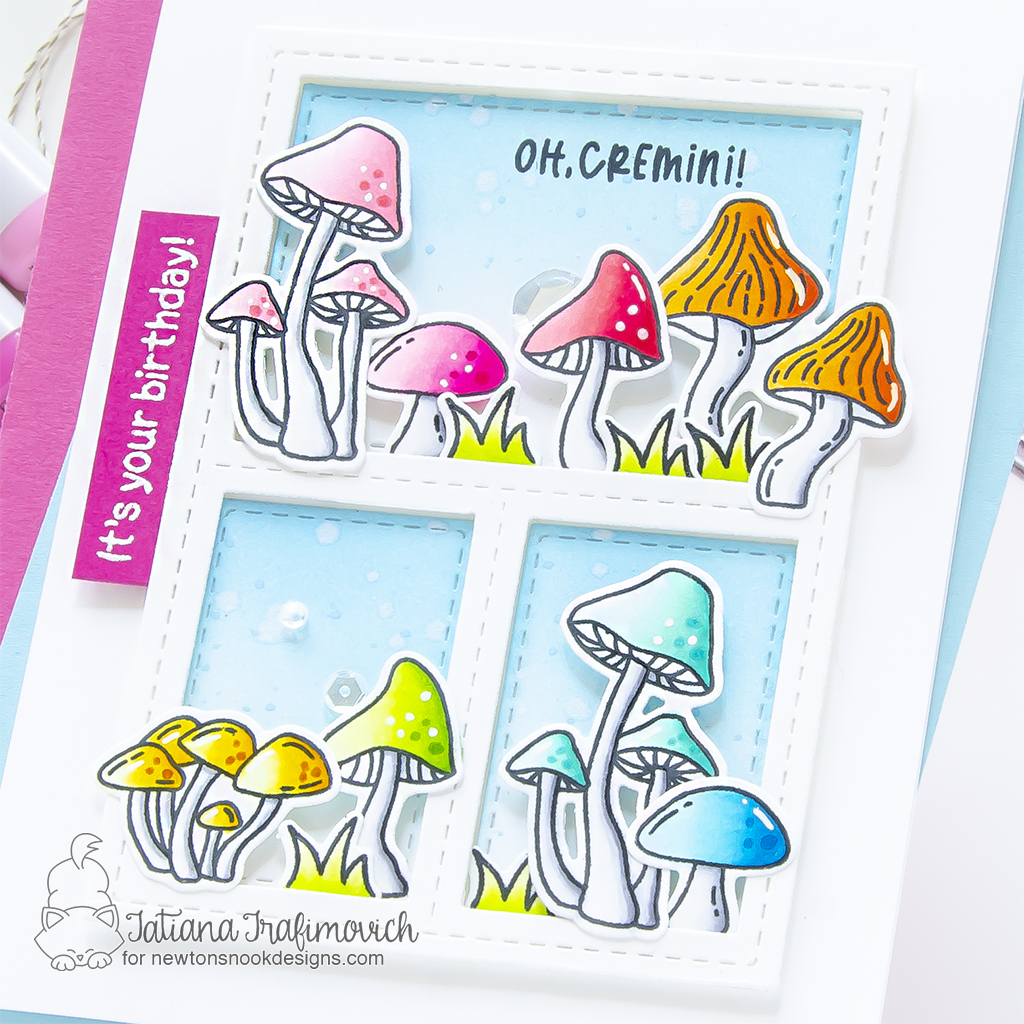
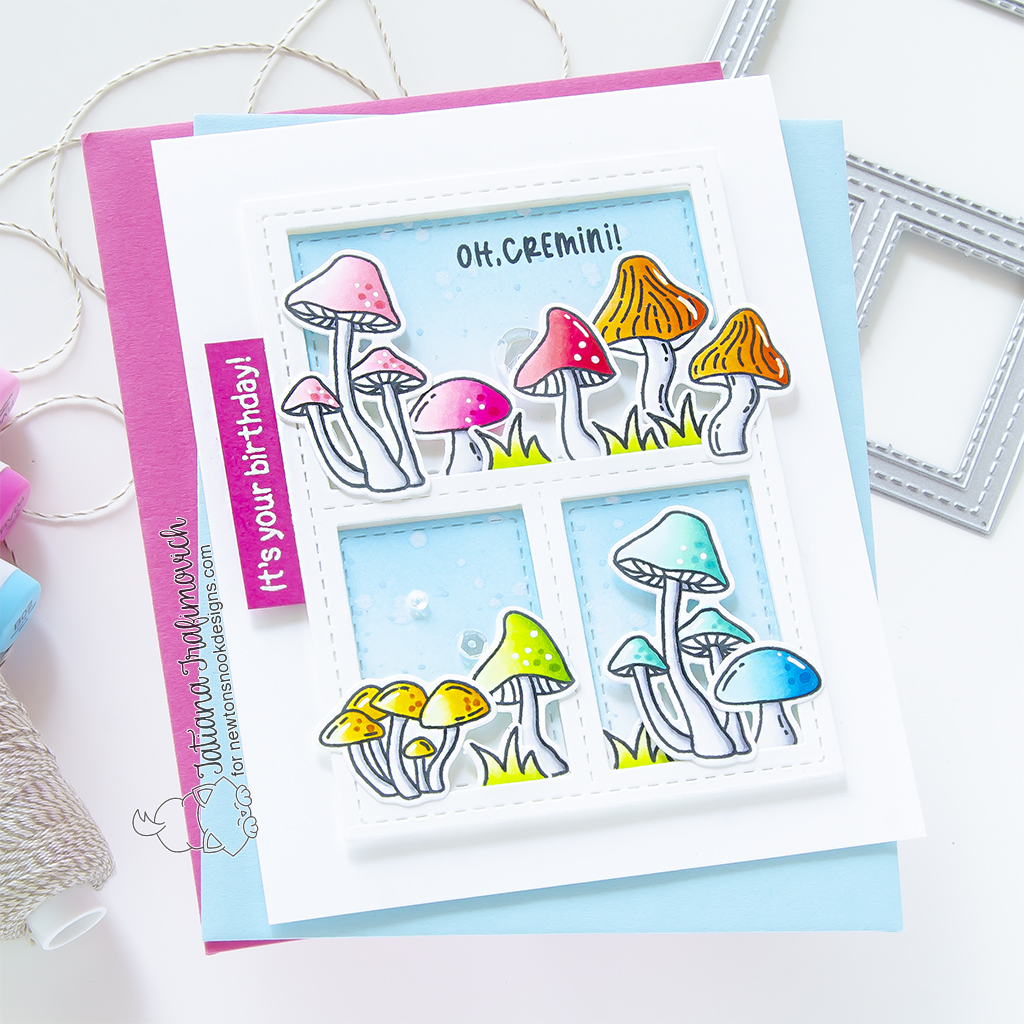
I’m so glad you’ve joined me today and even more excited to be on the Newton’s Nook Designs blog, sharing a sweet and colorful birthday card that features Fabulous Fungus Stamp Set!

Today I decided to play with the most amazing fungi stamps and, why not, give them a colorful and playful twist by adding a rainbow colors with copic markers! I also used one additional stamp set only because I wished to add those tufts of grass here and there. If you wish to recreate this project, you can easily limit yourself with just Fabulous Fungus Stamp Set.

Key Ingredients:
- Fabulous Fungus Stamp Set
- Fabulous Fungus Die Set
- Newton’s Blooms Stamp Set
- Newton’s Blooms Die Set
- Frames and Tags Die Set
Step By Step Instructions:
- Die cut all the elements you need from Neenah Solar White paper, using Fabulous Fungus Die Set, Newton’s Blooms Die Set and Spellbinders Platinum 6 Die Cutting Machine or Sizzix Big Shot Die Cutting Machine. Save the negative parts of the dies.
- Stamp the outline illustrations from Fabulous Fungus Stamp Set and Newton’s Blooms Stamp Set with Memento Tuxedo Black ink, using the negative parts of the dies as a guide for a perfect alignment inside the stamping positioning tool.
- Color the stamps with COPIC MARKERS. I used on this card:
- light pink RV000-RV00-RV10-RV11-RV13
- bright pink RV00-RV02-RV04-RV06-RV09
- red pink RV21-RV23-RV25-RV29
- orange Y21-YR12-YR16-YR18
- yellow Y0000-Y13-Y15-Y19-YR24
- green YG0000-YG01-YG03-YG17
- teal BG0000-BG10-BG11-BG13-BG15
- blue B000-B00-B01-B02-B04-B06
- gray C00-C1-C3
- Trim and score an extended A2 size card base (5 1/2″ x 4 1/4″) from Neenah Solar White paper. I used Tim Holtz Maxi Guillotine Trimmer and Mini Score Board.
- Die cut from the same Neenah Solar White paper a frame window, using Frames and Tags Die Set.
- Ink the inner panels of the frame die with a light blue ink, using the blending brushes for a soft and smooth look. Create an ombré effect, concentrating the blue color towards the top part of each panel and leaving the bottom lighter. I picked Simon Say Stamp Pawsitively Saturated ink in Marine color.
- Splatter the inked pieces with some tiny droplets of a pearlescent solution.
- Stamp the first part of the sentiment from Fabulous Fungus Stamp Set directly on the inked rectangle with Memento Tuxedo Black ink.
- Heat emboss in white on dark pink the second part of the sentiment with VersaMark clear sticky ink and Hero Arts White Embossing Powder. Don’t forget to prep the paper with a Powder Tool Applicator to prevent the embossing powder to stick where you don’t want it! My pink is Concord and 9th Dragonfruit Cardstock.
- Arrange and glue in place all the elements on the card front by popping some of them on a foam tape for a bit of dimension.
- Finish with a generous coat of Wink of Stella clear glitter pen, a few highlights added with a white gel pen and some clear sparkling sequins adhered with Bearly Art – Precision Craft Glue.

That’s all for today! Hope you like today’s colorful rainbow birthday card! Thanks so much for stopping by and have a fabulous day!
Hugs,
Tatiana
