Hello and welcome!
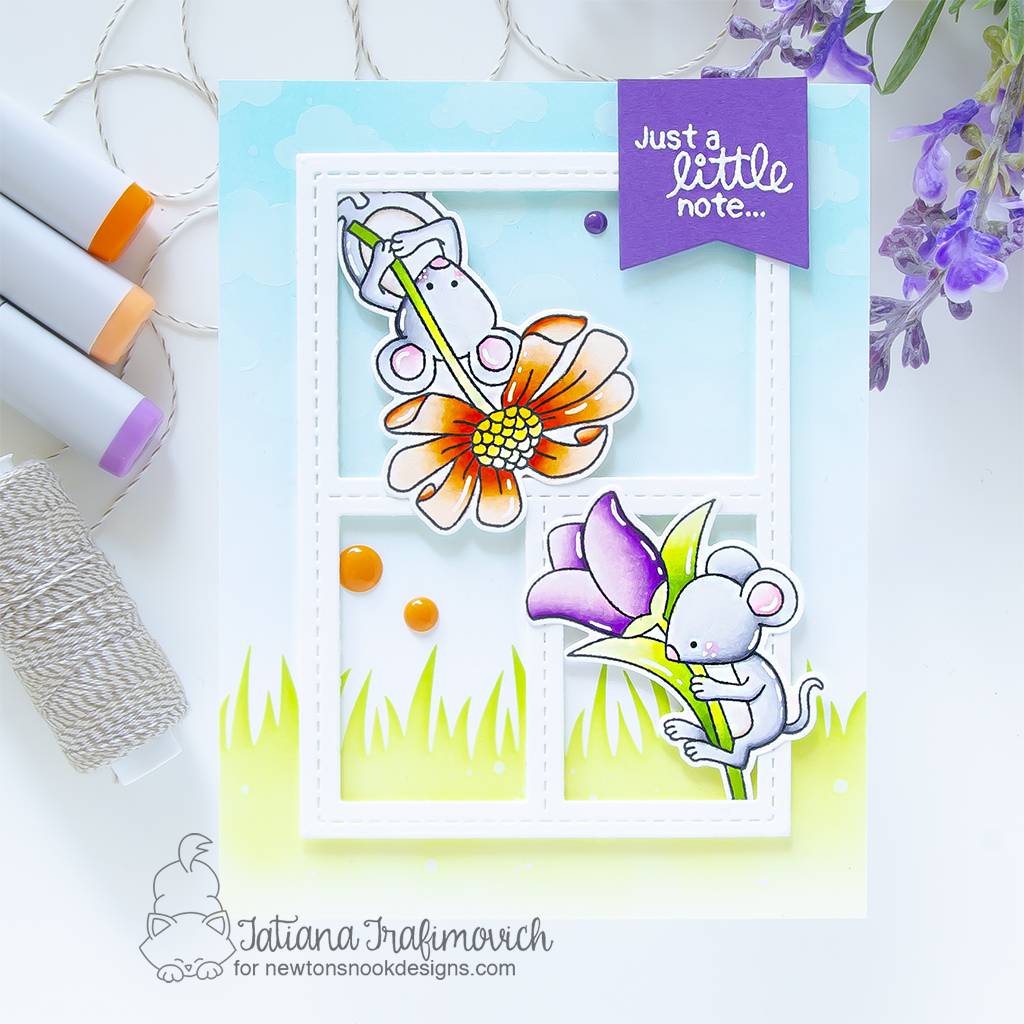
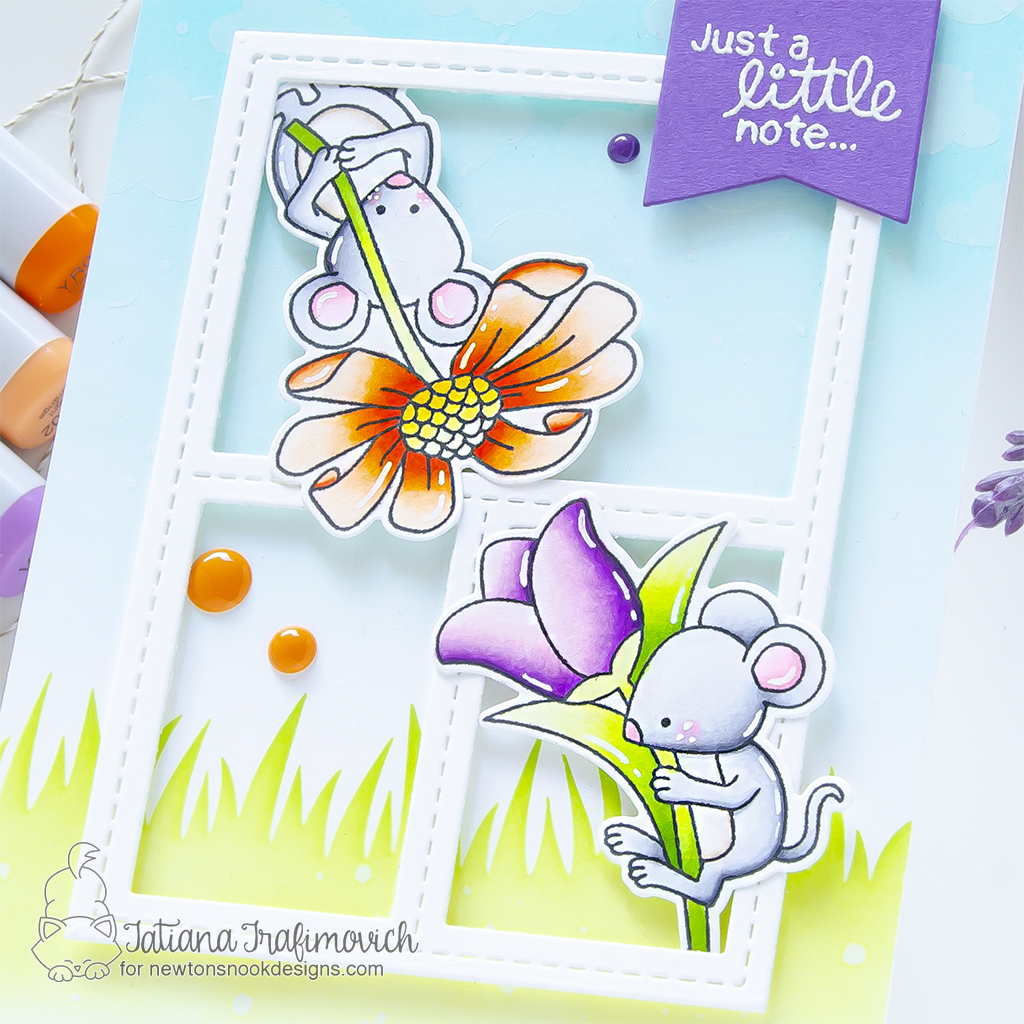
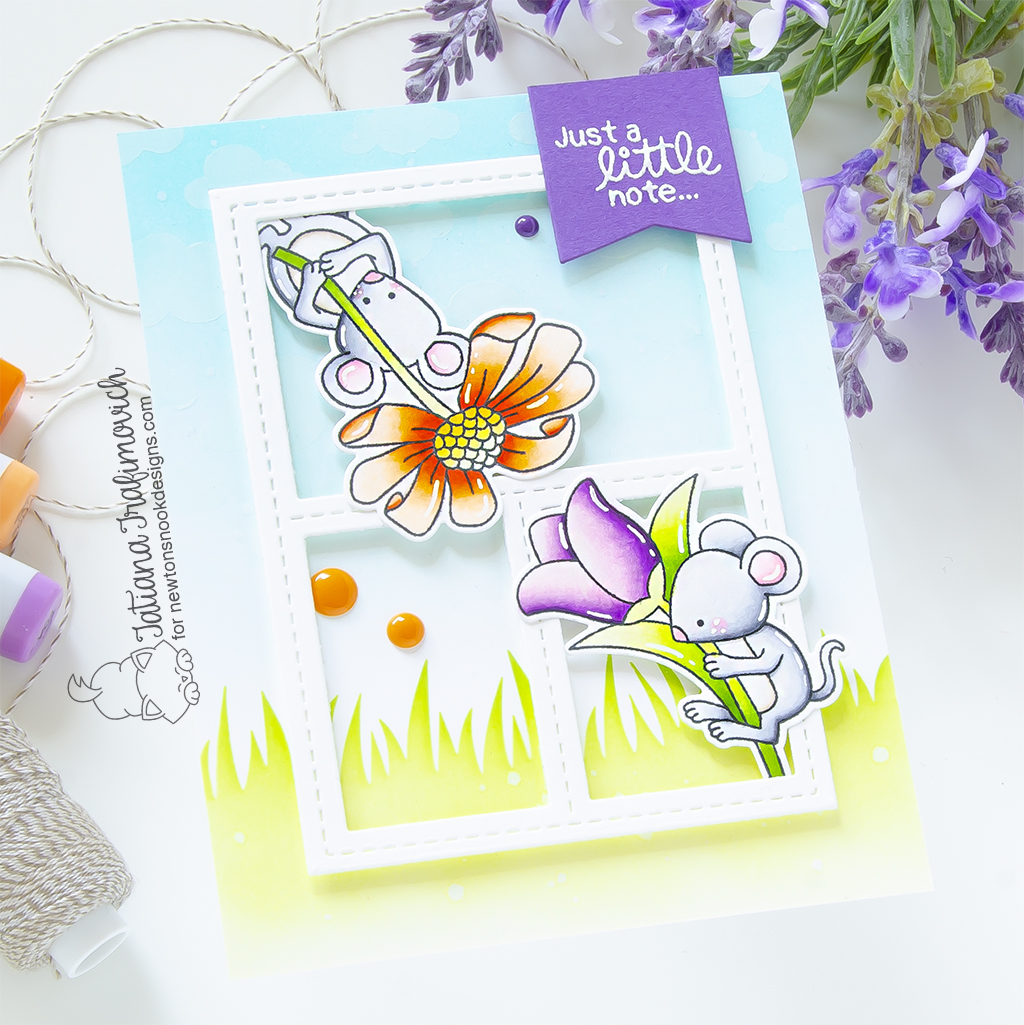
I’m so glad you’ve joined me today and even more excited to be on the Newton’s Nook Designs blog, sharing a sweet all occasions mice card that features the most adorable Garden Mice Stamp Set!

Today I’m using again my new favorite frame die from Frames and Tags Die Set for the card layout! I just cannot help stopping from playing with this new versatile product that can be used in multiple ways! On this project I inked a full card front scene with the grass and sky portions! Then I delimited the sweetest mice inside the frame die, making one peeking from the top corner just to add something little extra!

Key Ingredients:
- Garden Mice Stamp Set
- Garden Mice Die Set
- Frames and Tags Die Set
- Hills & Grass Stencil
- Cloudy Sky Stencil
Step By Step Instructions:
- Die cut all the elements you need from Neenah Solar White paper, using Garden Mice Die Set and Spellbinders Platinum 6 Die Cutting Machine or Sizzix Big Shot Die Cutting Machine. Save the negative parts of the dies.
- Stamp the outline illustrations from Garden Mice Stamp Set with Memento Tuxedo Black ink, using the negative parts of the dies as a guide for a perfect alignment inside the stamping positioning tool.
- Color the stamps with COPIC MARKERS. I used on this card:
- gray C00-C0-C1-C3-C5
- pink RV000-RV10-RV11
- orange YR0000-YR00-YR01-YR04-YR09
- yellow Y000-Y13-Y21
- green YG0000-YG01-YG23-YG25-YG17
- violet V0000-V000-V01-V04-V09
- Trim and score an extended A2 size card base (5 1/2″ x 4 1/4″) from Neenah Solar White paper. I used Tim Holtz Maxi Guillotine Trimmer and Mini Score Board.
- Trim another 5 1/2″ x 4 1/4″ panel for the inked background from a white smooth cardstock like Hammermill.
- Secure Hills & Grass Stencil on the background piece with a lock tack tape and ink the bottom part with green inks, using the blending brushes to achieve a soft and smooth blending. I picked Simon Says Stamp Pawsitively Saturated inks in Celery, Limelicious and Pearfection colors.
- Lift up the stencil and ink the sky portion with light blue colors. I used Simon Says Stamp Pawsitively Saturated inks in Seafoam and Surf colors.
- Splatter the inked background with some tiny droplets of a pearlescent solution.
- Secure Cloudy Sky Stencil on the inked background with a lock tack tape and add some clouds with a white pigment ink.
- Die cut from Neenah Solar White paper a frame window, using Frames and Tags Die Set.
- Die cut a fish tail banner from Concord and 9th Grapesoda Cardstock with a banner die from the same Frames and Tags Die Set.
- Heat emboss in white on purple the sentiment from Garden Mice Stamp Set with VersaMark clear sticky ink and Hero Arts White Embossing Powder. Don’t forget to prep the paper with a Powder Tool Applicator to prevent the embossing powder to stick where you don’t want it!
- Arrange and glue in place all the elements on the card front by popping some of them on a foam tape for a bit of dimension.
- Finish with a generous coat of Wink of Stella clear glitter pen, a few highlights added with a white gel pen and some enamel accents. I picked Doodlebug Birthday Boy
- Doodlebug Design – Party Time Collection – Stickers – Sprinkles – Enamel – Birthday Boy
- https://www.scrapbook.com/store/db-6624.html
- and Heffy Doodle Man Cave Enamel Dots.

That’s all for today! Hope you like this spring garden card ! Thanks so much for stopping by and have a fabulous day!
Hugs,
Tatiana
