Hello and welcome!
I’m so glad you’ve joined me today and even more excited to share my first post made for Newtons Nook Designs as their brand Ambassador!

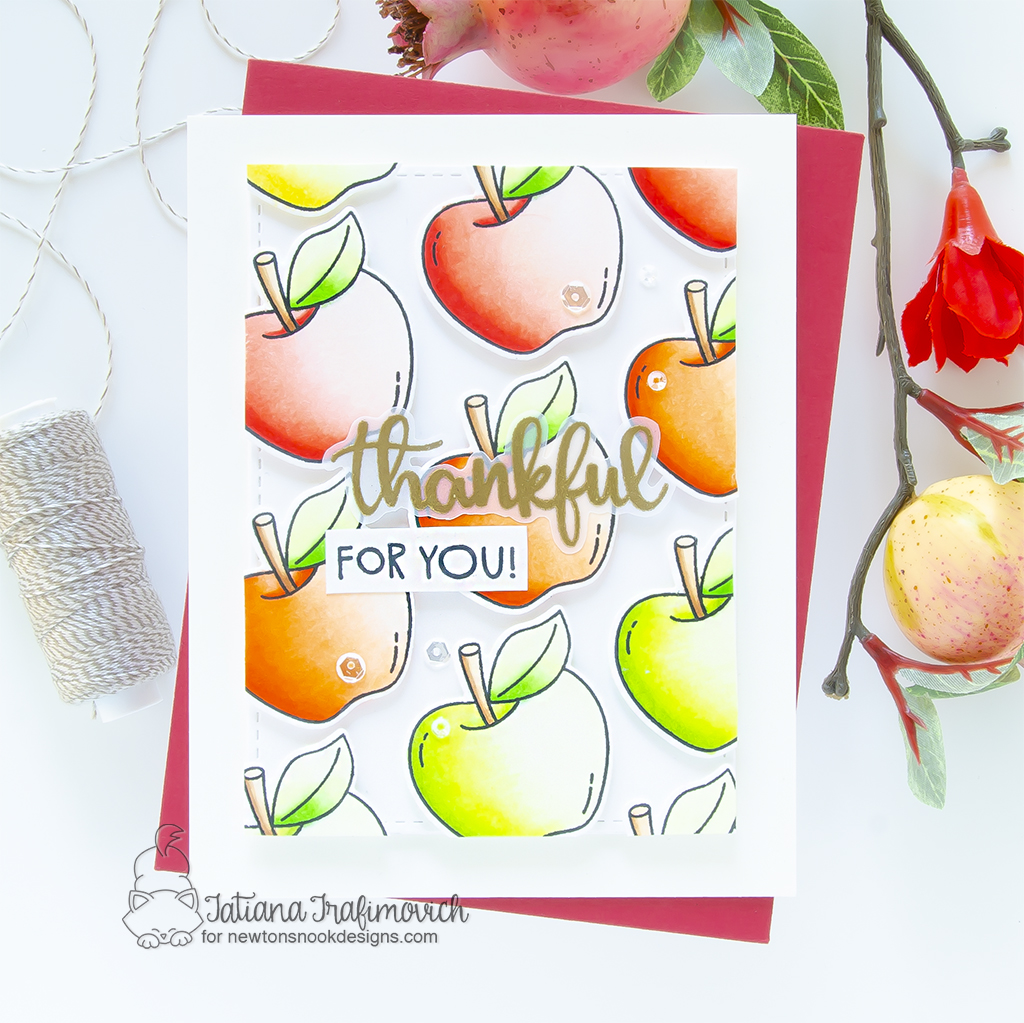
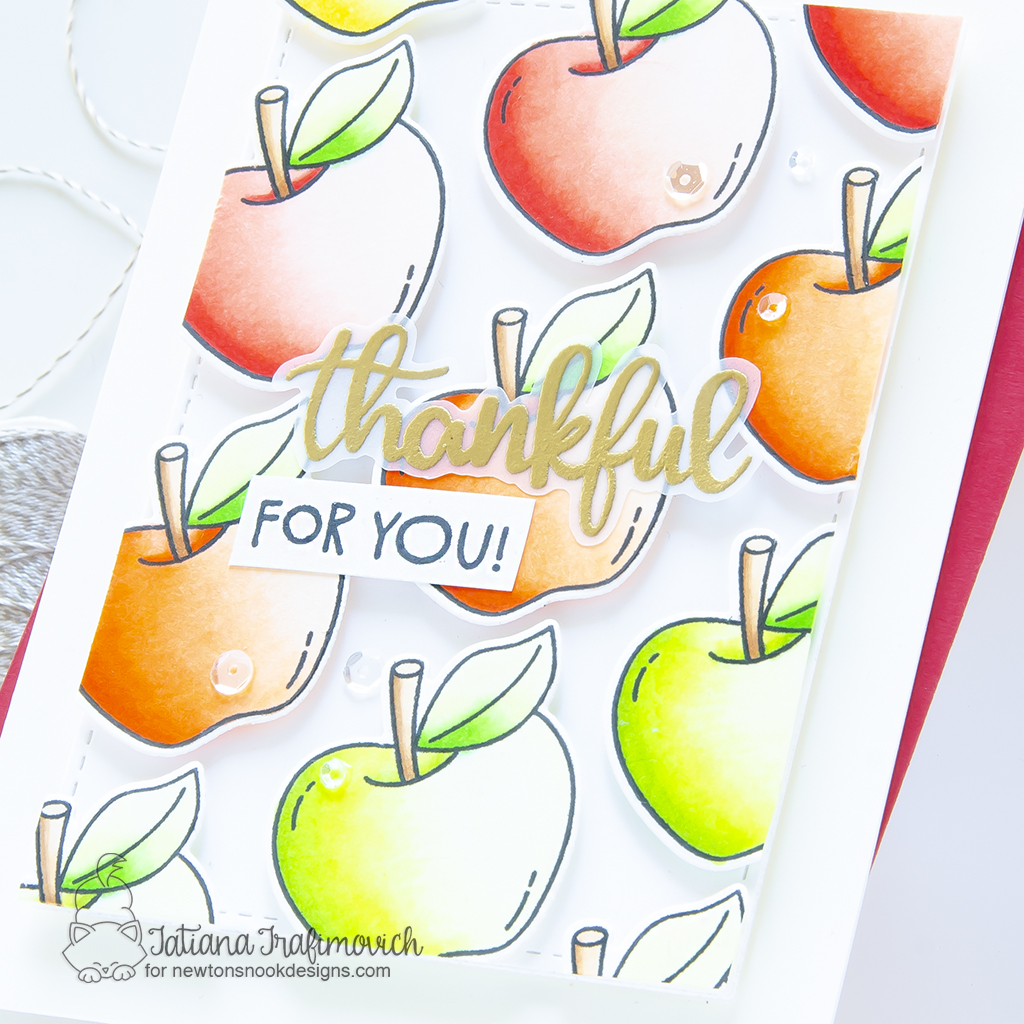
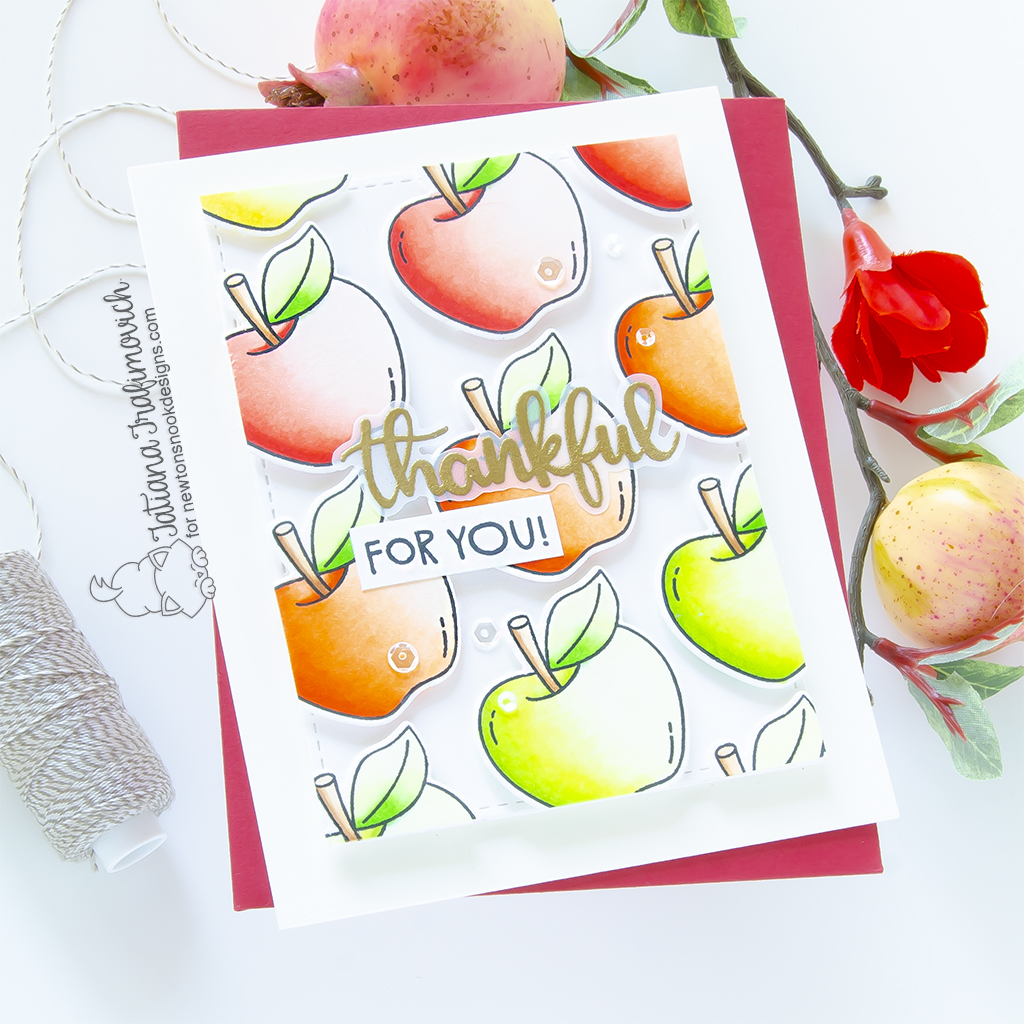
I decided to start with a thanks card inspired by the upcoming Thanksgiving and beautiful illustrations from Newton’s Nook Designs Autumn Apples Stamp Set! I picked a big apple stamp and repeatedly stamped it with a copic friendly ink to get a bunch of illustrations colored with copic markers. Then I arranged all the elements on a faux stitched frame, creating an apple pattern with a bit of dimension. A big metallic golden sentiment seemed to be nice central element against the soft colored apples.
Please, check the video below to see the work in progress of this thanks card or keep reading the post for a step-by-step tutorial, a list of the products used and a color chart!

Key Ingredients:
Step By Step Instructions:
- Die cut a bunch of apples from Neenah Solar White paper, using the coordinating Autumn Apples Die Set and Spellbinders Platinum 6 Die Cutting Machine or Sizzix Big Shot Die Cutting Machine. Save the negative parts of the dies.
- Stamp the outline illustrations from Autumn Apples Stamp Set with Memento Tuxedo Black ink, using the negative parts of the dies as a guide for a perfect alignment inside the stamping positioning tool.
- Color the stamps with COPIC MARKERS. I used on this card:
- red R0000-R000-R01-R20-R22-R24
- orange YR0000-YR00-YR02-YR07
- green YG0000-YG00-YG01-YG03-YG05
- yellow Y000-Y11-Y13
- brown E30-E31-E34
- Trim and score an extended A2 size card base (5 1/2″ x 4 1/4″) from a cream paper. I used Tim Holtz Maxi Guillotine Trimmer and Mini Score Board.
- Die cut a stitched frame from Neenah Solar White paper for a perfect match with the apples, using Basic Frames Die Set.
- Pop the apples on a faux stitched frame with a foam tape for a bit of dimension and trim the edges.
- Heat emboss in gold on vellum the “thankful” stamp from Thankful Thoughts Stamp Set with VersaMark clear sticky ink and Ranger Super Fine Gold Embossing Powder. Don’t forget to prep the paper with a Powder Tool Applicator to prevent the embossing powder to stick where you don’t want it!
- Fussy cut the the heat embossed “thankful” word with the the sharp small scissors, leaving a little edge around.
- Stamp in black the second part of the sentiment on a stripe of Neenah Solar White paper.
- Arrange and glue in place all the elements on the card front with a glue that dies clear and matte like my currently favorite Bearly Art – Precision Craft Glue.
- Add a finish touch with some clear sparkling sequins.

That’s all for today! Hope you like this autumn thanks card ! Thanks so much for stopping by and have a fabulous day!
Hugs,
Tatiana
